Notch
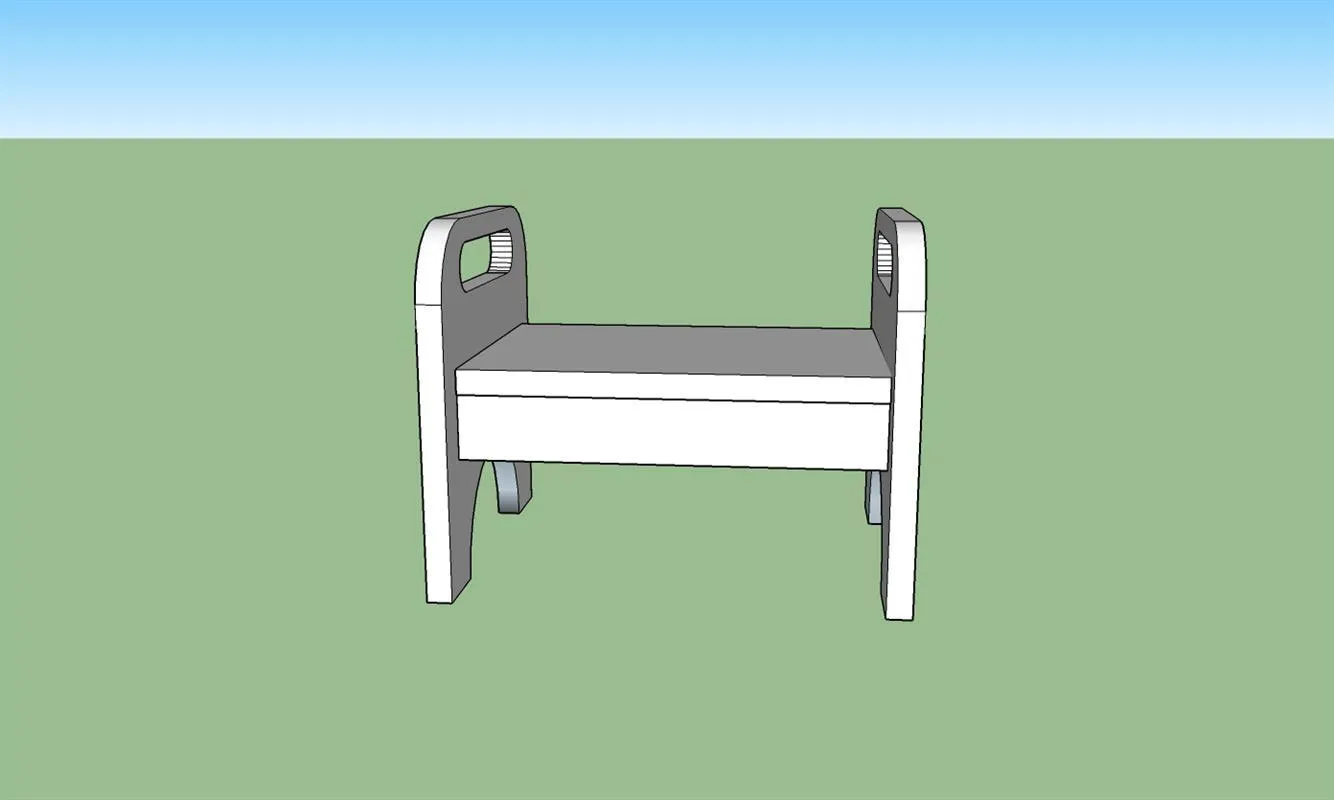
Grandkids’ Stool
Step-by-step build — 8 steps. Also available as a print sheet.
1Cut the side pieces
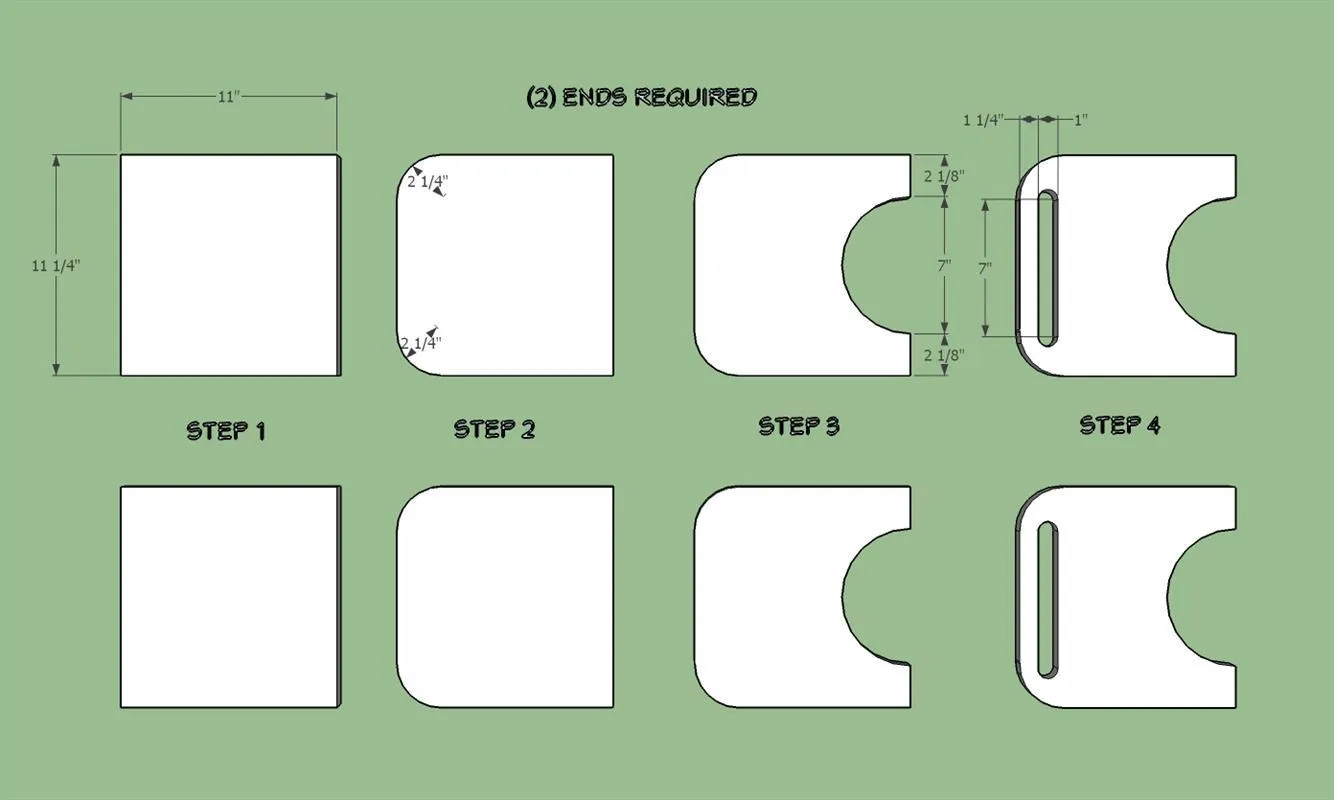
- Cut (2) side pieces - 11 1/4" x 11".
- Cut 2 1/4" radius' to the upper edges with a jig saw.
- Cut a 3 1/2" radius centered on the bottom edge with a jig saw. Use a router to create the hand holes. Use spindle sander to sand the radius' and the hand hold.
- Round over all edges except the bottom 'feet' with a router round over bit.
2Cut the seat/step
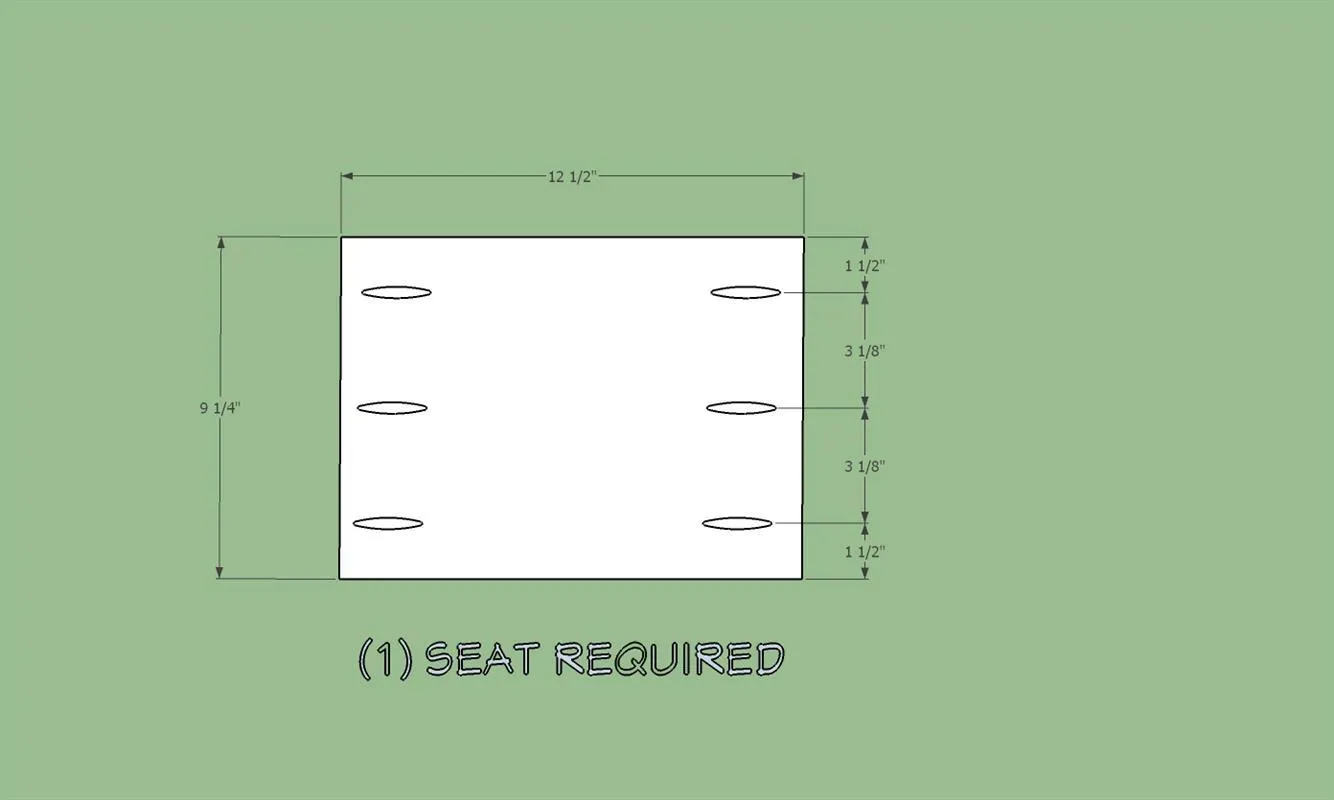
- Cut one seat/step piece - 9 1/4" x 12 1/2". Use a pocket hole jig to drill pocket holes as shown.
- Round over the 0utside edges with a router round over bit.
3Cut the seat/step supports
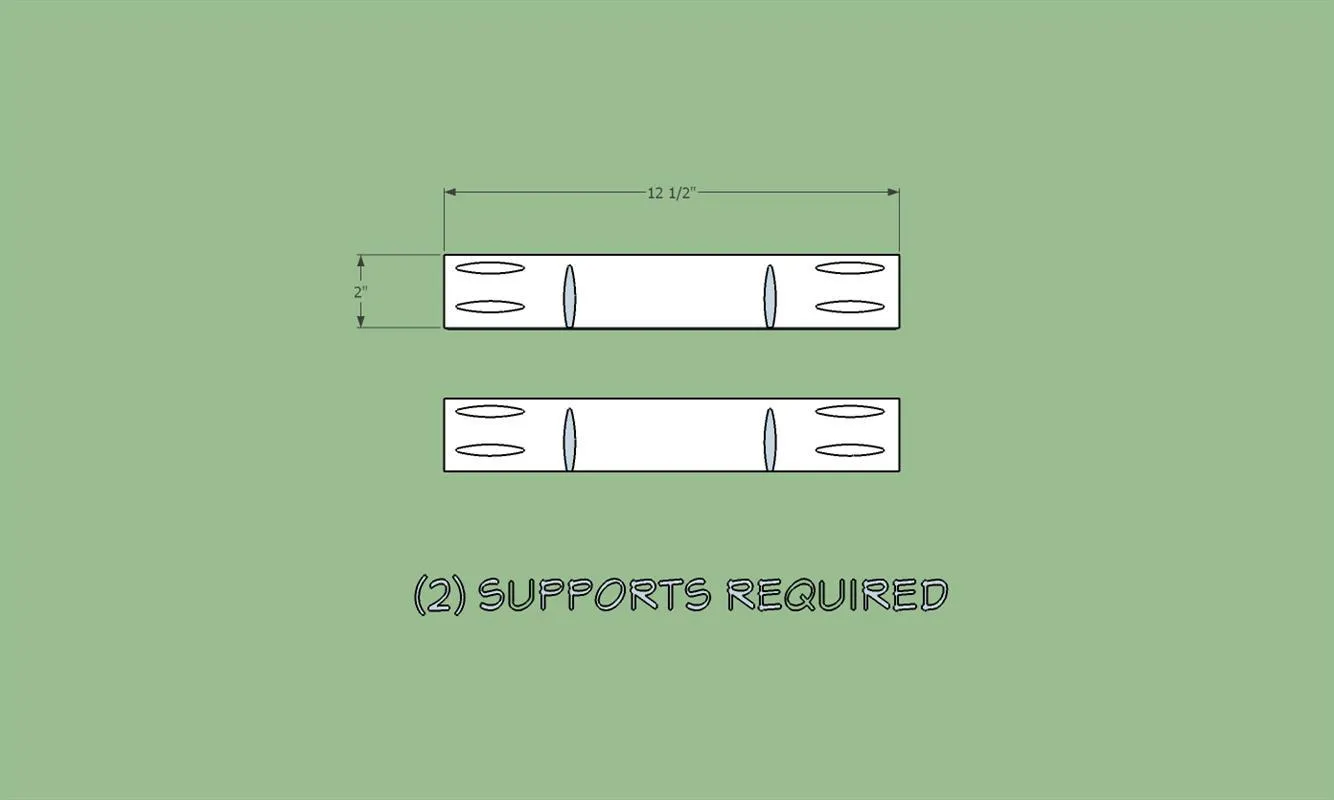
- Cut (2) 2" x 12 1/2" x 3/4" step/seat supports. Use a pocket hole jig to drill the holes as shown.
- Round over the bottom edge with a router round over bit.
4Assemble the parts - support 1
Secure one support as shown with 1/4" pocket hole screws.
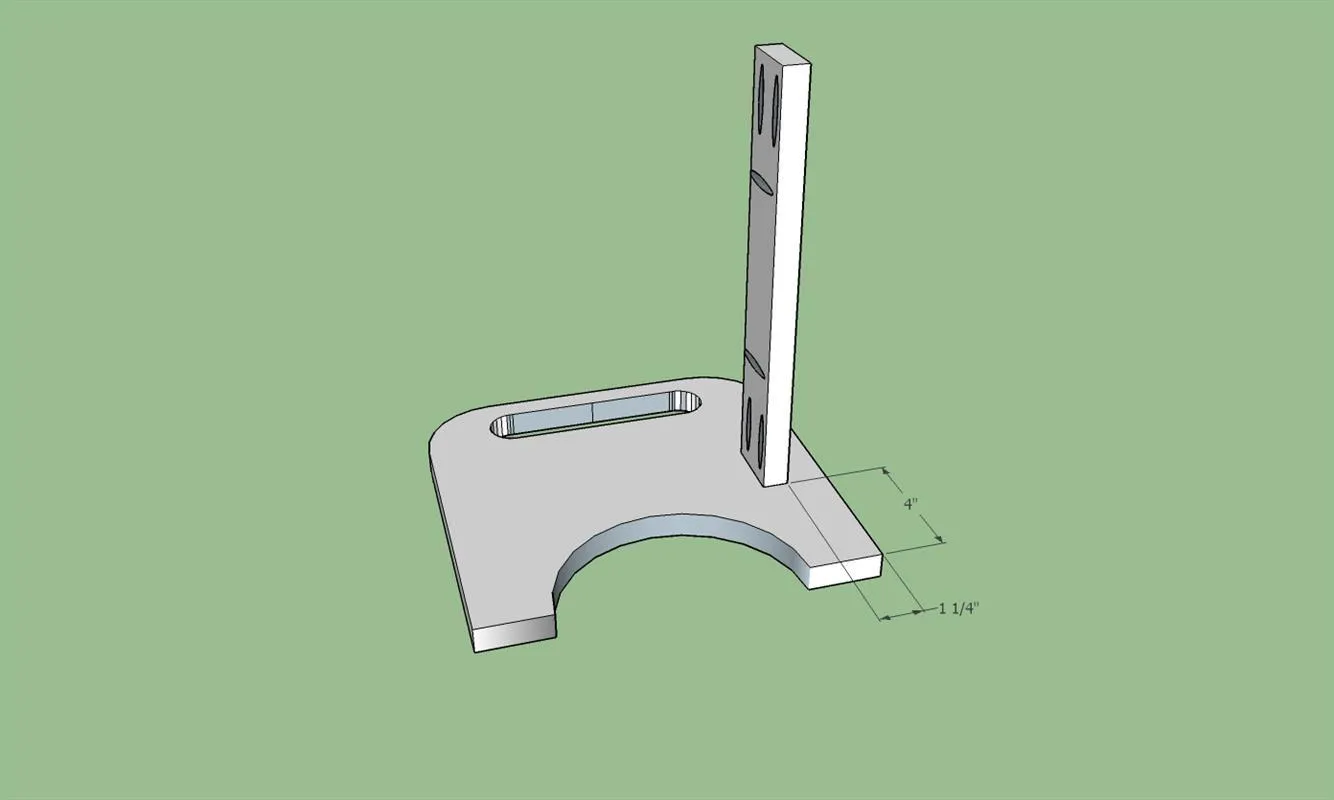
5Assemble the parts - support 2
Secure one support as shown with 1/4" pocket hole screws.
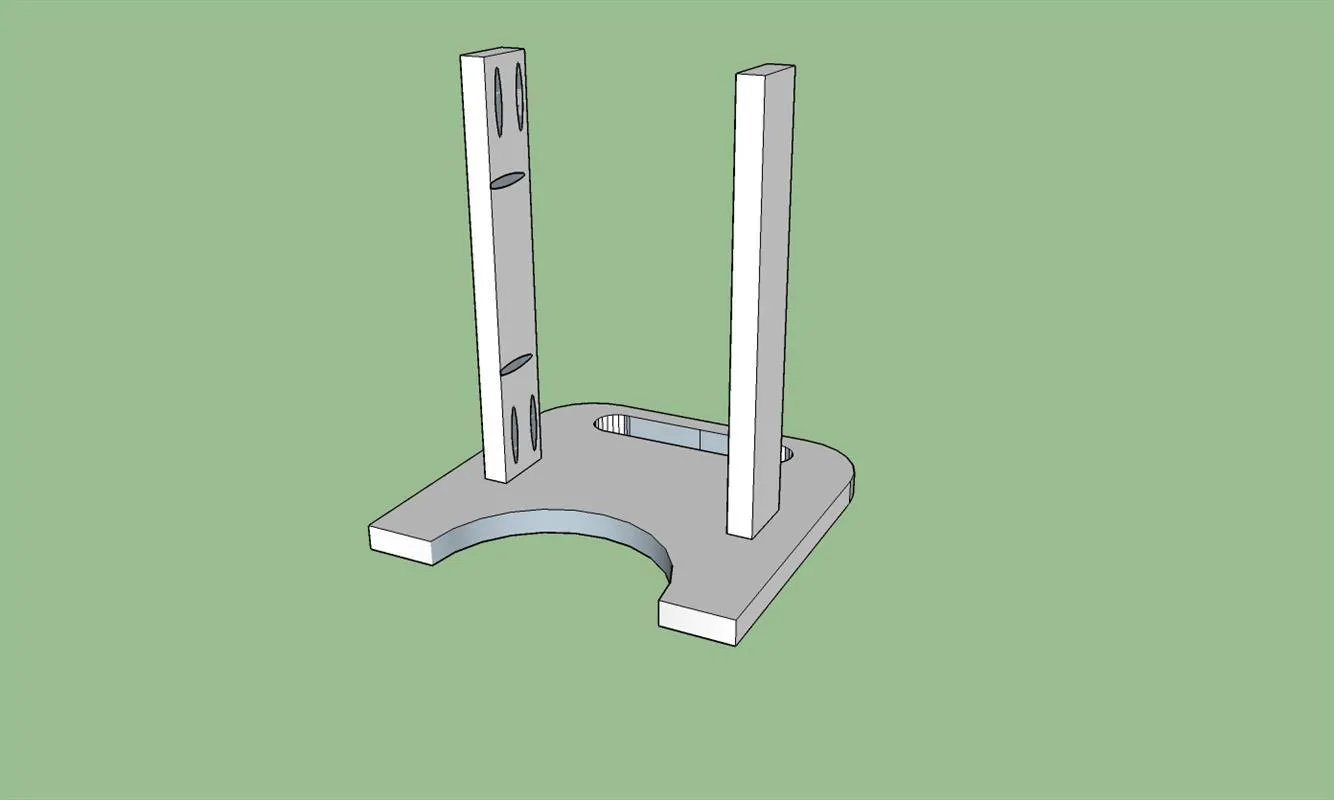
6Assemble the parts - end piece
Add the final side piece and secure with 1 1/4" pocket hole screws.
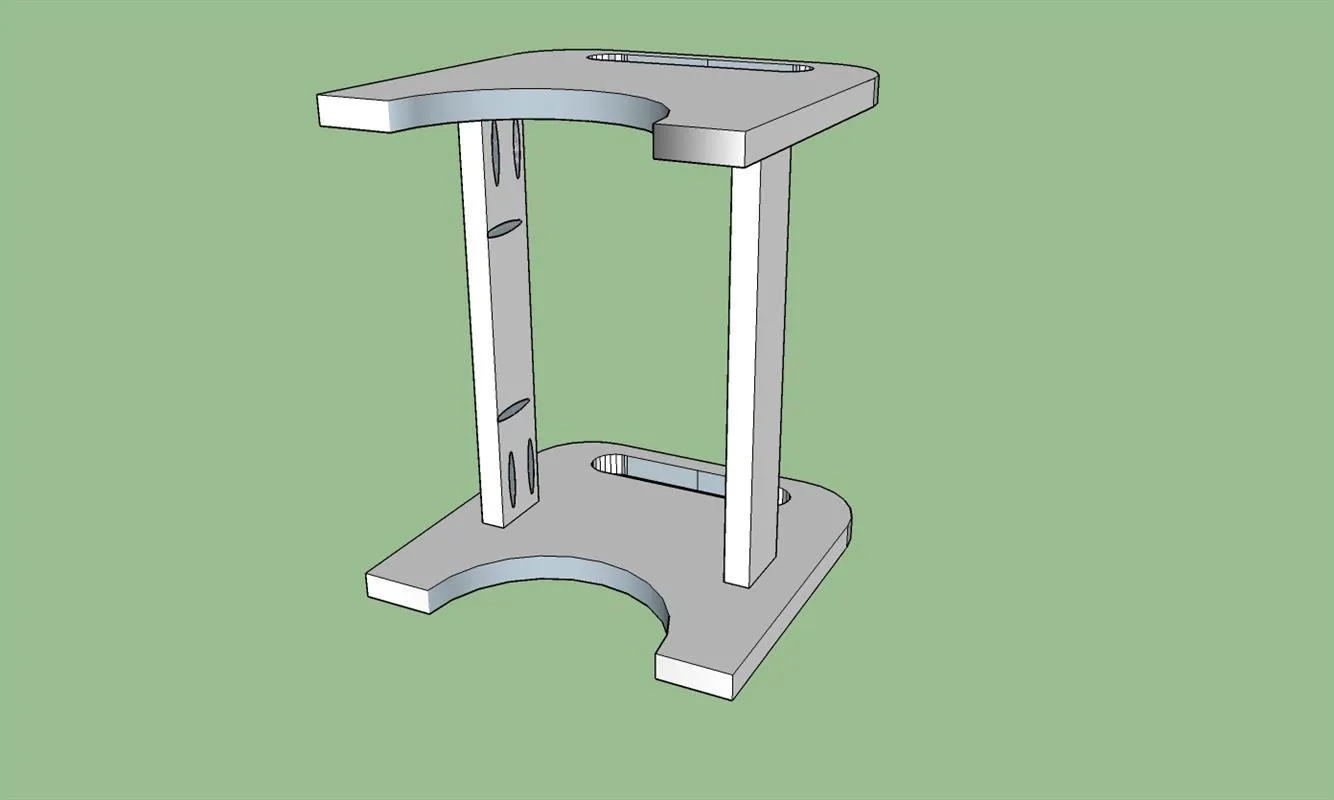
7Add the seat
Add the seat and secure to the side pieces with 1 1/4" pocket hole screws. Also screw the supports to the seat with 1 1/4" pocket hole screws.
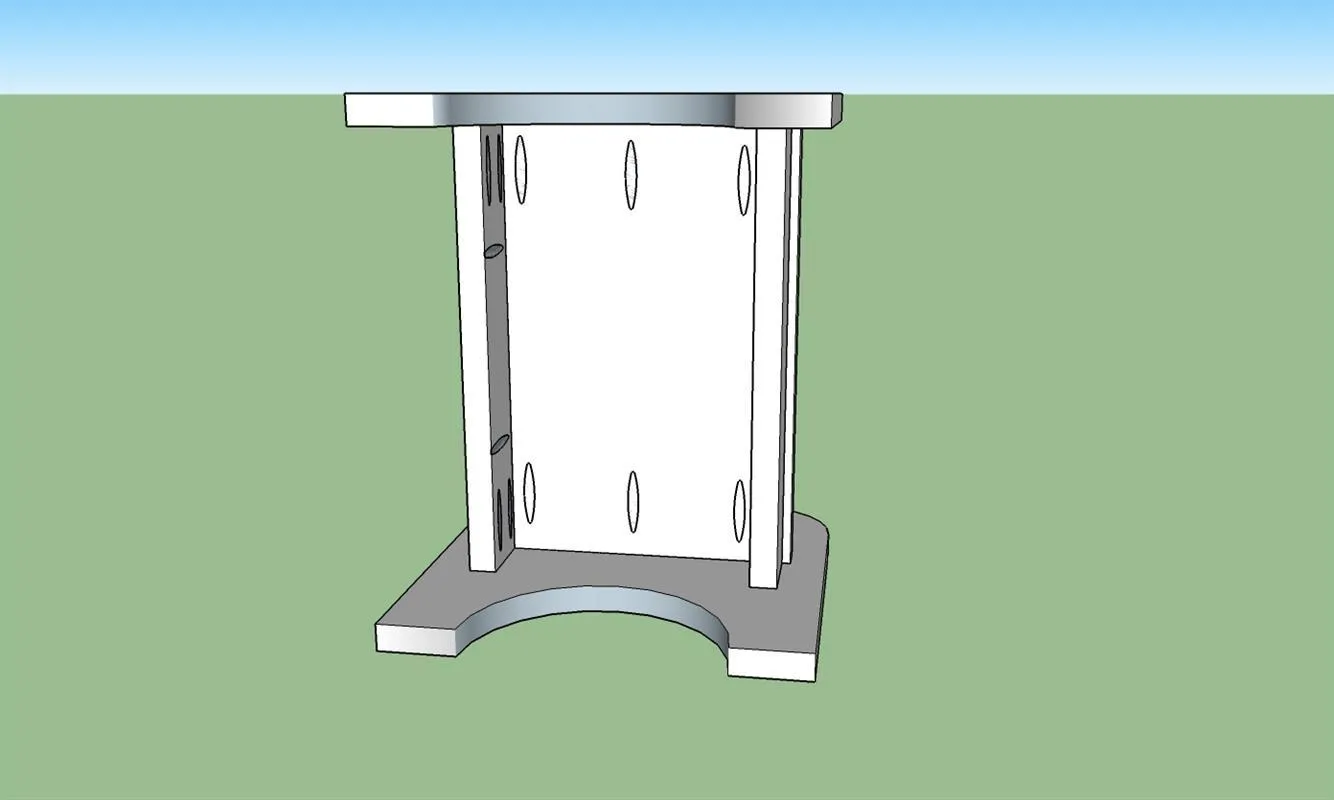
8Paint or Stain the step stool
With assembly complete, paint or stain as desired. Also add floor protection to the bottom of each foot. I used a 1/2" x 1 3/4" piece of 1/8" cork on each foot.