Notch
Use your browser's Print (Ctrl/Cmd + P) and choose Save as PDF. This page works offline once you've opened it with a signal.
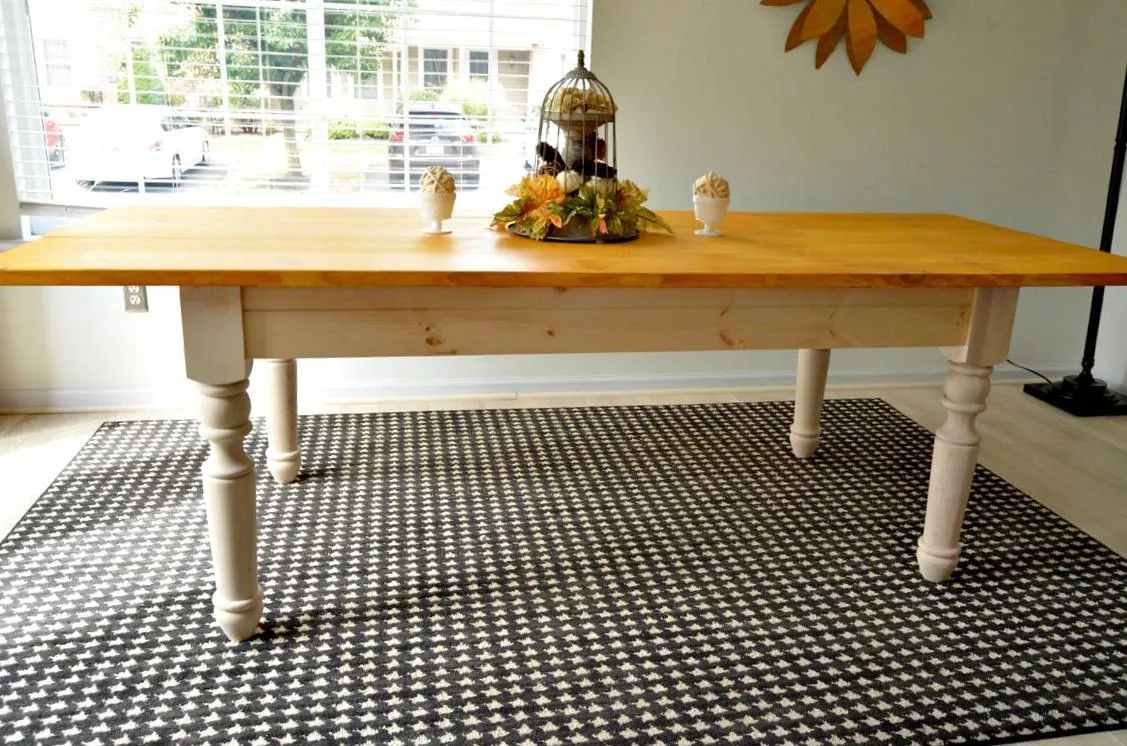
Farmhouse Table Made with 7 boards
This farmhouse dining table is made with just seven 5/4″ thick, wide planks and chunky turned legs for an authentic, farmhouse look.
- Difficulty
- Beginner
- Time
- 2.5–4.8 hours
- Cost
- $$
Cut list
| Part | Qty | T × W × L | Material | ✓ |
|---|---|---|---|---|
| End aprons | 2 | 1 1/4" × 6" × 26" | — | ☐ |
| Side aprons | 2 | 1 1/4" × 6" × 58" | — | ☐ |
Materials
| Item | Qty | ✓ |
|---|---|---|
| Board, 5/4" x 8" 96" | 5 board | ☐ |
| Board, 5/4" x 6" 96" | 2 board | ☐ |
| 2-1/2" pocket screws | 50 each | ☐ |
| Wood glue | 1 each | ☐ |
Overall cost: $$. Lumber varies by region, species, and season, so we give a band rather than a figure.
Tools
- Circular Saw
- Miter Saw
- Pocket Hole Jig
- Random Orbit Sander
- Router
- Combination Square — optional
- Tape Measure — optional
Instructions
1. Cut wood
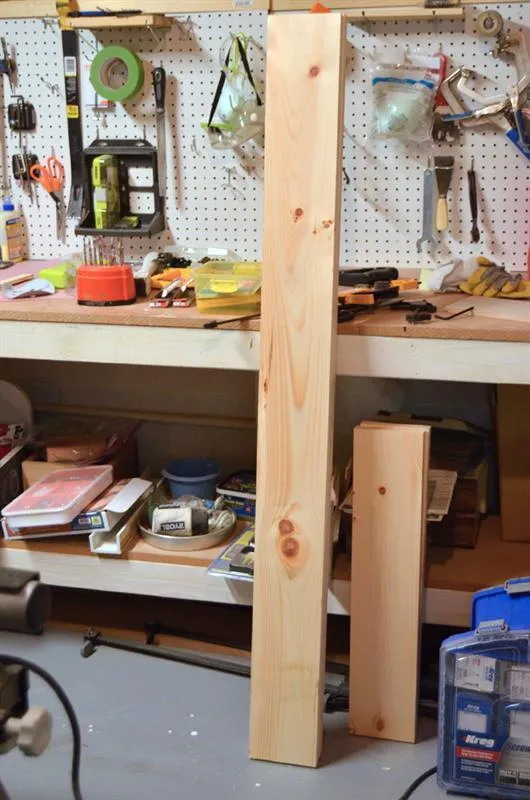
Cut the end and side apron pieces.
2. Route apron pieces (optional)
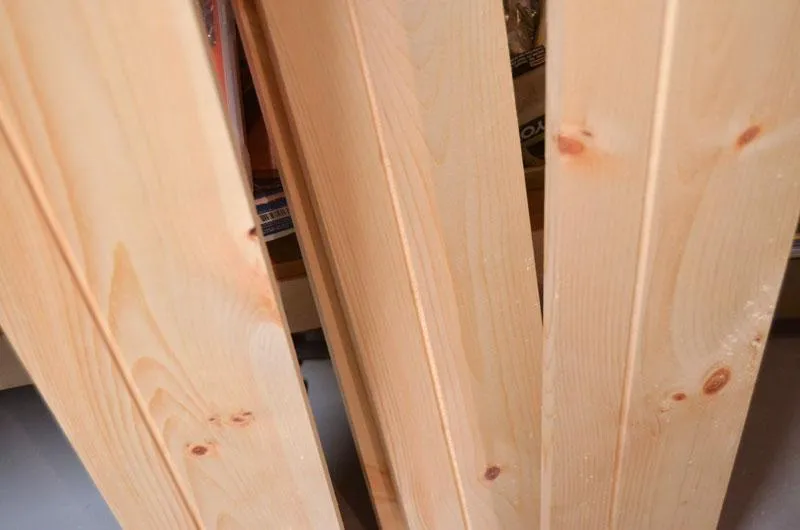
Cut a groove into apron pieces 2" from the edge with a router
3. Drill pocket holes
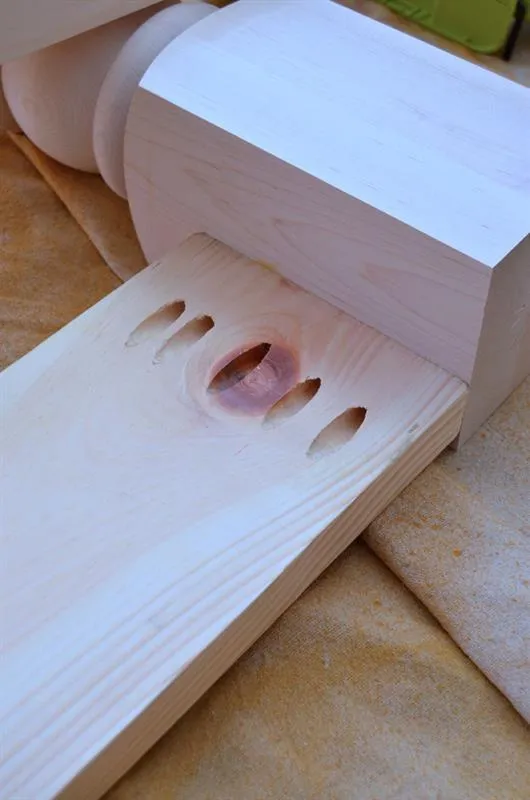
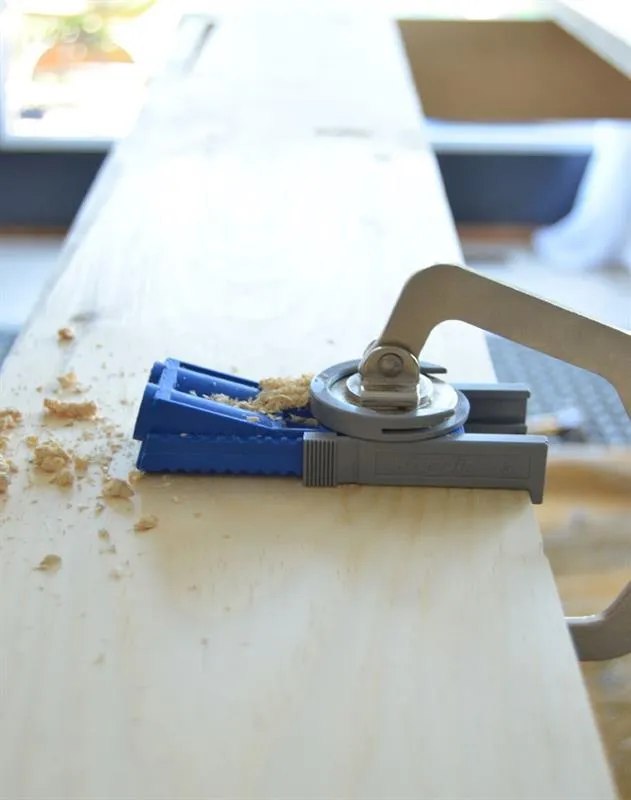
Use Kreg Jig to drill pocket holes at both ends of each apron piece.
4. Drill pocket holes
Drill pocket holes on the long edges of aprons. These will be for attaching the table top.
5. Assemble table frame
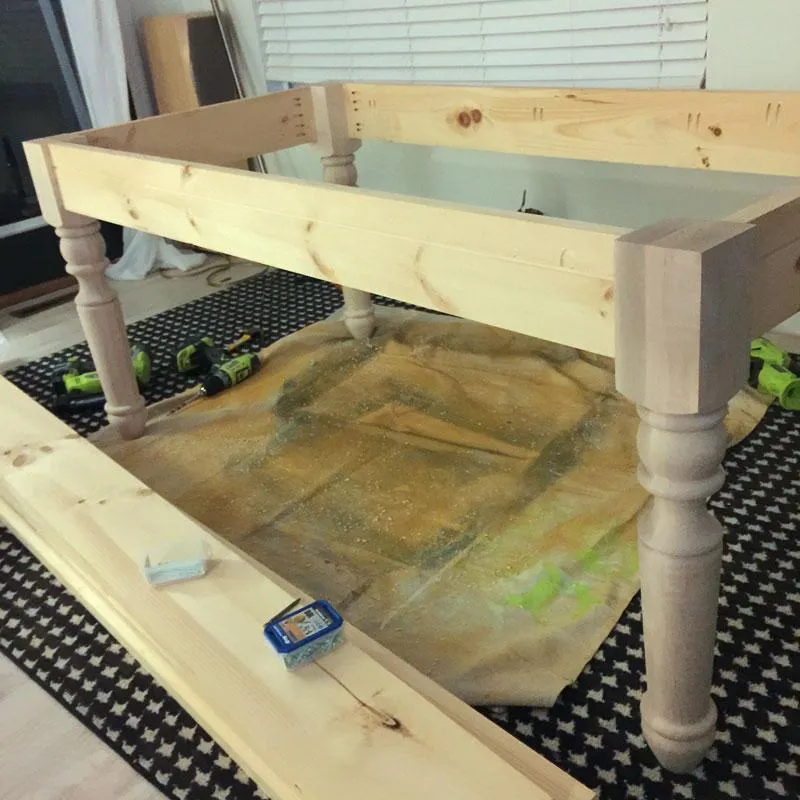
Using 2-1/2" pocket screws and wood glue, assemble the table frame.
6. Assemble table top
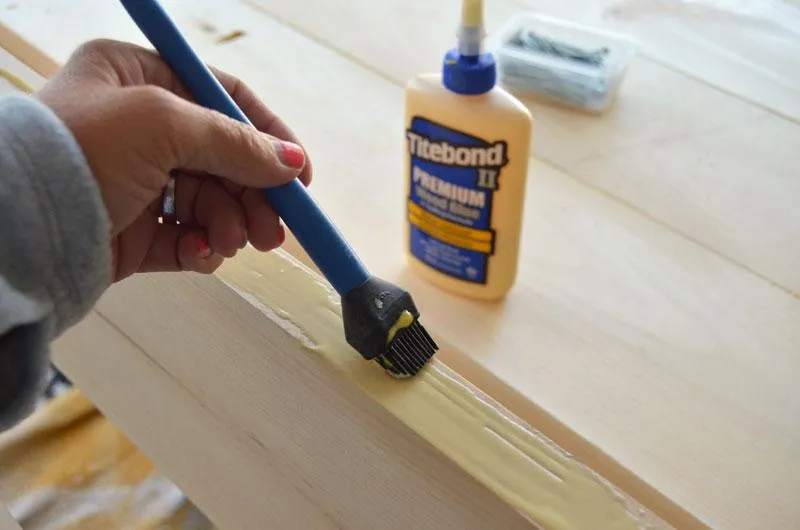
Use wood glue and pocket screws to make table top with the five 8" wide planks.
7. Sand and attach table top
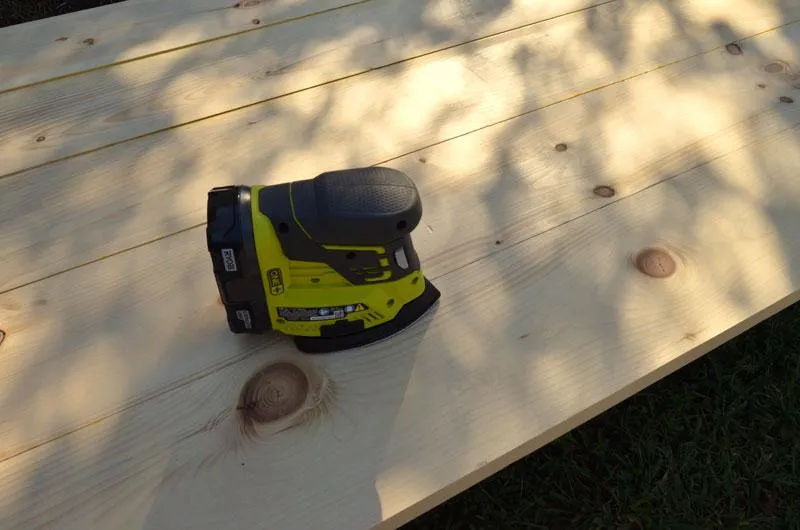
Use a belt sander or orbital sander to smooth table top. Attach table top to table from with wood glue and pocket screws.
8. Finish!
Paint or stain table as desired!