Notch
NotchUse your browser's Print (Ctrl/Cmd + P) and choose Save as PDF. This page works offline once you've opened it with a signal.
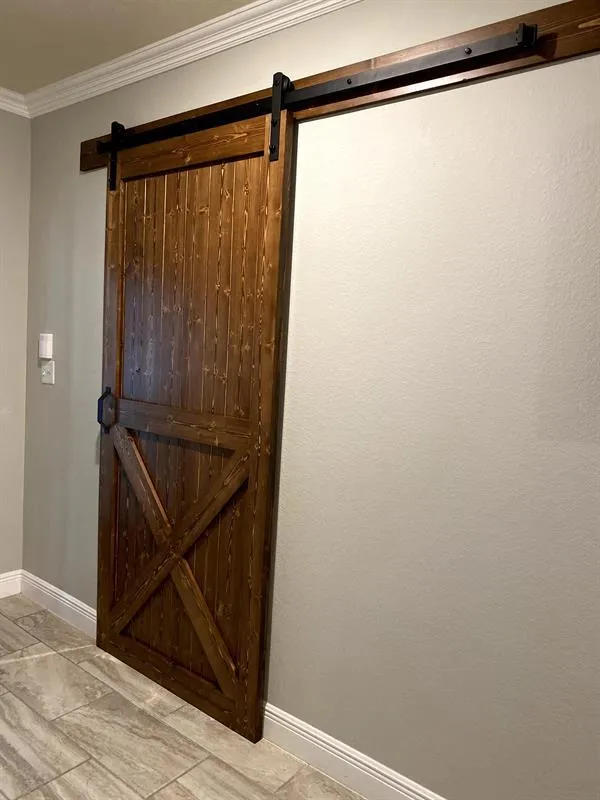
Farmhouse Barn Door
Replace your existing doors or add one in tight spaces!
- Difficulty
- Intermediate
- Time
- 5–9.5 hours
- Cost
- $$
Cut list
| Part | Qty | T × W × L | Material | ✓ |
|---|---|---|---|---|
| Stiles | 2 | 3/4" × 3 7/8" × 91" | — | ☐ |
| Rails | 3 | 3/4" × 5" × 34 1/4" | — | ☐ |
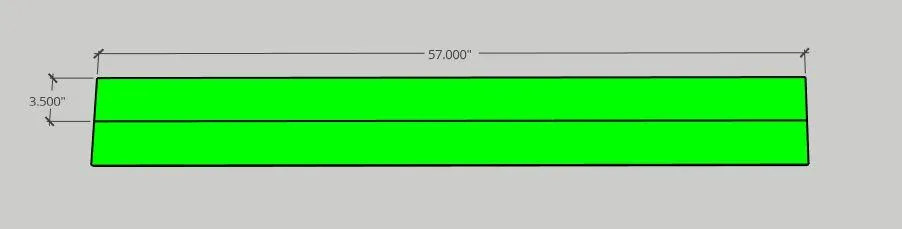
| "X" Pieces | 2 | 3/4" × 3 1/2" × 57" | — | ☐ |
| Panel Pieces | 8 | 3/4" × 5 1/2" × 91" | — | ☐ |
Materials
| Item | Qty | ✓ |
|---|---|---|
| Board, 1x6 96" | 10 board | ☐ |
| Board, 1x6 120" | 1 board | ☐ |
| Board, 1x4 120" | 1 board | ☐ |
| Smart Standard - Sliding Door Hardware | 1 each | ☐ |
| Door Pull | 1 each | ☐ |
Overall cost: $$. Lumber varies by region, species, and season, so we give a band rather than a figure.
Tools
- Brad Nailer
- Circular Saw
- Miter Saw
- Pocket Hole Jig
- Random Orbit Sander
- Table Saw
- Track Saw
- Bar / Pipe Clamps — optional
- Combination Square — optional
- Tape Measure — optional
Instructions
1. Determine Dimensions
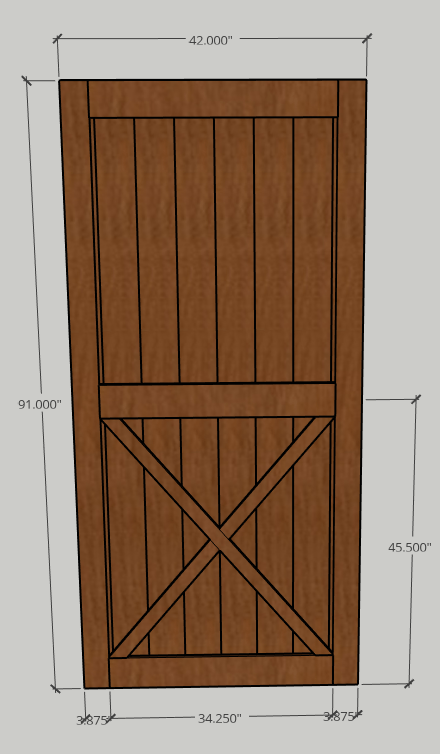
This door is quite big coming in at 42" wide by 91" tall. You can measure the dimensions of your door opening to customize these plans for your specific needs. I measured the inner opening to get my width and wanted to go a few inches above the top of the trim.
2. Design Door
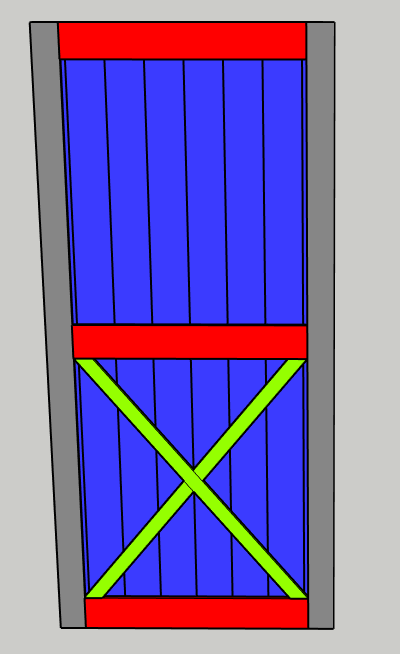
I used Sketchup to design my specific door. You can adjust the dimensions to suit your needs. I color coded the different components of the barn door to help me determine the different sizes. Note: I made my back panel wider than the face frame on purpose. This was because I went back and trimmed the sides to the desired with using a track saw. Keep this in mind if you don't have a track saw.
3. Cut Frame Rails and Stiles
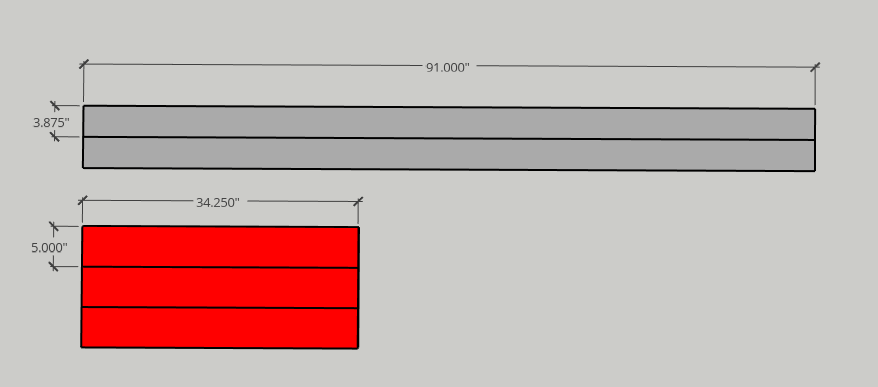
Use the cut list to cut your rails, stiles and "x" pieces. I used 1x6 pine lumber for all these components.
4. Cut "X" Pieces
Cut your "X" piece a little long just to make sure you have some play.
5. Assemble Back Panel
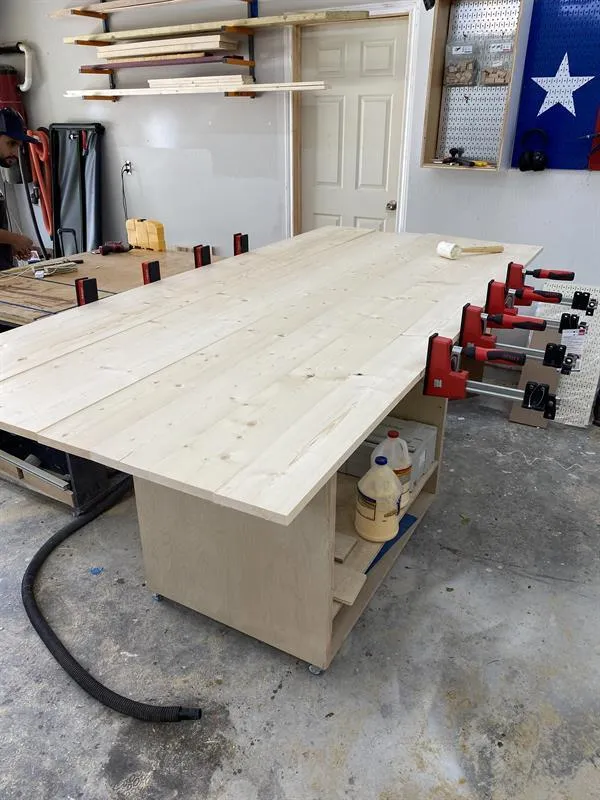
Cut your back panel boards to length and dry fit to check overall width and length.
6. Glue-Up Back Panel
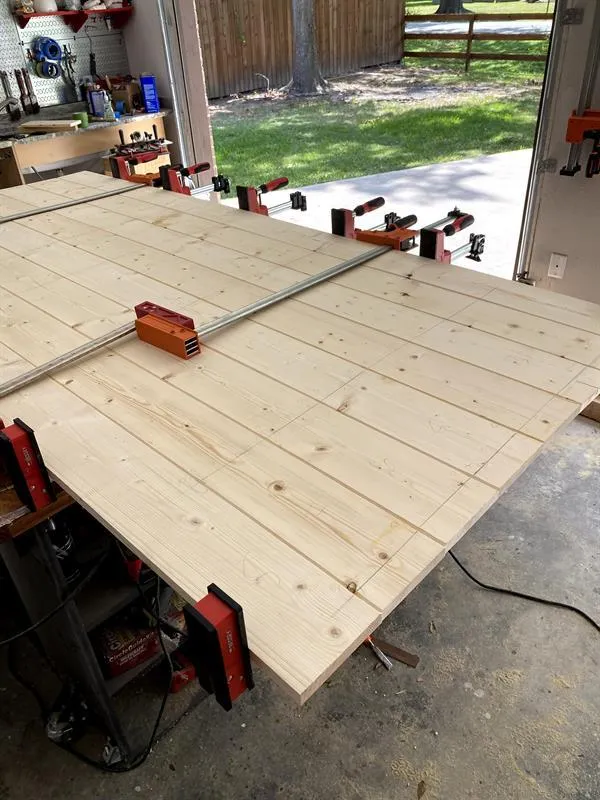
Using wood glue and clamps, assemble the back panel and let dry.
7. Assemble Face Frame
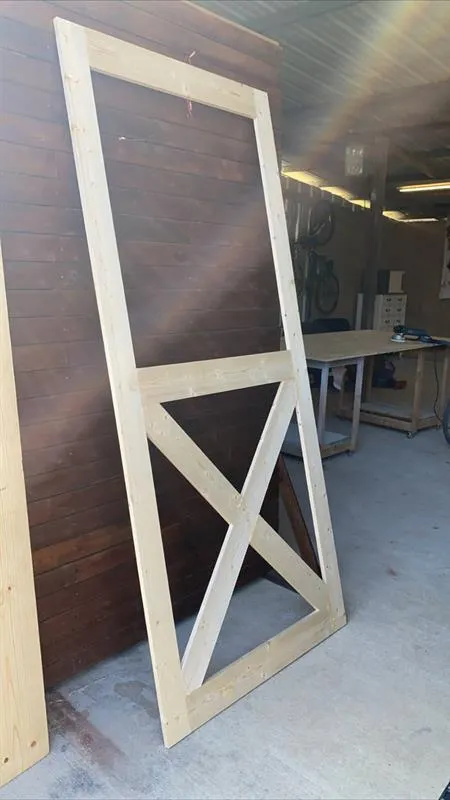
I used my Kreg Foreman to add pocket holes to the rails first. Using Kreg Clamps and 1-1/4" pocket hole screws, assemble the overall frame. You should have a fairly rigid face frame that can be worked on independently of the back panel.
8. Cut "X" Angles and Attach
- Mark off your angles on your "X" pieces and cut using a Miter Saw. Do some dry fitting to ensure you get good miter cuts.
- Repeat this process for the all inner angles to complete your X. Again, use the Kreg foremen to pocket hole the various areas that will be secured using pocket hole screws.
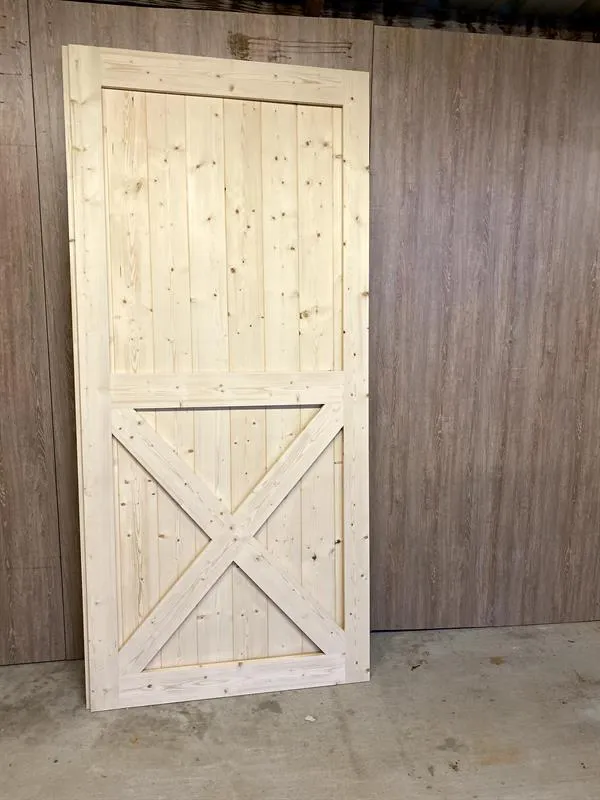
9. Sanding
I chose to sand the face frame and back panel separately to help make the process easier. I recommend sanding from 80 grit up to 220 grit.
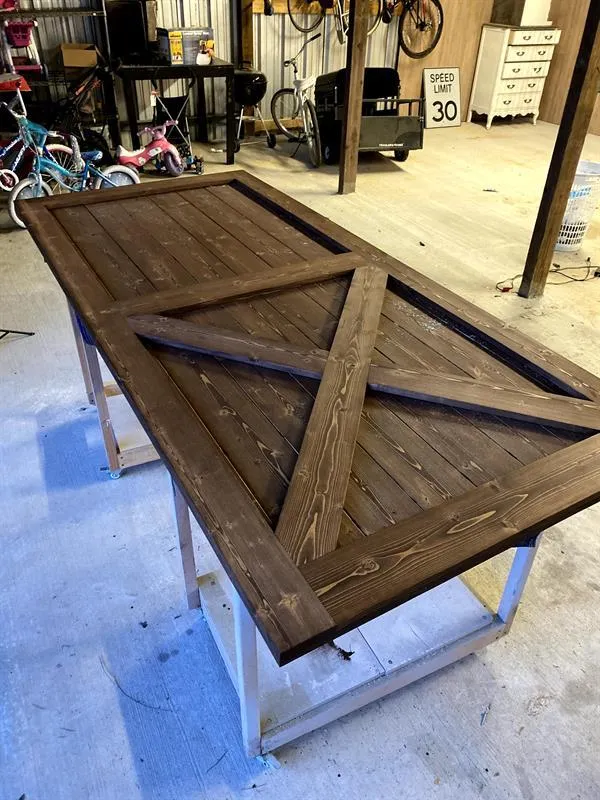
10. Staining
Once your face frame and back panel are sanded, you can proceed with your stain of choice. I used Dark Walnut by Varathane for this door. I highly recommend using pre-stain conditioner prior to applying stain.
11. Attach Face Frame
Use wood glue, clamps and a brad nailer to attach the face frame to the back panel. Make sure you wipe off any excess glue before it dries.
12. Square Up Door
Optional Step - I actually made my overall door slightly wider and taller than the finished dimensions. After assembly, I used my Makita Track Saw to square up all the outer edges. This is more of a suggestion but it helps getting perfect edges and a square door.
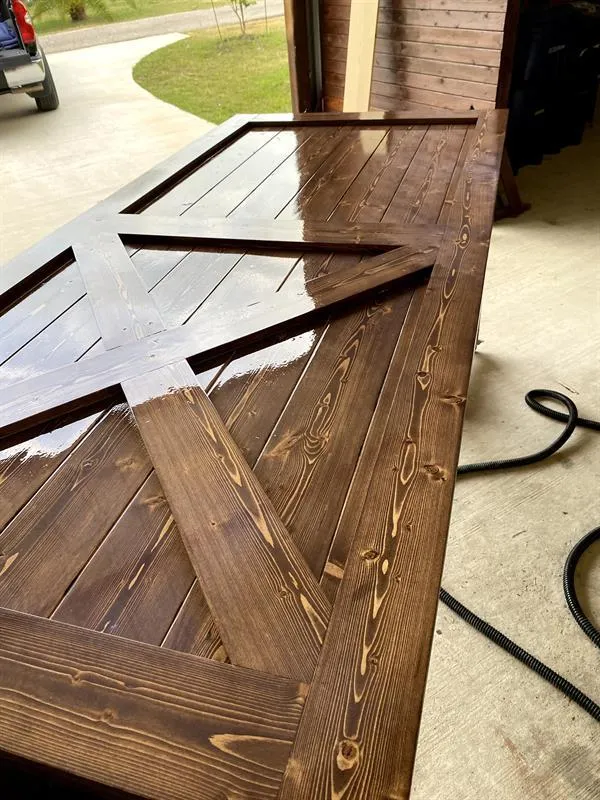
13. Apply Finish
After squaring and touching up edges, I applied Polycrilic clear coat to the front and back of the door. Let your finish dry and then you are ready to attach the sliding hardware.
14. Hang Door
There are a lot of sliding/barn door hardware options available. After you find one that you like, follow the instructions from the manufacturer to hang the door.