 Notch
NotchUse your browser's Print (Ctrl/Cmd + P) and choose Save as PDF. This page works offline once you've opened it with a signal.
Family Sign
Growing up, my grandparents had a sign on the gate at the end of their driveway that identified their property.
- Difficulty
- Intermediate
- Time
- 2.8–5 hours
- Cost
- $
Cut list
| Part | Qty | T × W × L | Material | ✓ |
|---|---|---|---|---|
| Sign | 1 | 3/4" × 5" × 24" | — | ☐ |
Materials
| Item | Qty | ✓ |
|---|---|---|
| Oak project board, 3/4" Thick 36" | 1 board | ☐ |
| Stain | 1 each | ☐ |
| Paint | 1 each | ☐ |
| Clear coat | 1 each | ☐ |
Overall cost: $. Lumber varies by region, species, and season, so we give a band rather than a figure.
Tools
- Miter Saw
- Random Orbit Sander
- Router
- Tape Measure — optional
Instructions
1. Cut lumber to size
To complete this step, I laid out the signmaking template across my board to see how long the name was, in this case "Alexanders" wound up being 24.5". I marked it off, then cut my 36" project board to length.
2. Rout the letters
- First off, I set up the template. The box shows the template guides attached with blue painter's tape on the top and bottom, but I found my router edge catches on the tape this way. What works better is double sided carpet tape, strategically placed on the first and last guides, and on some of the single-pass letters that I know aren't going to be moving during the routing process.
- Once the templates were secured, I used my router (with guide bushing adaptor) to rout the shapes of the letters in the template. After the first pass, I swapped out the two stage letters and finished the letters.
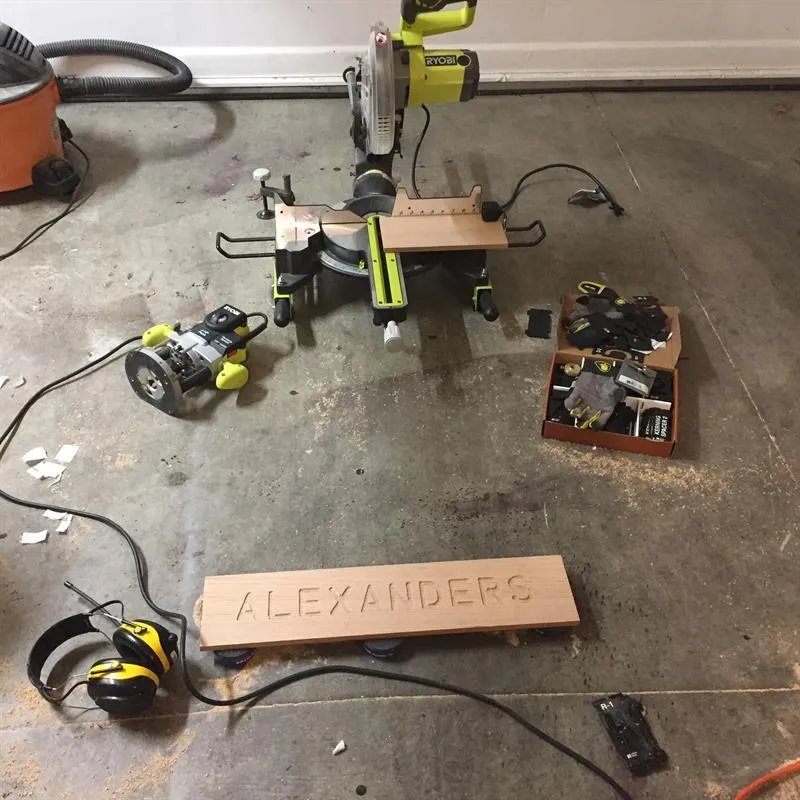
3. Rout the edge
To give it a more finished look, I also hit the edges of the board with a decorative roman ogee router bit. It helped the piece look more complete.
4. Sand the piece
Once the letters were there, I sanded everything to smooth it out. I started with a lower grit sandpaper and worked up to 400 grit to give it a superfine finish.
5. Stain the sign
I hit this project with a golden mahogany varthane--I liked how it warmed up the piece and made the grain stand out.
6. Paint the piece
Once the stain dried, my wife did some hand painted elements on the sign, including filling in the letters to make them pop more against the wood.
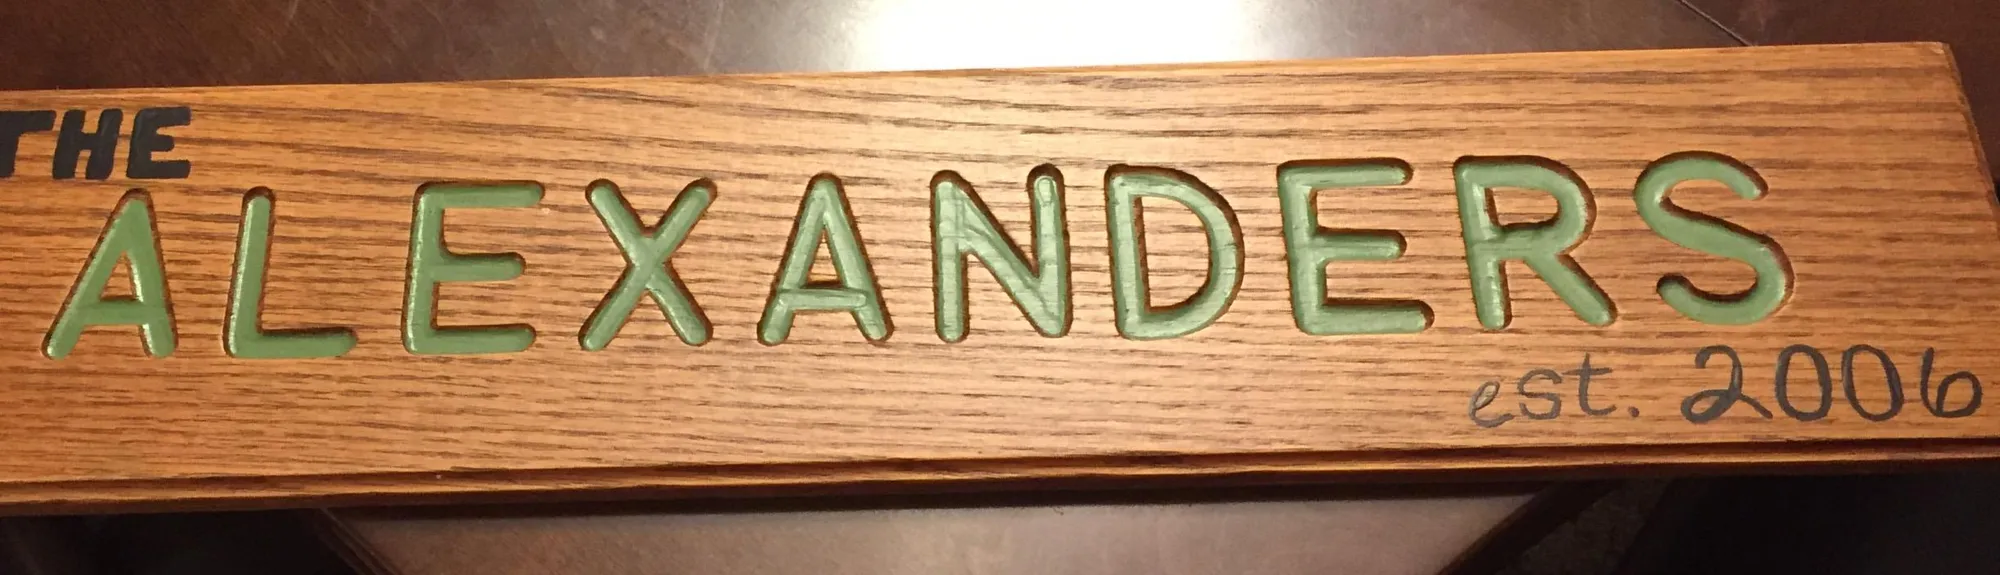
7. Apply clearcoat
Finally, I went over the finished product with an acrylic clearcoat to finish off the project and protect the finishes.