Notch
NotchUse your browser's Print (Ctrl/Cmd + P) and choose Save as PDF. This page works offline once you've opened it with a signal.
Entry Table
This is a quick easy way to add low key legs to a wooden slab to create a one of a kind entry table.
- Difficulty
- Easy
- Time
- 3.8–7 hours
- Cost
- $$
Cut list
| Part | Qty | T × W × L | Material | ✓ |
|---|---|---|---|---|
| Legs | 4 | 2" × 4" × 28 1/2" | — | ☐ |
| Braces | 4 | 2" × 4" × 9" | — | ☐ |
| Table Top | 1 | 2" × 12" × 48" | — | ☐ |
Materials
| Item | Qty | ✓ |
|---|---|---|
| Board, 2x4 96" | 1 board | ☐ |
| Monkeypod Slab, Choose Table Top Size 48" | 1 board | ☐ |
| 1.25" Kreg Screws | 16 each | ☐ |
| 220 Sandpaper | 3 each | ☐ |
| Paint (color of choice) | 1 each | ☐ |
| 2" Countersunk Screws | 8 each | ☐ |
Overall cost: $$. Lumber varies by region, species, and season, so we give a band rather than a figure.
Tools
- Drill / Driver
- Pocket Hole Jig
- Random Orbit Sander
- Table Saw
- Bar / Pipe Clamps — optional
- Combination Square — optional
- Tape Measure — optional
Instructions
1. Cut Legs
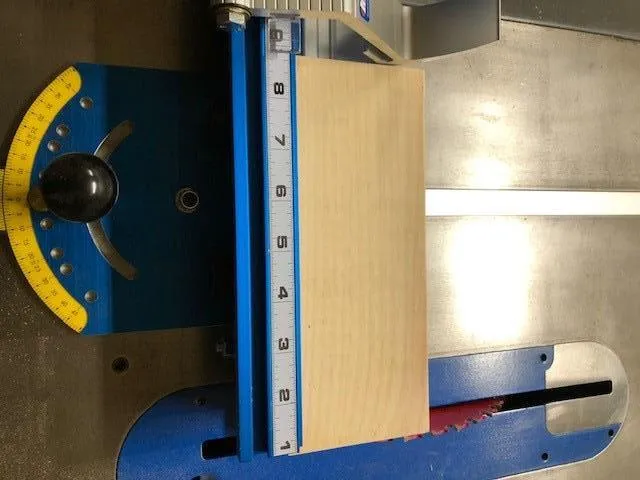
Cut your (4) 2x4 legs to 28.5 inches. You will need to ensure they are perfectly square cuts for seamless jointing later. Picture for reference on how to cut your boards square. Here we used Kregs Precision Miter Guage.
2. Cut Leg Braces
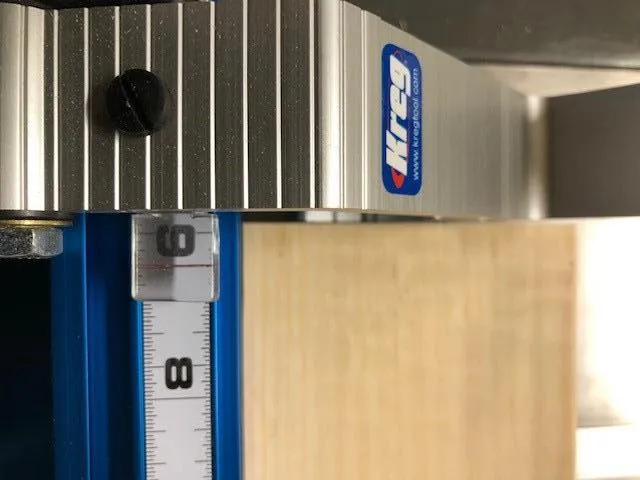
Here you will cut (4) 2x4 braces at 9 inches each. Again make sure your cuts are perfectly square for seamless jointing with the legs.
3. Adjust Your Kreg Jig Pocket System
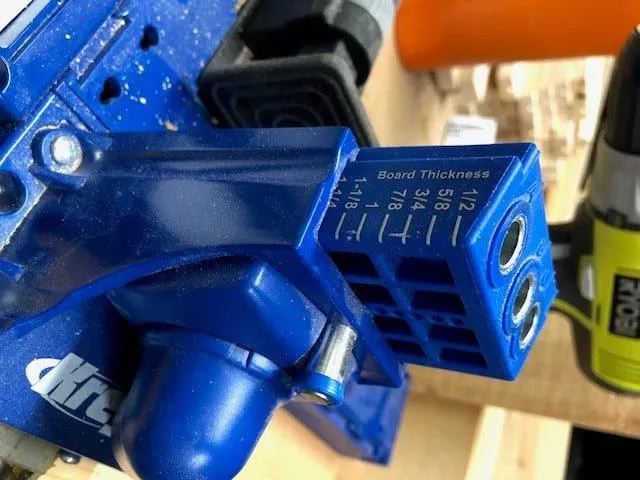
You will set your board thickness on your Pocket Hole system to your board thickness. Ours here was 1.25 inches thick.
4. Drill Your Holes
Then drill 2 holes on each side of your 9 inch brace. Each brace should have 4 holes.
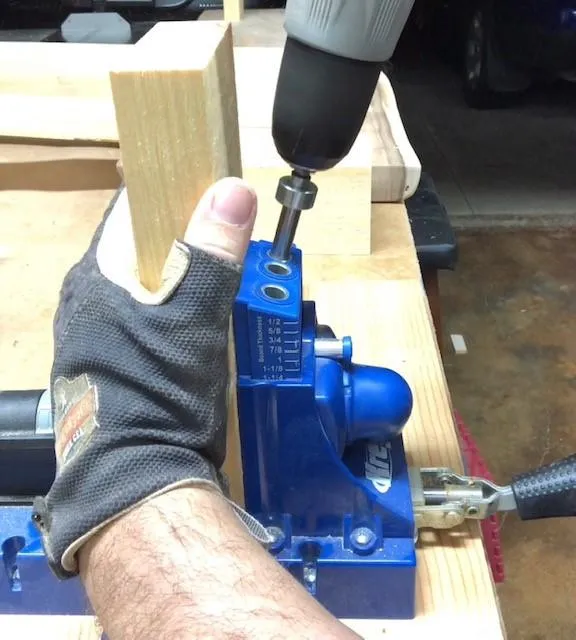
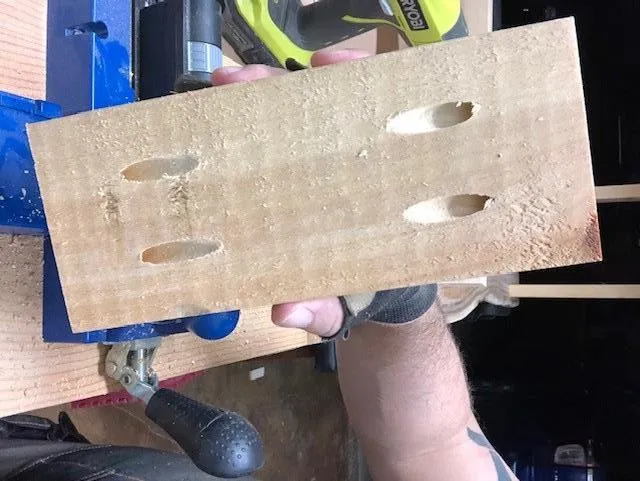
5. Verify Your Holes are Centered
Here your holes should be as close to even as possible. A great tip here is to mark the center of your board and then center that between the drill guides.
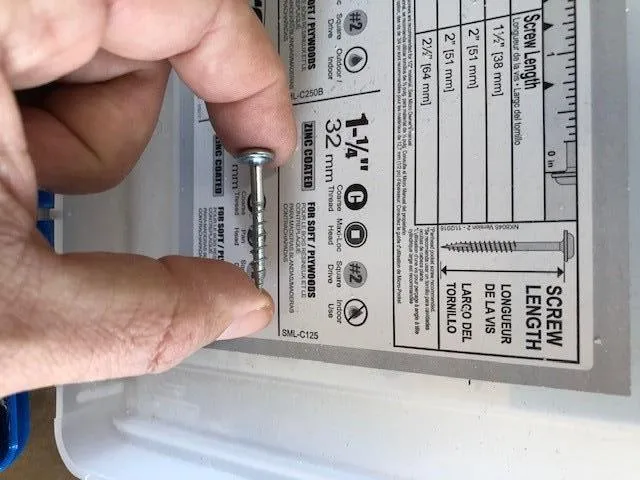
6. Get Your Screws
Since ours was 1.25 inches wide, that is the length of screws we used. Kreg has a great system inside the lid of their screw case as seen here.
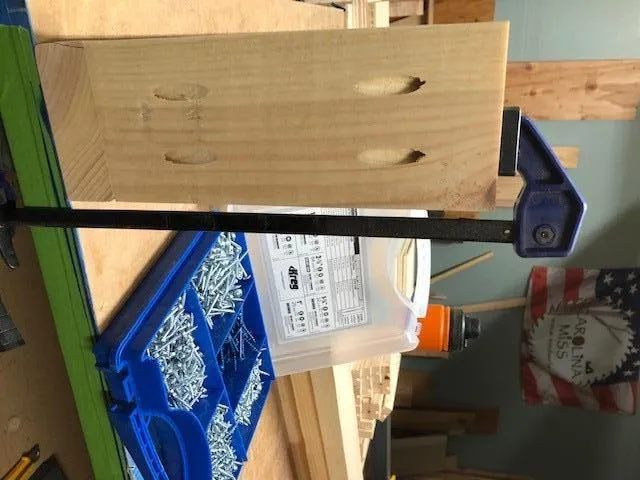
7. Clamp Your Brace to the Leg
- Now you are ready for assembly.
- Clamp your brace to your leg. Ensure your brace sits flush with all 3 edges of the leg as shown.
8. Verify Squareness
Here we use a speed square to verify we are completely square. Then add in your first 2 Kreg Screws. Ensuring you are square here will save you headaches later.
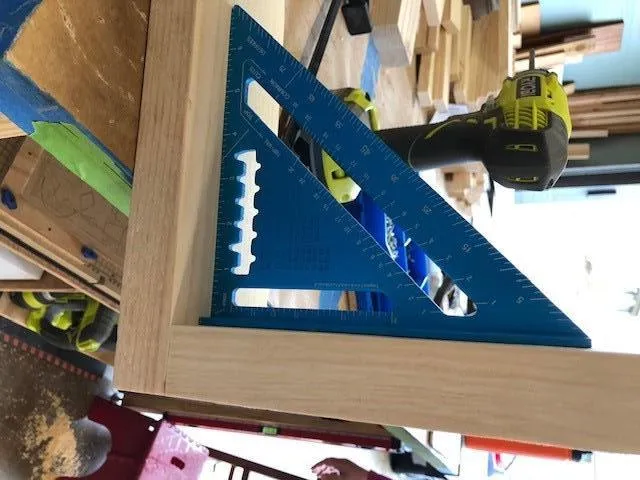
9. Add in Remaining Screws
Using the previous method of clamping and squaring, add in the remaining screws.
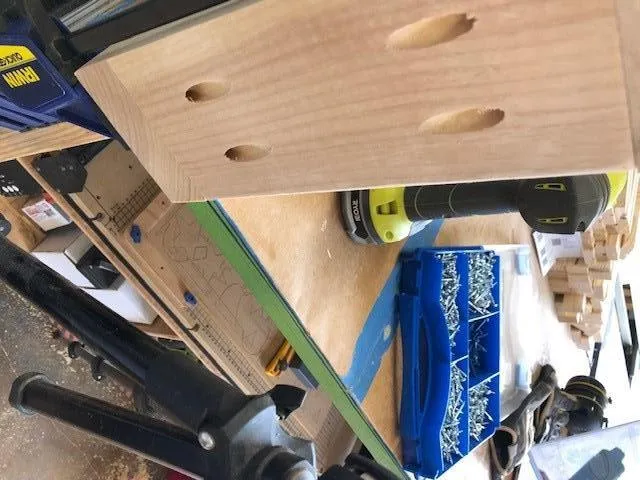
10. Sand all Pieces
Here is where you sand your pieces to your desired smoothness.
11. Attach Legs to Table Top
We used (4) 2" screws in each leg in a staggered pattern. The staggered pattern allows for weight distribution.
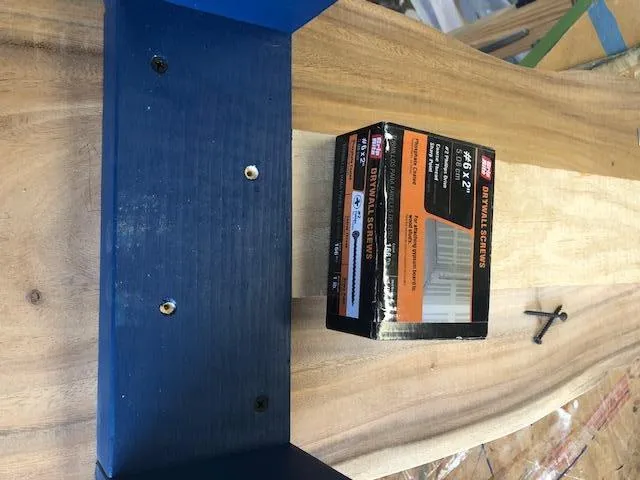
12. Countersink Holes for Table Top
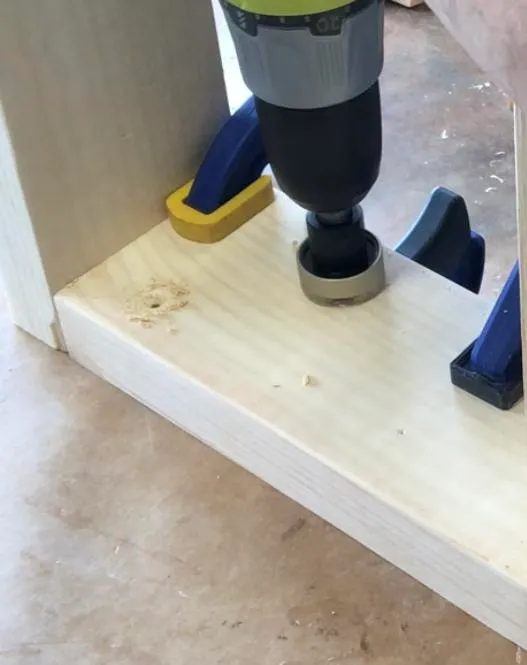
During this step, you can either use bottom head screws or countersunk screws. If you wish to use countsunk screws, you will need a tool as shown. It is a universal countersink. Countersink the holes just deep enough to allow the head of the screw to sit flush.