Notch
NotchUse your browser's Print (Ctrl/Cmd + P) and choose Save as PDF. This page works offline once you've opened it with a signal.
Easy TV Frame
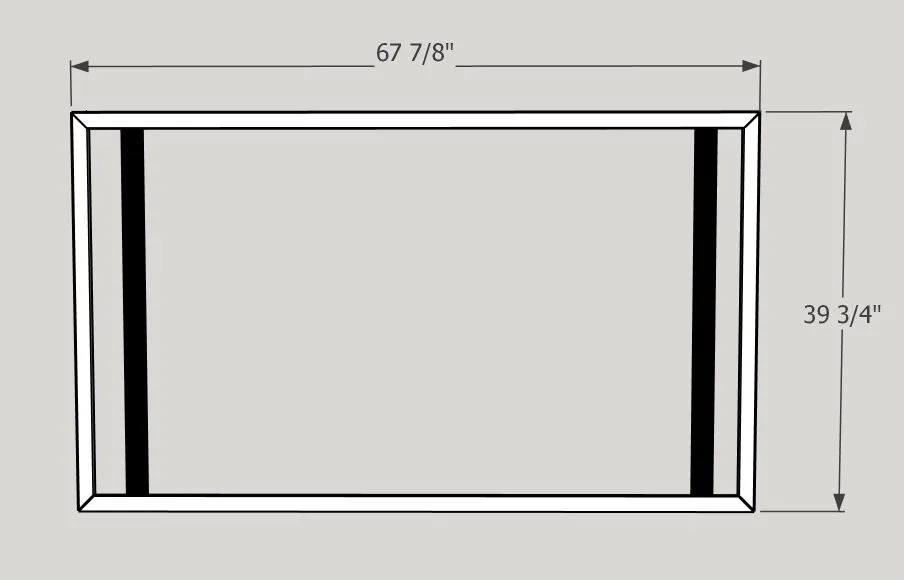
This easy tv frame is perfect for the beginner DIYer who is comfortable with a table saw.
- Difficulty
- Easy
- Time
- 2.3–4.3 hours
- Cost
- $$
Cut list
| Part | Qty | T × W × L | Material | ✓ |
|---|---|---|---|---|
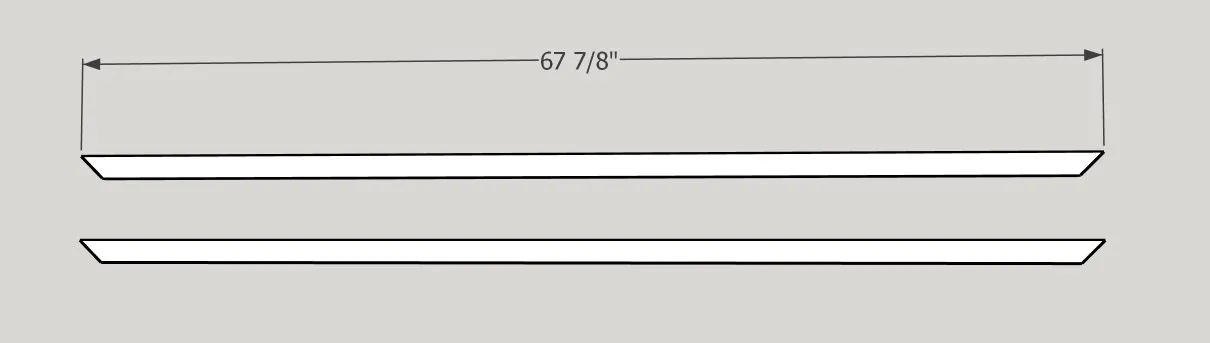
| Top & Bottom, mitered on both ends | 2 | 3/4" × 1 1/2" × 67" | — | ☐ |
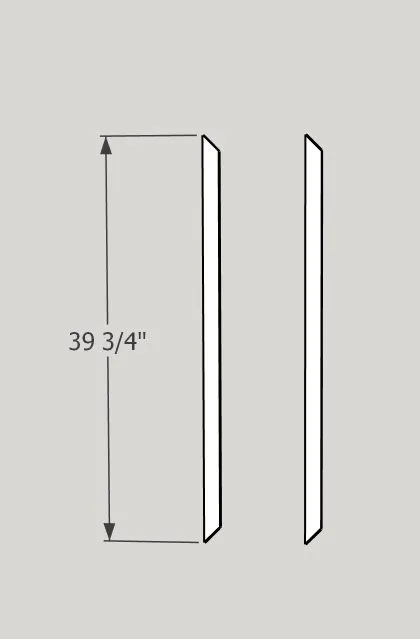
| Sides, mitered on both ends | 2 | 3/4" × 1 1/2" × 39" | — | ☐ |
Materials
| Item | Qty | ✓ |
|---|---|---|
| Trim pieces, .75" x 1.5" x 96" | 4 board | ☐ |
| Kreg Pocket screws 1 1/4" | 25 each | ☐ |
| Wood glue | 1 each | ☐ |
| Stain/paint | 1 each | ☐ |
| Elastic | 1 each | ☐ |
| Heavy duty staples | 25 each | ☐ |
Overall cost: $$. Lumber varies by region, species, and season, so we give a band rather than a figure.
Tools
- Chisels
- Drill / Driver
- Hammer
- Miter Saw
- Pocket Hole Jig
- Staple Gun
- Table Saw
- Bar / Pipe Clamps — optional
Instructions
1. 1
Cut the top and bottom pieces to size. Make sure to miter both sides as shown in the picture.
2. 2
Cut the sides of the frame to size. Make sure to miter both sides as shown in the picture.
3. 3
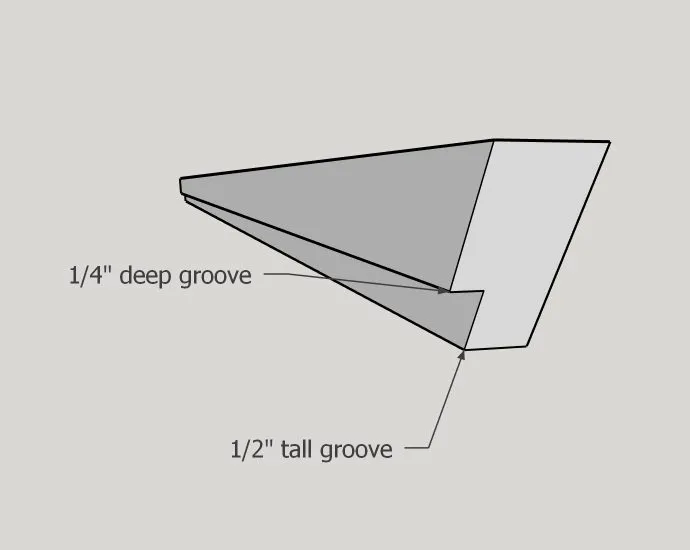
Cut the grooves on the backside, bottom of the trim as shown in the picture. Go slowly when cutting it on the table saw. Use a push block to keep your hands safe.
4. 4
If your tv has a sensor, this is when you will want to cut out a groove for it to rest in. It doesn't have to be perfect! Just make your marks, and use a chisel and a hammer to carefully remove the wood until the sensor fits. Also make sure to check at this point that your remote works with the tv frame on.
5. 5
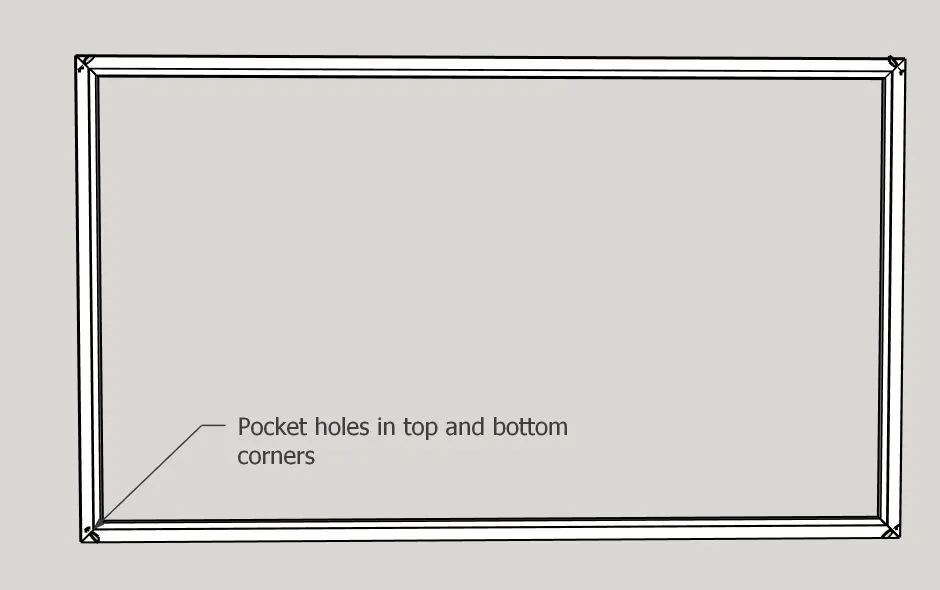
Drill one pocket hole on both ends of the top and bottom pieces as shown in the picture. Using wood glue and 1 1/4" pocket screws, screw the frame together. The Kreg clamps make it easy to hold the miters flush while screwing them together.
6. 6
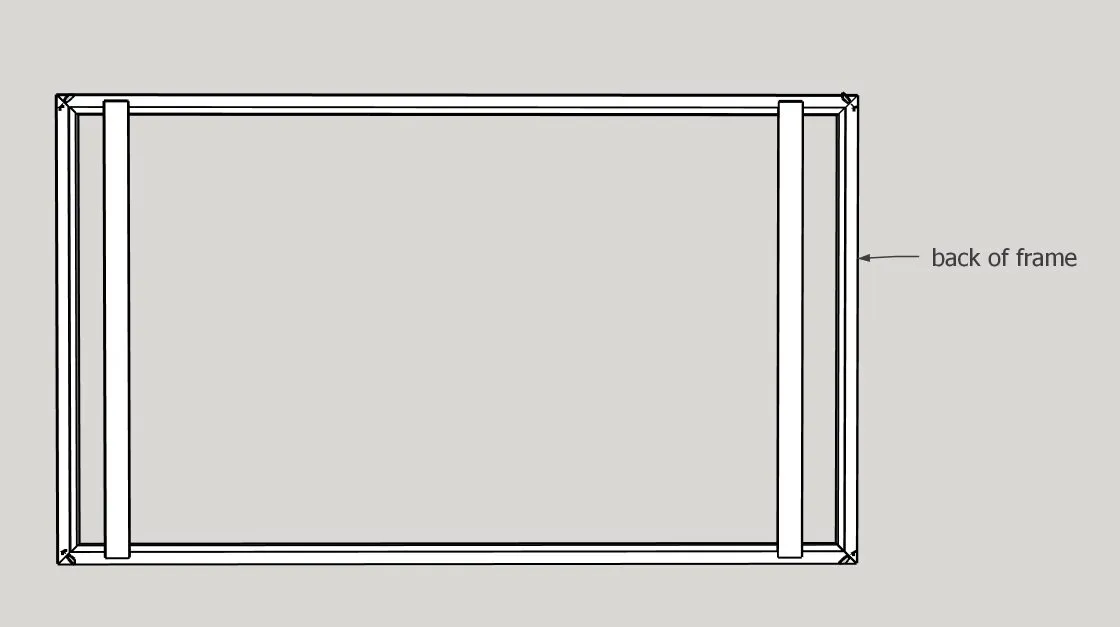
Staple the elastic to the back of the frame on each side. Make sure the elastic is slightly tight.
7. 7
Paint or stain and you built a tv frame!