Notch
NotchEasy Advent Calendar House
Step-by-step build — 14 steps. Also available as a print sheet.
1Cut Board
Cut a 1 x 8 board to 11" in length.
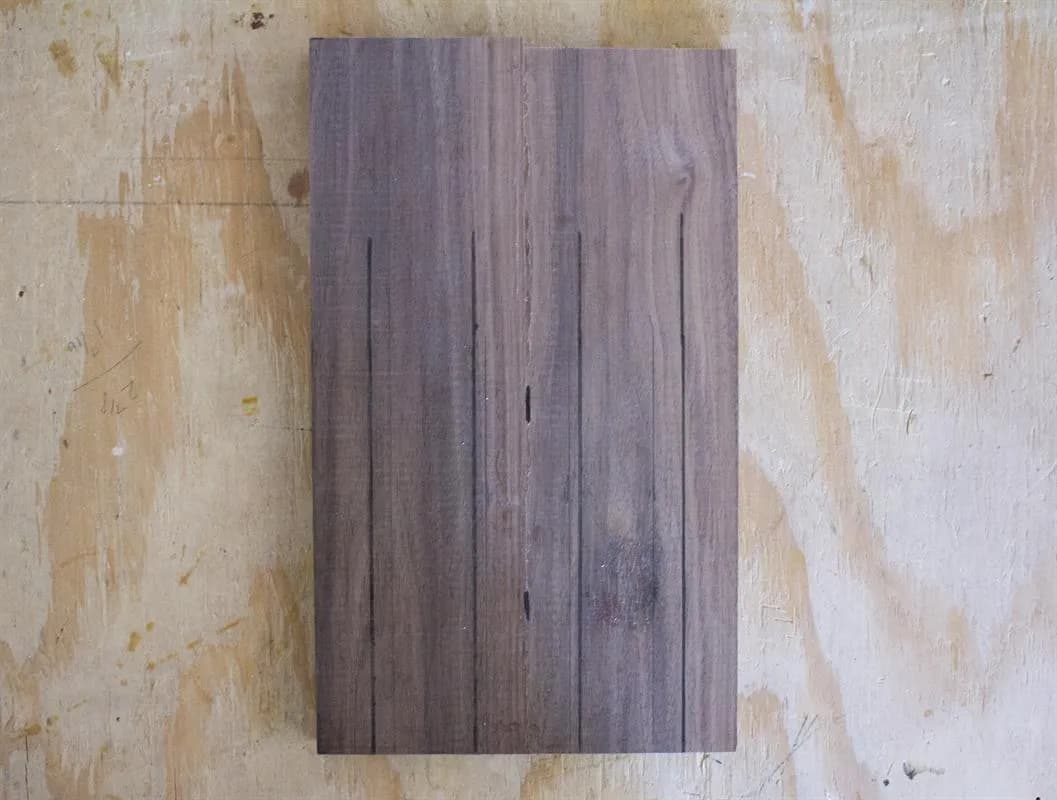
2Layout Grid
Divide the width of the board, creating 4 evenly spaced, vertical lines.
3Align Jig
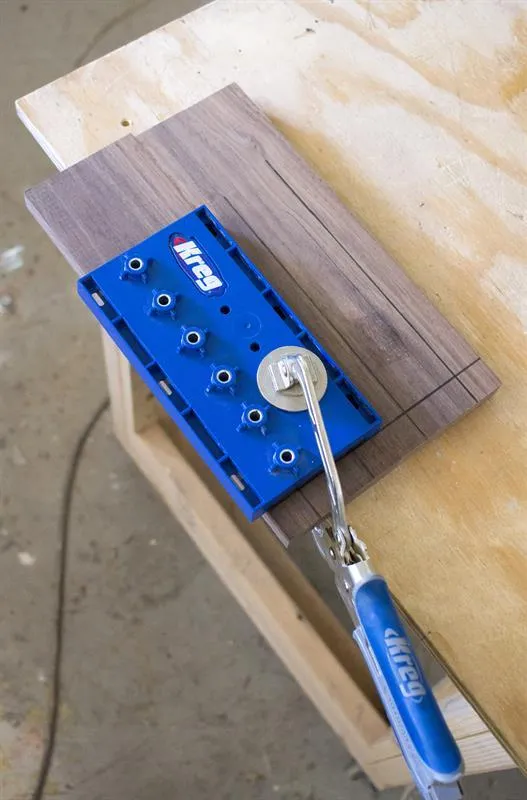
Align a Kreg Shelf Pin Jig so the holes are centered on each vertical line. Use a 3" Wood Project clamp to hold the board and jig securely to your work surface.
4Drill Holes
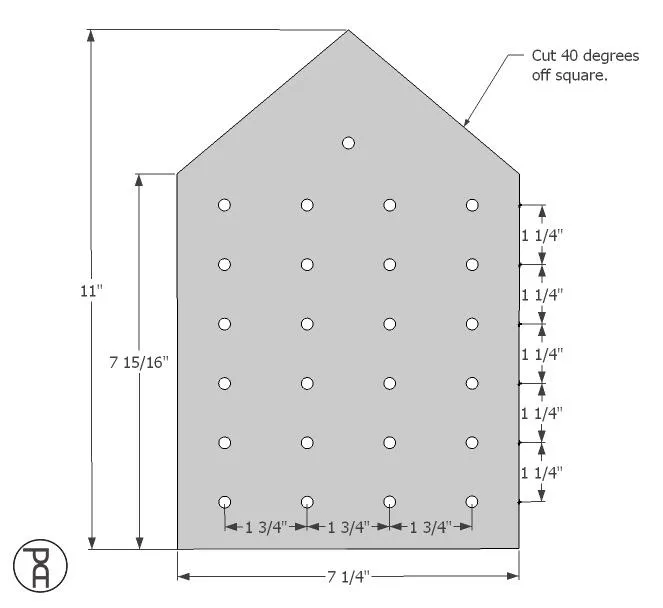
Set a depth-stop collar on a 1/4" drill bit. Using the Kreg Shelf Pin Jig, drill six, 1/2" deep holes, vertically along each of the lines drawn. Create a total of 24 holes.

5Add Top Hole
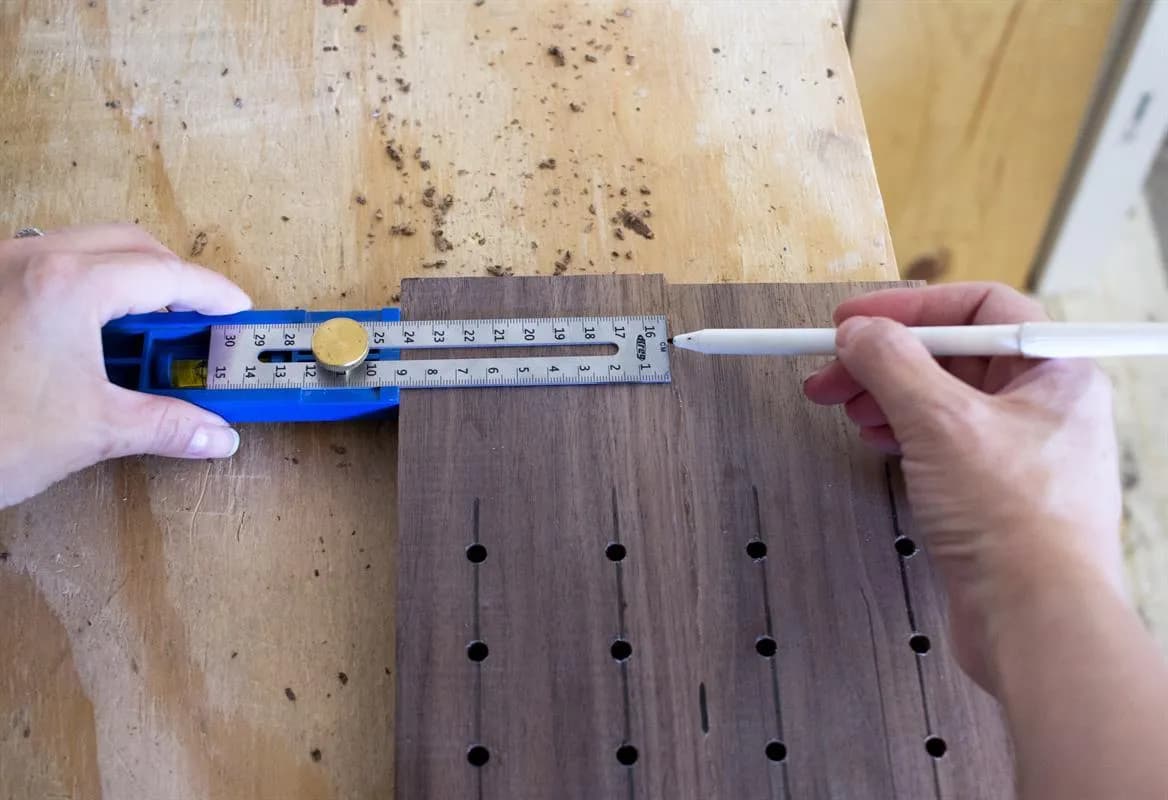
- Use a Multi-Mark™ multi-purpose measuring tool to find the vertical center, of the board.
- Measure 1-5/16" from the top row of holes.
- Drill a 1/4" x 12" hole (creating 25 holes in total).
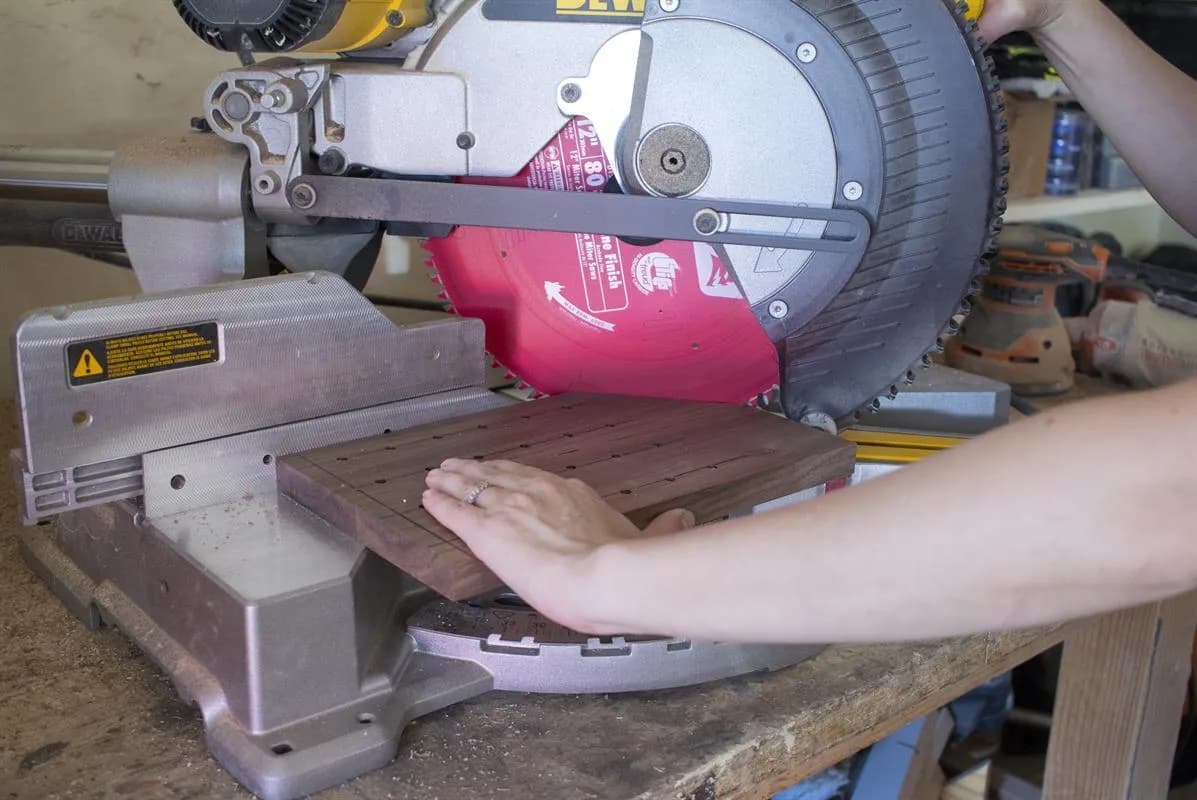
6Cut Angled Roof
Use a miter saw to cut an angled roof line. Cut each side of the angle, 40 degrees off of square.
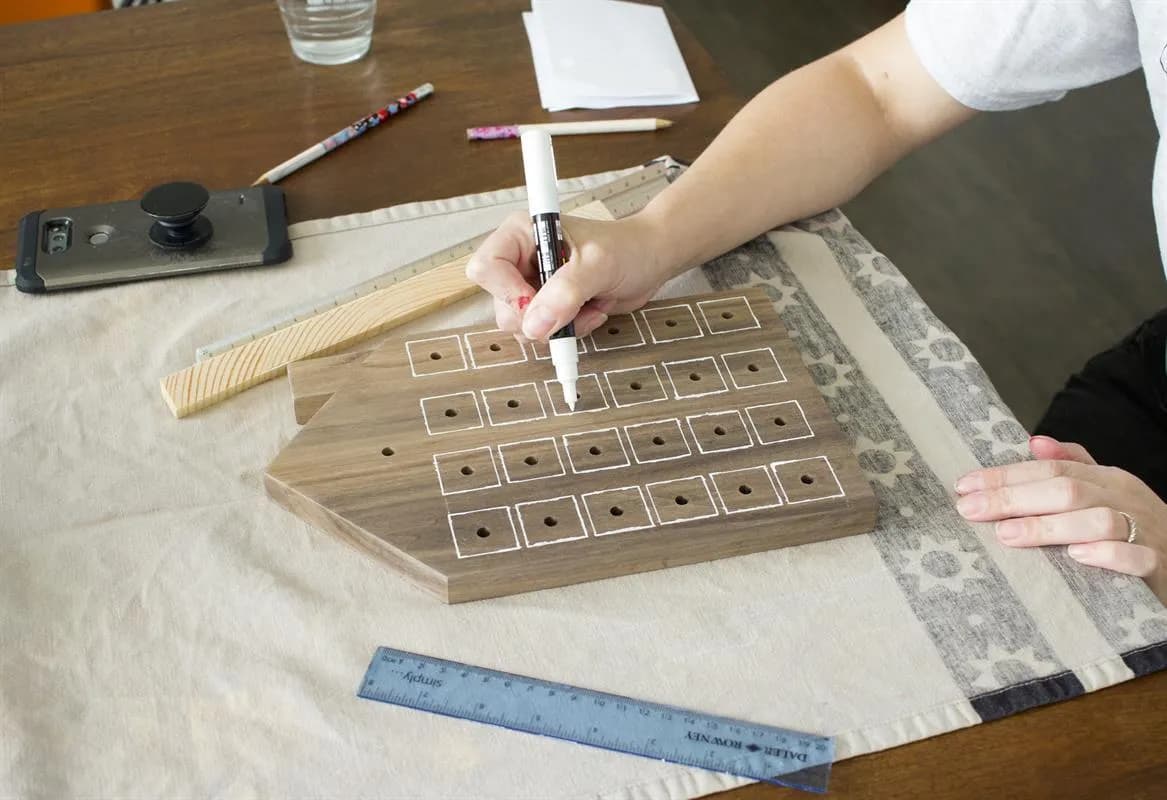
7Draw Windows
Use a ruler and narrow paint pen to draw windows around each hole and create a straight roof line.
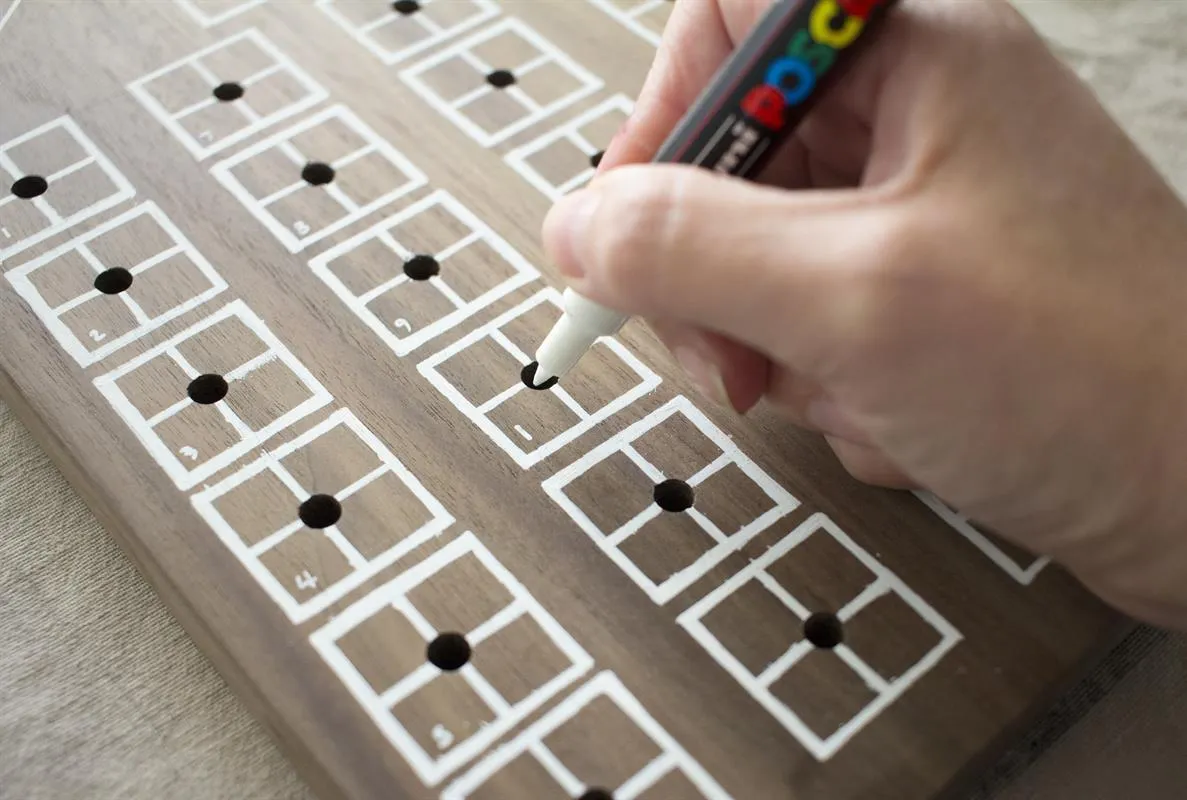
8Add Numbers
Write a small number (1-25) in the lower corner of each window.
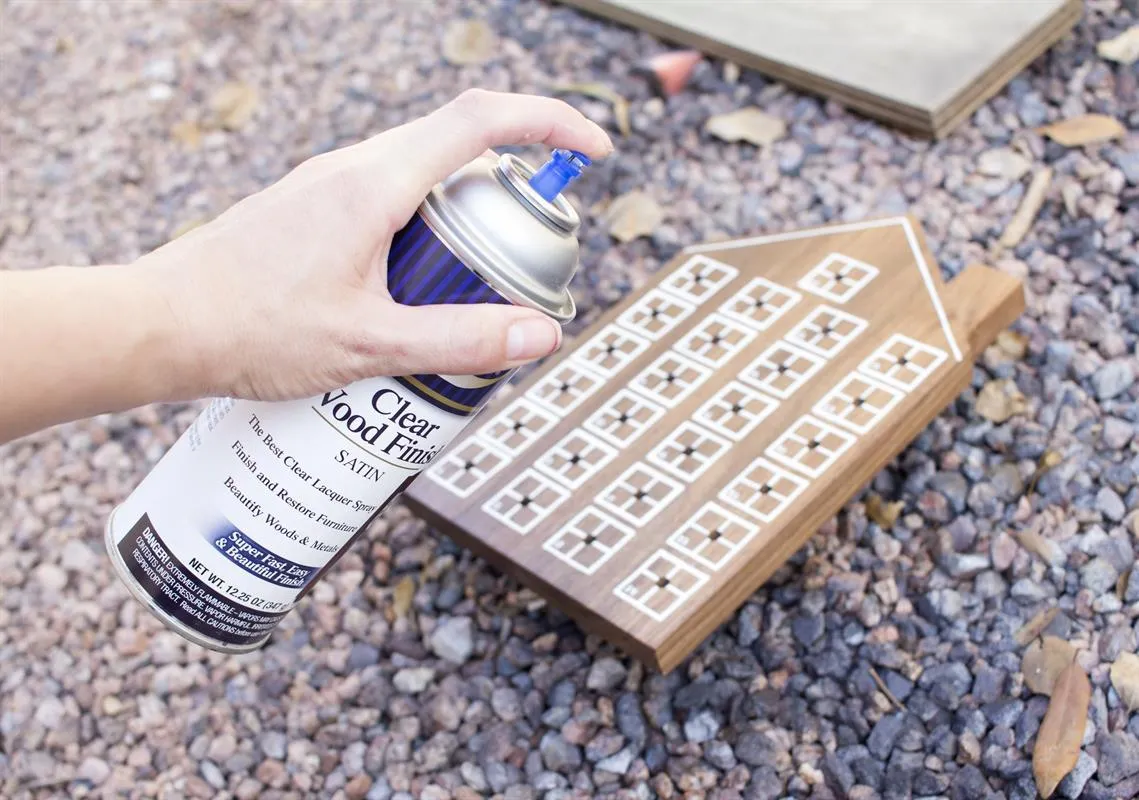
9Clear Coat
Apply 2-3 coats of a clear finish to protect your design.
10Sawtooth Hanger
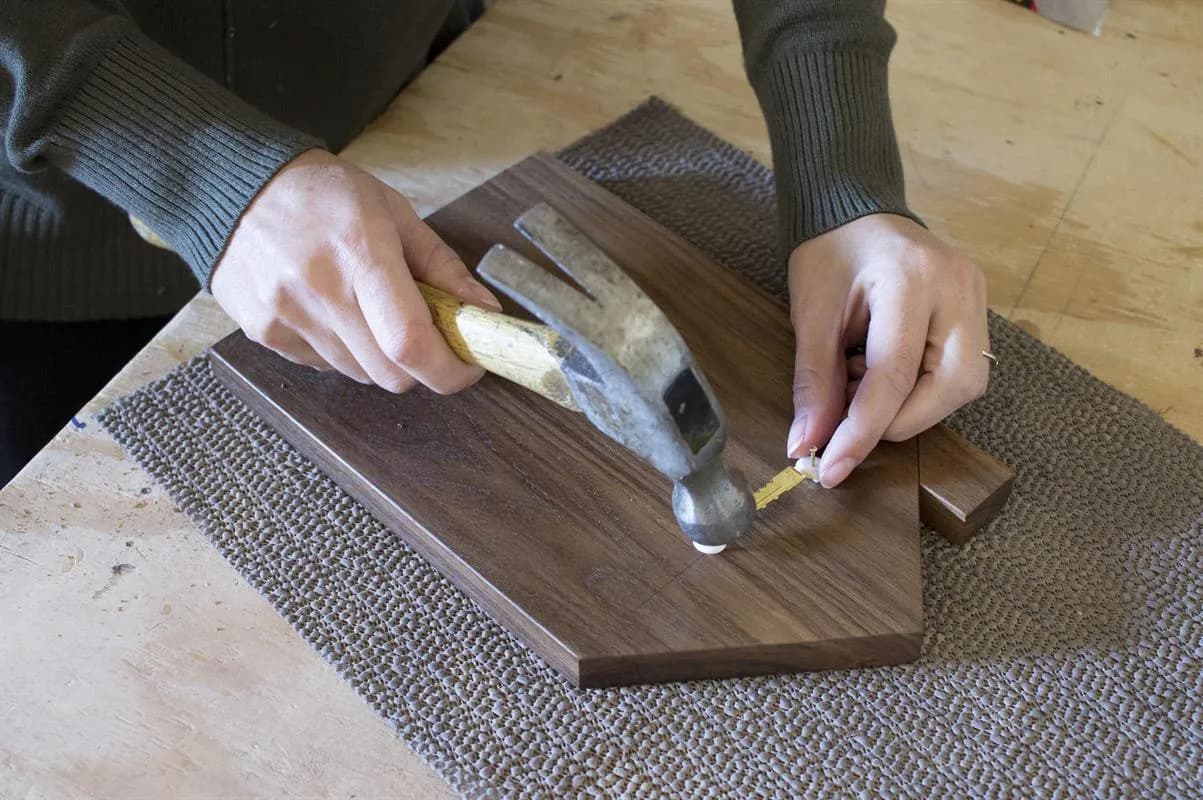
Once dry, flip the board over, face-down onto your work surface. Carefully attach a sawtooth hanger to give yourself the option to hang the calendar on the wall.
11Create Pin
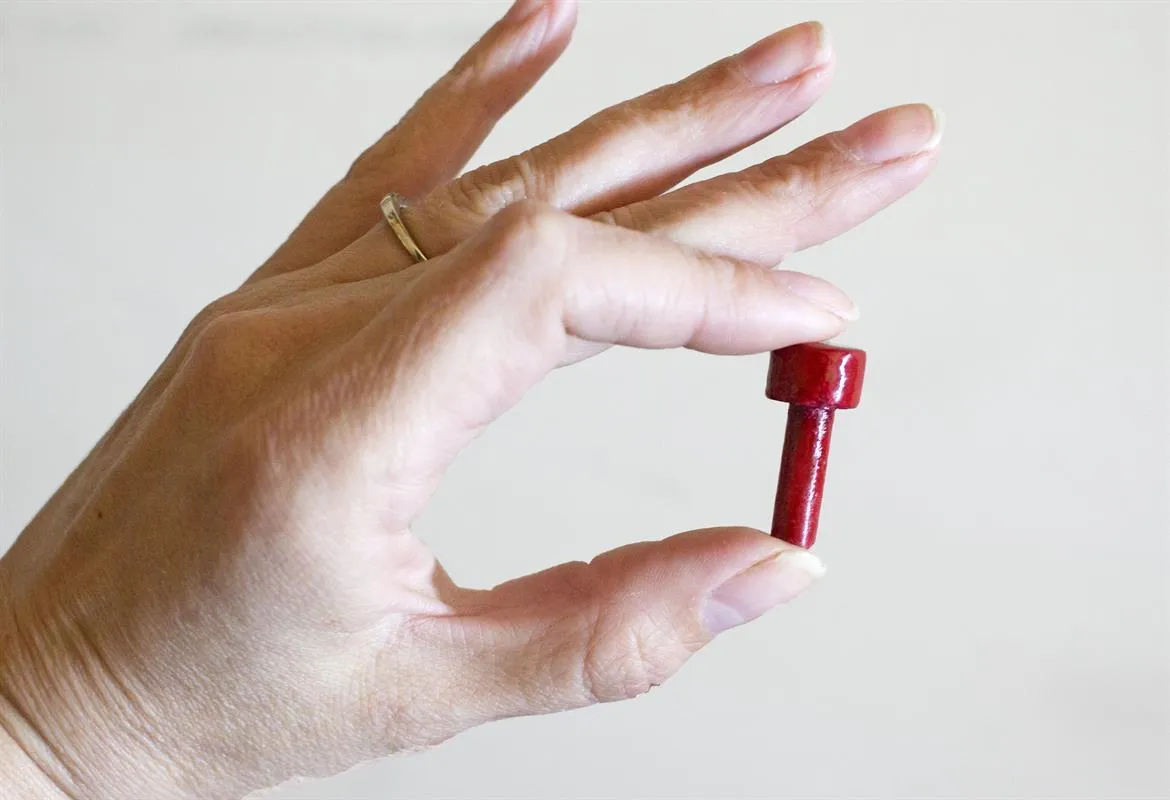
- Cut a 1" length of 1/4" round wood dowel. To make the pin easier to pull, glue a 1/2" length of 1/2" round wood dowel (or whatever shape you prefer) to the end of the 1/4" dowel.
- Paint or finish however you'd like.
12Add Chimney
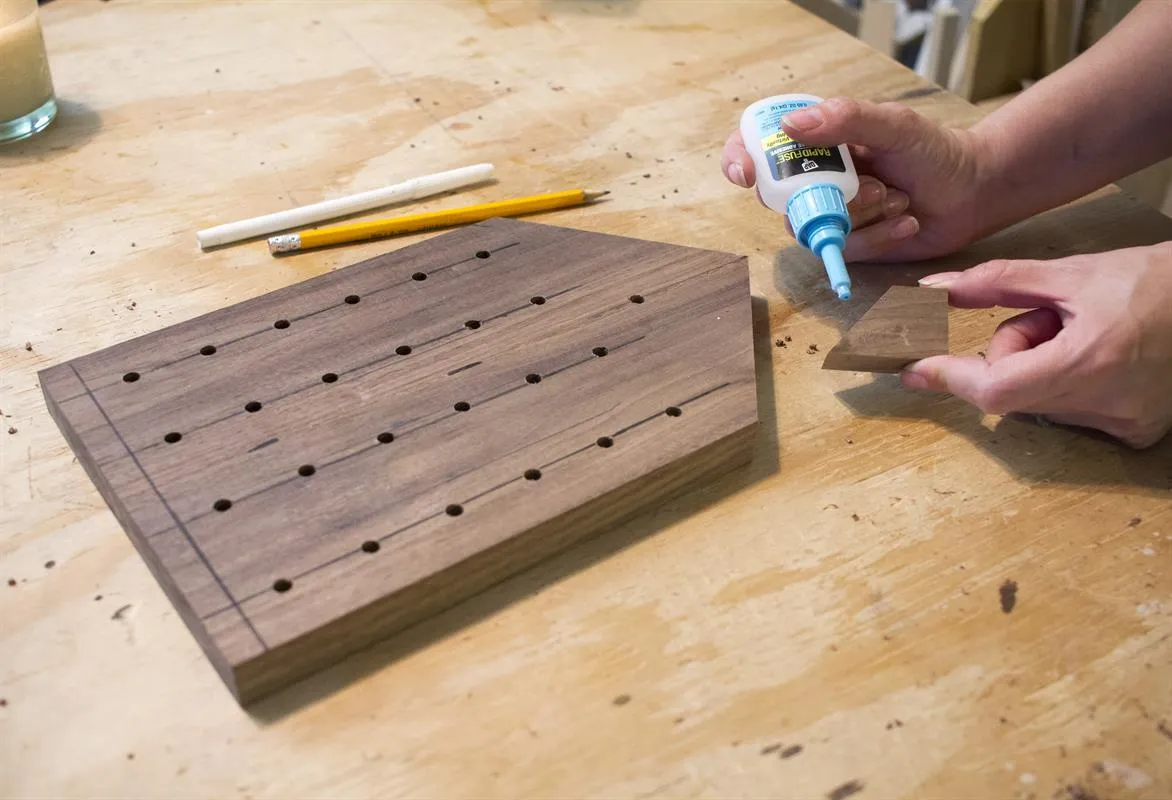
Carefully, cut a 1" x 1-1/2" x 3/4" chimney from the scraps created when the roof was angled. (When cutting such a small piece of material, make sure to secure the material to a sacrificial board and keep your fingers a safe distance from the saw blade). Attach the chimney to the roof of the board, using a fast setting glue.
13Start the Countdown
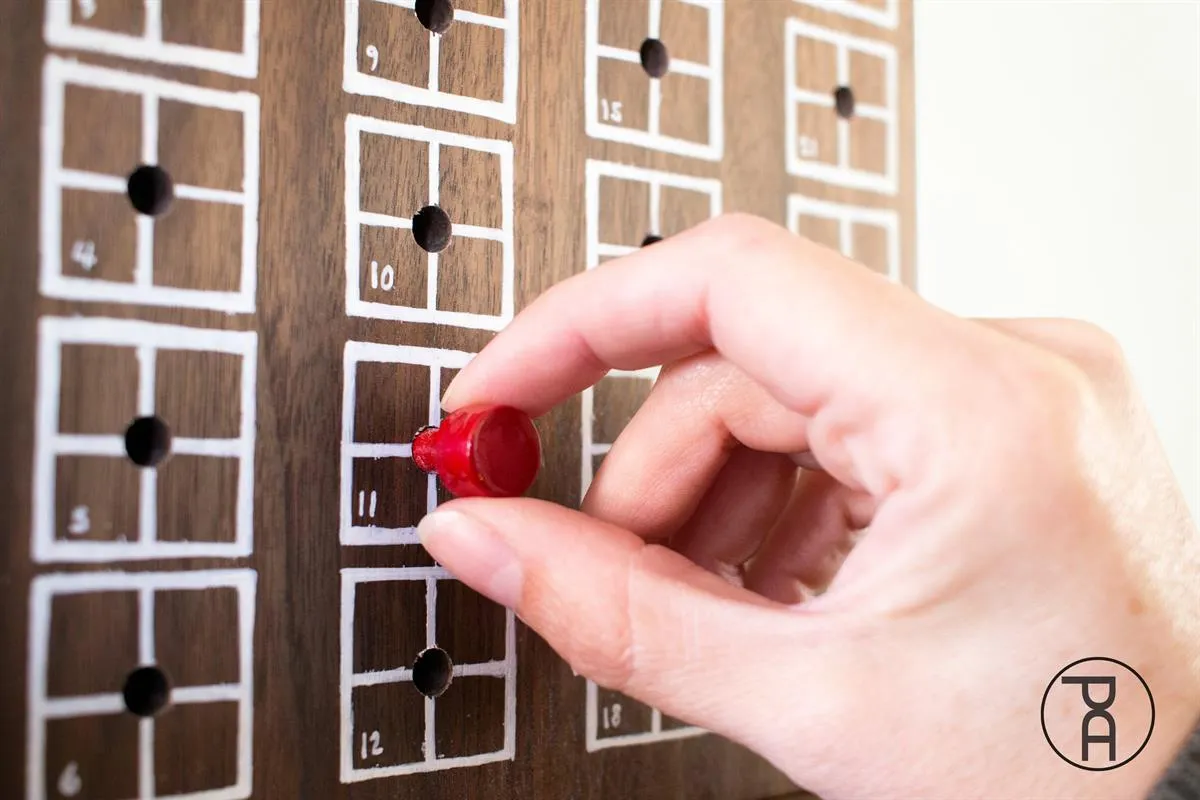
Starting on the 1st of December, place the pin in the corresponding date on the calendar.
14More Tips and Ideas
Head to www.PneumaticAddict.com for more DIY tips and ideas.