 Notch
Notch- Difficulty
- Easy
- Time
- 4.3–8.3 hours
- Cost
- $$
About this build
Project No. 5 of our “12 Projects Of Christmas” series continues with this adorable dress up rack that any princess or superhero would love! Keep all of your children’s costumes and dress up attire organized with our easy to build dress up rack plan that fits beautifully into any room in your home.
Tools
Essential
- Brad Nailer
- Circular Saw
- Drill / Driver
- Jigsaw
- Miter Saw
- Pocket Hole Jig
Optional / nice to have
- Bar / Pipe Clamps
- Tape Measure
Materials
| Item | Qty |
|---|---|
| Board, 1x3 96" | 1 board |
| Board, 1x12 48" | 1 board |
| Board, 1x12 96" | 1 board |
| Wooden Dowel Rod, 1-1/4" 48" | 1 board |
| Kreg Screws - 1-1/4" | 1 each |
| Brad Nails - 1-1/2" | 1 each |
| Decorative Furniture Legs | 4 each |
| Closet Rod End Cap (Package of 2 pieces) | 1 each |
Overall cost: $$. Lumber prices vary by region, species, and season, so we give a band rather than a figure we would only be pretending to know.
Cut list
| Part | Qty | T × W × L |
|---|---|---|
| Bottom Piece | 1 | 1" × 3" × 12" |
| Ends Of Rack | 2 | 1" × 3" × 12" |
| Sides Of Rack | 2 | 1" × 12" × 37 9/16" |
| Trim For Ends | 2 | 1" × 3" × 12 13/16" |
| Trim For Sides | 2 | 1" × 3" × 39 1/8" |
What to buy
Buy 3 boards at 8 ft.
1" × 12"
1 board
1" × 3"
2 boards
Assumes 8 ft stock, a 1/8" saw kerf, and buying each part at its own width. Change the board size or kerf on the full board plan →
Instructions
1Step 1:
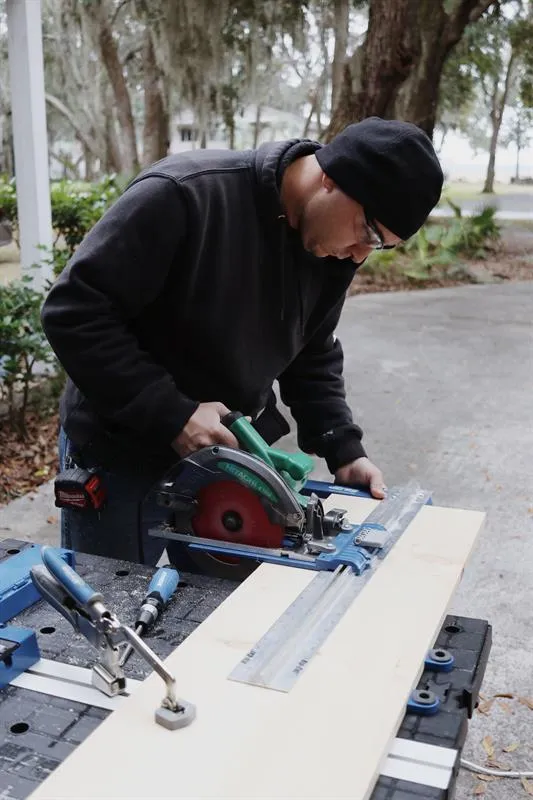
Cut your 1" x 12" x 4' board down to: (1) at 3' - this will be the bottom of your dress up rack. Cut your 1" x 12" x 8' boards down to: (2) at 3' - these will be the ends (2) at 37-9/16" - these will be the sides Cut your 1" x 3" x 8' board down to: (2) at 12-13/16" - this will be the trim for the ends (2) at 39-1/8" - this will be the trim for the sides Cut your 1-1/4" dowel to 35"
2Step 2:
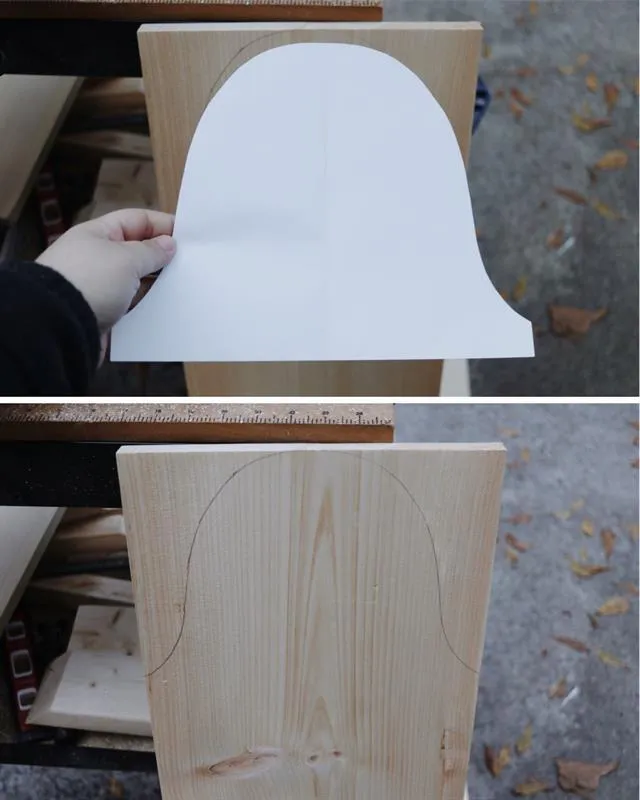
Draw out and trace the curves on the end boards of your dress up rack. I did this by taking a standard paper plate, placing it on printer paper cut to the width of my board, then traced around the top curve of the plate and drew a slight curve outward until I ran off of the paper.
3Step 3:
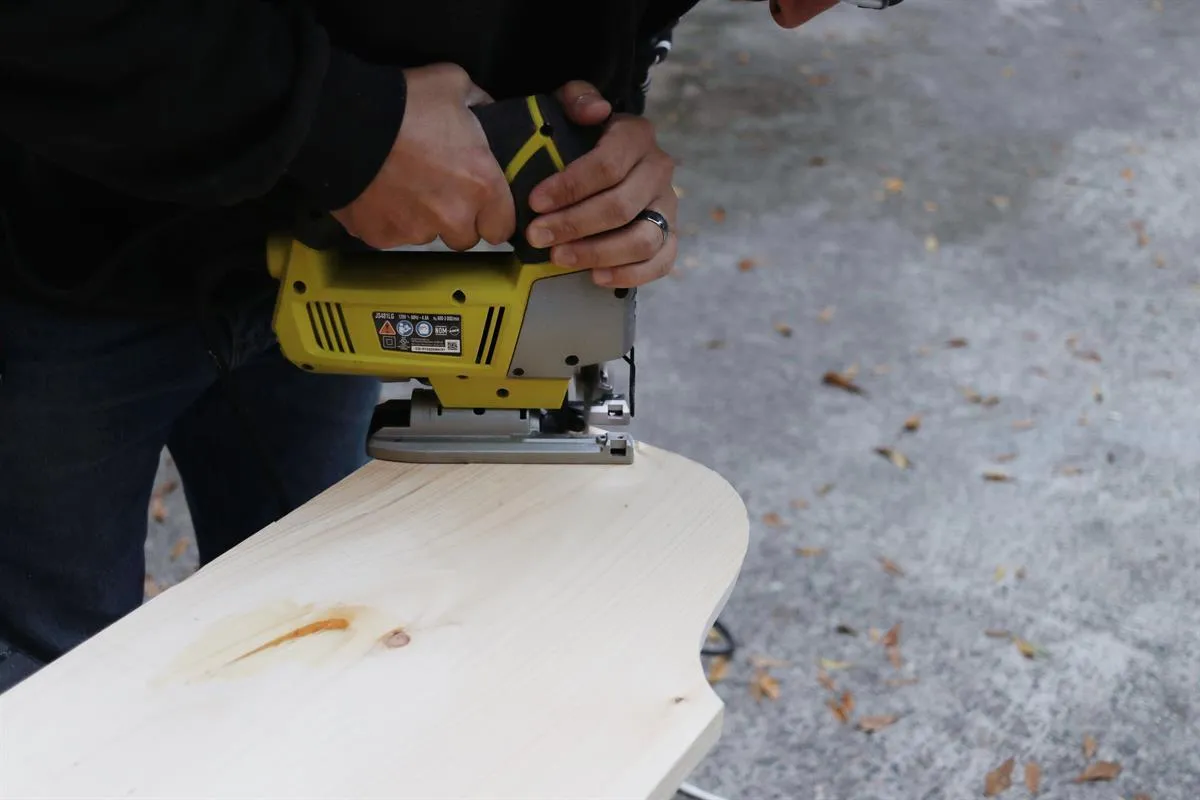
After your desired curve shape is traced onto your and boards, cut the shape out using your jigsaw or a band saw.
4Step 4:
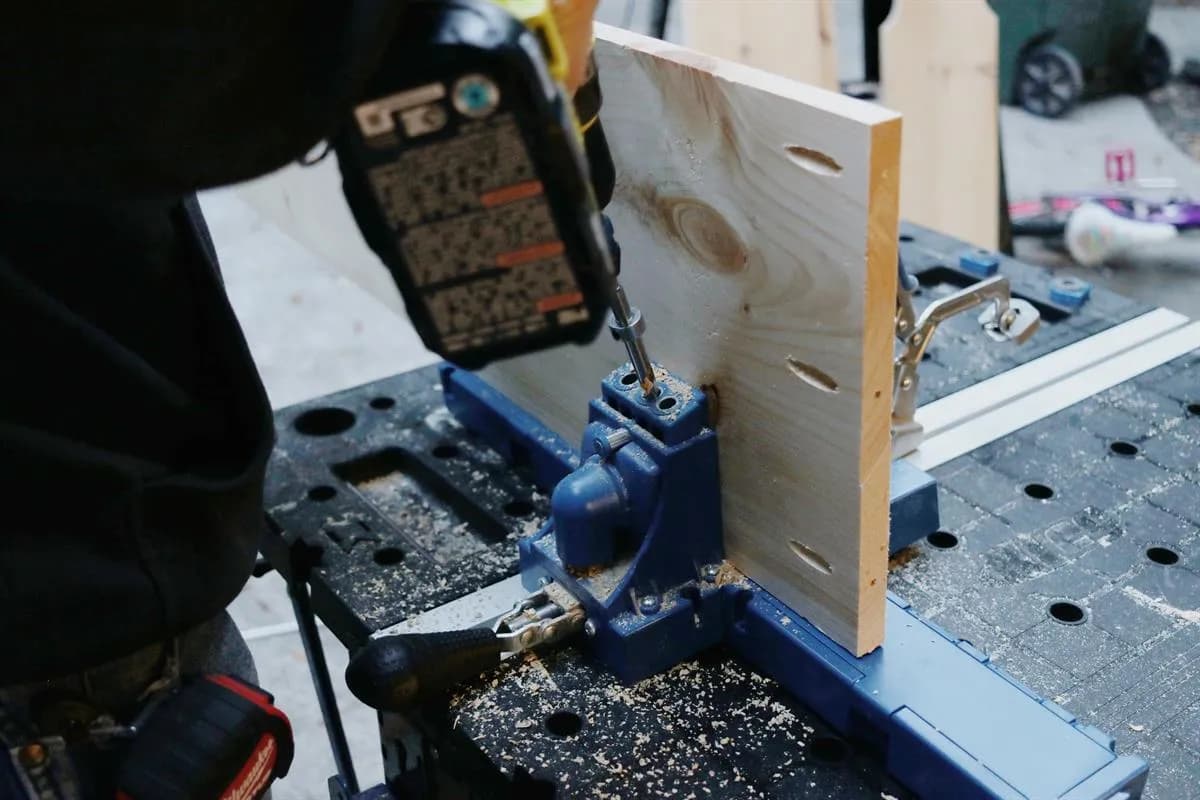
Taking the bottom board of your dress up rack (1" x 12" x 3'), begin drilling pocket holes into all four sides using the Kreg Jig K5 set at a 3/4" jig setting.
5Step 5:
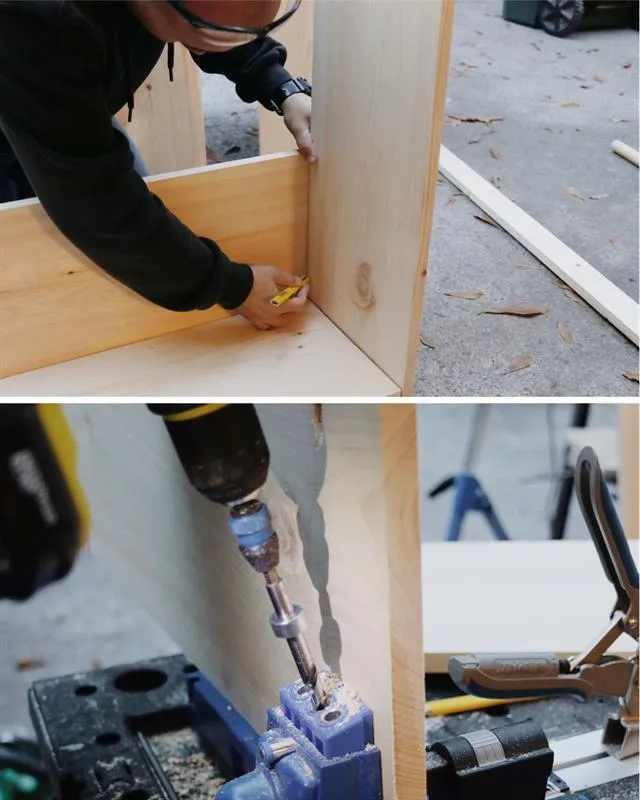
Next, mark out where to drill the pocket holes on the sides of your end pieces to the dress up rack. Drill 2 holes in each side to connect with the side boards.
6Step 6:
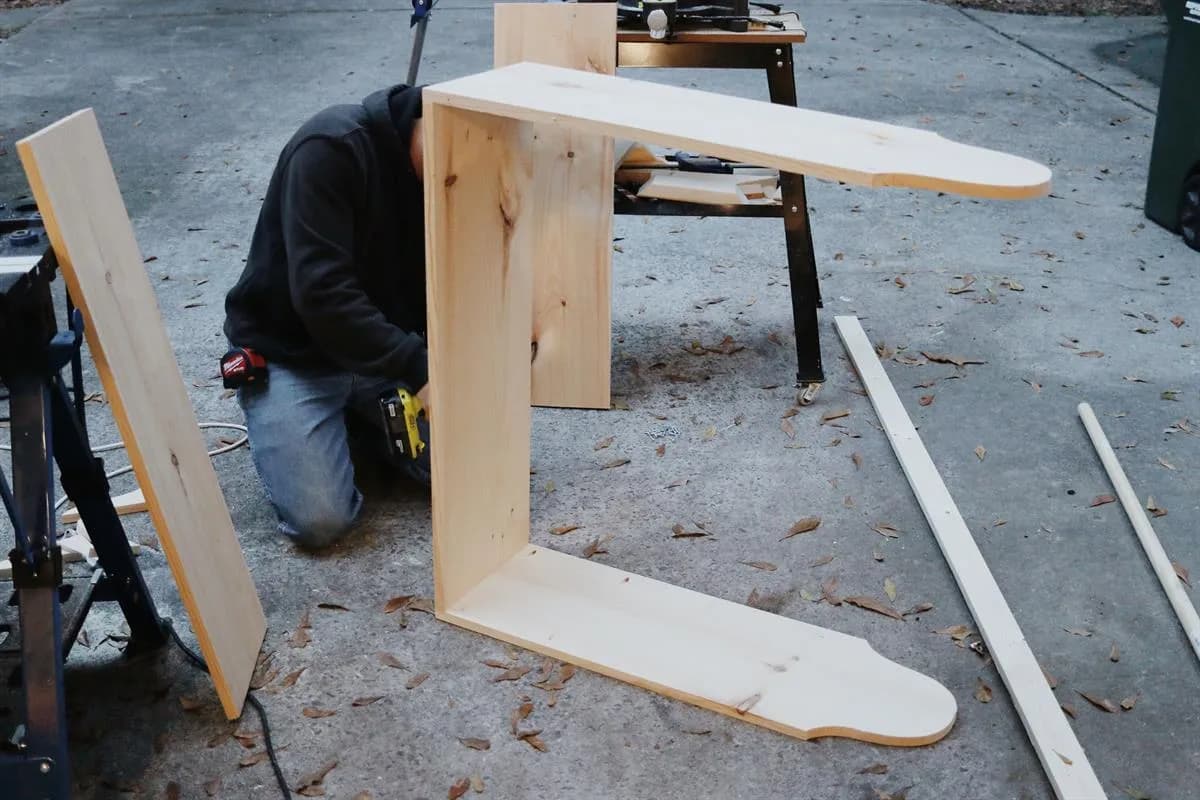
Now that your pocket holes are drilled, you are ready to begin assembling. Start by attaching the two end pieces to the bottom of the dress up rack.
7Step 7:
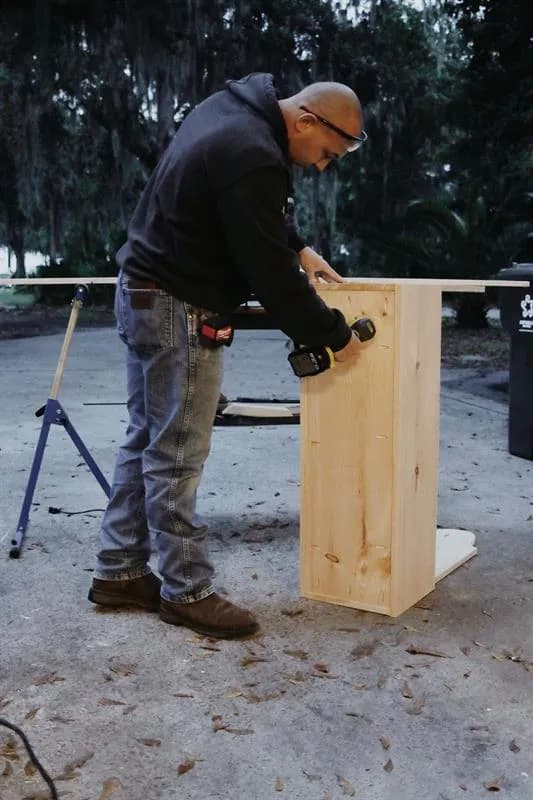
- Next you will attach the side boards to the bottom of the dress up rack. Begin by attaching one side first to the bottom, then screw together the ends to the side using your 1-1/4" Kreg screws.
- Once one side is attached, add the other side.
8Step 8:
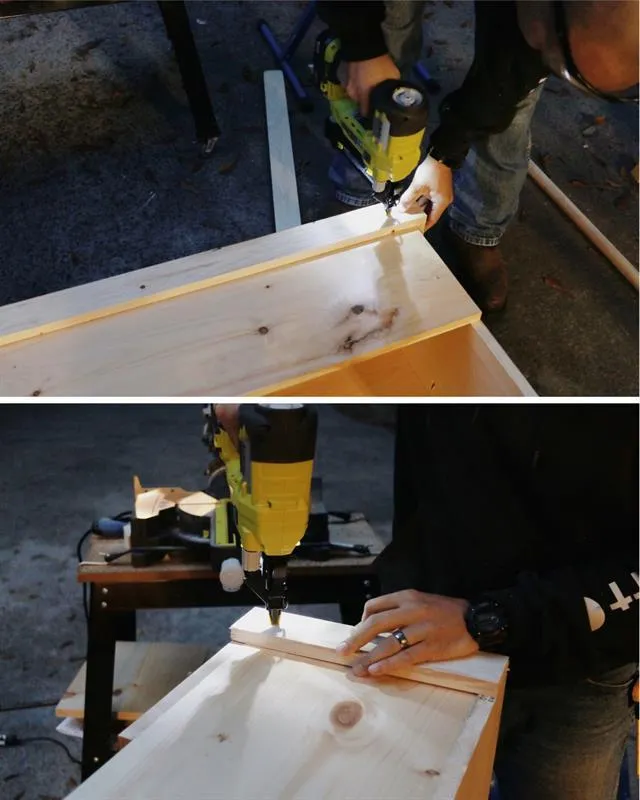
- You are now ready to add your trim to the bottom end of the box you just created.
- Start by nailing in the shorter trim first to the ends of the dress up rack with your brad nailer and 1-1/2" brad nails.
- Once those are attached, you can add on the longer trim pieces to the sides.
9Step 9:
- Now that the base of your rack is complete, it's time for the finishing parts.
- First you will add on the end pieces to hold the dowel rod in place.
- Measure down 4" from the top of the curve on both ends and make a mark.
- Place the top of your end pieces on those marks and screw into place.
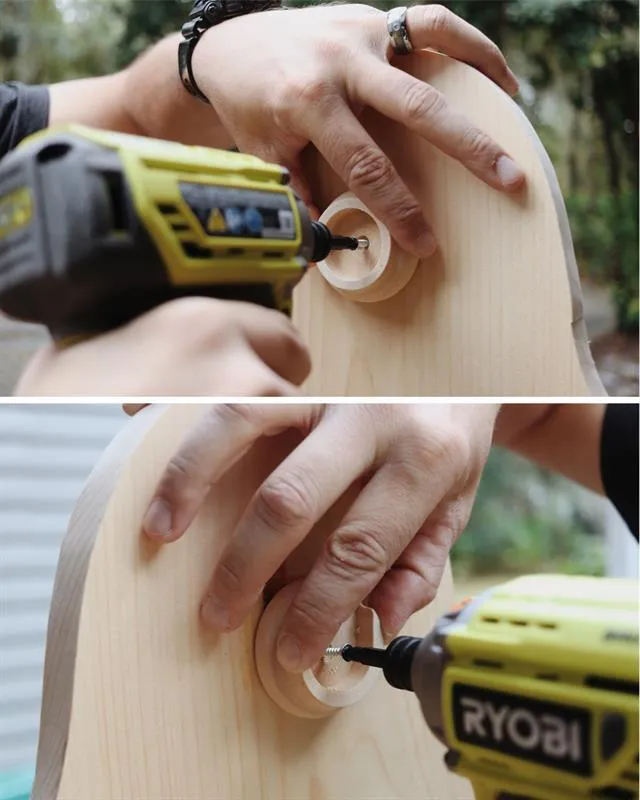
10Step 10:
Next, screw in the hardware for the decorative furniture legs that you purchased. Screw in the brackets into the four corners of the bottom side of your dress up rack. *We purchased our furniture legs and brackets at Home Depot
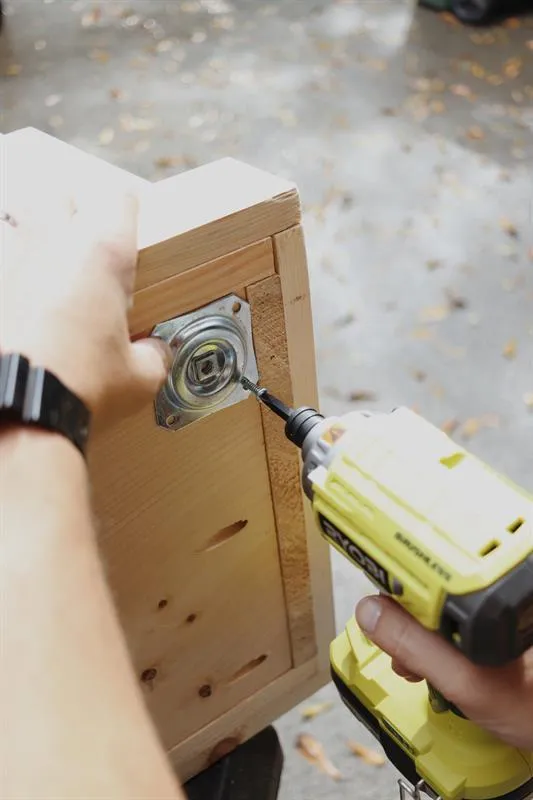
11Step 11:
Fill all nail holes or gaps with wood filler, sand and then paint or stain the color of your choice.
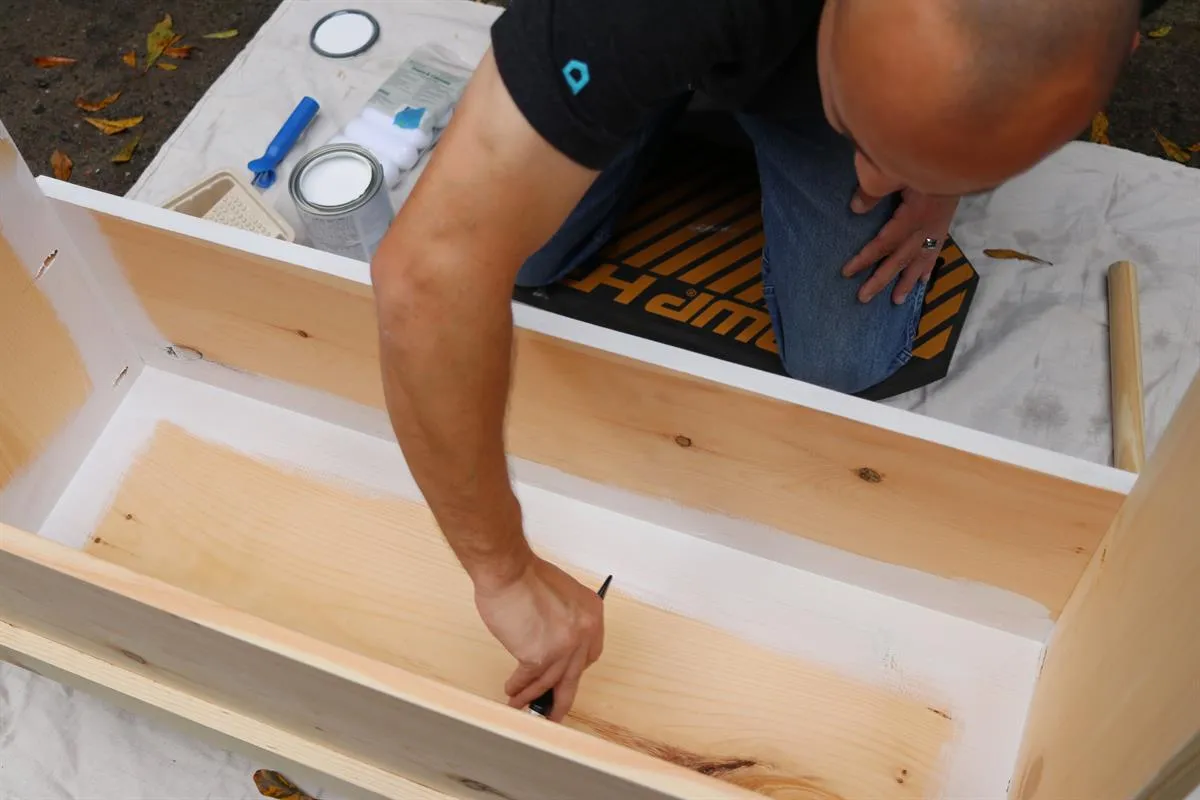
12Admire Your Work:
Now stand back and admire your hard work!
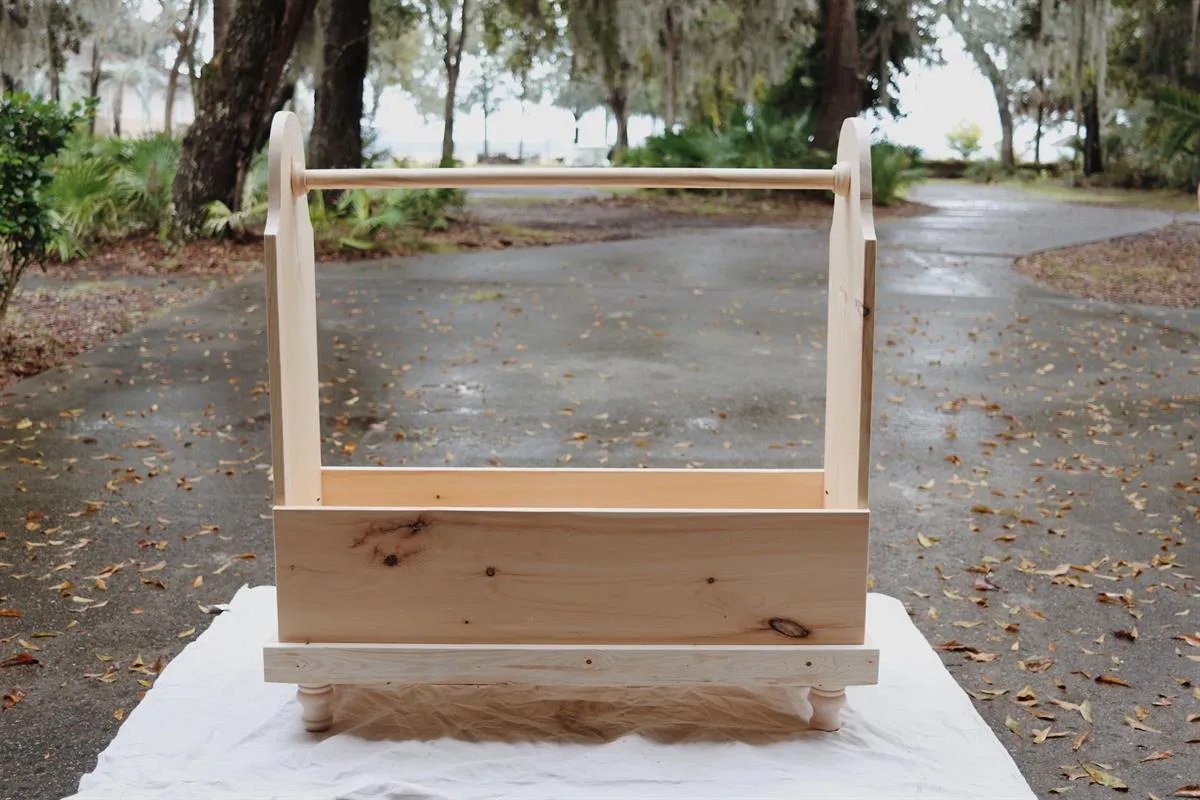
13Add A Personal Touch:
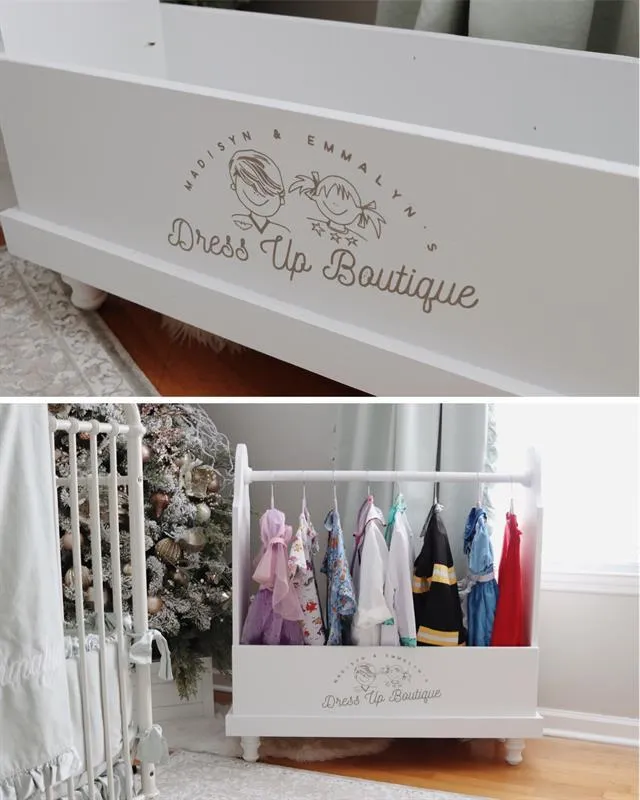
After painting our dress up rack a crisp clean white, I went ahead and designed personalized artwork to represent our two kiddo's using a combination of my Silhouette Studio program and my favorite Rhonna Designs App. After I created the image I wanted, I cut out the image onto a vinyl template and painted the image onto the dress up rack using a dark gray chalk paint. Just imagine your own child, grandchild, or a child you love waking up on Christmas morning to see their very own dress up rack filled with their favorite costumes!
14The Finishing Details:
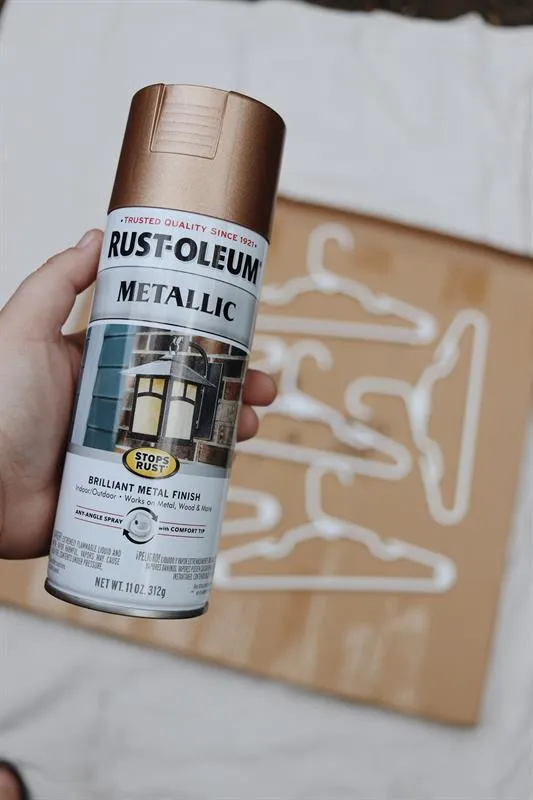
Lastly, just to add a little extra, I took a few of my children's hangers and spray painted them using this Rustoleum copper (rose gold) spray paint. I love how the spray painted hangers dress the whole rack up a bit and makes it feel just a tad bit "fancy".
Tags
- Gifts
- Beginner
Reviews & builds
No reviews yet
Sign in to review this plan or share your build.
No reviews yet. Be the first to build this.