 Notch
NotchUse your browser's Print (Ctrl/Cmd + P) and choose Save as PDF. This page works offline once you've opened it with a signal.
DIY Spice Drawer Organizer
Do you have an absolutely dreadful looking spice drawer in your kitchen?
- Difficulty
- Beginner
- Time
- 2.3–4.3 hours
- Cost
- $$
Cut list
| Part | Qty | T × W × L | Material | ✓ |
|---|---|---|---|---|
| Shelf Backs | 3 | 1/2" × 4" × 21" | — | ☐ |
| Shelf Risers | 3 | 1" × 1" × 21" | — | ☐ |
Materials
| Item | Qty | ✓ |
|---|---|---|
| Sheet of plywood, 2' x 4' x 1/2" | 1 board | ☐ |
| Wood glue | 1 each | ☐ |
| Box of 1" pocket-hole screws (see tool list) | 1 each | ☐ |
| Multiple glass spice jars - we used these: https://amzn.to/3wZlkLn | 1 each | ☐ |
| Stain | 1 each | ☐ |
Overall cost: $$. Lumber varies by region, species, and season, so we give a band rather than a figure.
Tools
- Drill / Driver
- Miter Saw
- Pocket Hole Jig
- Random Orbit Sander
- Table Saw
- Tape Measure — optional
Instructions
1. Build First Two Tiers
- Drill three pocket holes in two of the Shelf Backs. - Drill three pocket holes in all three Shelf Risers on the long straight edge. - Using pocket screws, attach a Shelf Back to a Shelf Riser with the angled edge of the Shelf Riser angled away from the Back. - Repeat for a second Shelf Back and Riser.
- Tip: **note- these measurements fit our drawer.
- Measure the inside of your drawer and change the 21 3/4" length to fit your drawer exactly.
- Also, this is based on a 3 1/2" tall drawer. If your drawer interior differs in height, you may need to adjust the height of your Shelf Risers.
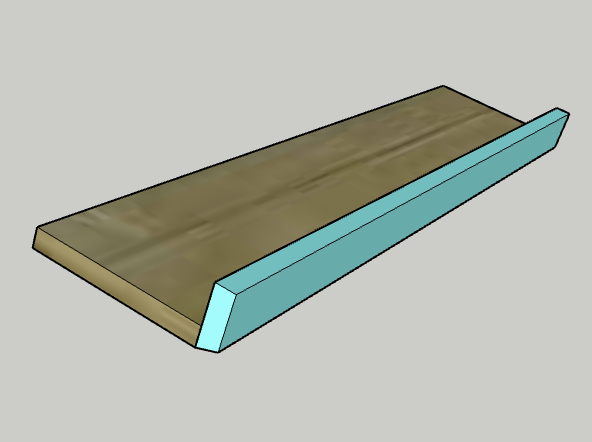
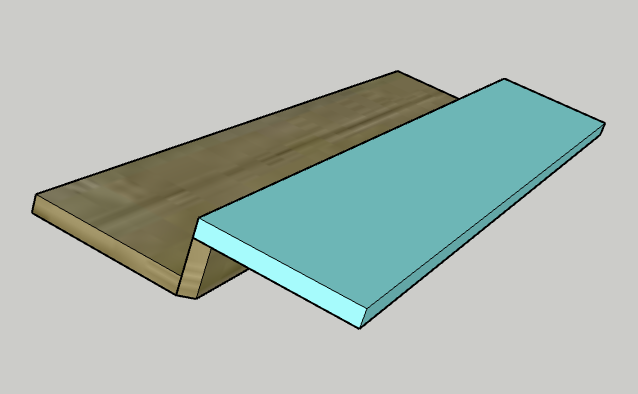
2. Attach First Level
- Using pocket screws, attach the Shelf Back with no pocket holes to one of the tiers you created in step one. - Attach flush on the edges.
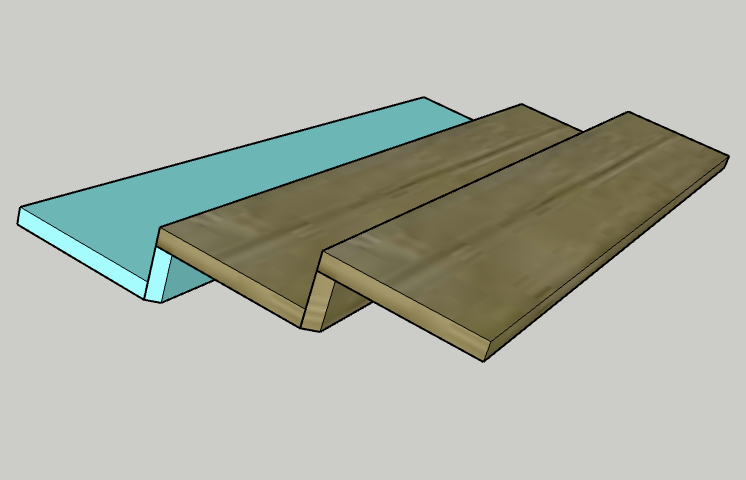
3. Attach Back Tier
Using pocket screws on the riser of the other tier created in step one, attach the tier to the Shelf Back on the first tier.
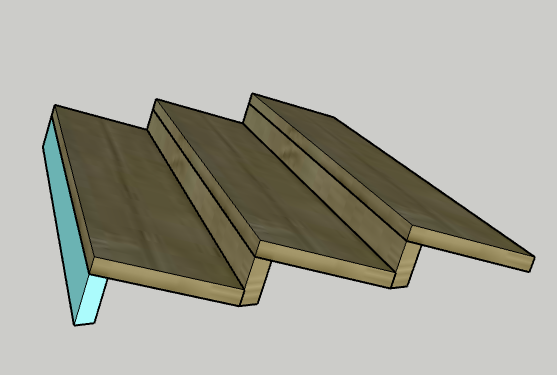
4. Add Back Riser
Using pocket screws, attach the final Shelf Riser to the edge of the back Shelf Back.
5. Stain and Insert
- Add stain and finish to suit your decor style if you desire. Plywood is roughly the same color as the inside of most drawers, so you can leave natural to blend. - Insert the organizer into your drawer. It should fit snuggly, but you can add a bracket to the back Shelf Riser if it is sliding around.
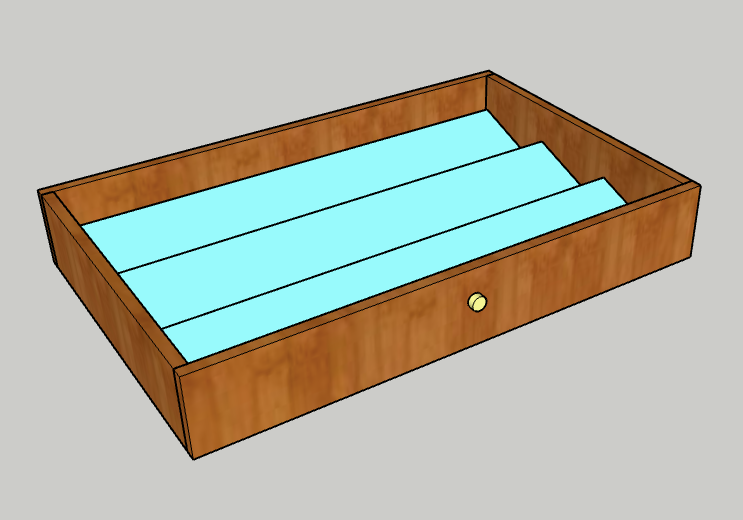
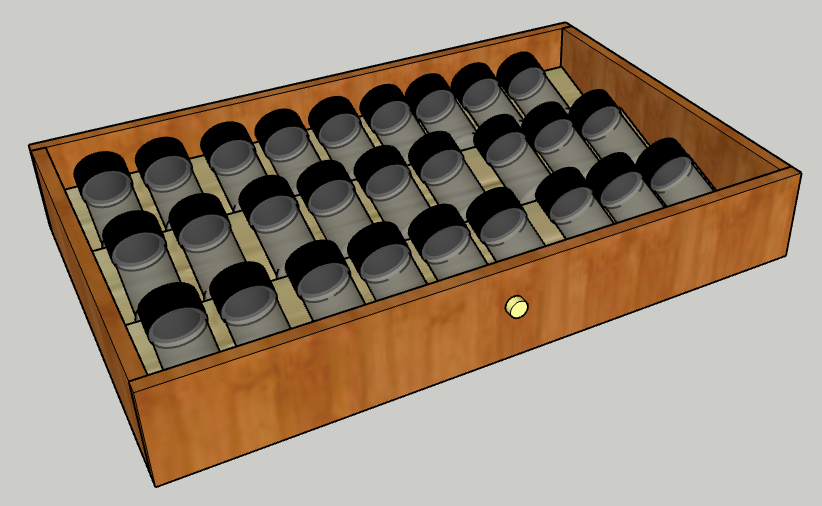
6. Swap Spices
- Transfer all your spices to the glass spice jars and add labels. - Sort by alphabetical order.
7. Enjoy!
Enjoy your handiwork and tag @CharlestonCrafted on Instagram with a picture!