Notch
NotchUse your browser's Print (Ctrl/Cmd + P) and choose Save as PDF. This page works offline once you've opened it with a signal.
DIY Small Space Vanity
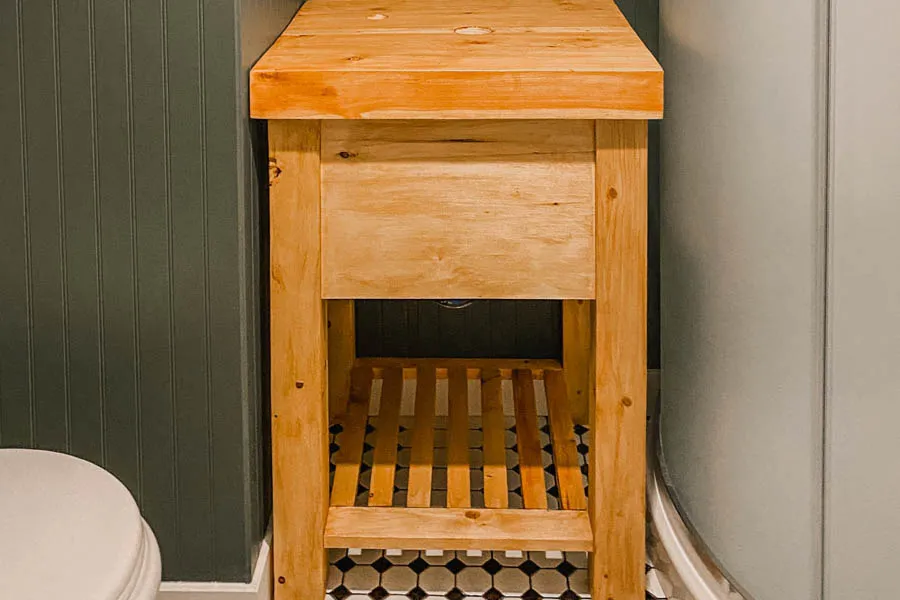
This small wood vanity is the perfect space saver for a small bathroom.
- Difficulty
- Easy
- Time
- 2.5–5 hours
- Cost
- $$
Cut list
| Part | Qty | T × W × L | Material | ✓ |
|---|---|---|---|---|
| Front legs | 2 | 4" × 4" × 30" | — | ☐ |
| Back legs | 2 | 2" × 4" × 30" | — | ☐ |
| Front panel | 1 | 1" × 12" × 16" | — | ☐ |
| Side panel | 2 | 1" × 12" × 13" | — | ☐ |
| Shelf front edge | 1 | 1" × 3" × 16" | — | ☐ |
| Shelf slats | 7 | 1" × 2" × 15" | — | ☐ |
| Shelf back edge | 1 | 1" × 2" × 16" | — | ☐ |
Materials
| Item | Qty | ✓ |
|---|---|---|
| 4x4 board (or make your own as shown in tutorial), 6' | 1 board | ☐ |
| 2x4 board, 6' | 1 board | ☐ |
| 1x12 board, 3' | 1 board | ☐ |
| 1x3 board, 1.5' | 1 board | ☐ |
| 1x2 board, 11' | 1 board | ☐ |
| Slab for vanity top (can laminate smaller pieces together to make) 20 1/4 x 23 1/2 (ours is 2 3/4 thick) | 1 each | ☐ |
Overall cost: $$. Lumber varies by region, species, and season, so we give a band rather than a figure.
Tools
- Drill / Driver
- Miter Saw
- Pocket Hole Jig
- Table Saw
- Bar / Pipe Clamps — optional
- Tape Measure — optional
Instructions
1. Assemble counter top
Assemble the countertop first, this will dictate the size of your vanity. You could use prefabricated countertop, build your own using lumber laminated together, a large piece of live edge or in our case, we used end cuts from a beam we had used in a renovation.
2. Cut legs to length
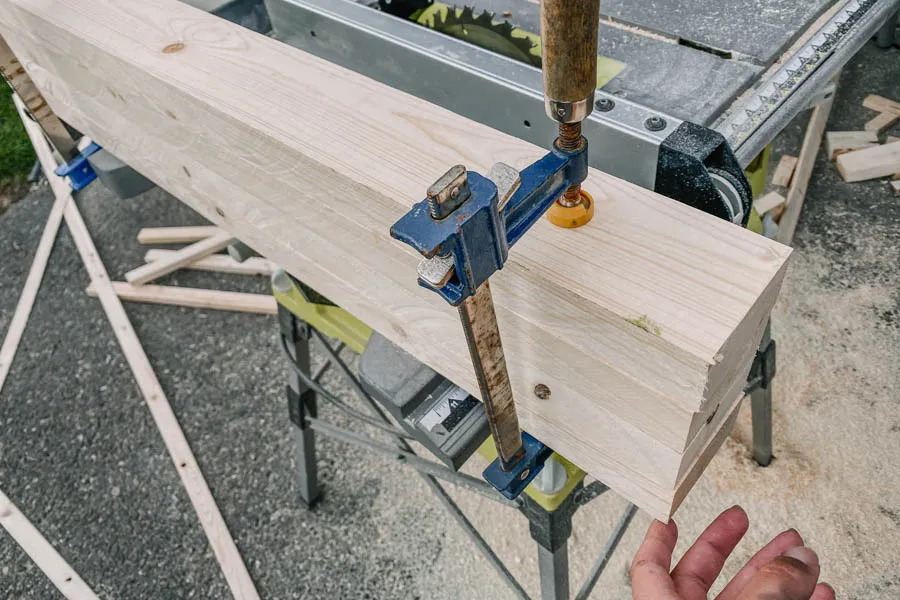
- Next up, let’s cut our legs to size. Since we were making this on a budget, we laminated two 2x4s together to make the front legs. Use wood glue and clamp them overnight before running through a table saw to take off the curved corners if you’d like to do this as well.
- Cut your legs to length.
- Cut the back legs to length as well. We used 2x4s fastened to the back wall for this. This is to help the vanity fit into a small space (instead of the full thickness of a 4x4) and fastening them to the back wall gives this vanity great stability.
3. Build slatted shelf
- Now we can work on the slatted shelf.
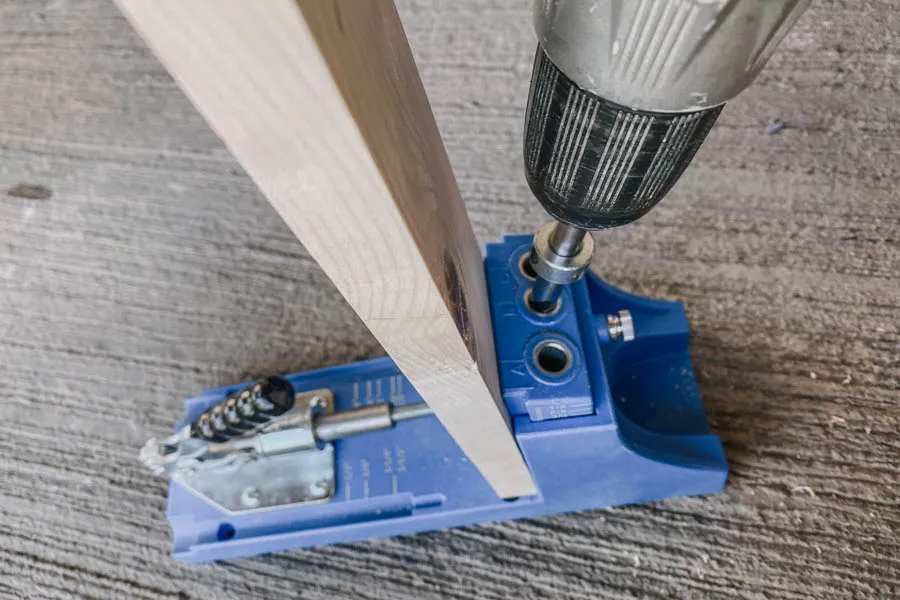
- Cut your 1x3 and 1x2s to length and get busy with your Kreg Jig to drill pocket holes into the ends of each board.
- Assemble the shelf with screws, taking care to make sure the faces of the boards are flush.
- Assemble so the back 1x3 has the pocket holes facing up instead of down to make assembly simple.
4. Prepare cover panels
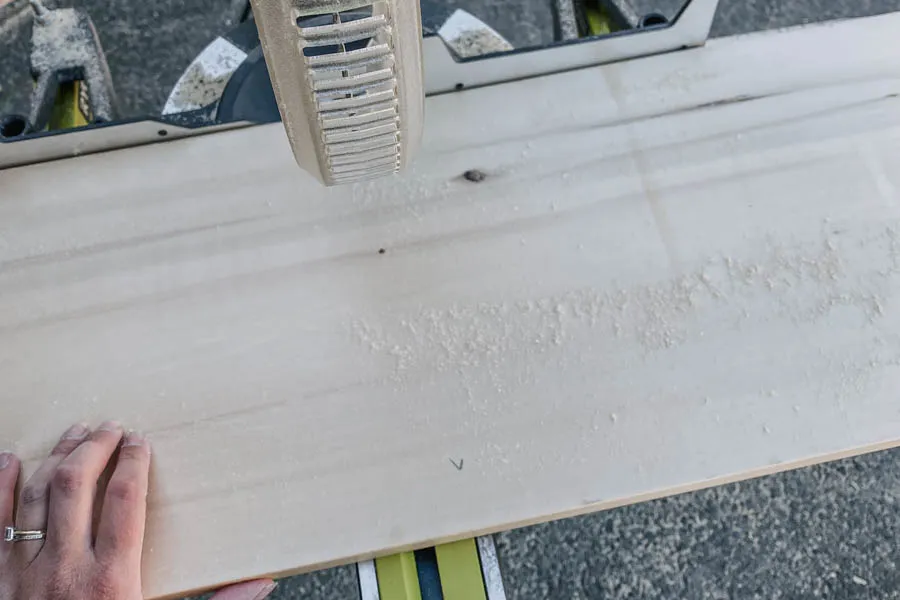
- Cut the cover panels for the plumbing. This step will help secure the legs square as well.
- Drill pocket holes into the ends of these as well. We only put cover panels on the front and visible size of the vanity.
5. Assemble the vanity pieces
- We assembled the vanity in place.
- Screw the back legs into the wall first.
- Next, screw the shelf and the front cover panel between the front two legs.
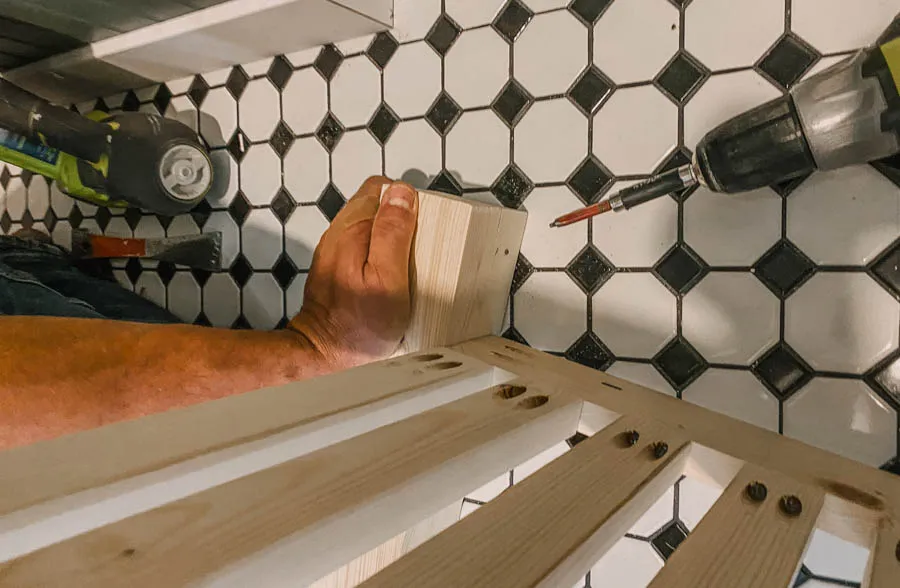
6. Connect the vanity pieces
Stand up the front legs with the shelf and slide it between the back legs. Use the showing pocket holes to affix to the back legs. You can fill these and sand to get a beautiful finish. We chose the height of our shelf to rest on the baseboard for extra stability Now we can attach the side panel using pocket screws. Lastly, let’s attach the countertop with wood glue or construction adhesive.
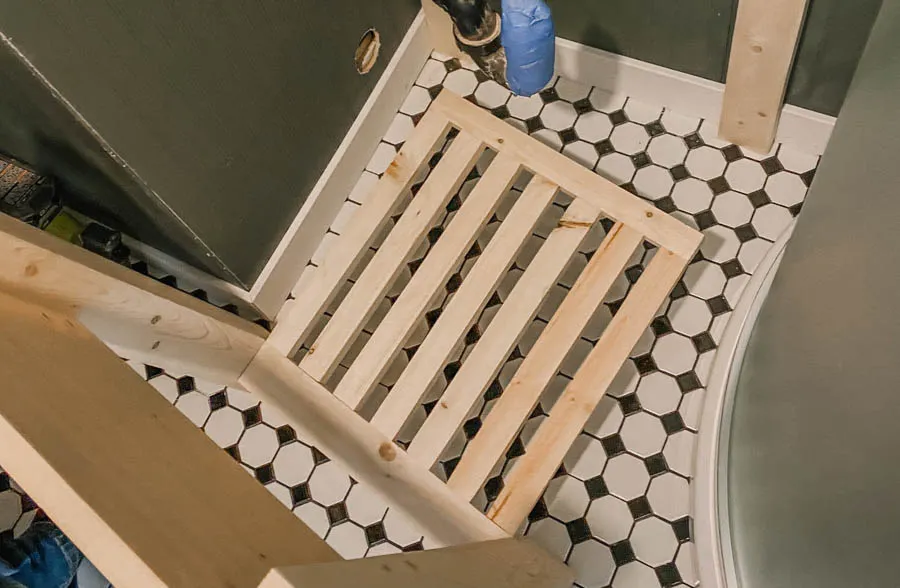
7. Enjoy!
Stand back and enjoy your done in a day custom vanity! This is perfect for a small space, a basement bathroom, or a space you’d love a rustic touch for.