Notch
DIY Rustic Stand
Step-by-step build — 7 steps. Also available as a print sheet.
1Draw Circles
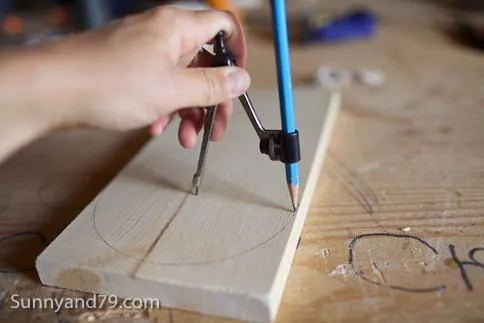
First up, grab your two scrap pieces of wood and using a protractor, draw a circle on each piece. Get as close as you can to the edge without going over.
2Cut Circles
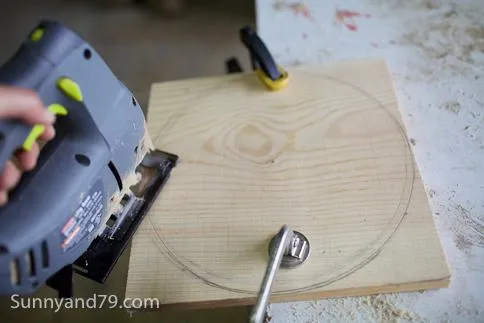
Now, cut the circles out with a jigsaw. I clamped mine to my work table, with half hanging over the edge, and rotated as I went.
3Sand
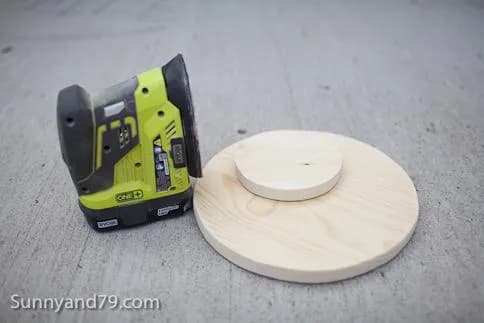
Now, give those circles a sanding!
4Apply Finish
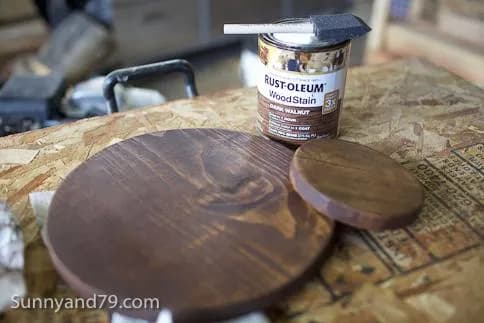
Go ahead stain or paint however you'd like.
5Add Hardware
- Just about done!
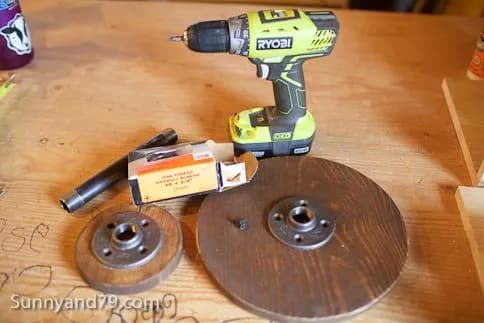
- Once your finish is dry, add one flange to each of your circles.
- Attach to the center using your drill and 3/4" screws.
6Add Pipe
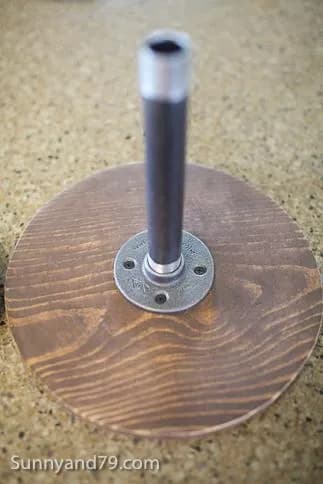
Go ahead and screw the pipe into each flange and you're done!
7Enjoy!
Great work! What will you use your DIY Rustic Stand for?