 Notch
- Difficulty
- Easy
- Time
- 2.3–4.3 hours
- Cost
- $$
About this build
This Rustic scrap wood and pipe stand is a quick and easy build, and useful for so many things! I designed this as a salt and pepper stand, because ours always goes missing- but turns out it also makes a great cake and cupcake stand, and the perfect spot to set out snacks for my family 🙂
Tools
Essential
- Drill / Driver
- Jigsaw
- Random Orbit Sander
Optional / nice to have
- Bar / Pipe Clamps
Materials
| Item | Qty |
|---|---|
| Board, 1x6 Scrap Piece | 1 board |
| Board, 1x12 12" | 1 board |
| 3/4" x 8" Steel Pipe Nipple | 1 each |
| 3/4" Steel Floor Flanges | 2 each |
| 3/4" Screws | 8 each |
| Finish of Choice | 1 each |
Overall cost: $$. Lumber prices vary by region, species, and season, so we give a band rather than a figure we would only be pretending to know.
Cut list
| Part | Qty | T × W × L |
|---|---|---|
| Base | 1 | 3/4" × 5" × 5" |
| Top | 1 | 3/4" × 11" × 11" |
What to buy
Buy 2 boards at 8 ft.
3/4" × 11"
1 board
3/4" × 5"
1 board
Assumes 8 ft stock, a 1/8" saw kerf, and buying each part at its own width. Change the board size or kerf on the full board plan →
Instructions
1Draw Circles
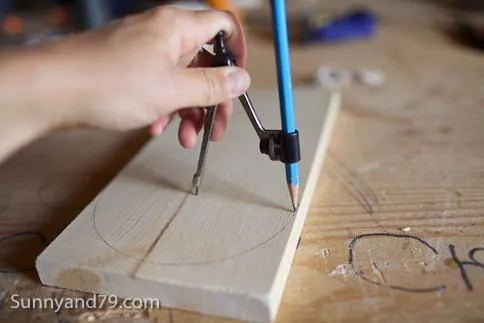
First up, grab your two scrap pieces of wood and using a protractor, draw a circle on each piece. Get as close as you can to the edge without going over.
2Cut Circles
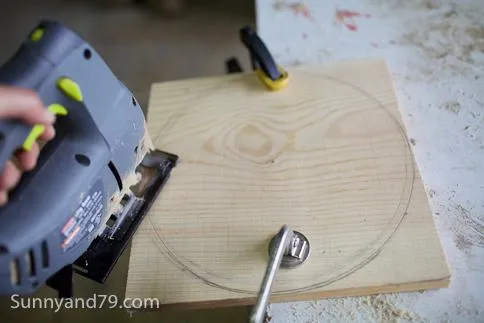
Now, cut the circles out with a jigsaw. I clamped mine to my work table, with half hanging over the edge, and rotated as I went.
3Sand
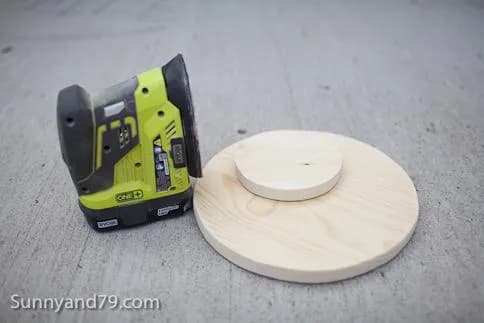
Now, give those circles a sanding!
4Apply Finish
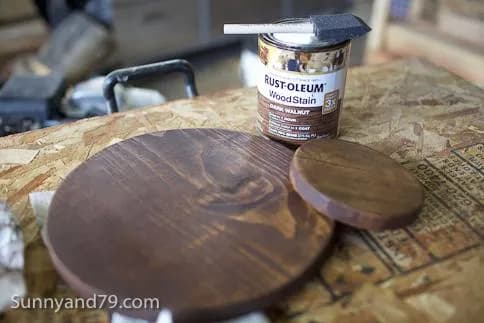
Go ahead stain or paint however you'd like.
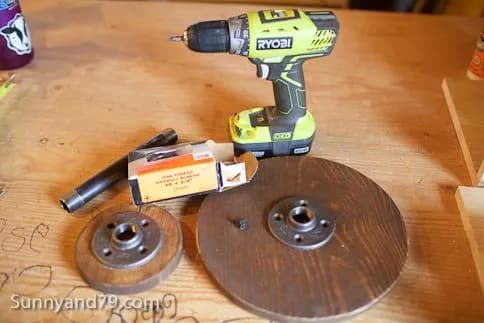
5Add Hardware
- Just about done!
- Once your finish is dry, add one flange to each of your circles.
- Attach to the center using your drill and 3/4" screws.
6Add Pipe
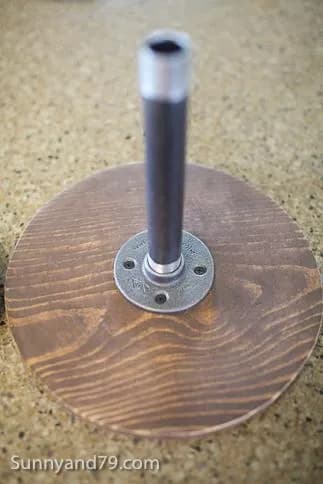
Go ahead and screw the pipe into each flange and you're done!
7Enjoy!
Great work! What will you use your DIY Rustic Stand for?

Tags
- Kitchen
- Beginner
Reviews & builds
No reviews yet
Sign in to review this plan or share your build.
No reviews yet. Be the first to build this.