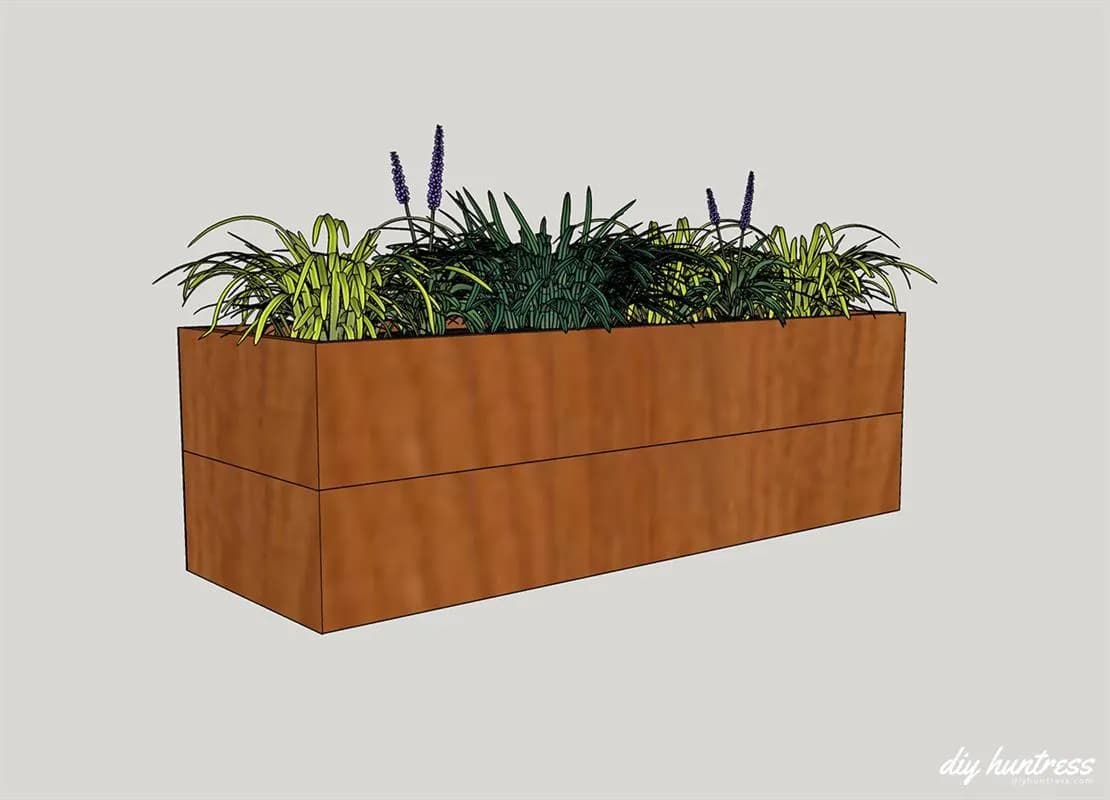
Notch
NotchDIY Modern Cedar Planter
Step-by-step build — 9 steps. Also available as a print sheet.
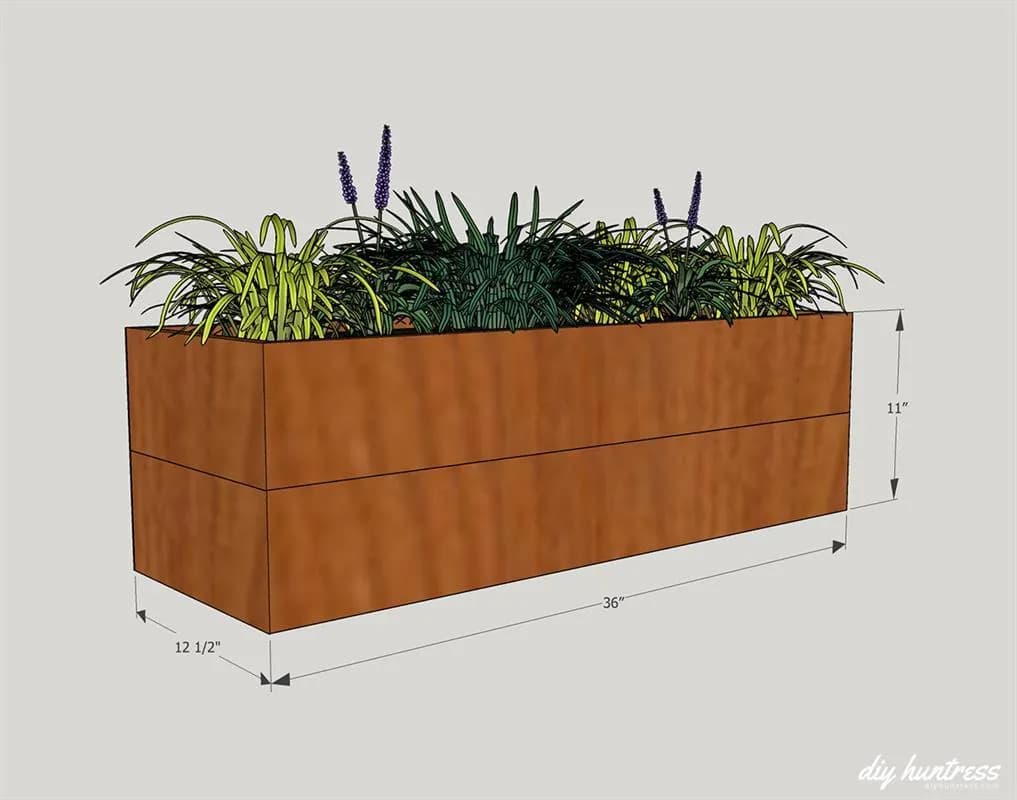
1Check the Dimensions
Make sure to check the dimensions and make any necessary adjustments before starting.
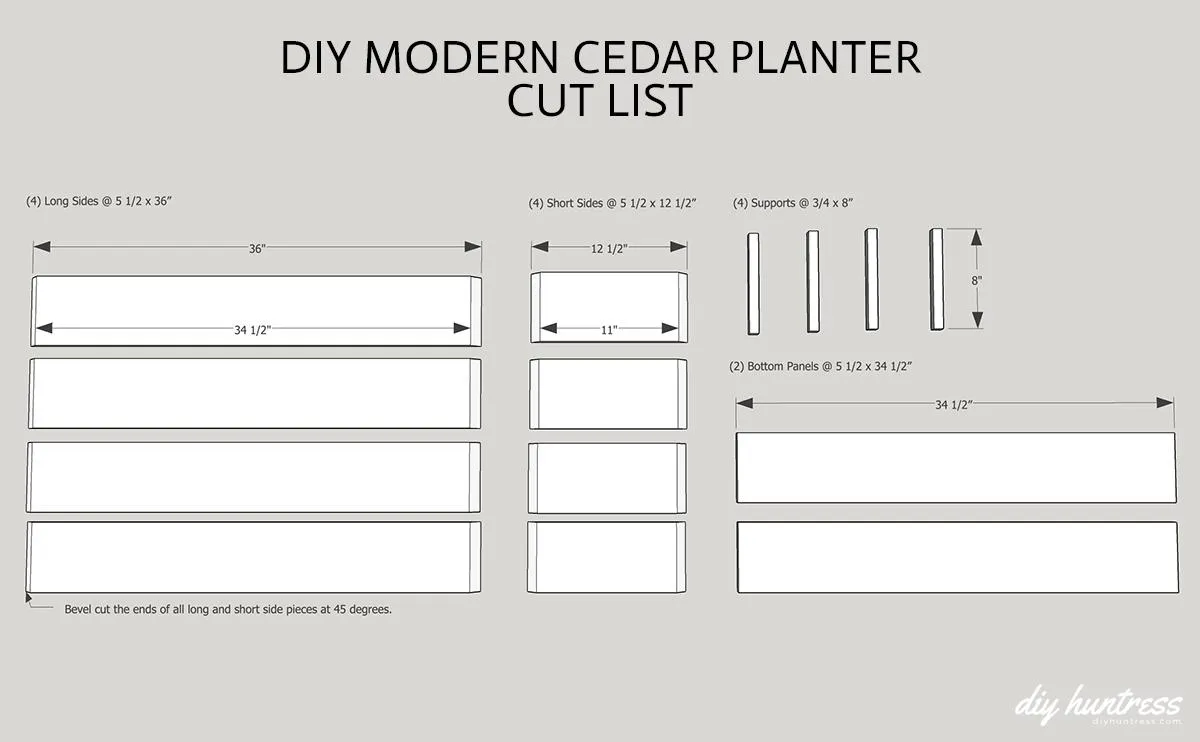
2Cut Your Pieces
All of the pieces used for the sides of this planter have 45 degree beveled ends. Make sure to double check the dimensions required prior to cutting your ends.
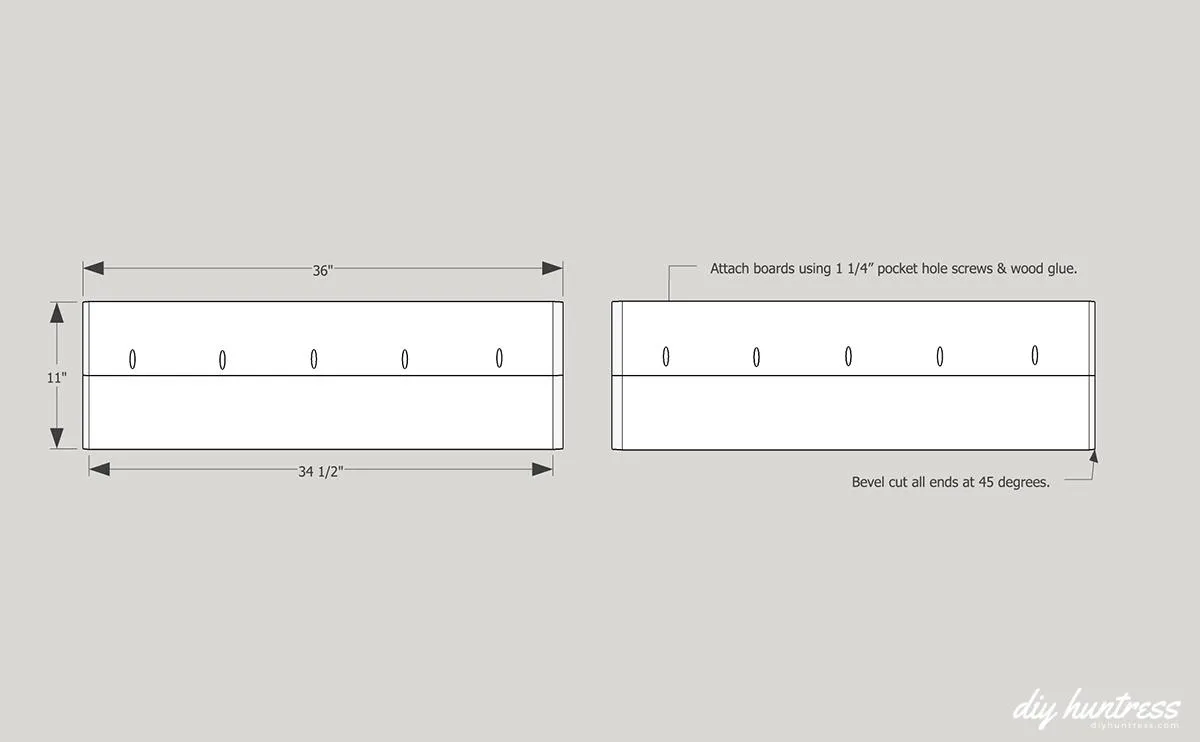
3Attach the Long Side Pieces
Attach the large side pieces in sets of two with wood glue, pocket holes, and screws.
4Attach the Short Side Pieces
Attach the short sides the same way.
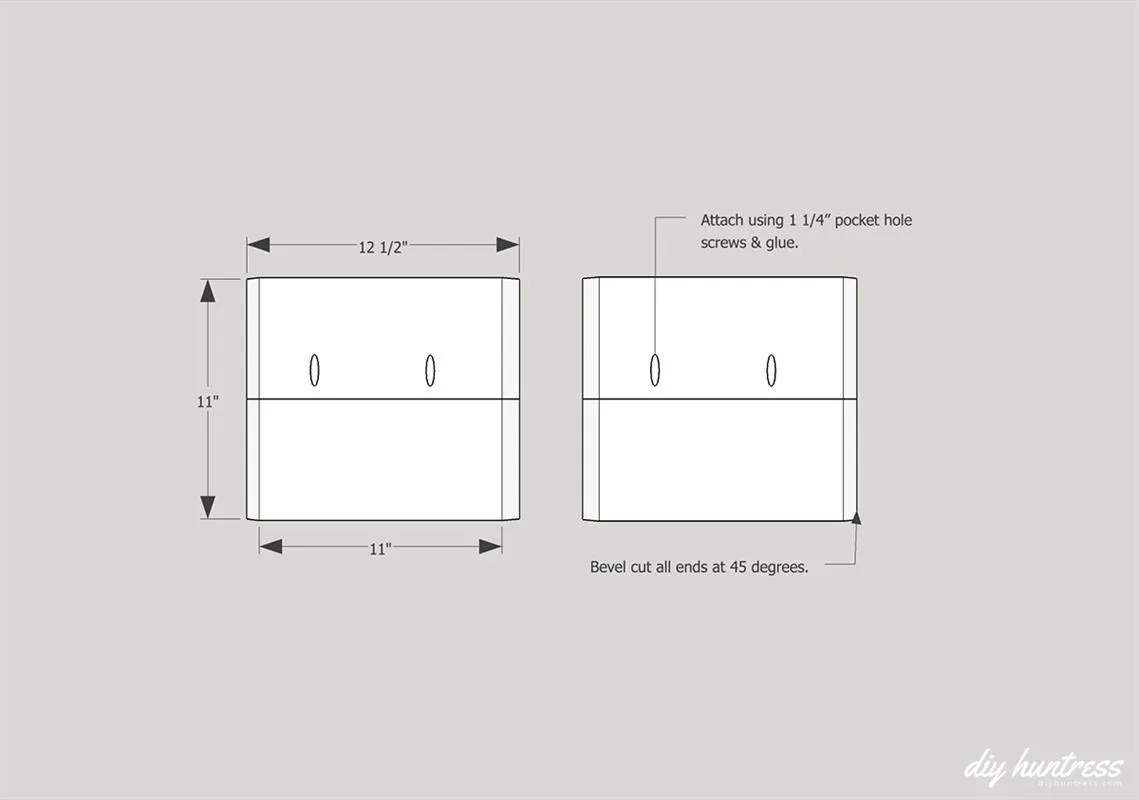
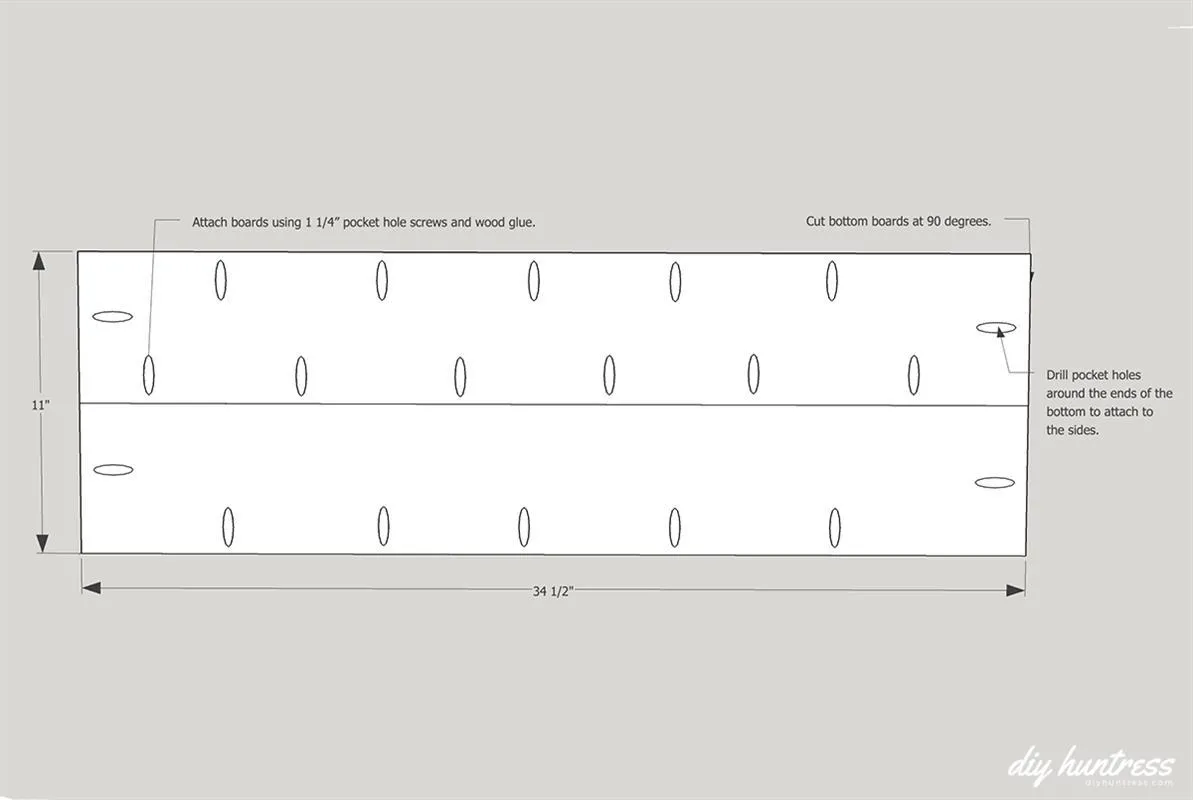
5Build Bottom Piece
Build the bottom piece with pocket holes and wood glue. Make sure there are pocket holes along the outside of the piece for attaching to the sides.
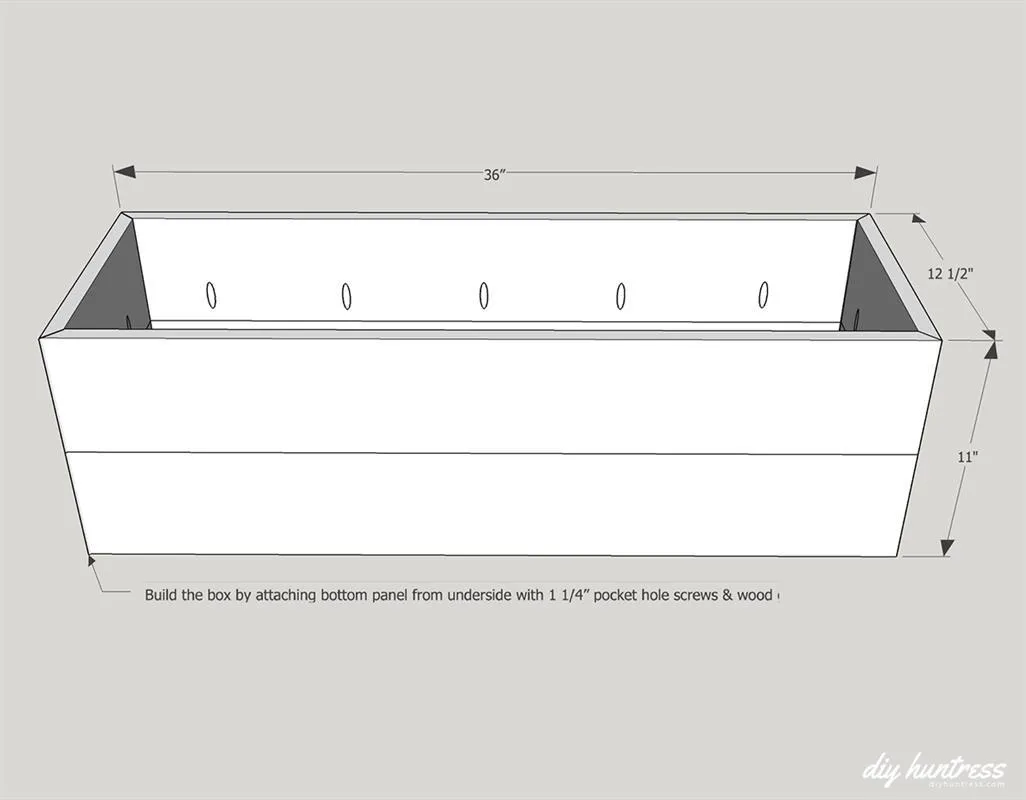
6Attach Bottom Piece
Attach the bottom piece to all four sides with wood glue and pocket hole screws. You may want to drill small holes in the bottom for drainage.
7Add Corner Supports
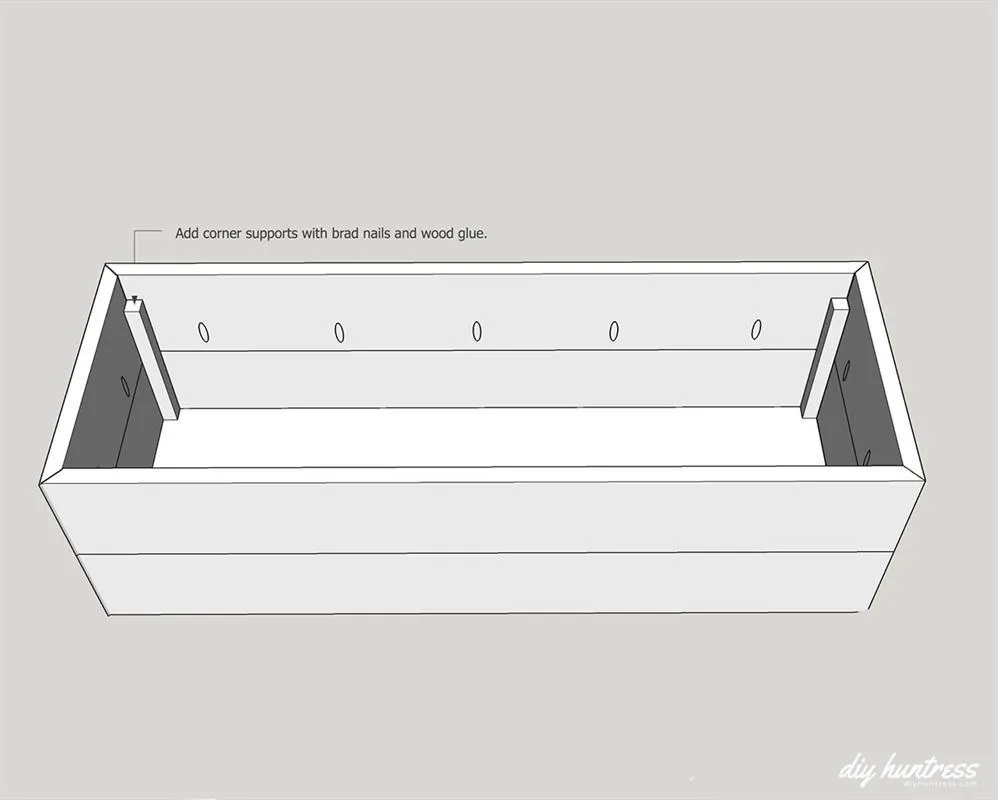
- Add the four small corner supports to the inside corners.
- Attach them from the outside of the planter by shooting 1" brad nails into each support. This will help keep the beveled corners tight.
- Add wood glue for extra strength.
8Sand & Seal
Fill your pocket holes, nail holes, and corners (if there are gaps). Then sand & seal your planter!
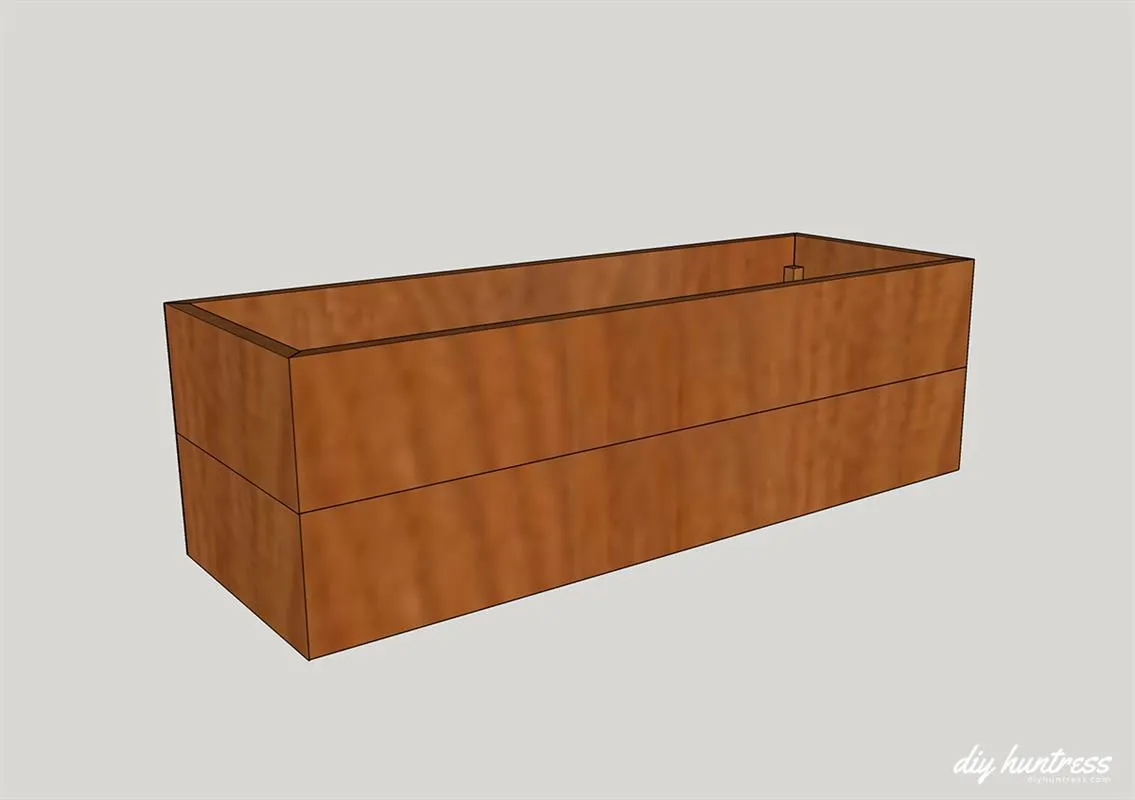
9Do Some Planting
Make sure to add some plants to your awesome new build!