Notch
NotchDIY Hanging Christmas Card Holder
Step-by-step build — 11 steps. Also available as a print sheet.
1Drill pocket holes
- Start by drilling all your pocket holes at once. - Drill two pocket holes in each end of all the Row pieces - Drill two pocket holes on the 30 degree mitered end of the Right Side.
2Assemble outside frame
- Using wood glue and pocket hole screws, attach the 30 degree mitered end of the Right Side to the long edge of the Left Side aligning the 30 degree ends. - Using wood glue and pocket hole screws, attach Row 6 flush at the bottom into the two sides.
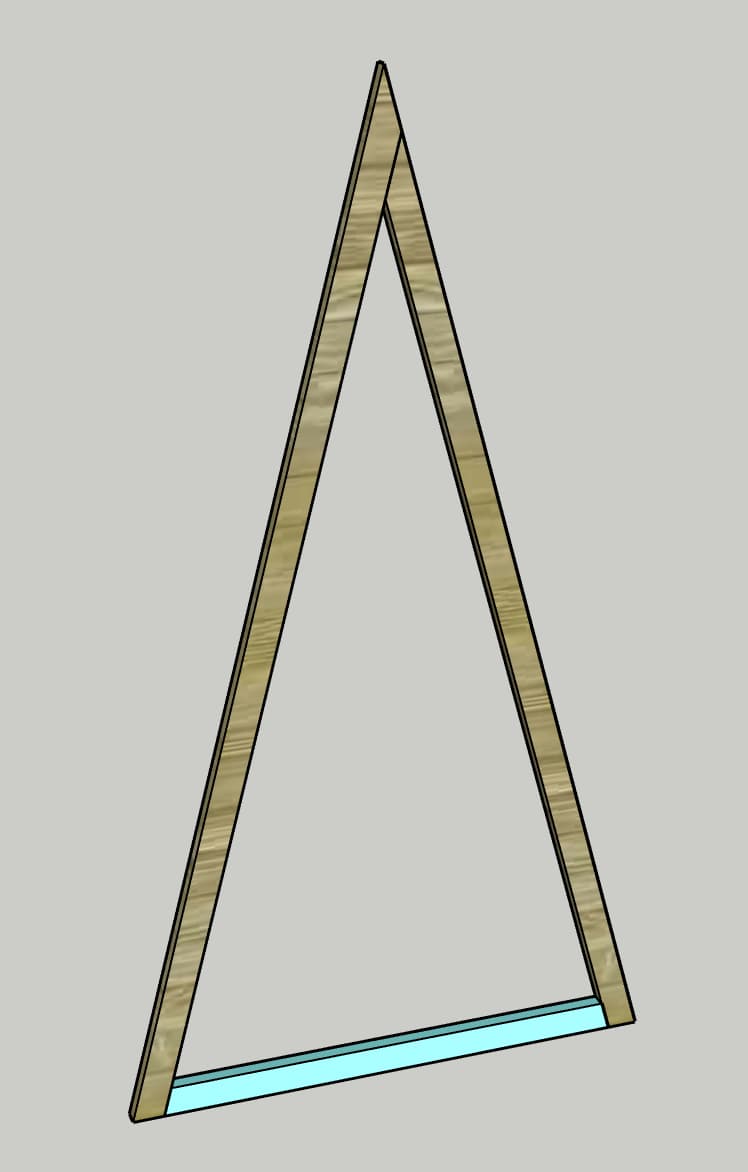
3Add row 5
- Using wood glue and pocket hole screws, attach Row 5 where the two ends meet the two Sides. - This should be approximately 6" up from the last row.
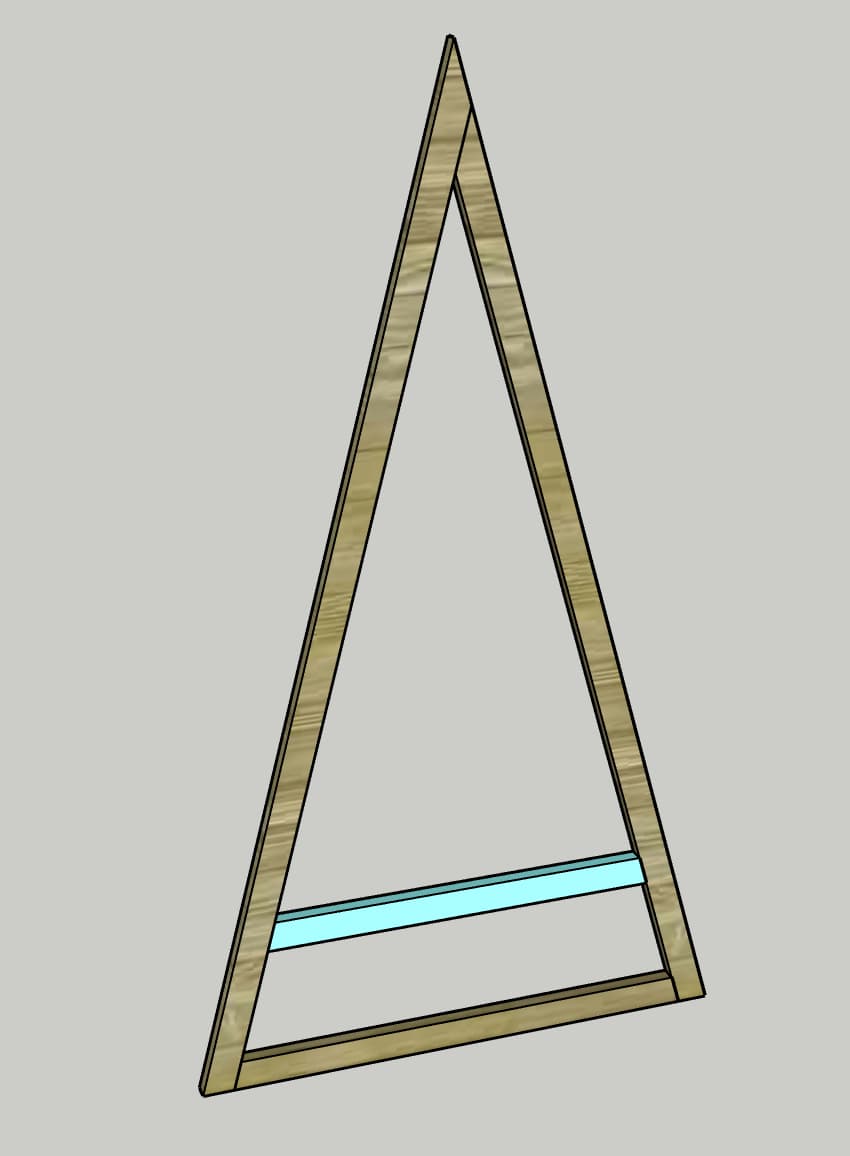
4Add row 4
- Using wood glue and pocket hole screws, attach Row 4 where the two ends meet the two Sides. - This should be approximately 6" up from the last row.
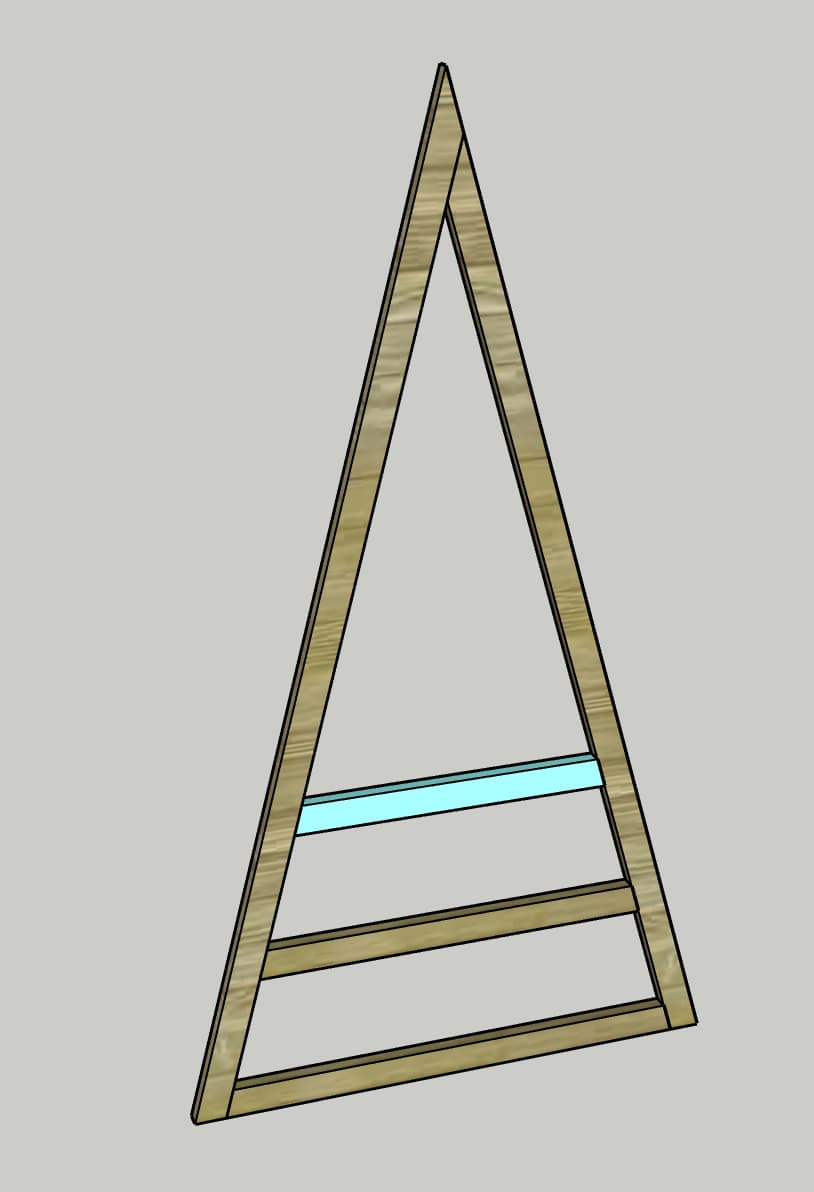
5Add row 3
- Using wood glue and pocket hole screws, attach Row 3 where the two ends meet the two Sides. - This should be approximately 6" up from the last row.
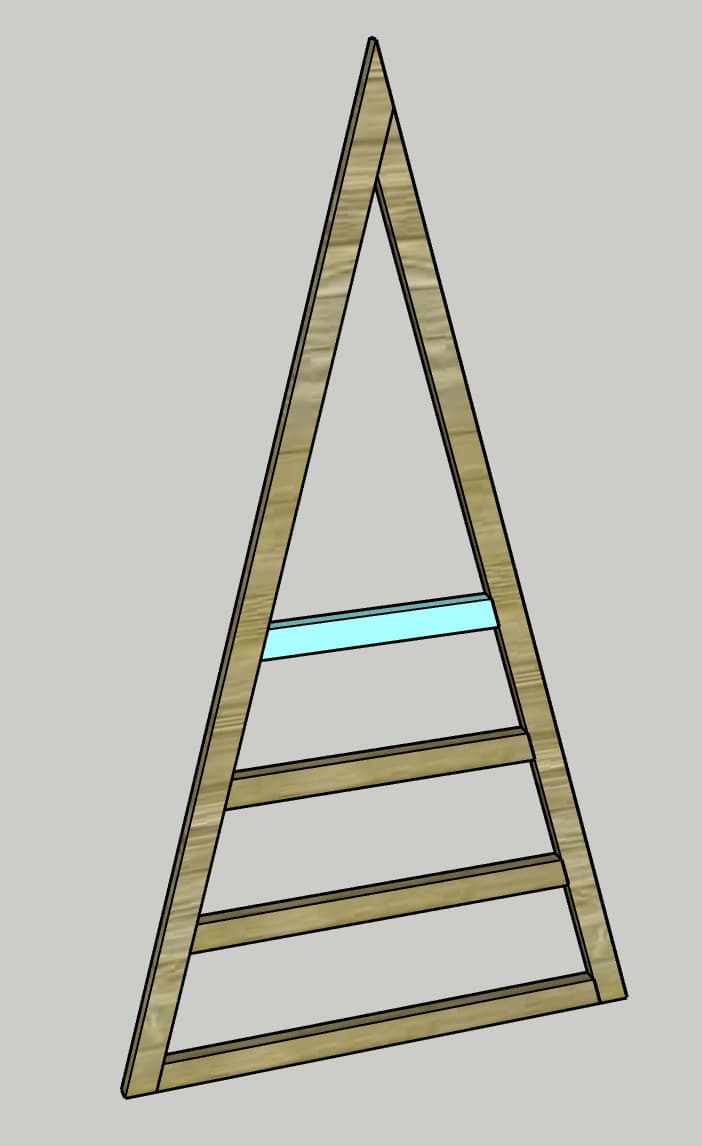
6Add row 2
- Using wood glue and pocket hole screws, attach Row 2 where the two ends meet the two Sides. - This should be approximately 6" up from the last row.
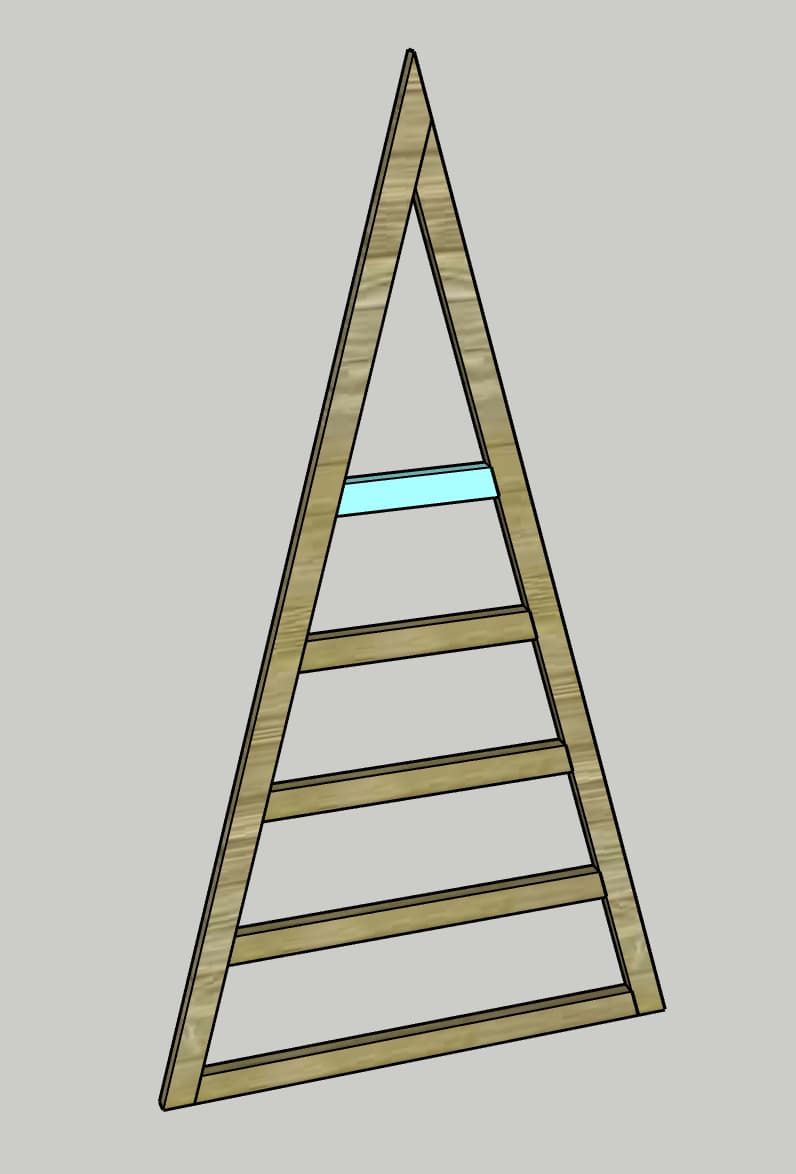
7Add row 1
- Using wood glue and pocket hole screws, attach Row 1 where the two ends meet the two Sides. - This should be approximately 6" up from the last row.
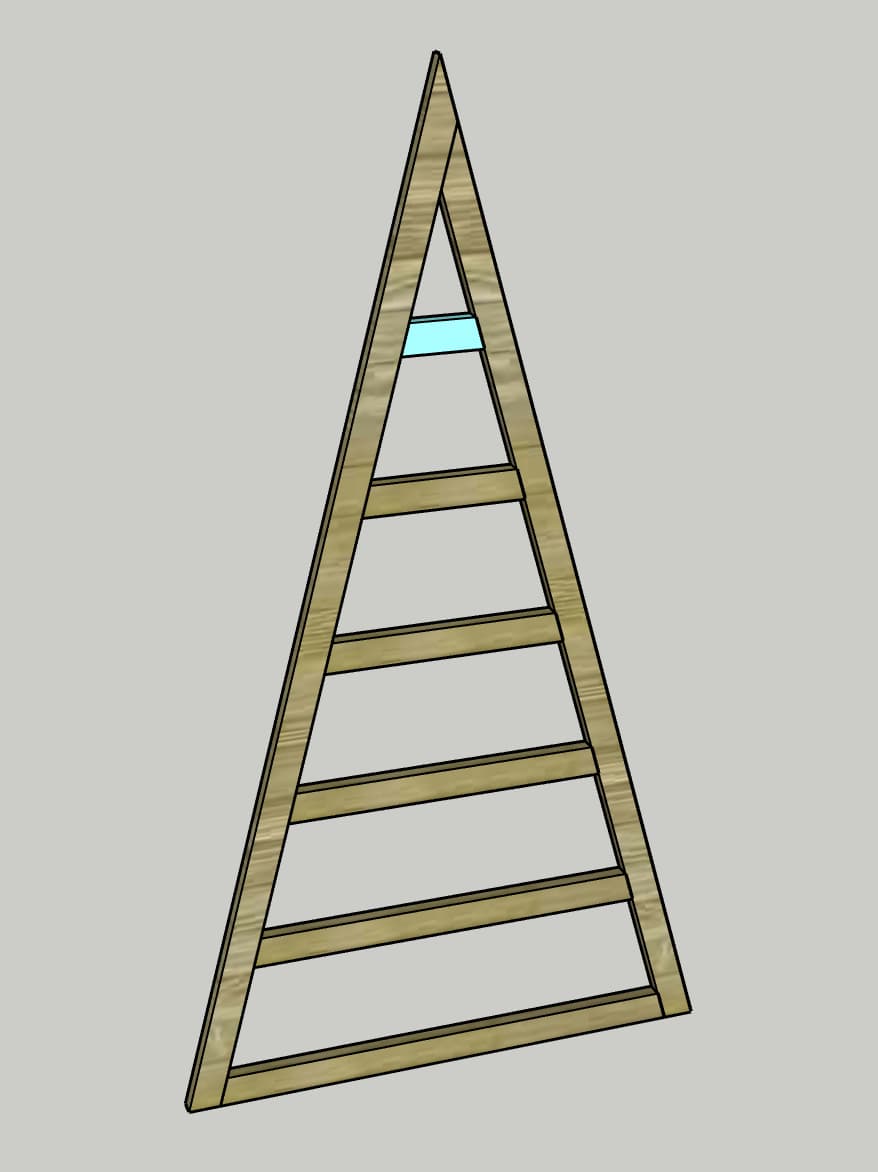
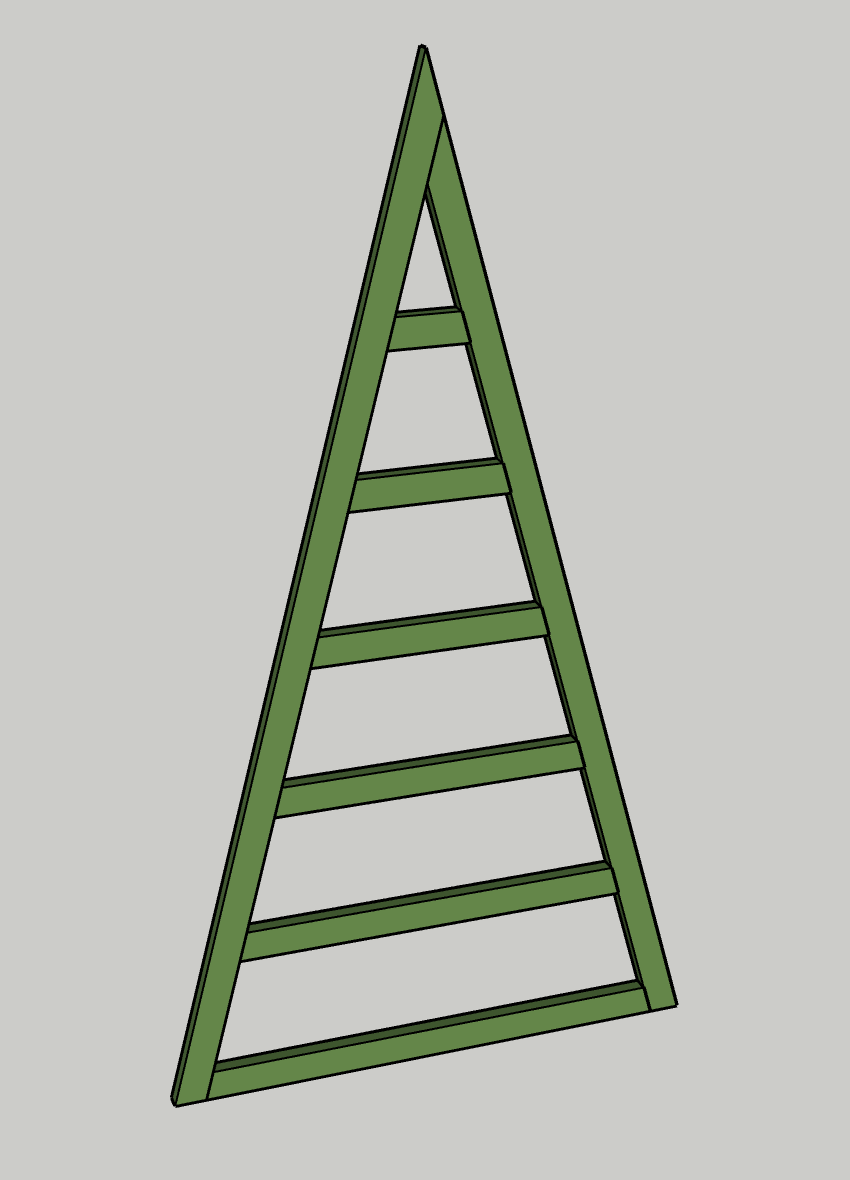
8Paint
- Use green paint to paint the tree. - Use red paint to paint the clothes pins.
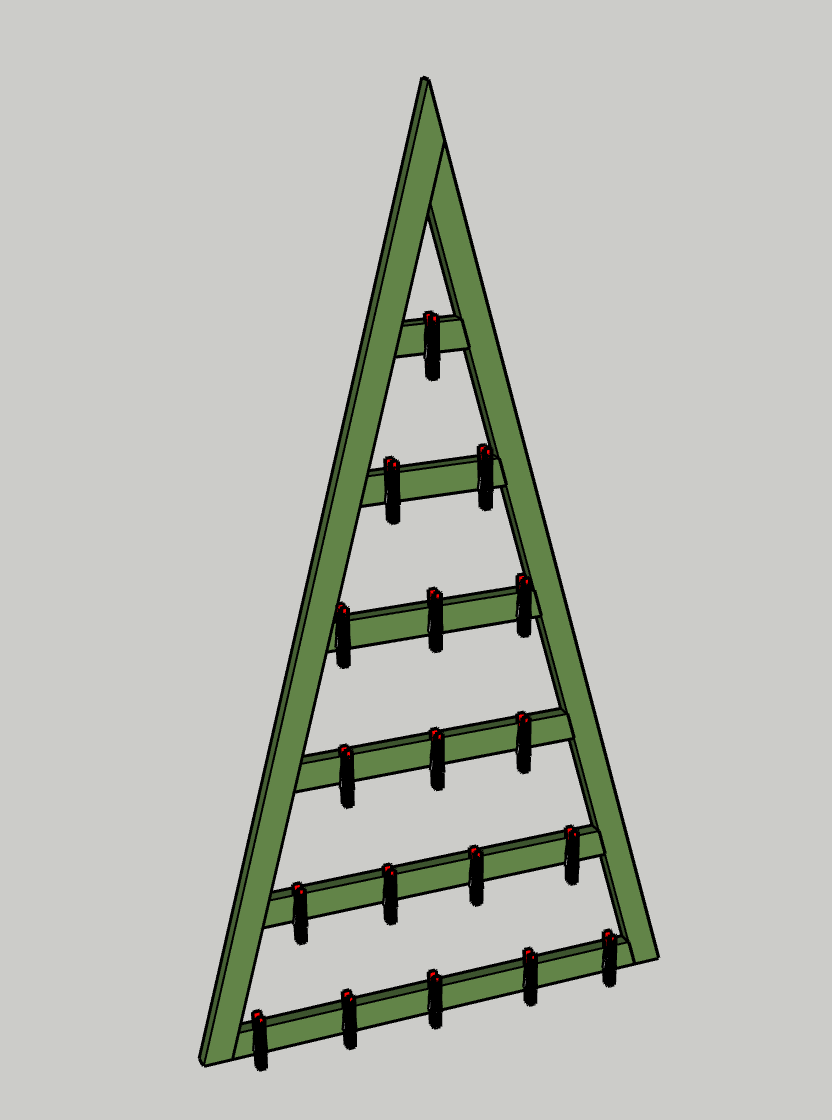
9Glue clothes pins
- Using wood glue, glue all of the clothes pins onto the rows. - Use as many as you’d like on each row, but use our image as a guide.
10Hang
- Hang an over the door hook over a door of your choice, then hang the top hole of the tree on the hook. - Fill with holiday cards all season long!
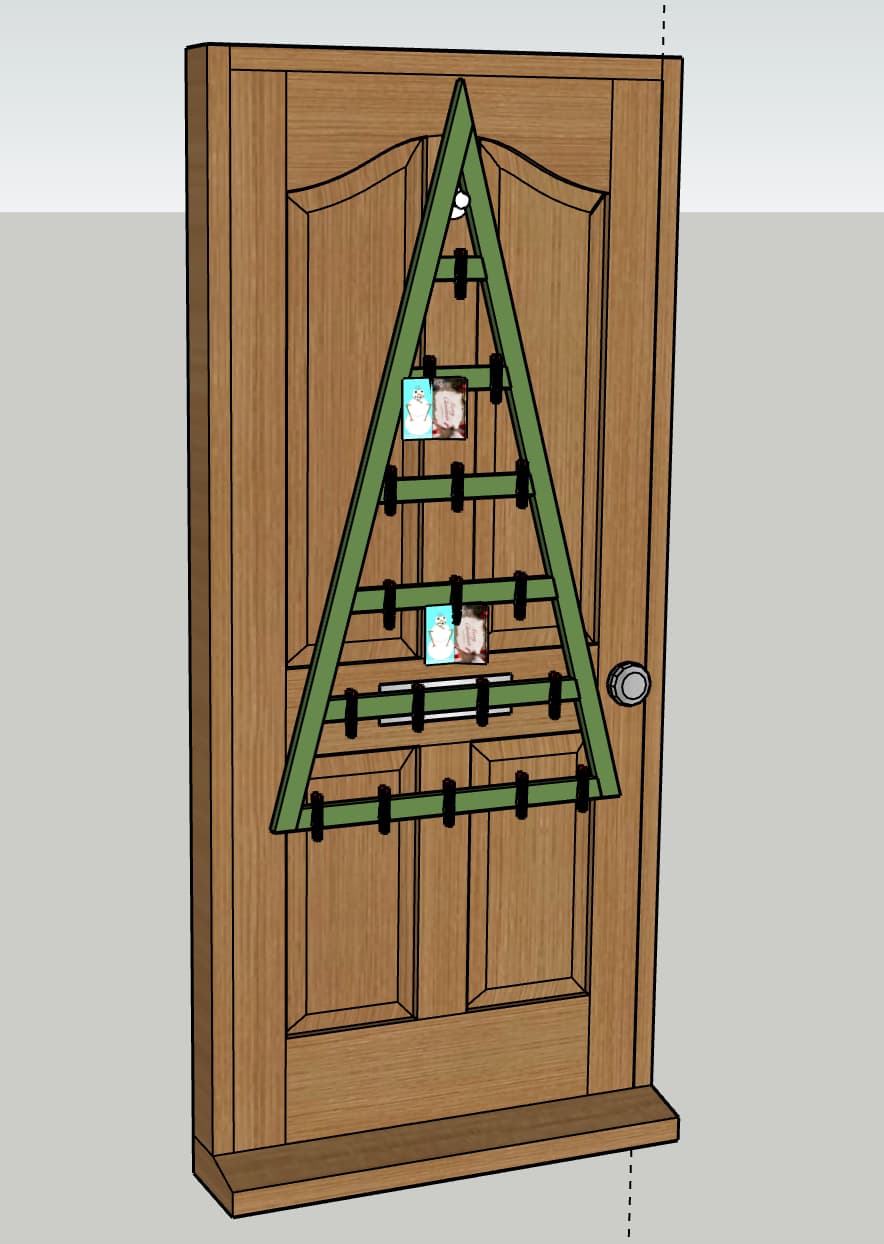
11Enjoy
Enjoy your handiwork and tag @CharlestonCrafted on Instagram with a picture!