 Notch
- Difficulty
- Easy
- Time
- 3.8–7 hours
- Cost
- $$
About this build
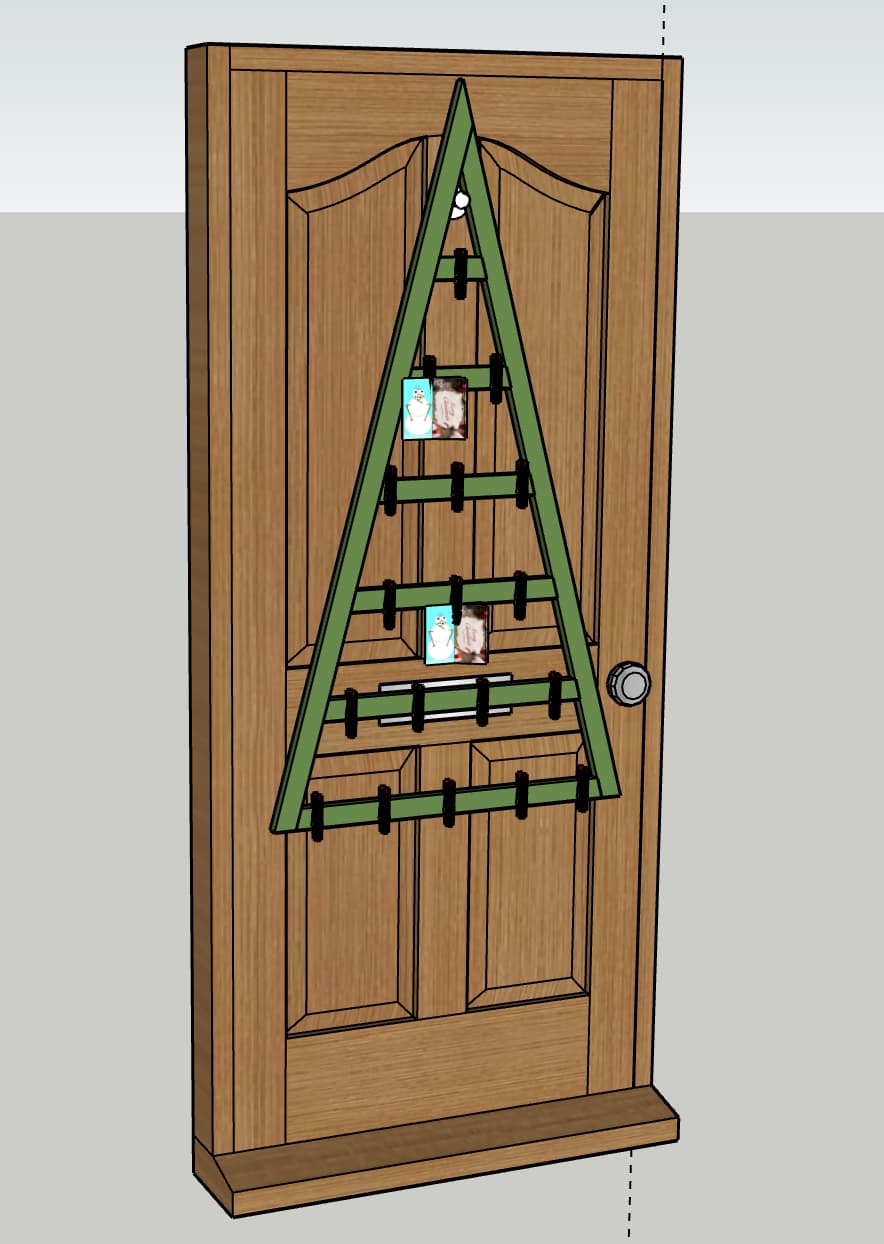
This DIY hanging Christmas card holder is great for hanging over the door and displaying all the cards you get each year. Use scrap 1/2" or 3/4" plywood, or rip a single 8' board down and that's all you need. Check out our simple tutorial!
Tools
Essential
- Circular Saw
- Drill / Driver
- Pocket Hole Jig
- Random Orbit Sander
Materials
| Item | Qty |
|---|---|
| 1/2" plywood | 1 board |
| 1" Kreg screws | 26 each |
| Wood glue | 1 each |
| Clothes pins | 18 each |
| Green spray paint | 1 each |
| Red spray paint | 1 each |
| Over the door wreath hanger | 1 each |
Overall cost: $$. Lumber prices vary by region, species, and season, so we give a band rather than a figure we would only be pretending to know.
Cut list
| Part | Qty | T × W × L |
|---|---|---|
| Left Side | 1 | 1" × 1" × 51" |
| Right Side | 1 | 1" × 1" × 48" |
| Row 1 | 1 | 1" × 1" × 4" |
| Row 2 | 1 | 1" × 1" × 8" |
| Row 3 | 1 | 1" × 1" × 12" |
| Row 4 | 1 | 1" × 1" × 16" |
| Row 5 | 1 | 1" × 1" × 20" |
| Row 6 | 1 | 1" × 1" × 24" |
What to buy
Buy 2 boards at 8 ft.
1" × 1"
2 boards
Assumes 8 ft stock, a 1/8" saw kerf, and buying each part at its own width. Change the board size or kerf on the full board plan →
Instructions
1Drill pocket holes
- Start by drilling all your pocket holes at once. - Drill two pocket holes in each end of all the Row pieces - Drill two pocket holes on the 30 degree mitered end of the Right Side.
2Assemble outside frame
- Using wood glue and pocket hole screws, attach the 30 degree mitered end of the Right Side to the long edge of the Left Side aligning the 30 degree ends. - Using wood glue and pocket hole screws, attach Row 6 flush at the bottom into the two sides.
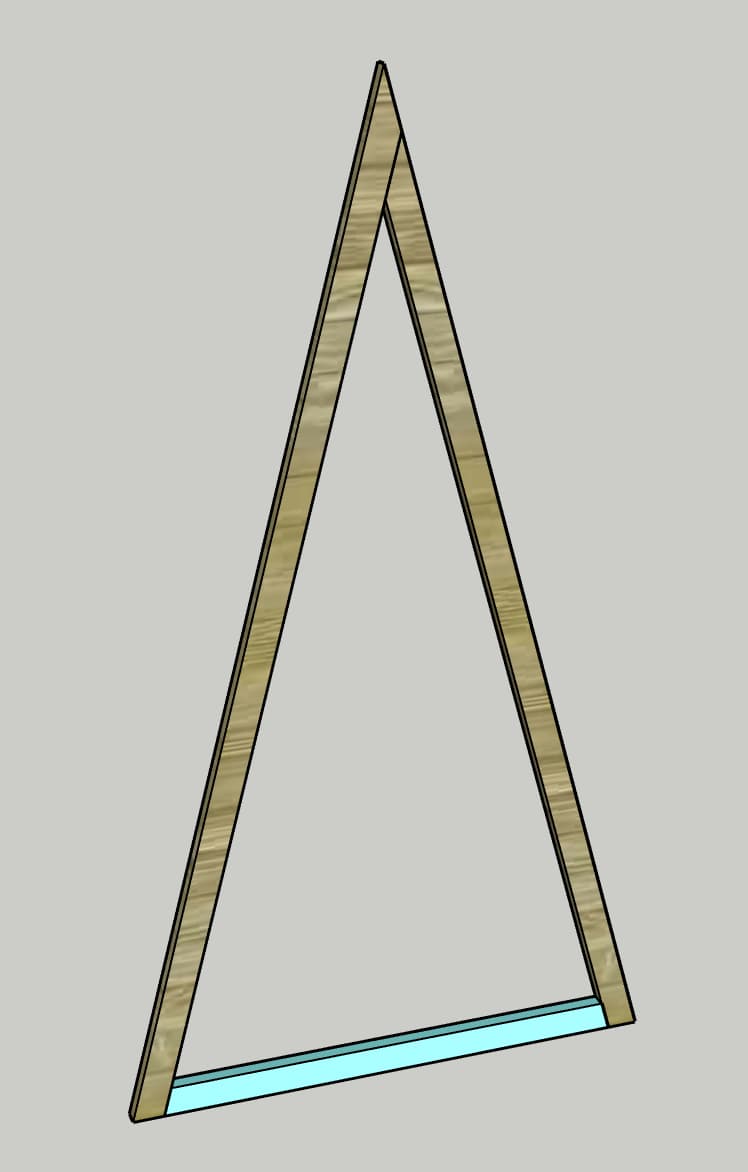
3Add row 5
- Using wood glue and pocket hole screws, attach Row 5 where the two ends meet the two Sides. - This should be approximately 6" up from the last row.
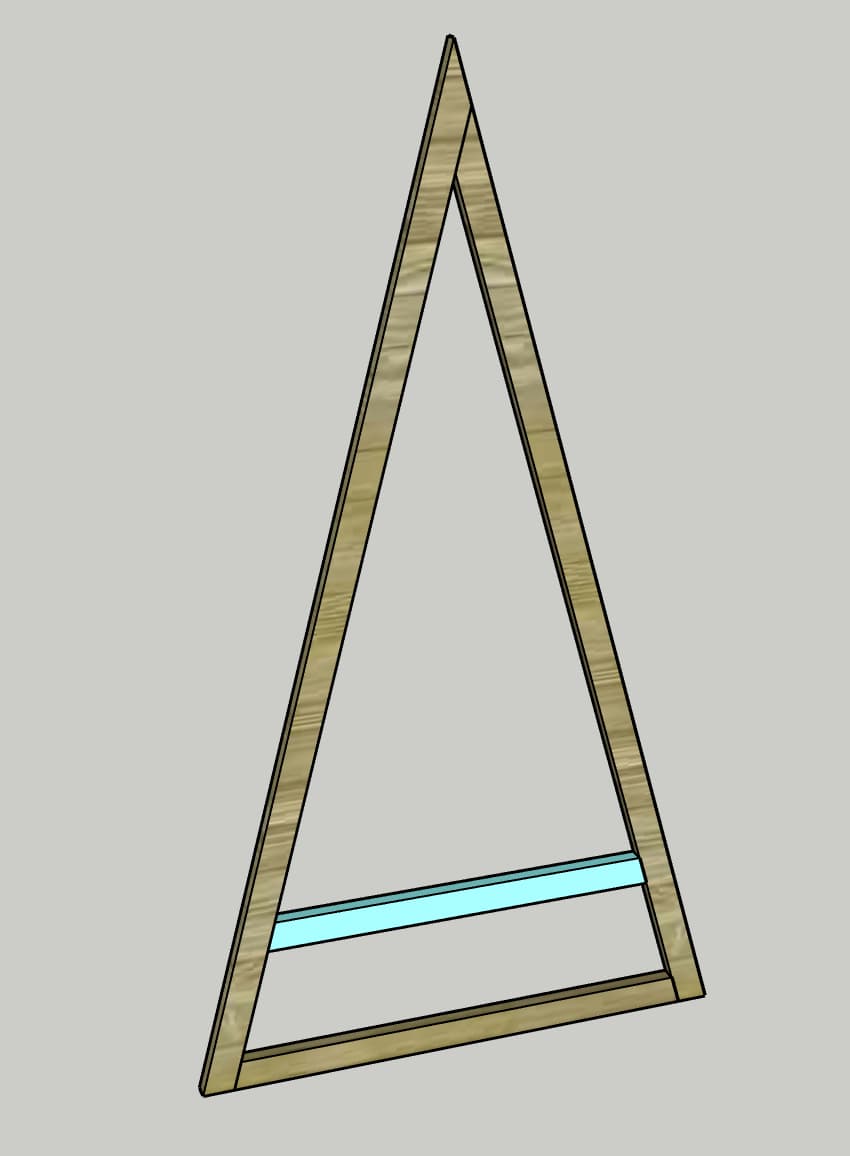
4Add row 4
- Using wood glue and pocket hole screws, attach Row 4 where the two ends meet the two Sides. - This should be approximately 6" up from the last row.
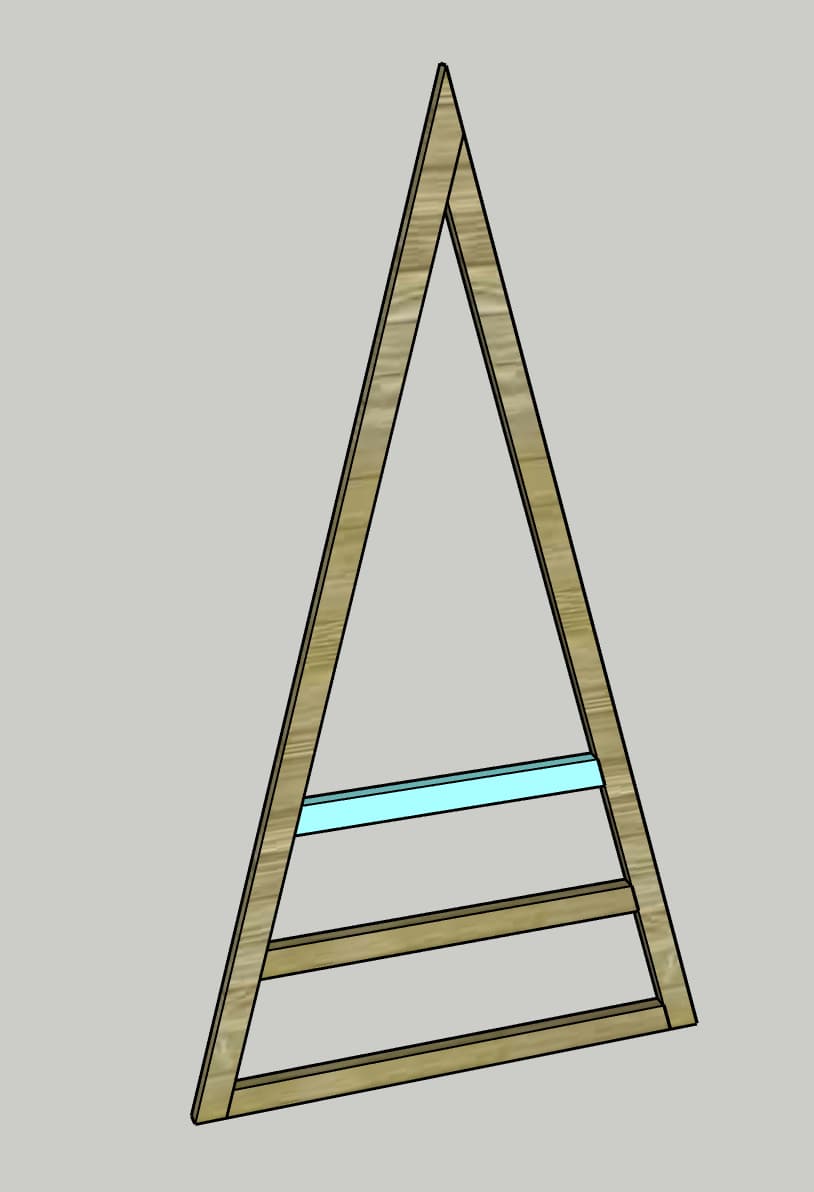
5Add row 3
- Using wood glue and pocket hole screws, attach Row 3 where the two ends meet the two Sides. - This should be approximately 6" up from the last row.
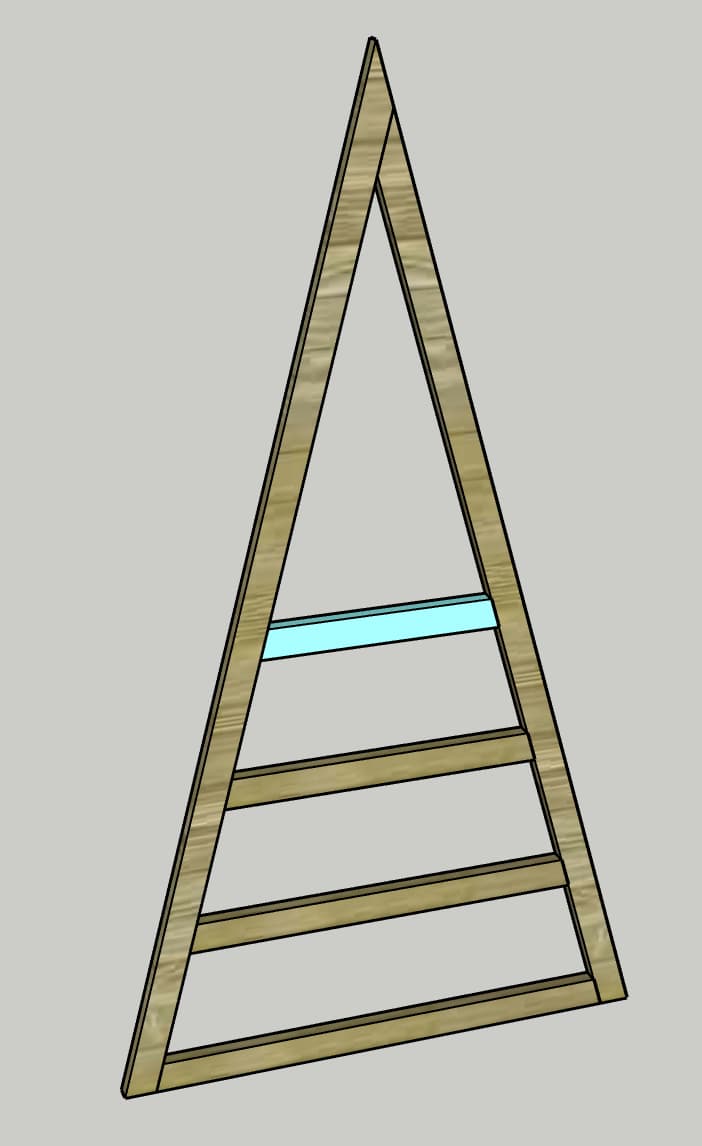
6Add row 2
- Using wood glue and pocket hole screws, attach Row 2 where the two ends meet the two Sides. - This should be approximately 6" up from the last row.
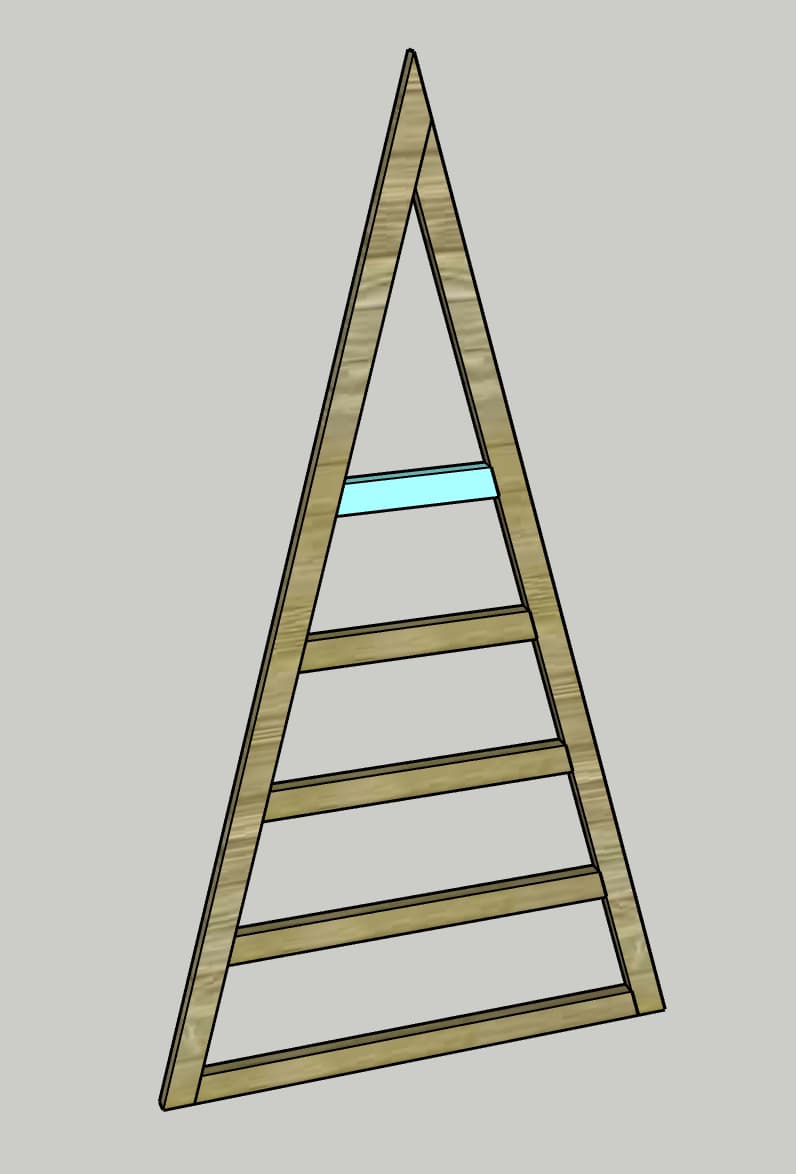
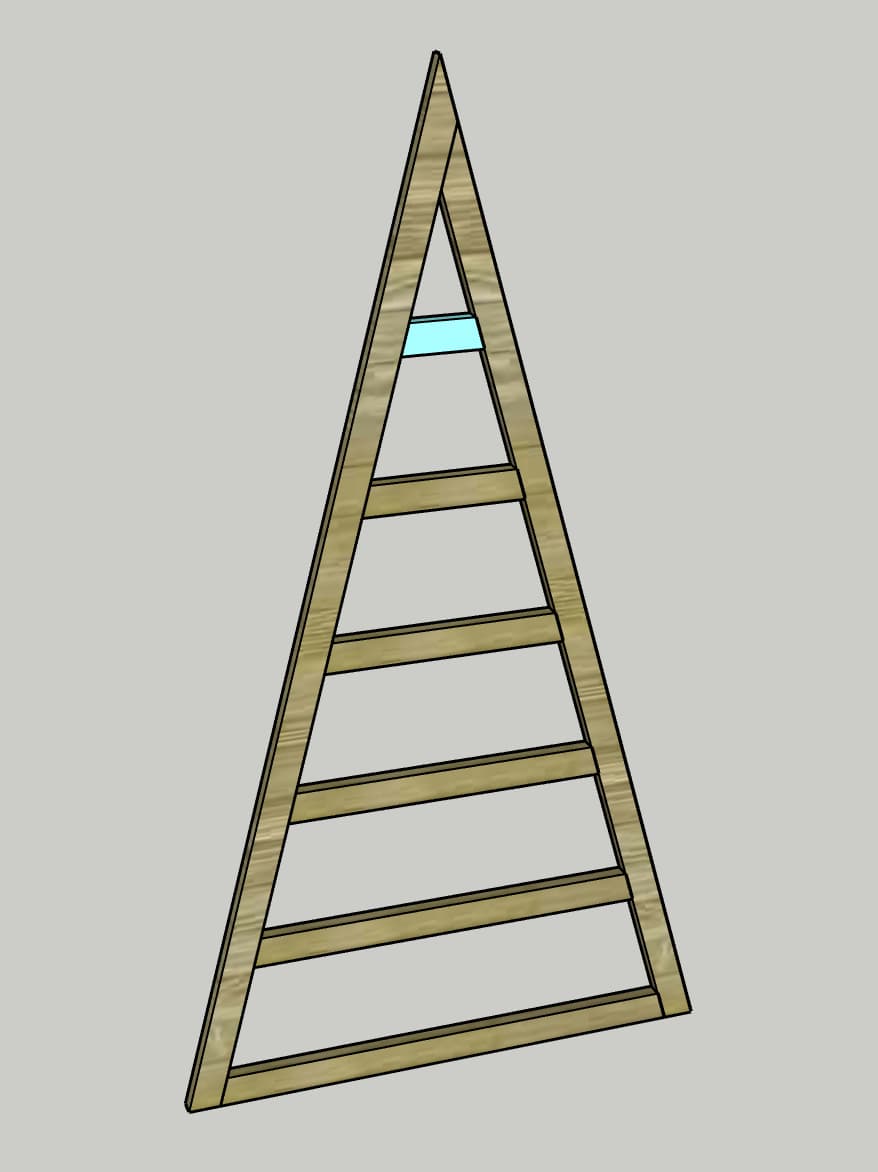
7Add row 1
- Using wood glue and pocket hole screws, attach Row 1 where the two ends meet the two Sides. - This should be approximately 6" up from the last row.
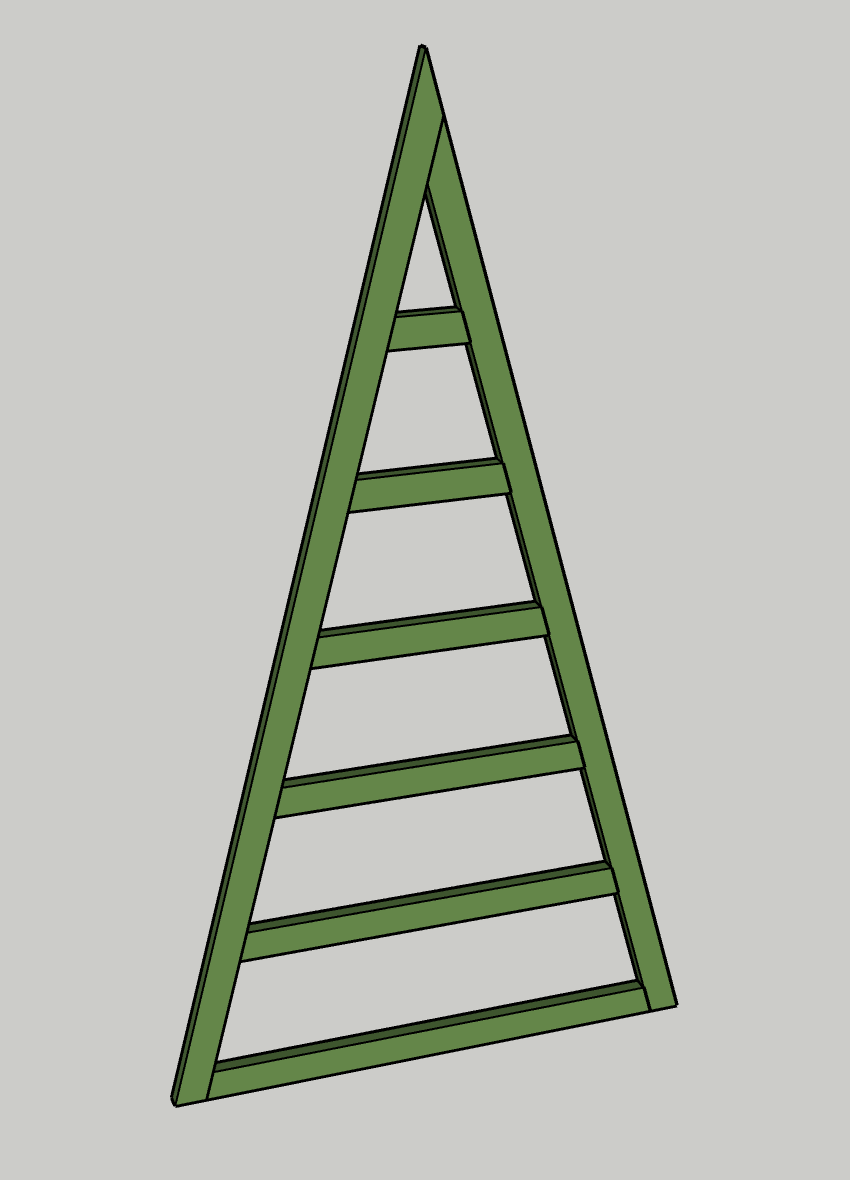
8Paint
- Use green paint to paint the tree. - Use red paint to paint the clothes pins.
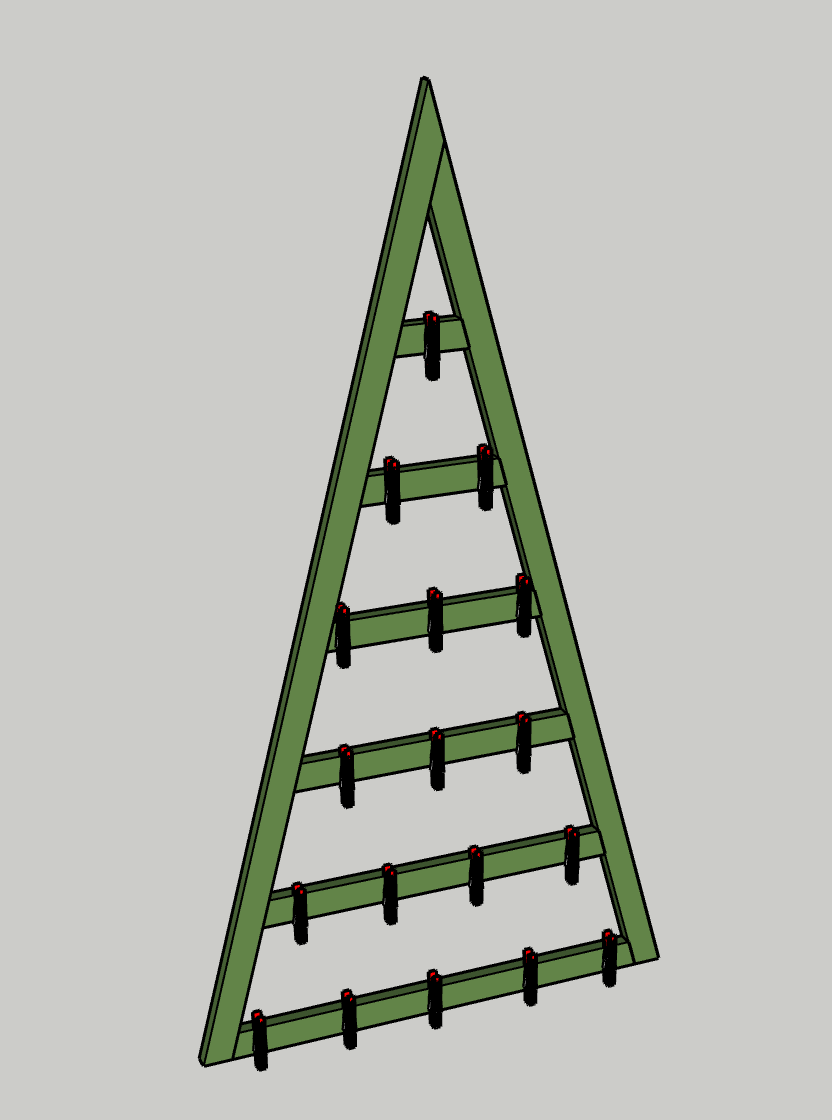
9Glue clothes pins
- Using wood glue, glue all of the clothes pins onto the rows. - Use as many as you’d like on each row, but use our image as a guide.
10Hang
- Hang an over the door hook over a door of your choice, then hang the top hole of the tree on the hook. - Fill with holiday cards all season long!
11Enjoy
Enjoy your handiwork and tag @CharlestonCrafted on Instagram with a picture!

Tags
- Holiday
- Beginner
Reviews & builds
No reviews yet
Sign in to review this plan or share your build.
No reviews yet. Be the first to build this.