 Notch
NotchUse your browser's Print (Ctrl/Cmd + P) and choose Save as PDF. This page works offline once you've opened it with a signal.
DIY Coat Rack
A DIY Modern Wall-Mounted Coat Rack.
- Difficulty
- Beginner
- Time
- 2.5–4.8 hours
- Cost
- $
Cut list
| Part | Qty | T × W × L | Material | ✓ |
|---|---|---|---|---|
| Coat Rack | 1 | 1" × 2" × 2" | — | ☐ |
Materials
| Item | Qty | ✓ |
|---|---|---|
| Board, 2x6 24" | 1 board | ☐ |
| "S-hooks" | 20 each | ☐ |
Overall cost: $. Lumber varies by region, species, and season, so we give a band rather than a figure.
Tools
- Drill / Driver
- Miter Saw
- Pocket Hole Jig
- Random Orbit Sander
- Table Saw
- Tape Measure — optional
Instructions
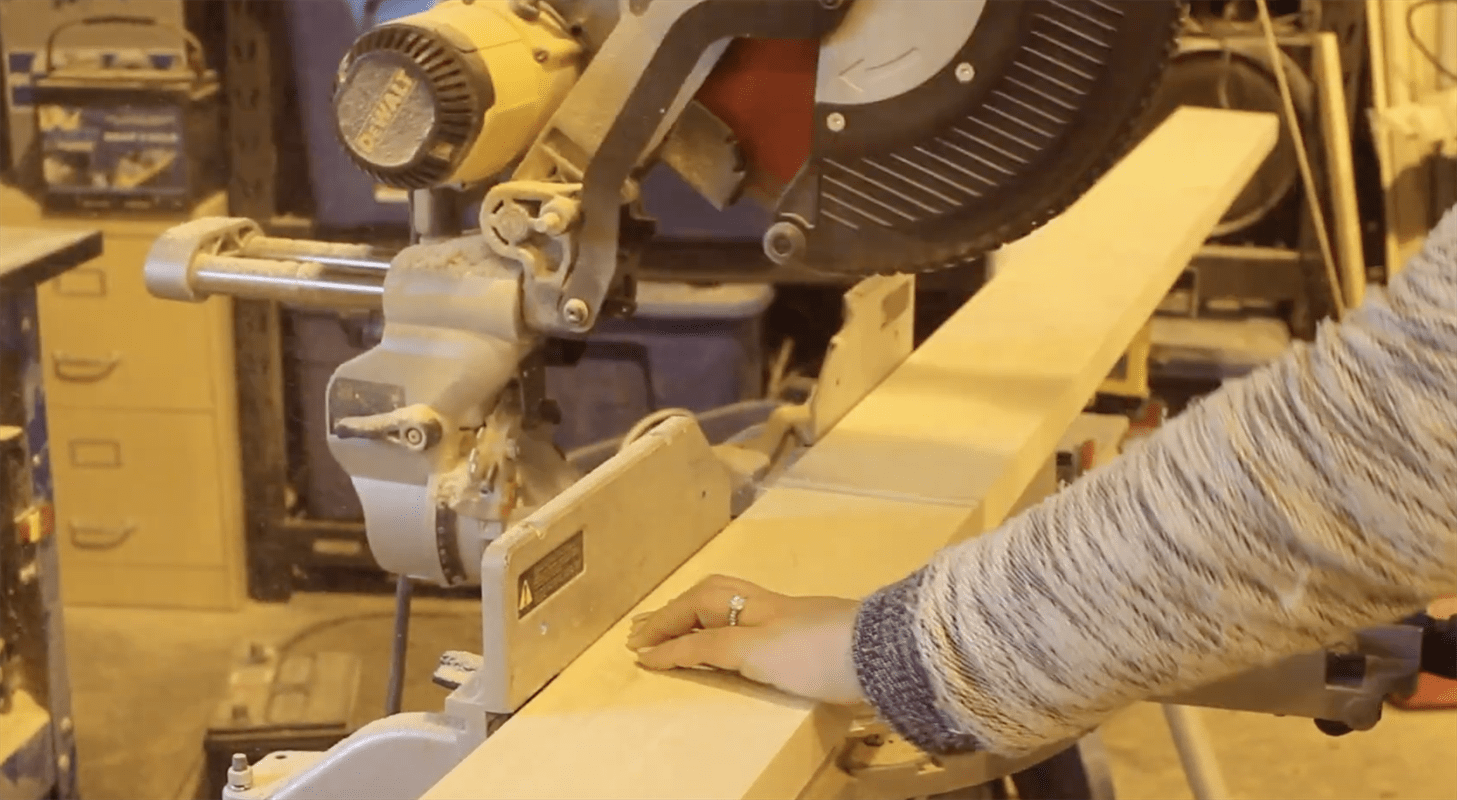
1. Cut 2x6 to length
Cut your 2x6 down to 24" in length
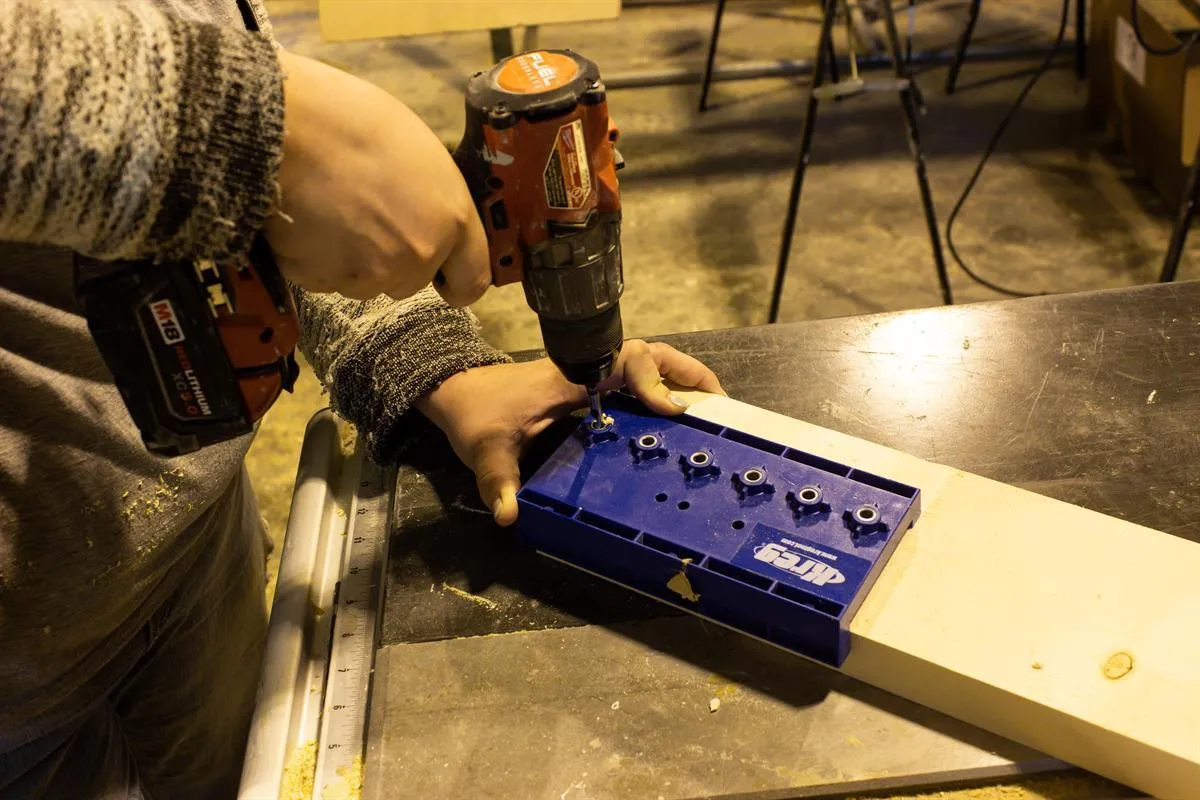
2. Drill face holes
Using your shelf pin jig (set on the larger offset width), drill your holes along the face of the 2x6
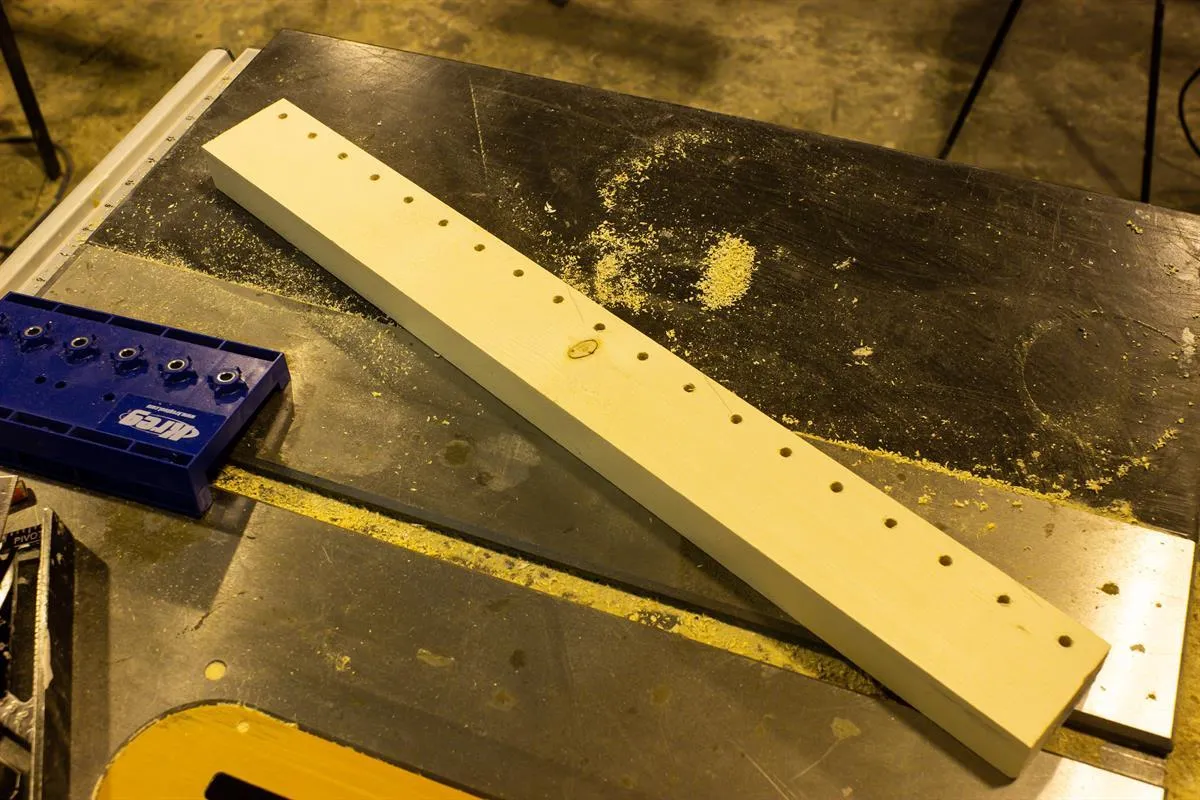
3. Cut 2x6 to width
Cut the 2x6 down from 5 1/2" wide to 2 3/4" wide. You will want to ensure your holes are 1/2" from the bottom of the board (when determining the orientation of your cut).
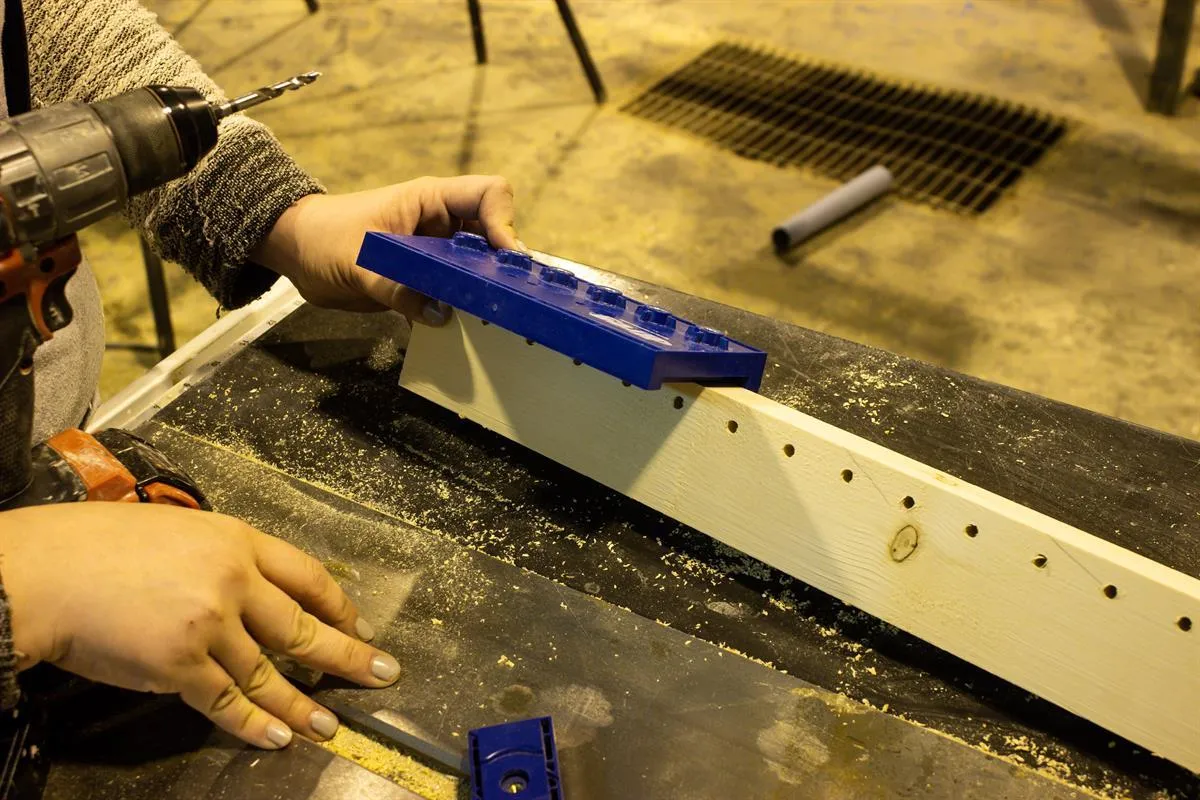
4. Drill Bottom Holes
Using your shelf pin jig drill the holes along the bottom of the board (you will need to ensure the shelf pin jig is set to its smallest offset setting)
5. Ream holes
in order to get your S hooks to hook into the board you may need to slight ream the holes larger using your drill bit (make the holes slightly larger in the up/down direction).
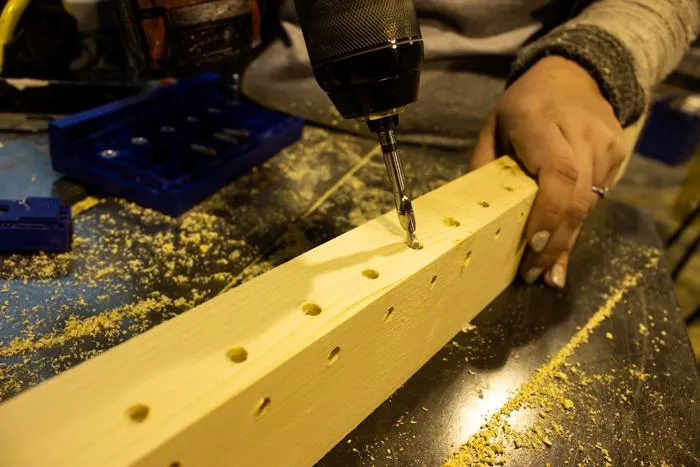
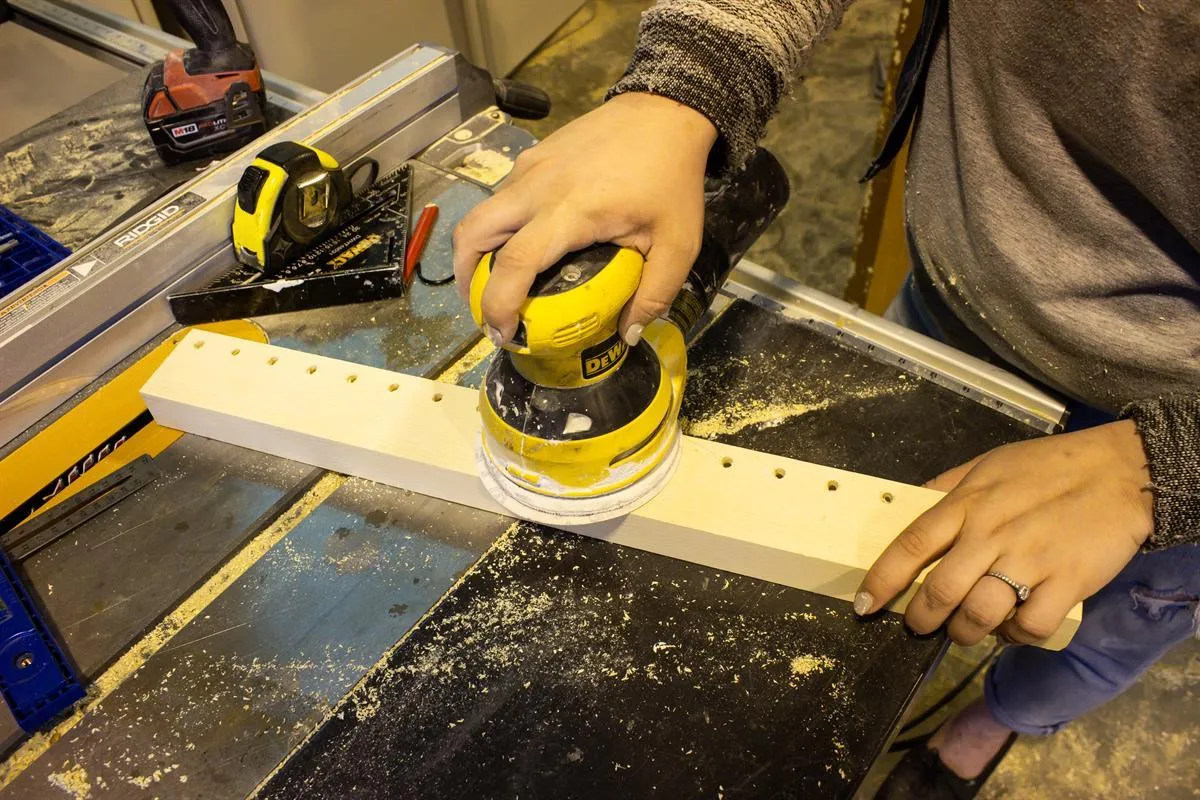
6. Sand and test fit
Sand your board and ensure all the holes allow the "S-Hooks" to fit properly.
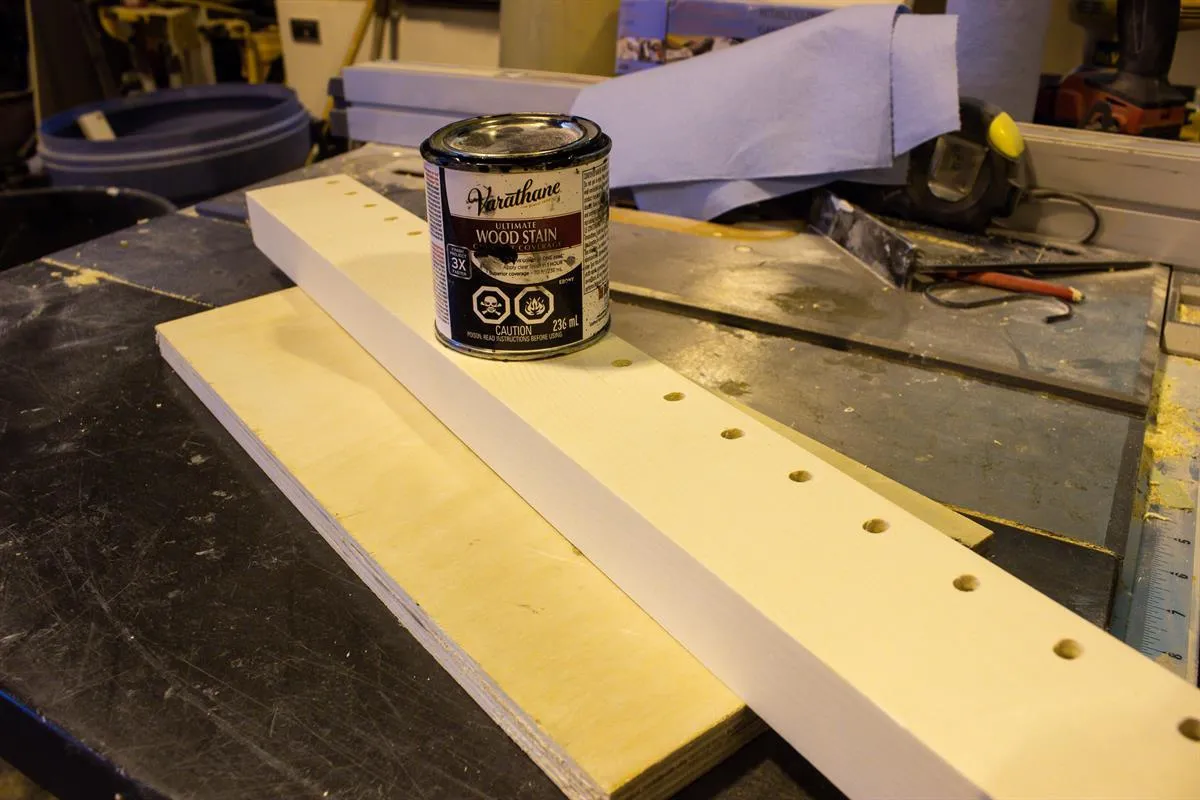
7. Stain / Finish board
Once you are happy with the sanded finish you can stain/varnish or paint your hanger. We used an ebony by Rust-Oleum/Varathane stain on our hanger.
8. Mount to wall
We used key holes in the back of the board to mount it to the wall. But you can directly screw or use hangers from the hardware store to mount to the wall.