 Notch
NotchUse your browser's Print (Ctrl/Cmd + P) and choose Save as PDF. This page works offline once you've opened it with a signal.
DIY Bench with Hairpin Legs
This DIY slatted bench is a simple, budget-friendly build and can be modify to whatever length or width you prefer.
- Difficulty
- Beginner
- Time
- 2–3.8 hours
- Cost
- $$
Cut list
| Part | Qty | T × W × L | Material | ✓ |
|---|---|---|---|---|
| Benchtop End Pieces | 2 | 2" × 2" × 10" | — | ☐ |
| Benchtop Slats | 5 | 2" × 2" × 36" | — | ☐ |
Materials
| Item | Qty | ✓ |
|---|---|---|
| Pine Board, 2x2 6 ft long | 4 board | ☐ |
| Scrap Piece, 1x2 Any | 1 board | ☐ |
| 2 1/2" Pocket Hole Screws | 20 each | ☐ |
| Hairpin Legs (16" high) | 4 each | ☐ |
| Stain or Paint | 1 each | ☐ |
| Spray Paint for Legs (optional) | 1 each | ☐ |
Overall cost: $$. Lumber varies by region, species, and season, so we give a band rather than a figure.
Tools
- Drill / Driver
- Hand Saw
- Pocket Hole Jig
- Random Orbit Sander
Instructions
1. 1
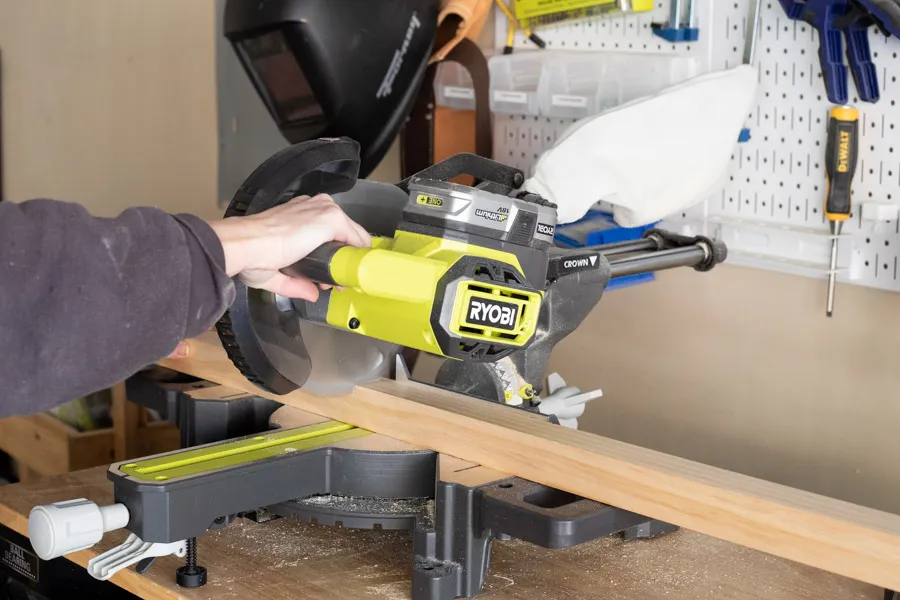
Cut Your Wood
Tip: Cut to the following dimensions: (2) 2x2 at 10 ½” long (for benchtop end pieces) (5) 2x2 at 36” long (for benchtop slats)
2. 2
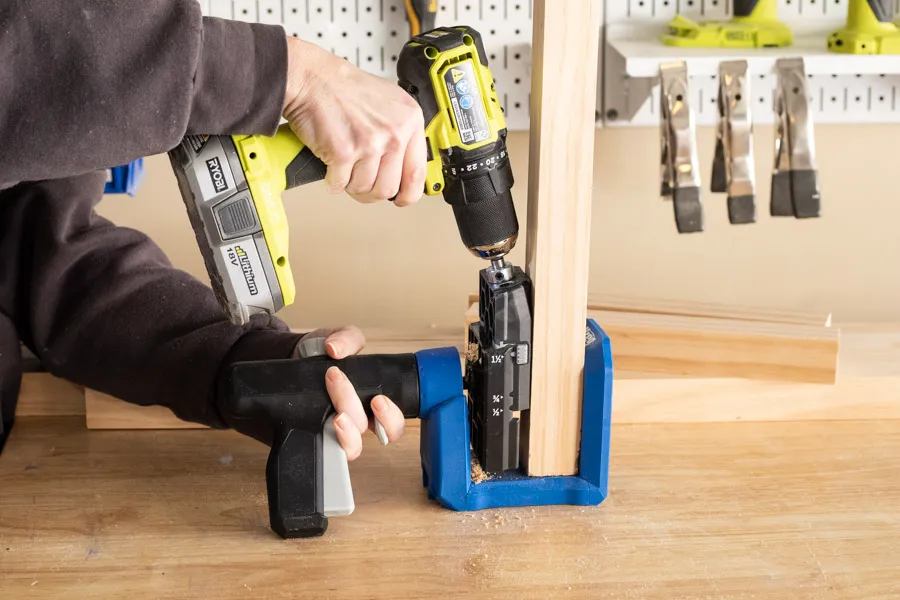
Drill Pocket Holes
Tip: Drill 2 pocket holes at each end of your 36” long 2x2 boards
3. 3
Sand
Tip: Sand edges and ends smooth.
4. 4
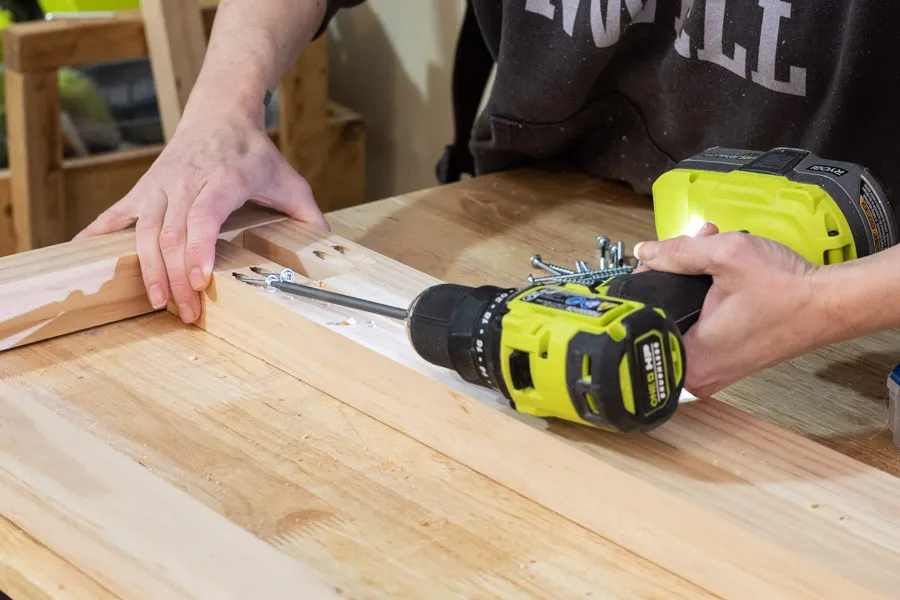
Attach Slats to End Pieces
Tip: Using 2 ½” pocket hole screws, attach your 36” long 2x2 boards perpendicular to your 10 ½” long end pieces. Use a scrap 1x2 board turned on its side as a spacer between each slat.
5. 5
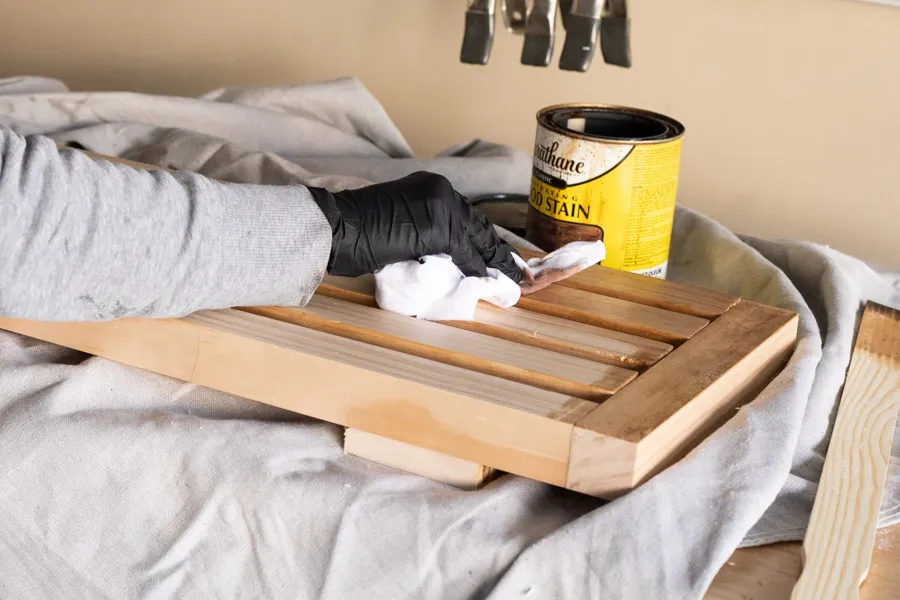
Stain or Paint
Tip: Stain your benchtop (I used special walnut stain), and you can also spray paint your hairpin legs (optional).
6. 6
Attach Legs
Tip: Attach your hairpin legs (I spaced mine 2 ½” in from each end)