 Notch
DIY Bench with Hairpin Legs
Step-by-step build — 6 steps. Also available as a print sheet.
11
Cut Your Wood
Tip: Cut to the following dimensions: (2) 2x2 at 10 ½” long (for benchtop end pieces) (5) 2x2 at 36” long (for benchtop slats)
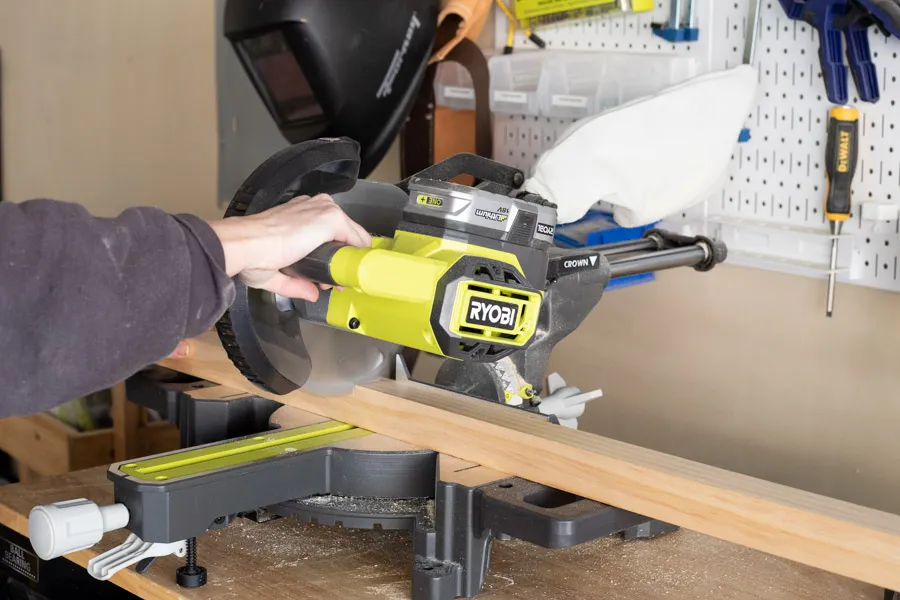
22
Drill Pocket Holes
Tip: Drill 2 pocket holes at each end of your 36” long 2x2 boards
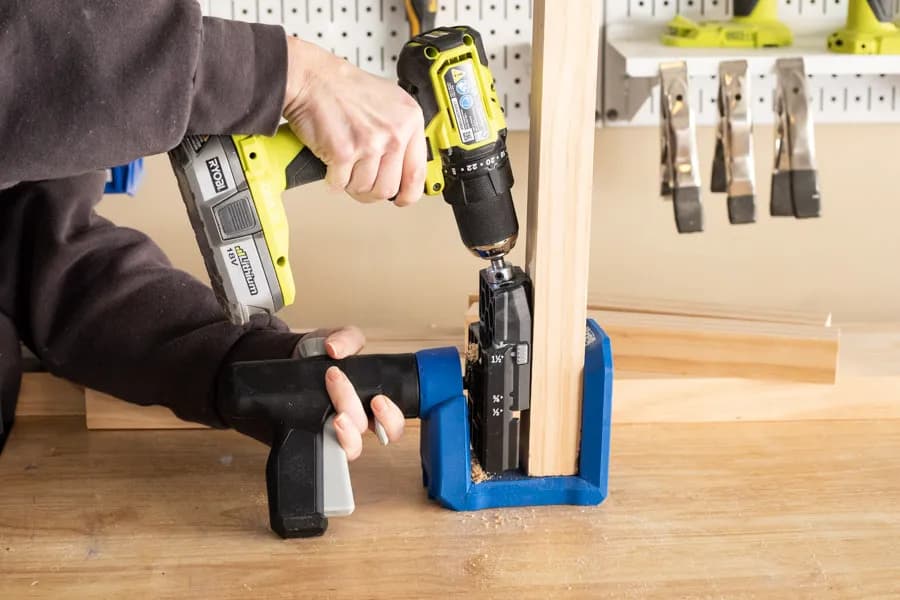
33
Sand
Tip: Sand edges and ends smooth.
44
Attach Slats to End Pieces
Tip: Using 2 ½” pocket hole screws, attach your 36” long 2x2 boards perpendicular to your 10 ½” long end pieces. Use a scrap 1x2 board turned on its side as a spacer between each slat.
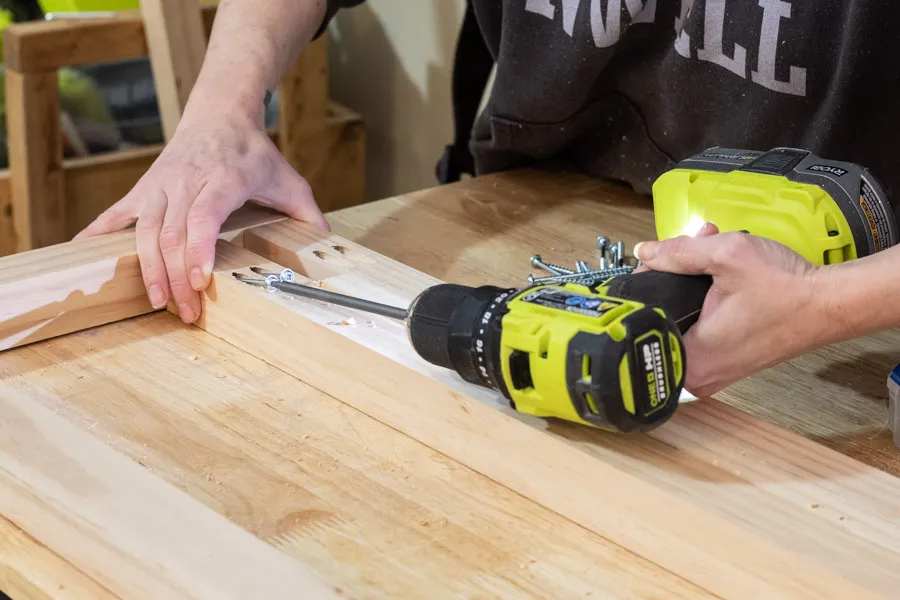
55
Stain or Paint
Tip: Stain your benchtop (I used special walnut stain), and you can also spray paint your hairpin legs (optional).
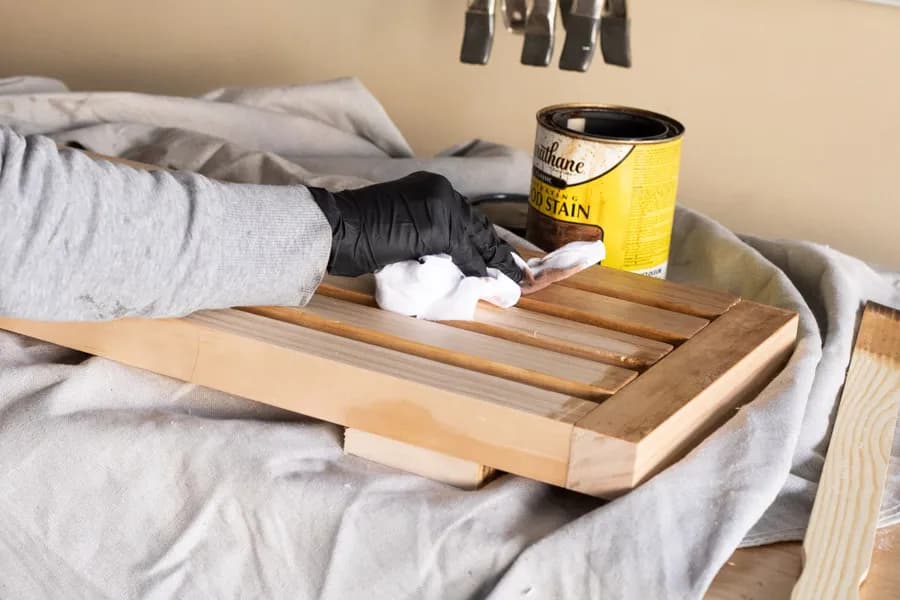
66
Attach Legs
Tip: Attach your hairpin legs (I spaced mine 2 ½” in from each end)