Notch
Desk Calendar & Pencil Holder
Step-by-step build — 7 steps. Also available as a print sheet.
1Cut wood.
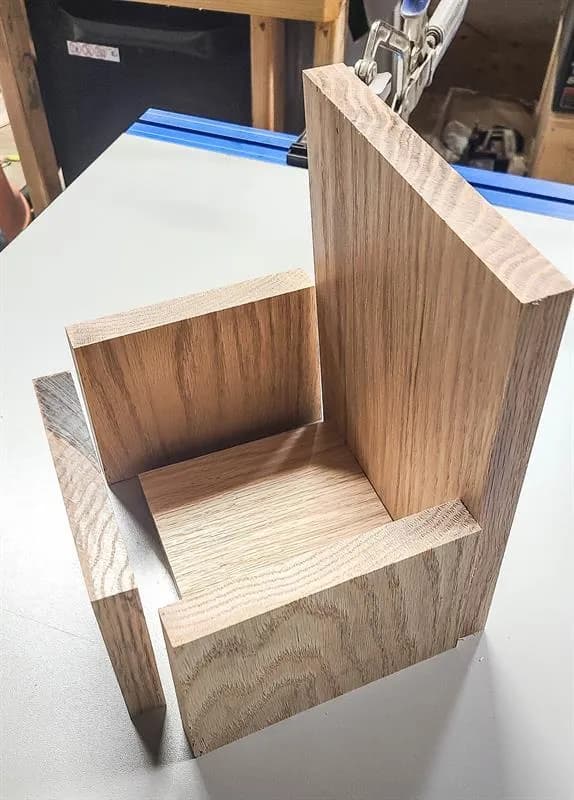
Cut wood down to size according to the woodworking plans (available in the Extras tab below). You'll need to make a couple angled cuts. For those you can use a double bevel compound miter saw.
2Drill pocket holes.
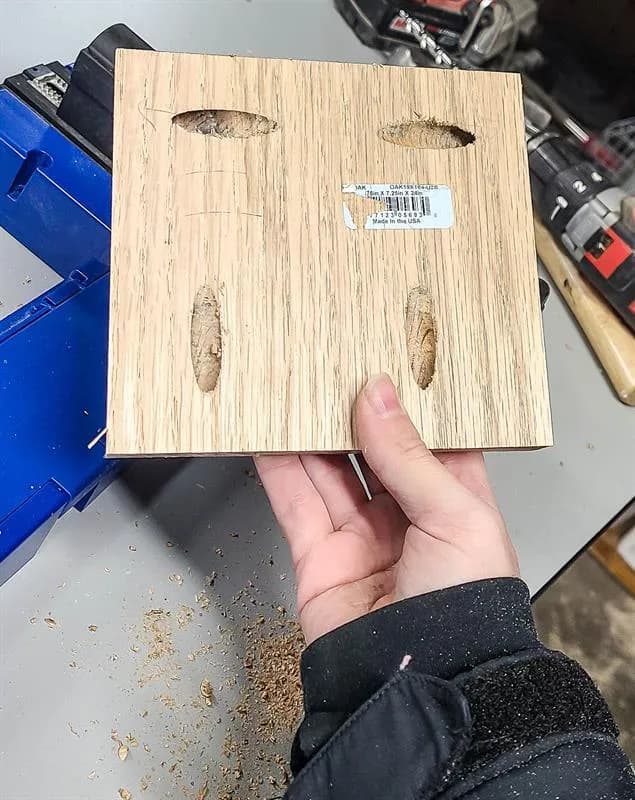
Drill 4 pocket holes on the bottom panel (as shown in woodworking plans) using your Kreg pocket hole jig. You'll drill 2 going towards the front and 1 on each side going towards the sides.
3Assemble.
- Start with attaching the sides to the back panel with wood glue, 1 1/4" brad nails and a nail gun.
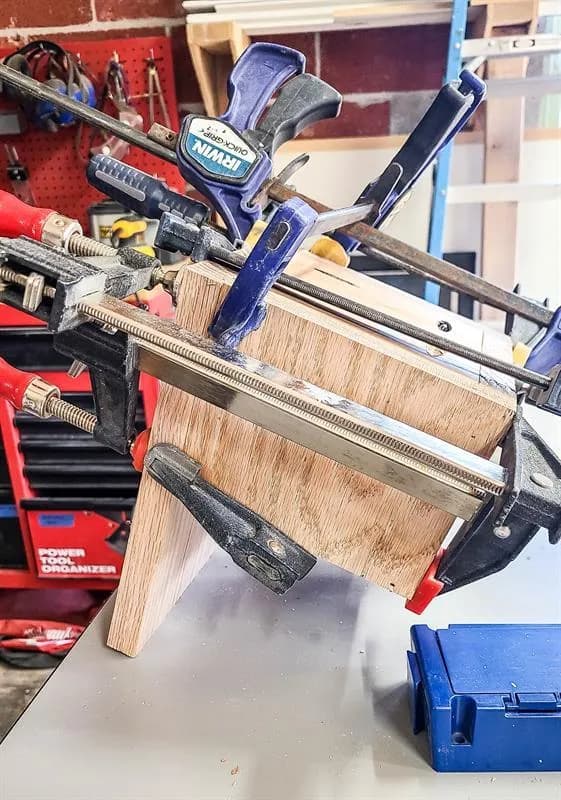
- Next attach the bottom panel by screwing in at the pocket hole locations once in place. Lastly attach the front panel with wood glue and clamp until dry.
4Sand.
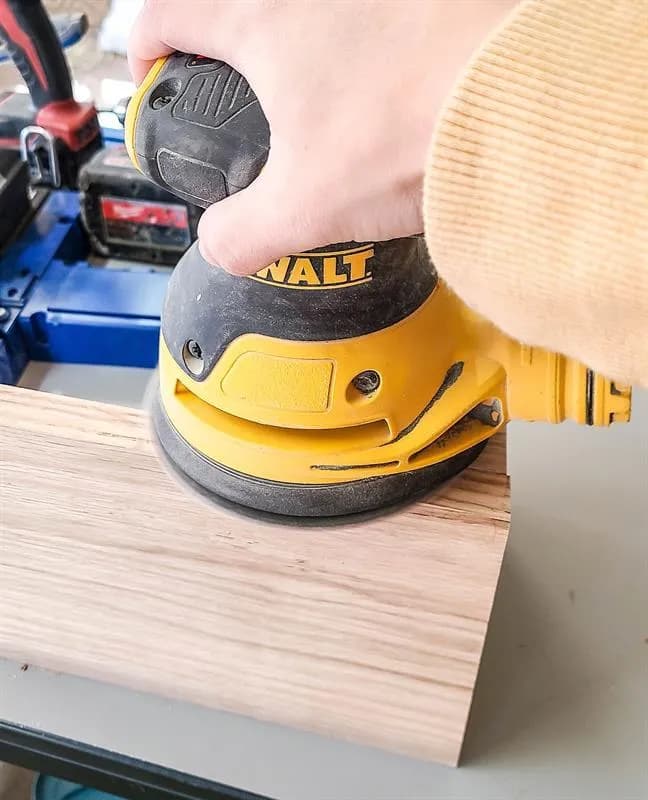
Sand everything thoroughly with an orbital sander. Start with 80 grit sandpaper and then move onto 150 grit sandpaper to smooth.
5Fill nail holes.
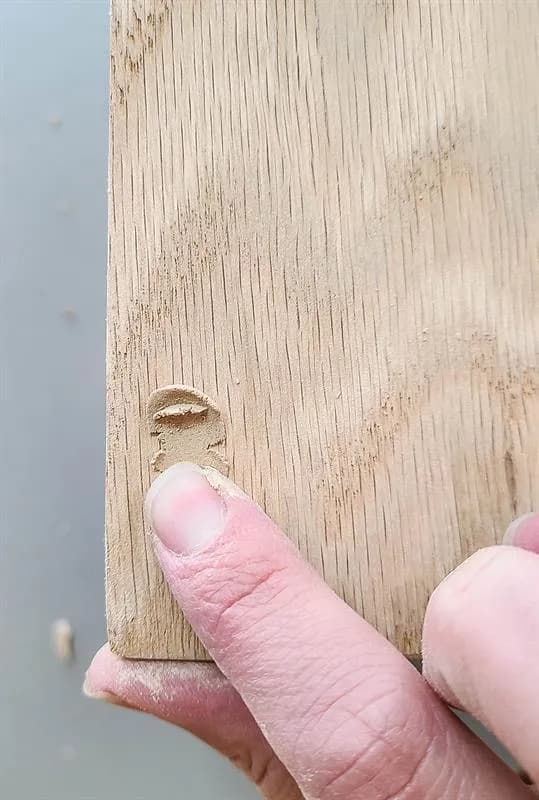
Fill nails holes and any gaps at the joints with wood filler or wood putty. Let dry and sand smooth with 150 grit sandpaper.
6Stain and seal.
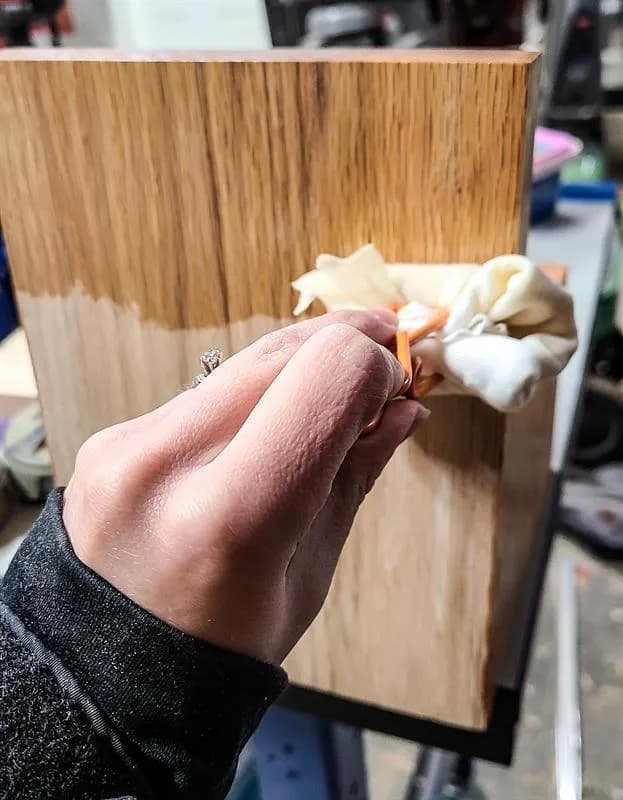
- Wipe everything well and then apply a generous layer of stain. We used Natural wood stain.
- Once dry, seal with polyurethane.
7Attach clip.
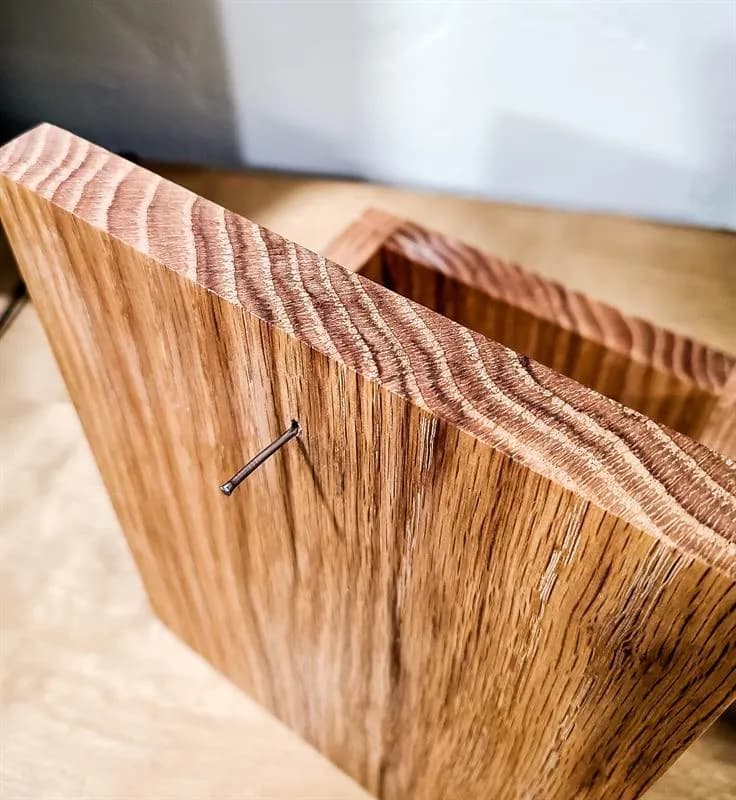
To finish things up, put in a small finish nail on the front to hang a binder clip to the front to hang your calendar.