Notch
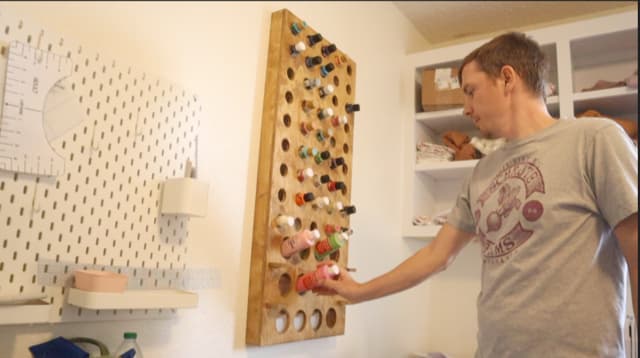
Craft Paint Wall Storage
Step-by-step build — 10 steps. Also available as a print sheet.
1Step one
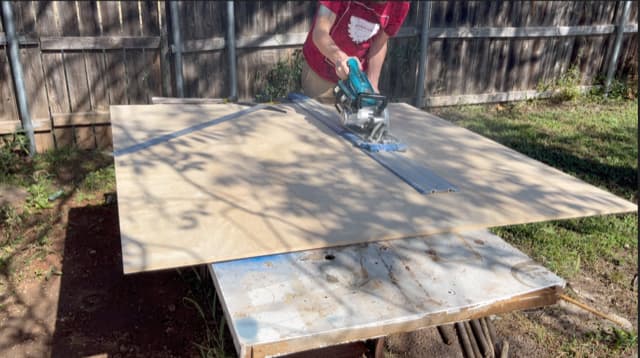
Cut your 1/2” material down to 18X40 inches.
2Step two
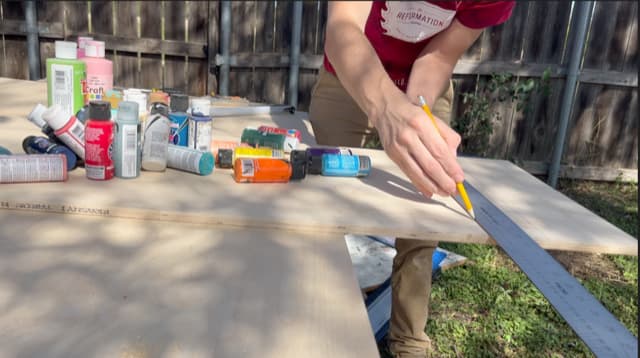
Make horizontal lines every 3”s starting 2”s from the top until you’ve made 12 lines. Then make vertical intersecting lines every 2”s.
3Step three
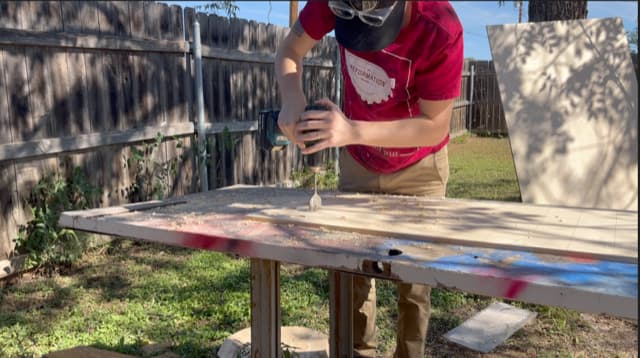
Drill 1 3/8” holes where your vertical and horizontal lines intersect.
4Step four
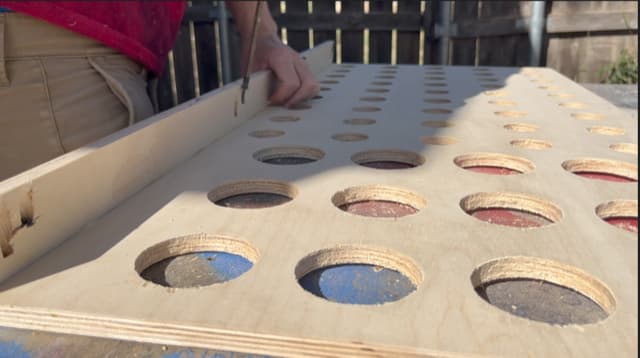
Cutout and then pocket hole 2”X40” body pieces to the back of your storage.
5Step five
Cutout and then pocket hole 2”x17” shelf pieces to the back of your storage.
6Step six
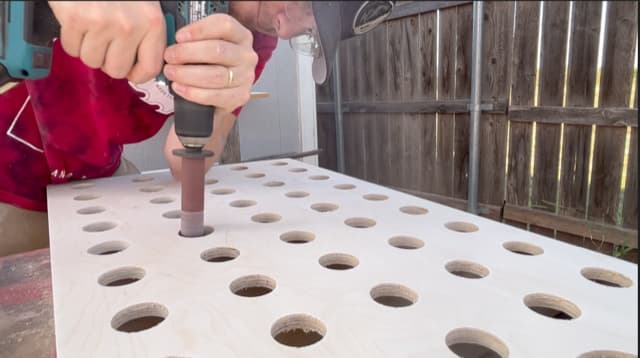
Sand holes and face of storage thoroughly.
7Step seven
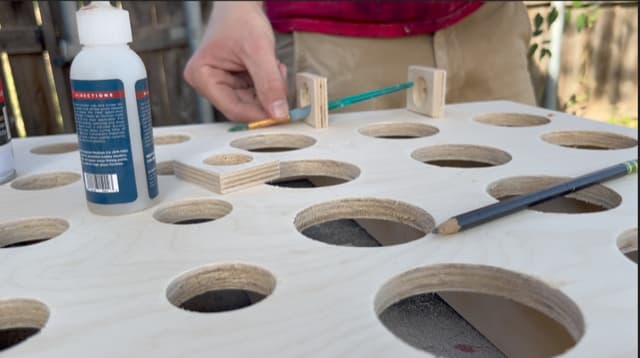
Cutout and attach 2”X2” pieces to the face of your storage. One with an 1 1/5” hole in it.
8Step eight
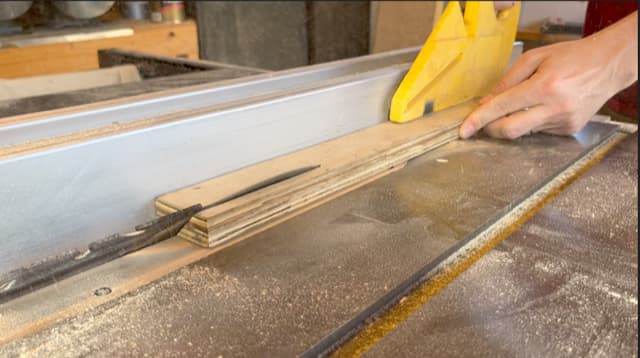
Cut a 2” piece of 3/4” material in half at a 45 degree angle. Mount one piece into your storage and one piece onto the wall so that they match fit each other and the one on the wall holds the storage up.
9Step nine
Hang your storage on the French cleat you made.
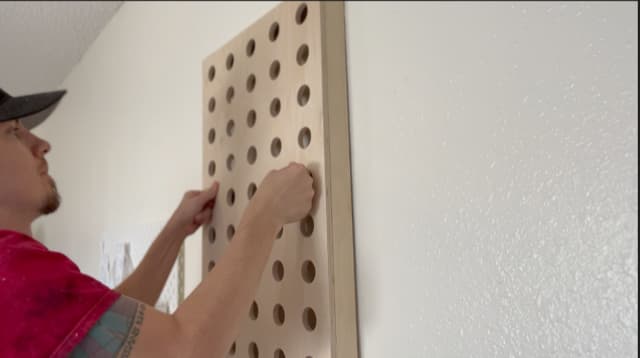
10Step ten
Fill your storage up with all of your paints and enjoy!