Notch
NotchCoffee Table with Train Table/Storage
Step-by-step build — 12 steps. Also available as a print sheet.
1Prepare base
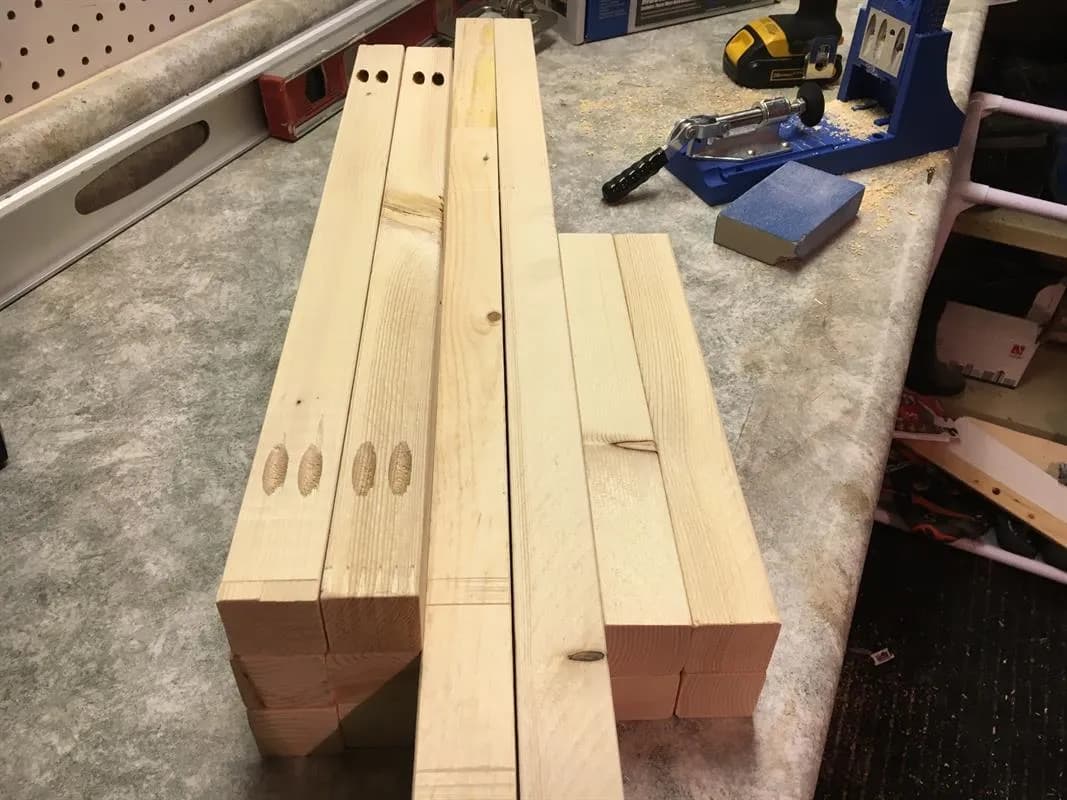
Once pieces are cut to size according to cut list, drill pocket holes into all of the 1-1/2"x 1-1/2" pieces for the base, except the 12" ones. Sand all pieces.
2Prepare tabletop surround
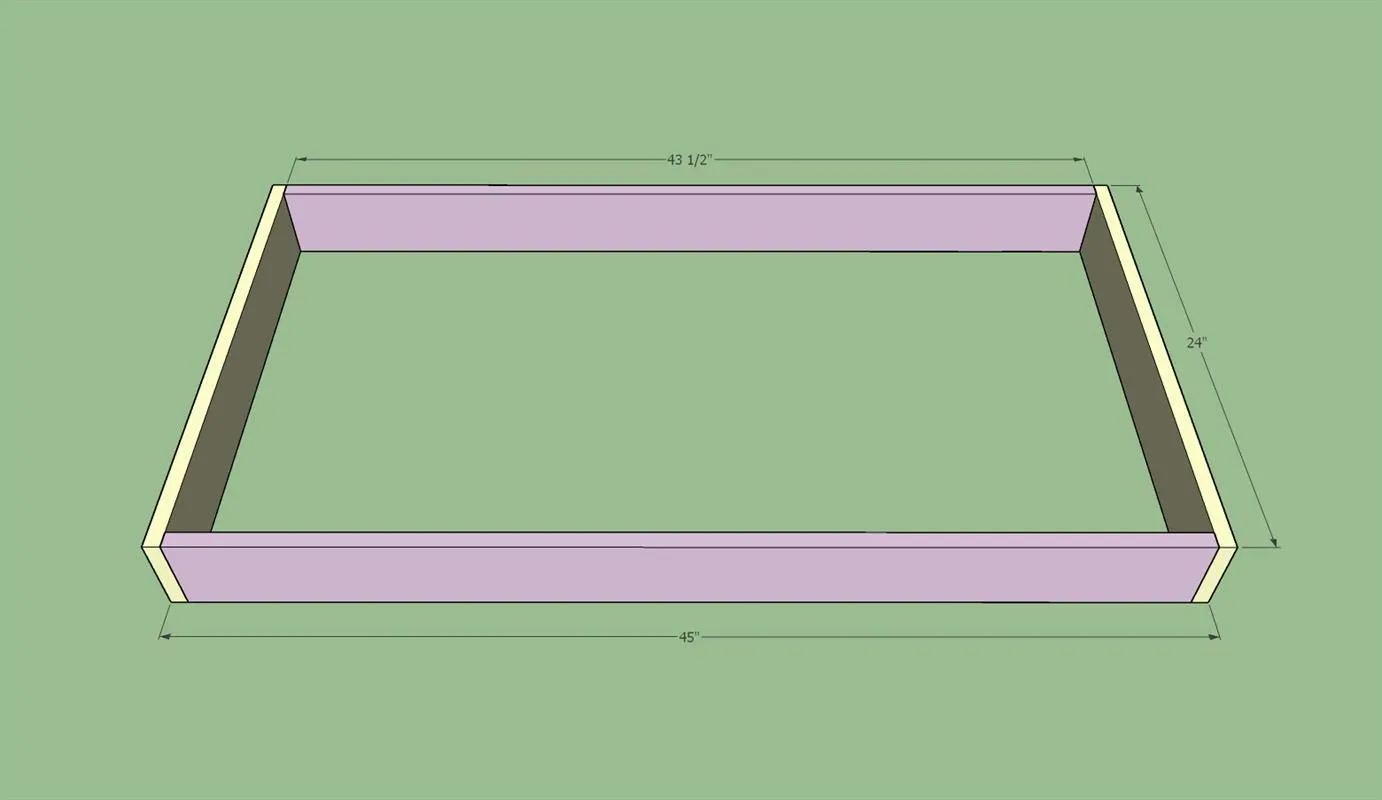
Drill pocket holes into all four pieces, plus an additional two holes on the sides of the longer pieces to create a "box." Attach all four pieces using 1-1/4" pocket screws. Sand all pieces smooth with 120 grit sandpaper.
3Build frame base - part 1
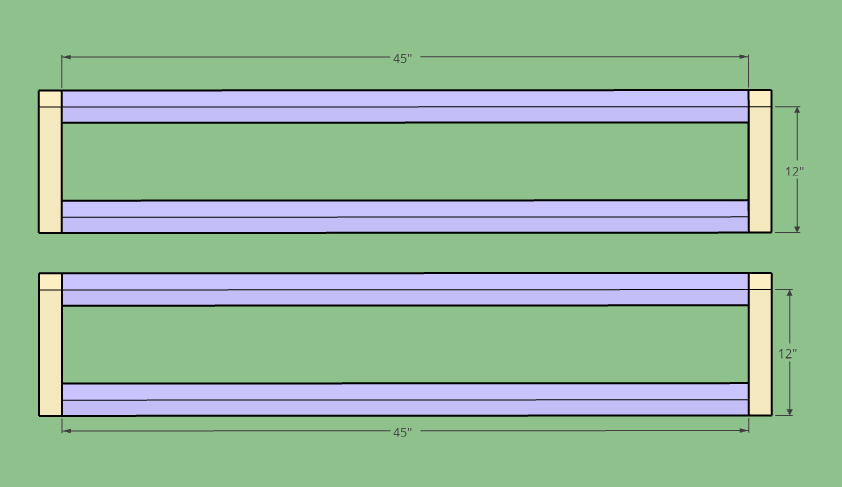
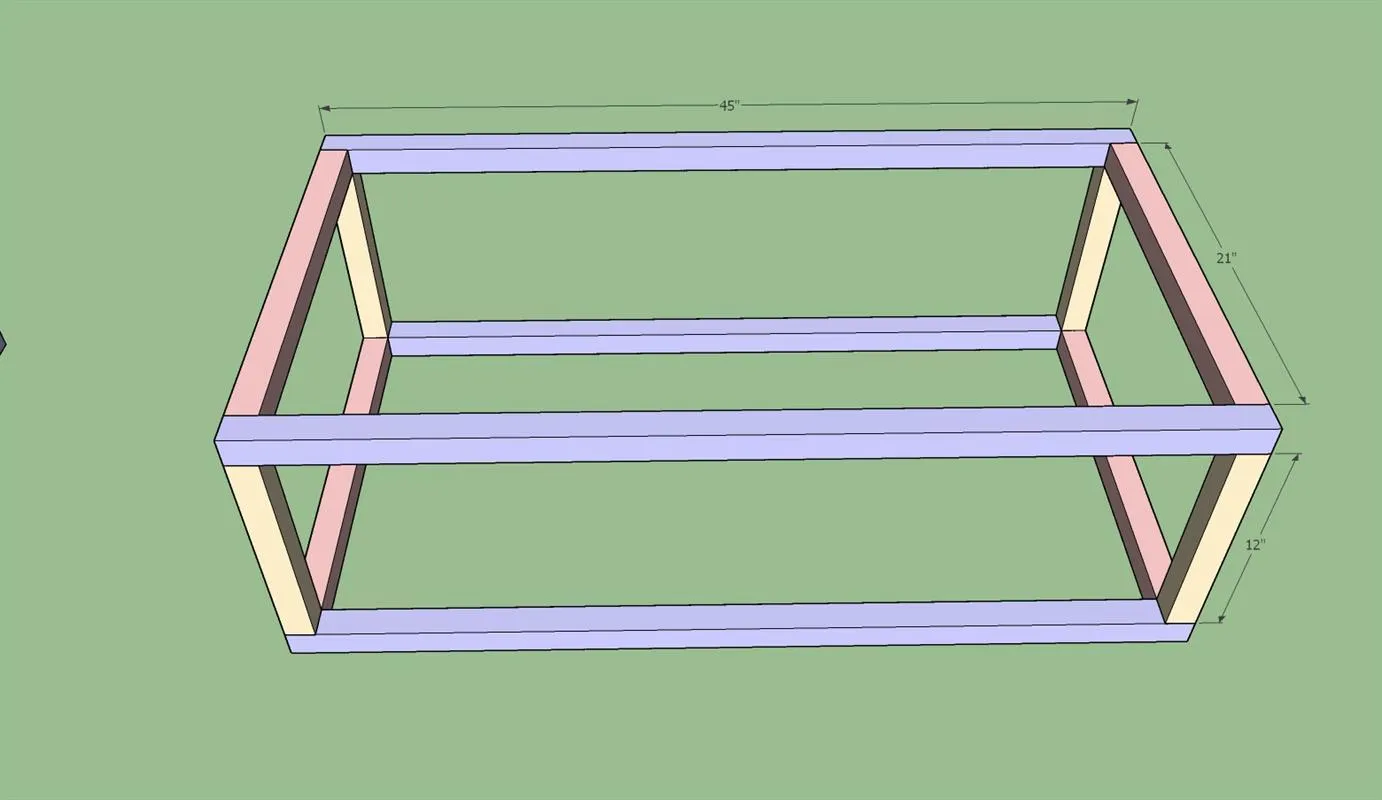
Using 45" and 21" pieces of the 1-1/2"x1-1/2" boards, create two frames as illustrated in image using 2-1/2" pocket screws.
4Build frame base - part 2
Attach 1-1/2"x1-1/2"x21" pieces to the frames using 2-1/2" pocket screws.
5Build bottom supports
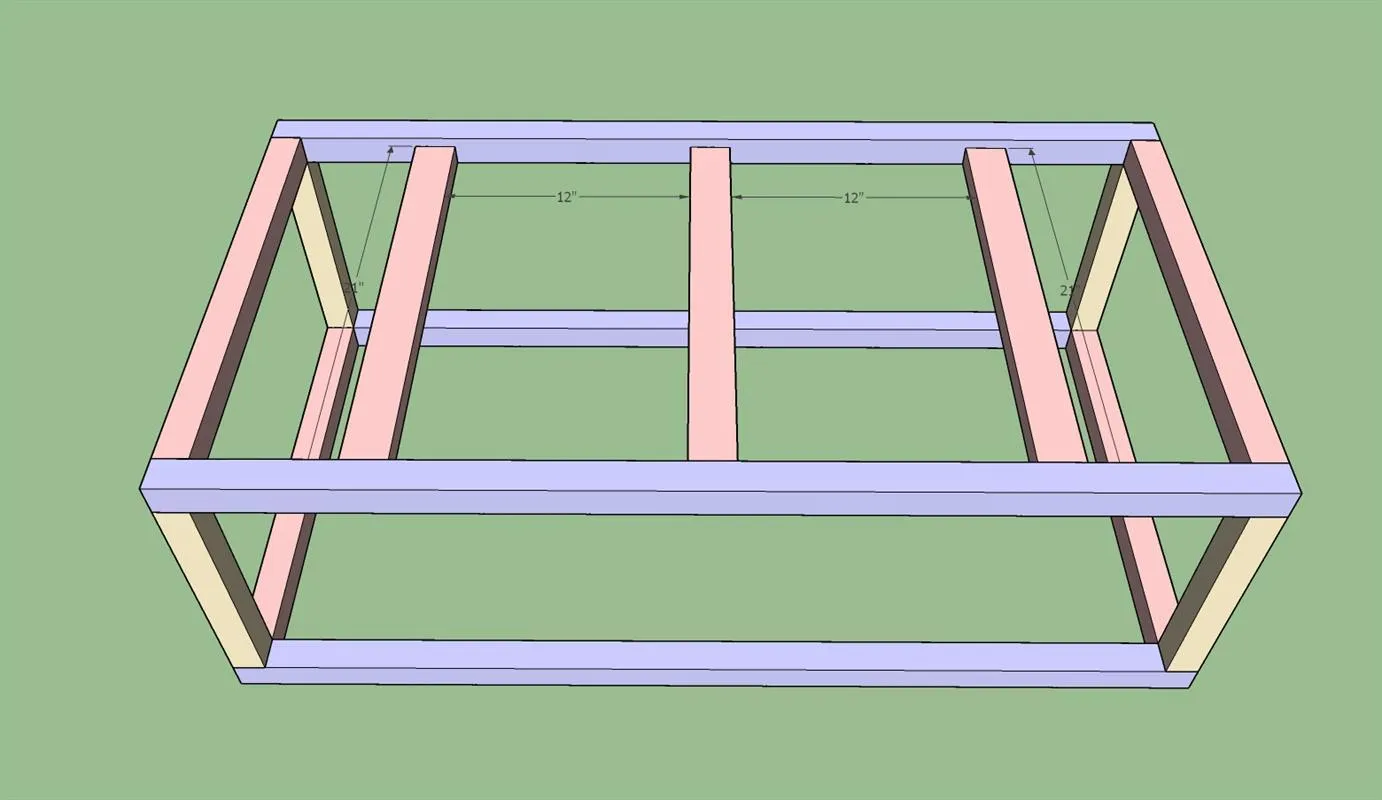
Attach the 3/4"x1-1/2"x21" boards to the base frame to create a support for the bottom of the tabletop.
6Add plywood bottom
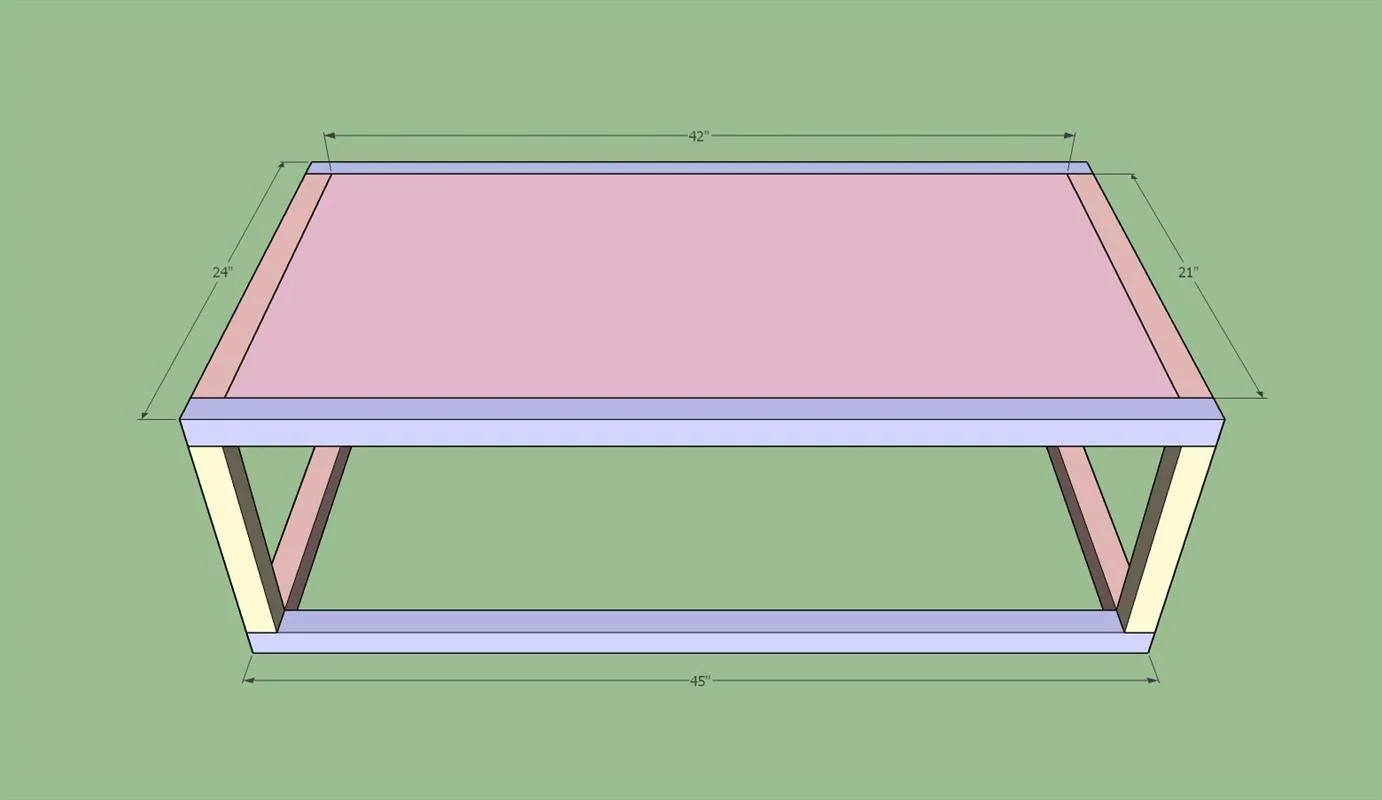
You can use screws for this, but it should be a tight enough fit that you don't need to.
7Attach train table surround
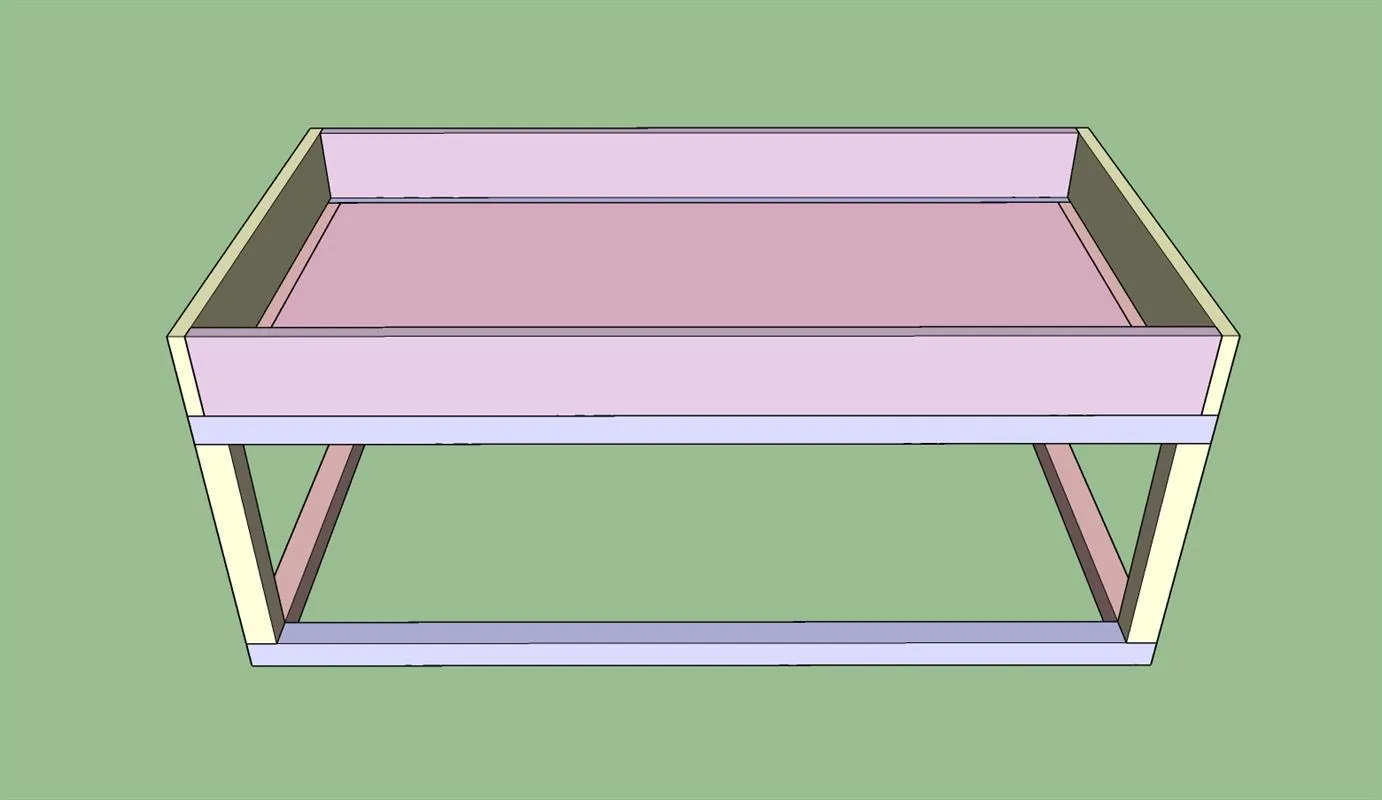
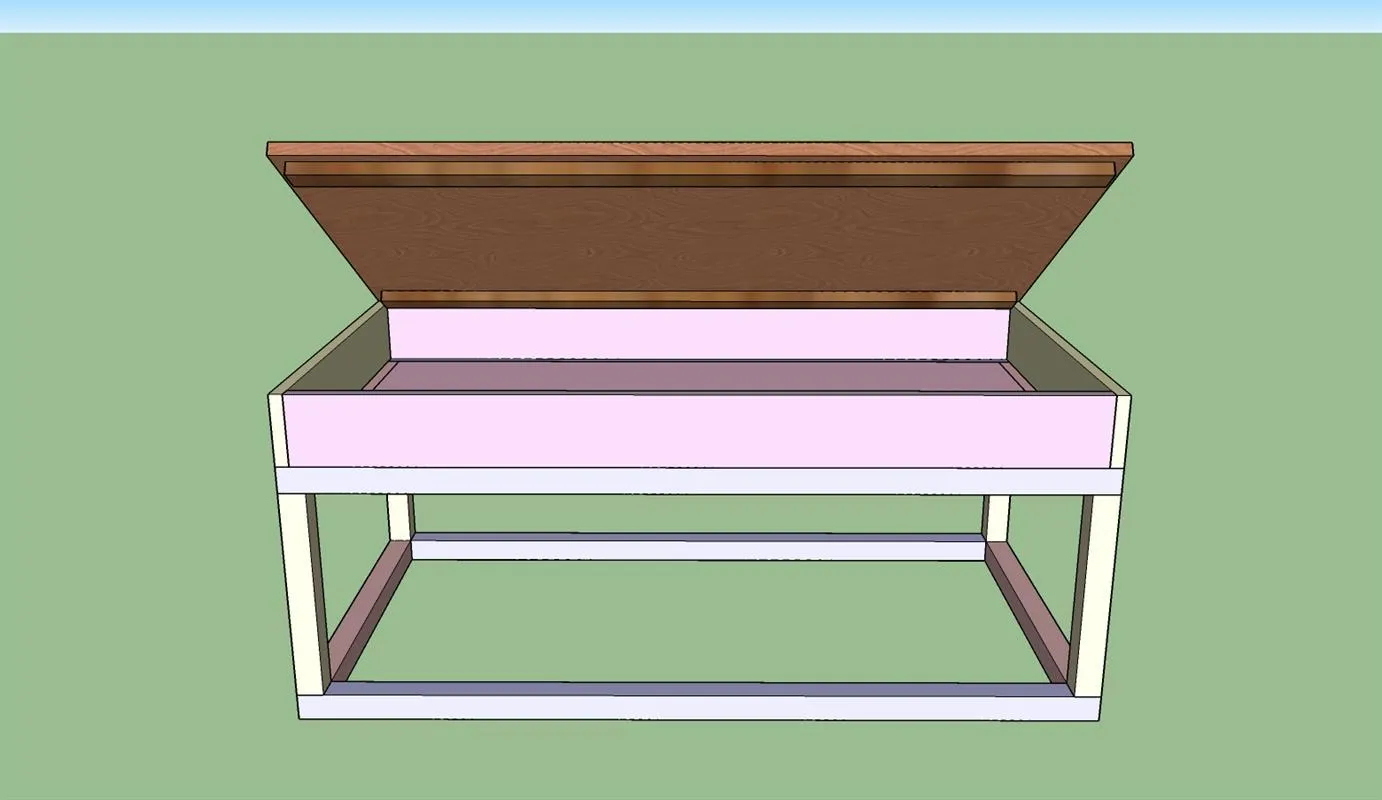
Stain the entire thing in the colour of your choice, then, using 1-1/2" pocket screws, attach top piece.
8Prepare tabletop
Add stoppers to the tabletop so that the top doesn't slide around. Stain in colour of choice.
9Paint base
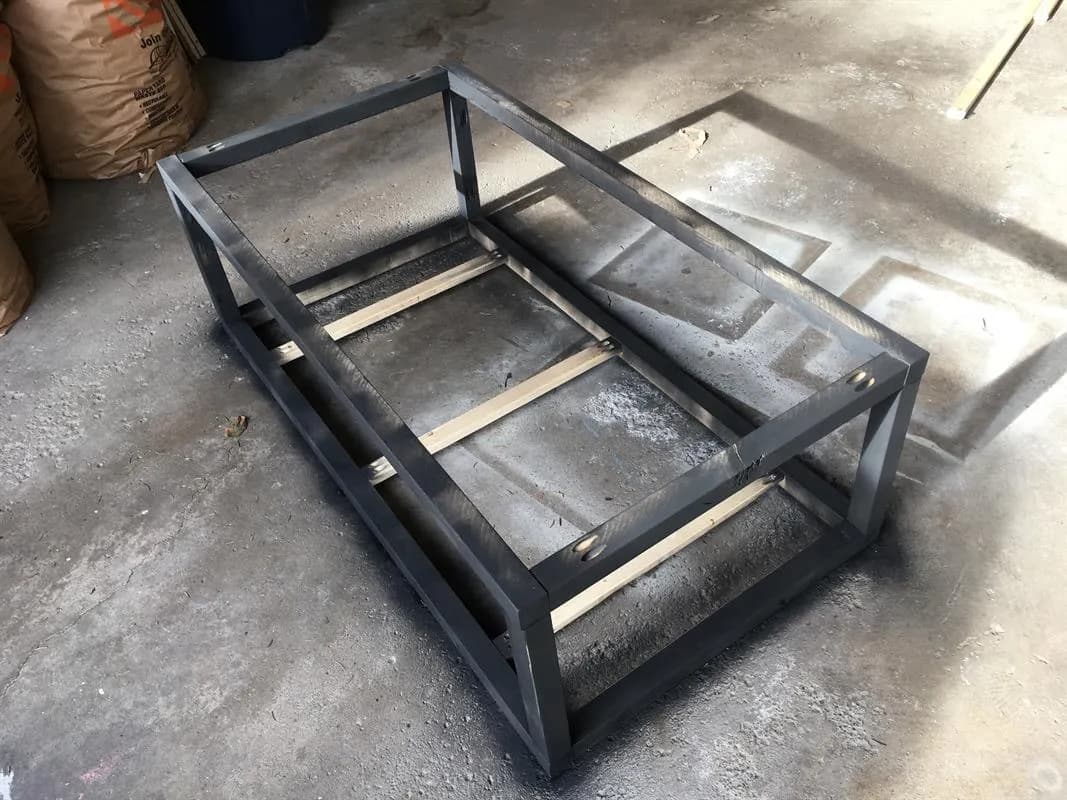
Using a matte black paint of your choice, paint the base.
10Draw train table landscape
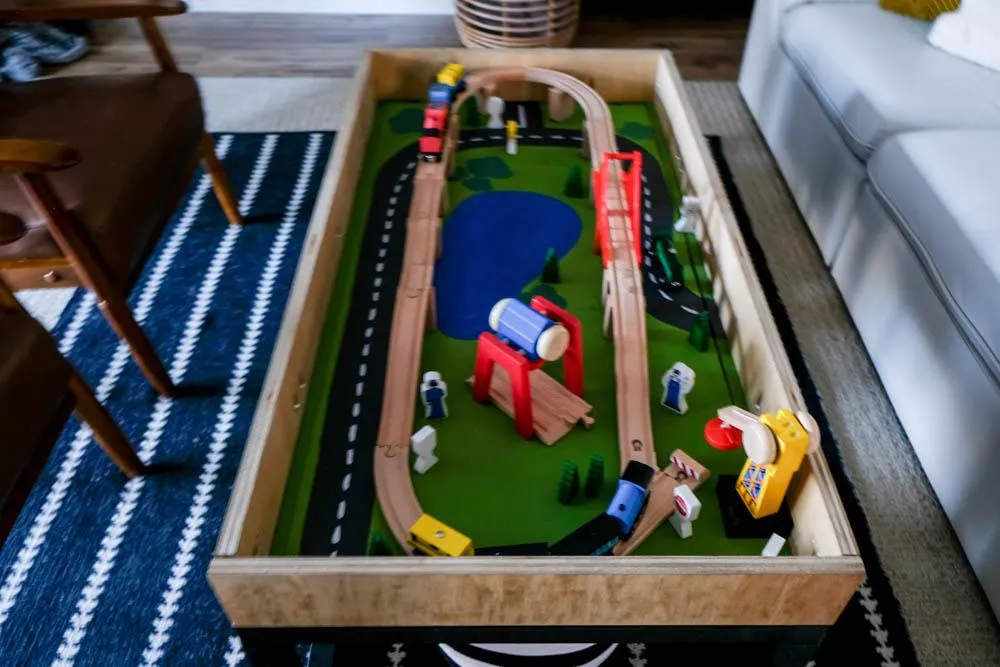
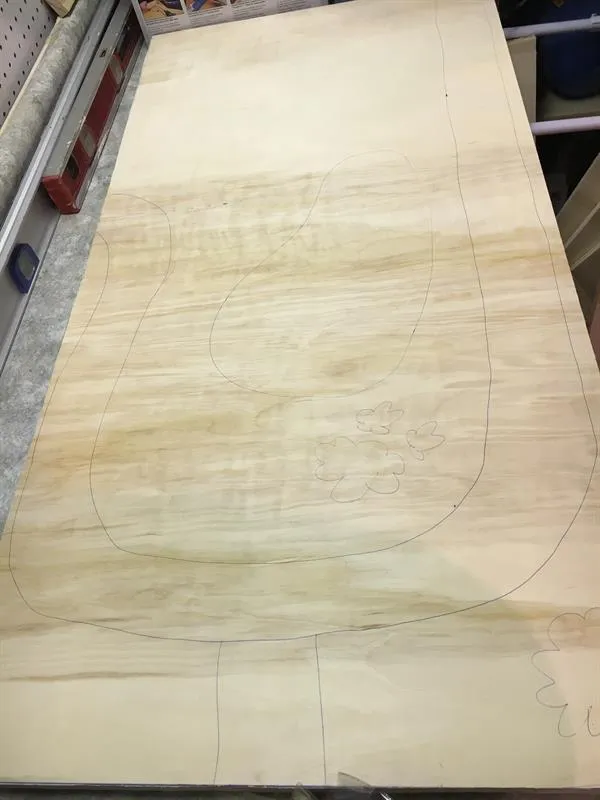
Using a pencil, draw a road, lake, trees, and whatever else you'd like as part of your train table landscape on the plywood base.
11Paint lansdcape
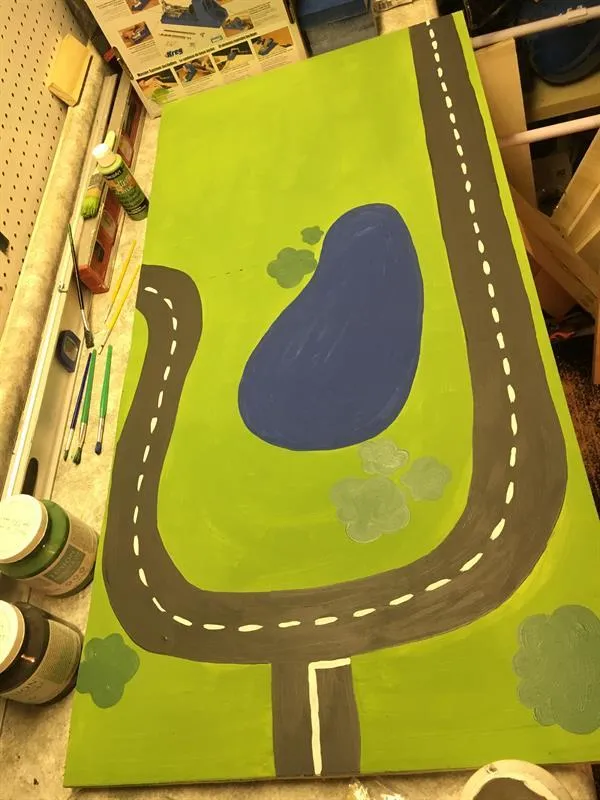
Using acrylic paint and small craft paintbrushes, paint the grass, water, road, etc.
12Add trains!
Add in your trains and let the kiddos play! When they're done, just add the top back on!