Notch
NotchUse your browser's Print (Ctrl/Cmd + P) and choose Save as PDF. This page works offline once you've opened it with a signal.
Boot Tray Cover
It’s time for those wet, snowy boots to be drying in the mudroom.
- Difficulty
- Beginner
- Time
- 2.3–4 hours
- Cost
- $
Cut list
| Part | Qty | T × W × L | Material | ✓ |
|---|---|---|---|---|
| Sides | 2 | 3/4" × 2 1/2" × 32" | — | ☐ |
| Sides | 2 | 3/4" × 2 1/2" × 16" | — | ☐ |
| Slats | 13 | 3/4" × 1 1/2" × 16" | — | ☐ |
Materials
| Item | Qty | ✓ |
|---|---|---|
| Board, 1x3 72" | 1 board | ☐ |
| Board, 1x2 96" | 2 board | ☐ |
| Board, 1x2 72" | 1 board | ☐ |
| Pack of 50- 1 1/4" pocket screws | 1 each | ☐ |
Overall cost: $. Lumber varies by region, species, and season, so we give a band rather than a figure.
Tools
- Drill / Driver
- Miter Saw
- Random Orbit Sander
- Bar / Pipe Clamps — optional
Instructions
1. Create the Sides
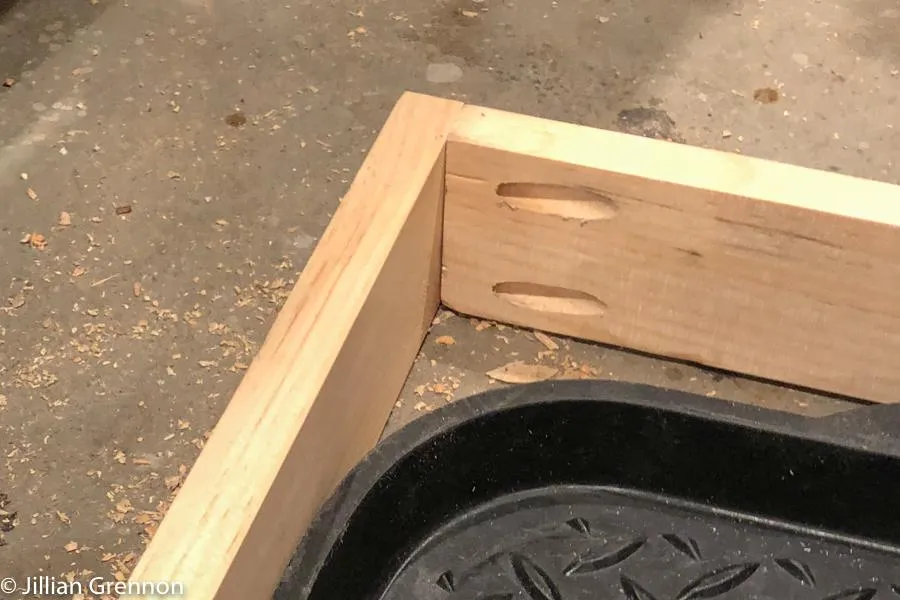
Attach the two 1x3 sides @ 32" to the two 1x3 sides @ 16" using 1 1/4" Kreg screws. Please note that these measurements were all created to fit the standard boot tray I have. You may need to alter the measurements to suit yours.
2. Prepare Slats
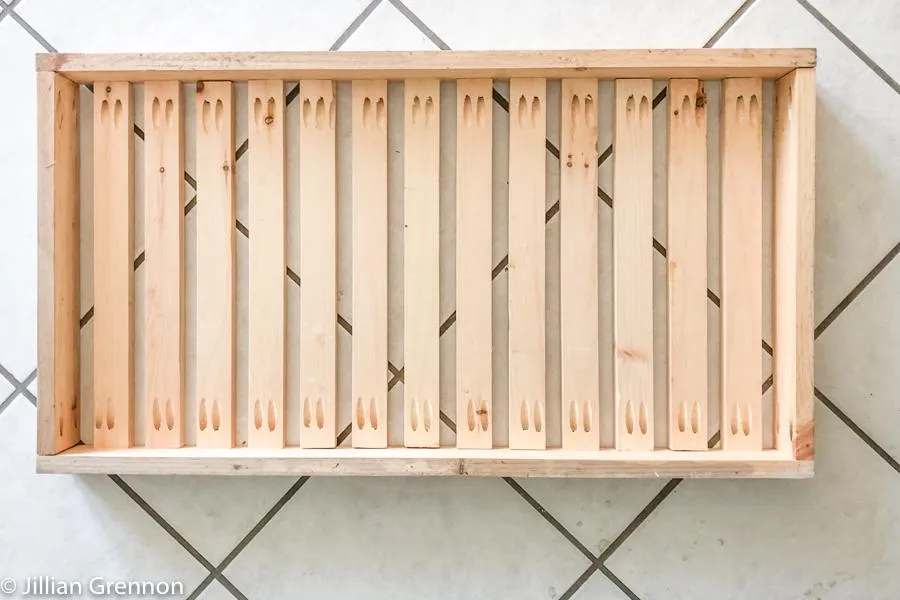
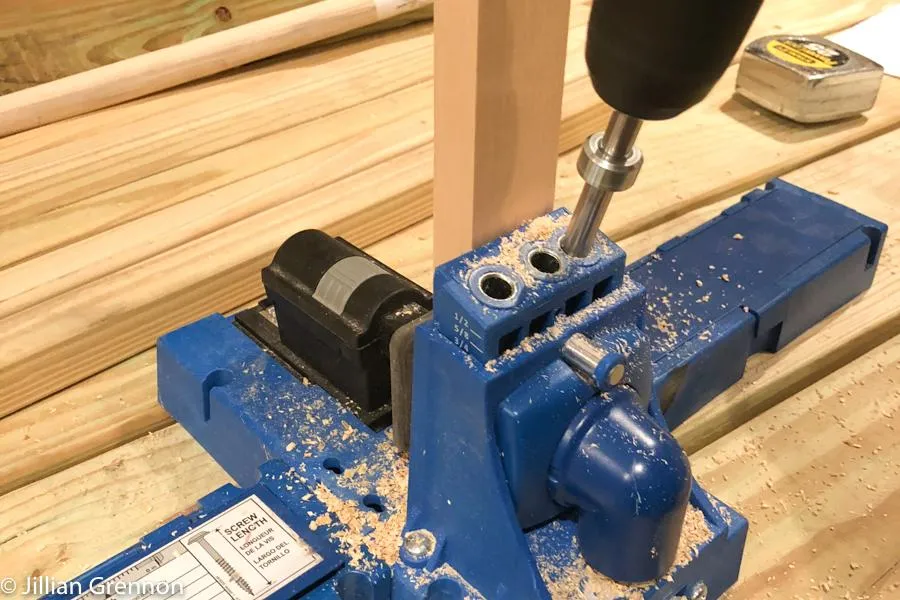
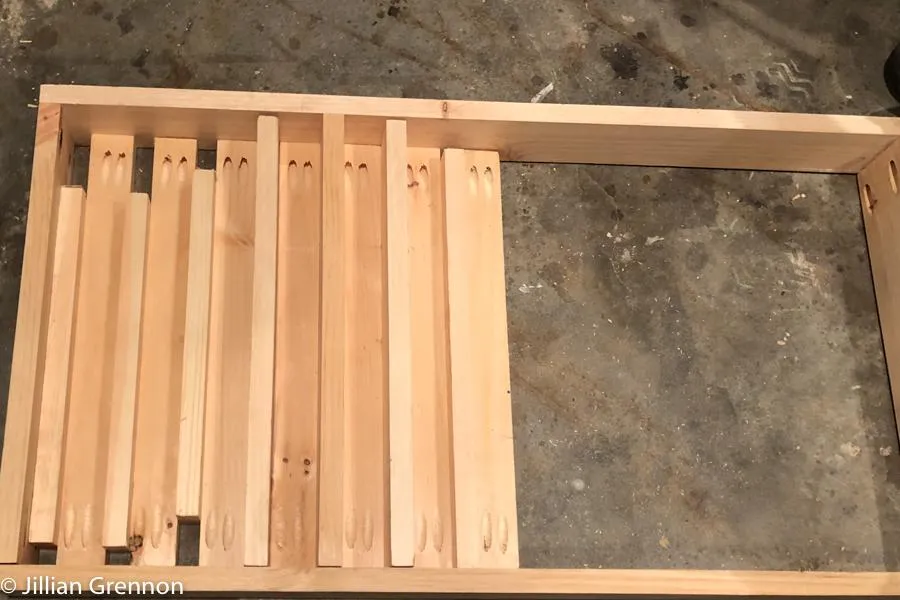
Cut all 13 1x2 slats down to 16" and add 2 pocket holes on each end.
3. Measure Your Boot Tray
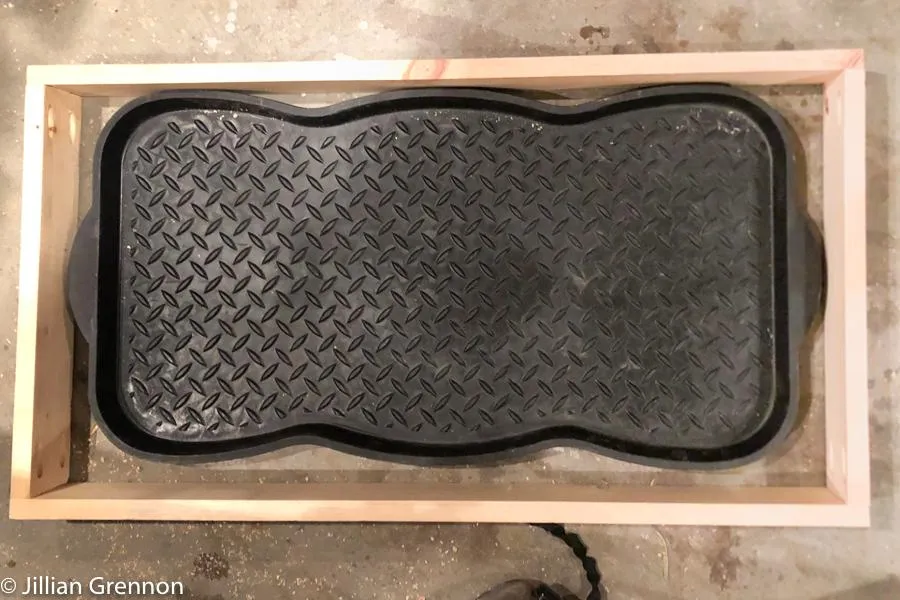
All of the instructions for this boot tray cover are made and measured to suit my standard boot tray which is 29 3/4" x 14 3/4". Please note you may need to alter the measurements to suit your project.
4. Attach Slats
Attach each slat with 1 1/4" pocket screws. Use a scrap piece of 1x2 to space the 13 slats evenly.
5. Finish as Desired
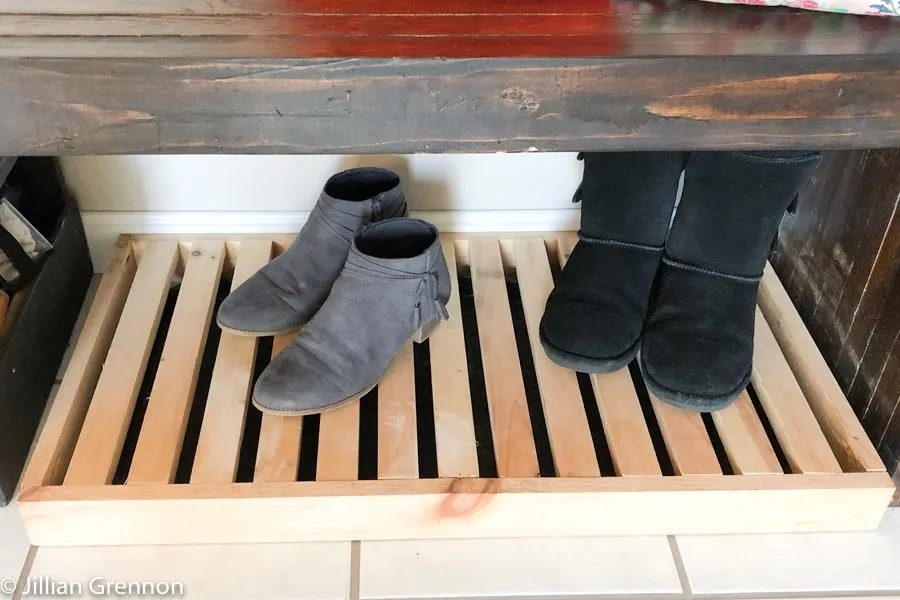
Due to wet shoes frequently landing on this wood, you will want to treat it with polyurethane for protection.
6. Admire the Beauty
Something about all those evenly spaced lines is beautiful, isn't it? :)