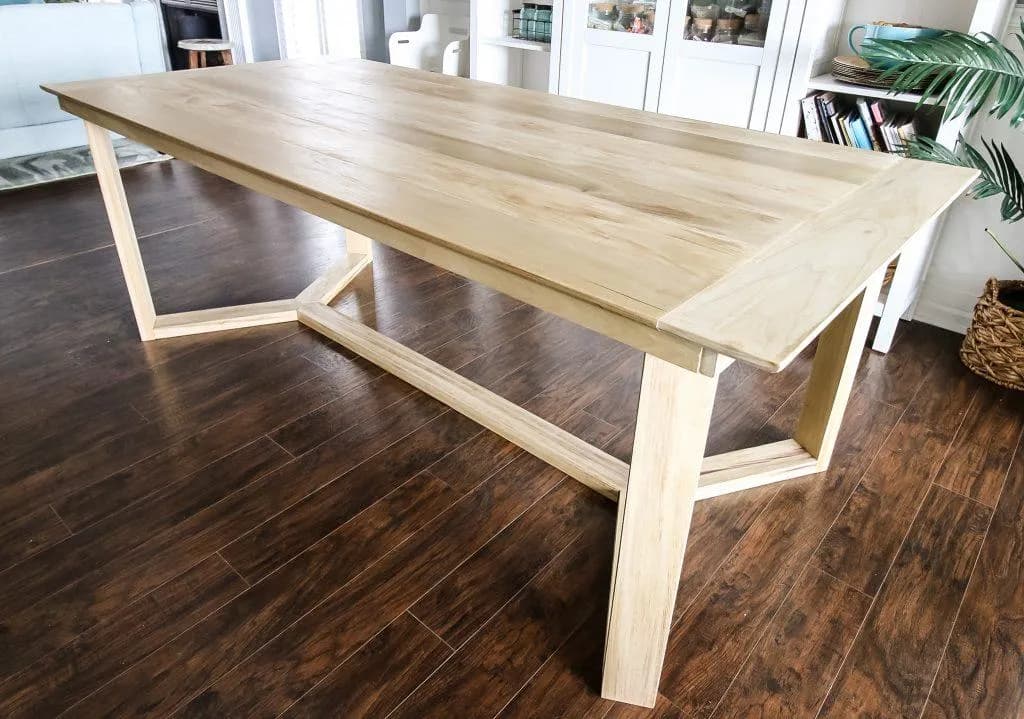
Notch
NotchAngled Base Dining Table
Step-by-step build — 10 steps. Also available as a print sheet.
1Glue and Cut Base Pieces
All of the base pieces are made from two 1x4s glued together. You can also use 2x4 lumber for the base if you want to go with a more rustic look. This would eliminate the need for gluing. Glue 1x4 boards together, then make cuts for base. For top, make cuts as specified.
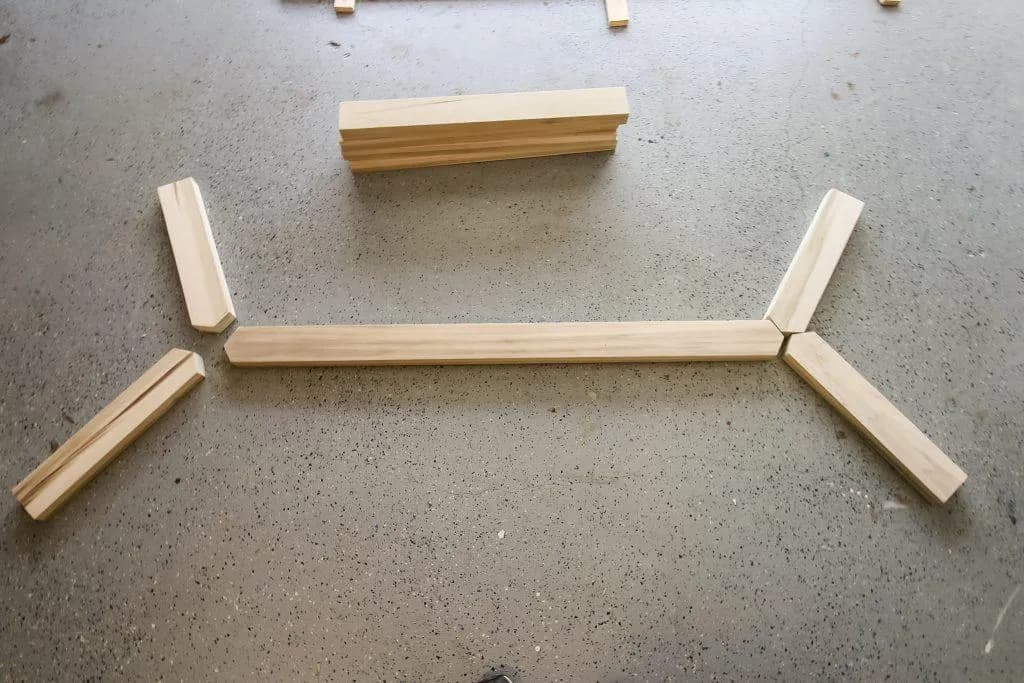
2Construct Legs
On each of the four Angled Base Pieces, mark the center of one short end, then cut off a 30 degree angle to both sides, creating a point. Drill two pocket holes in the other end and connect to the Straight Legs.
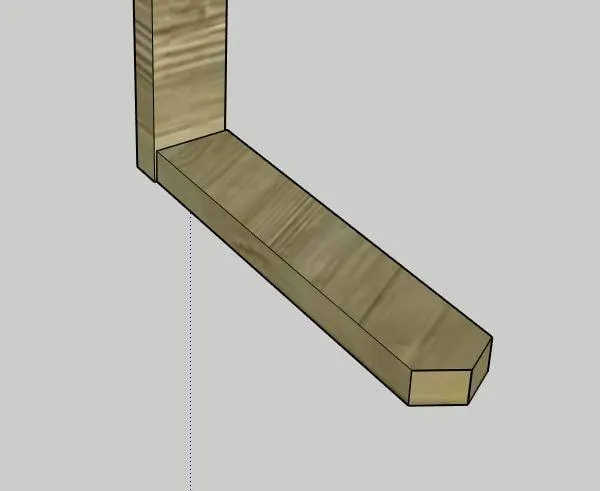
3Cut Base Spreader
On the Base Spreader, mark the center of each short end and cut off a 30 degree angle to both sides, the same as in the previous step.
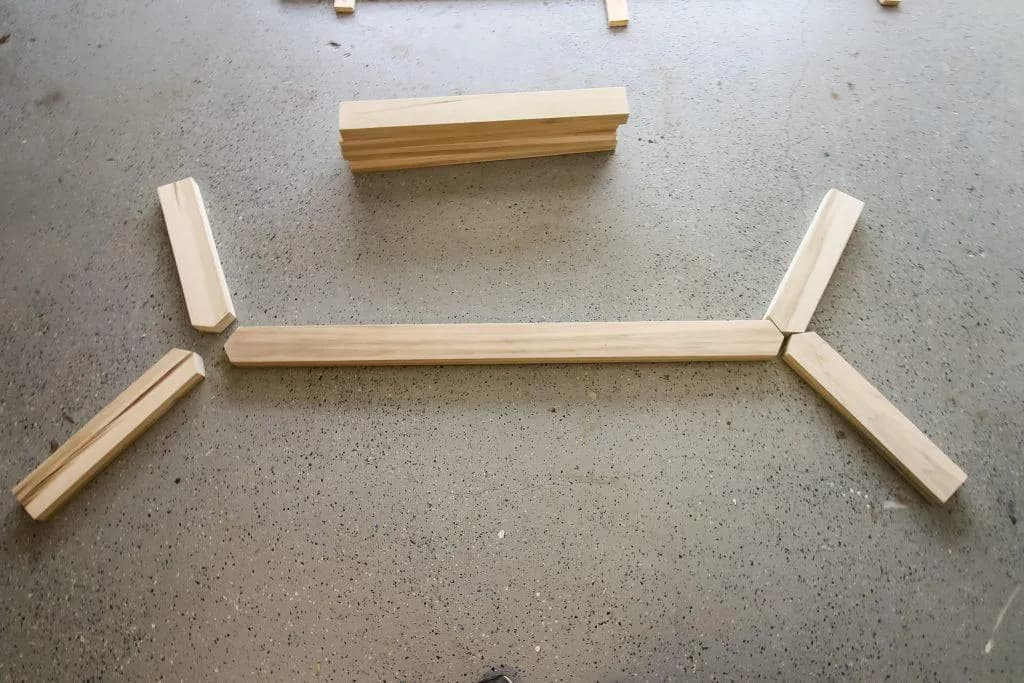
4Assemble Base
Drill one pocket hole to the left angle of each Angled Leg Base piece and the Base Spreader. Using pocket screws and wood glue, attach where all three angles meet.
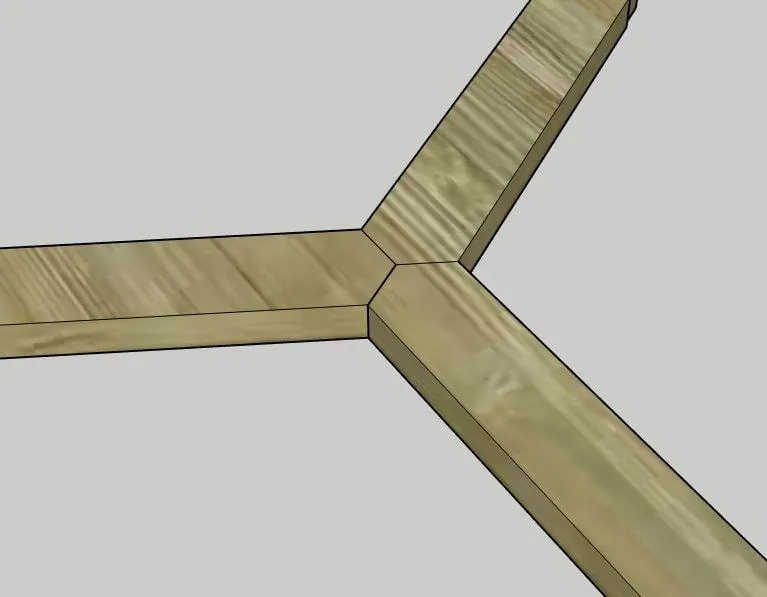
5Repeat
Repeat on the other side and finalize base assembly.
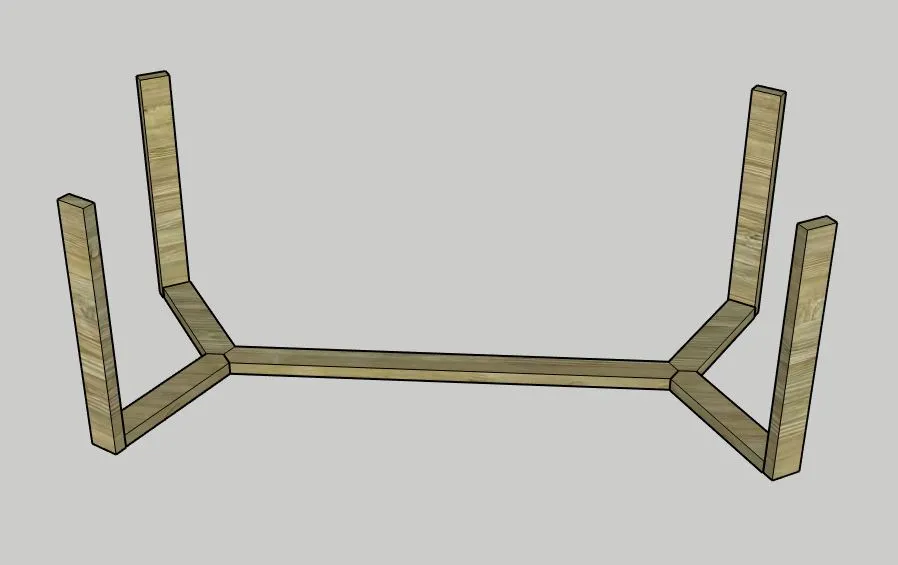
6Construct Top
Attach all of the Long Top pieces together with pocket holes and screws.
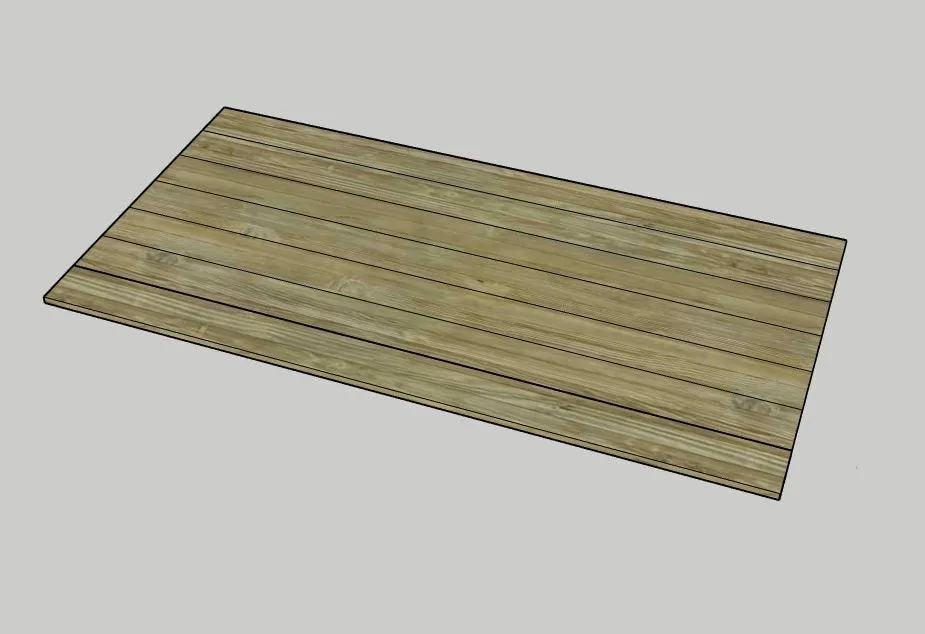
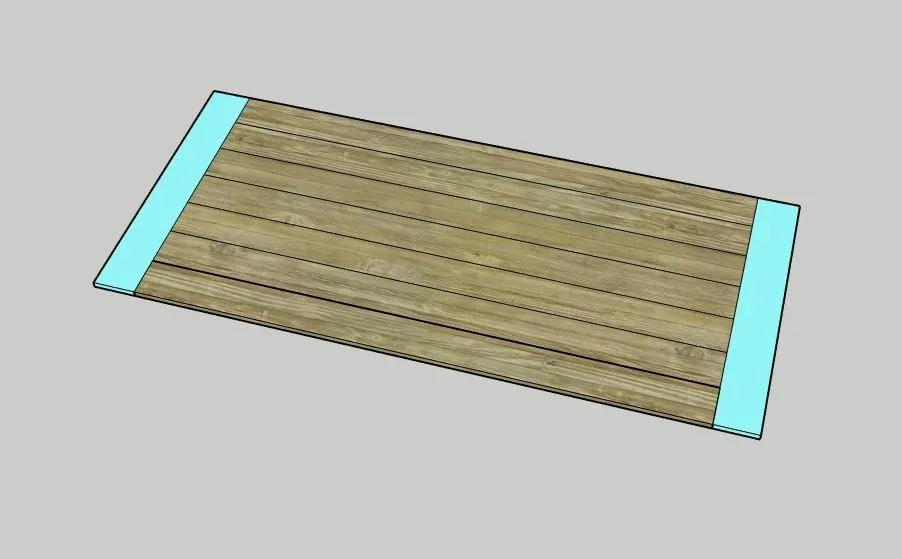
7Add Top Ends
Then attach the two Top Ends to either edge.
8Attach Top to Base
Drill two 3/4" pocket holes on the end of each Leg (this is important because the top is not the same thickness as the legs, so you must drill holes appropriate for the top's thickness). Center the Top on the Base and attach with pocket hole screws.
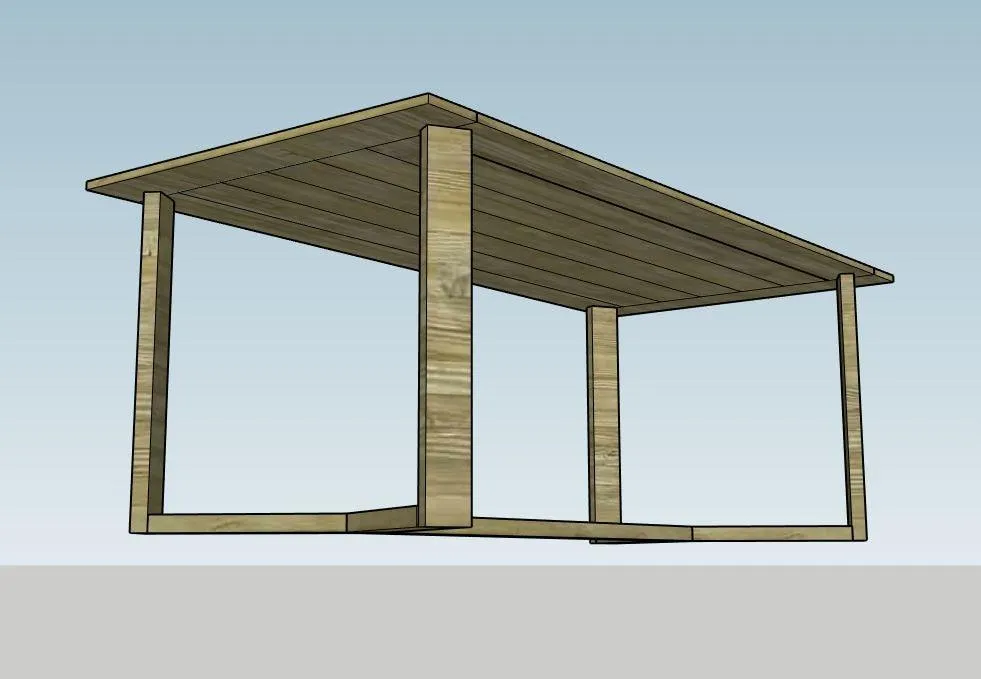
9Add Lips Around Legs
Attach the Short and Long Lips to the underside of the table on the outside of the Legs using finishing nails and wood glue.
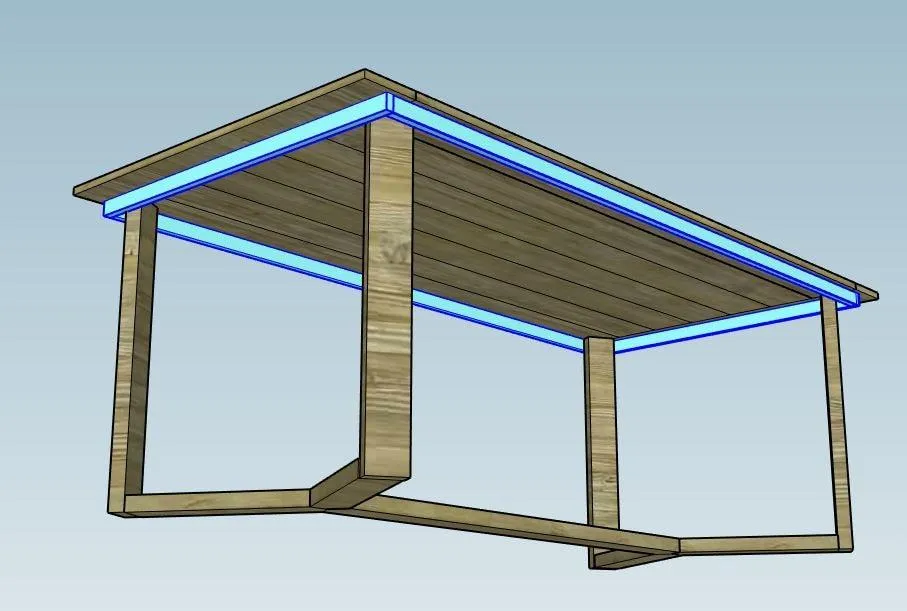
10Get Bench at CharlestonCrafted.com
For more projects and printable plans, including for a corresponding bench, visit www.CharlestonCrafted.com