Notch
Wall Mounted Spice Rack
Step-by-step build — 7 steps. Also available as a print sheet.
1Build back of spice rack
- Cut 1x8 into 3 30" pieces.
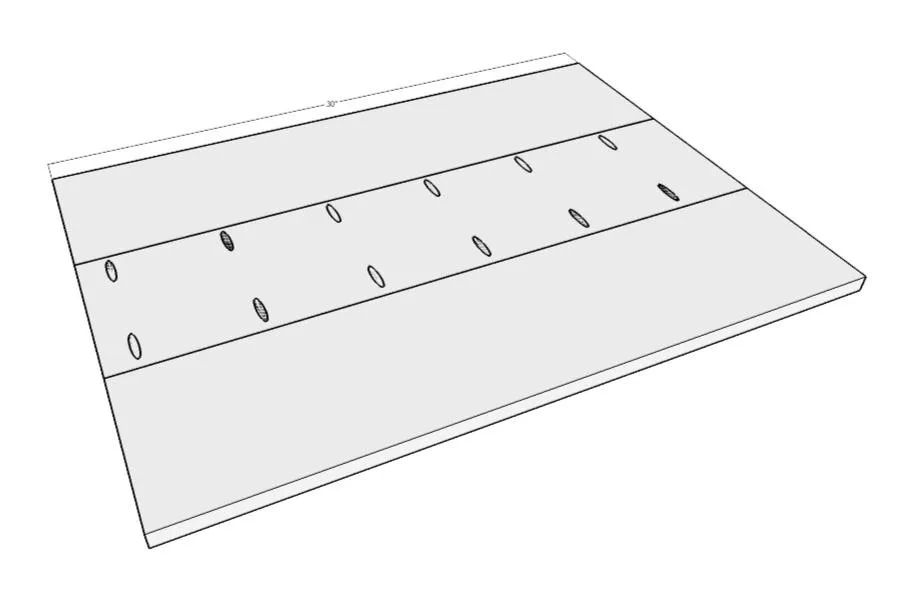
- Join the boards along the edges by drilling pocket holes in the sides of the center board about 5-6" apart. Make sure the pocket hole on the top of the boards is low enough that it will not be cut through when you add the decorative top.
- Apply wood glue to the edges of the boards, clap them together and secure with 1 1/4" pocket hole screws.
2Cut decorative top
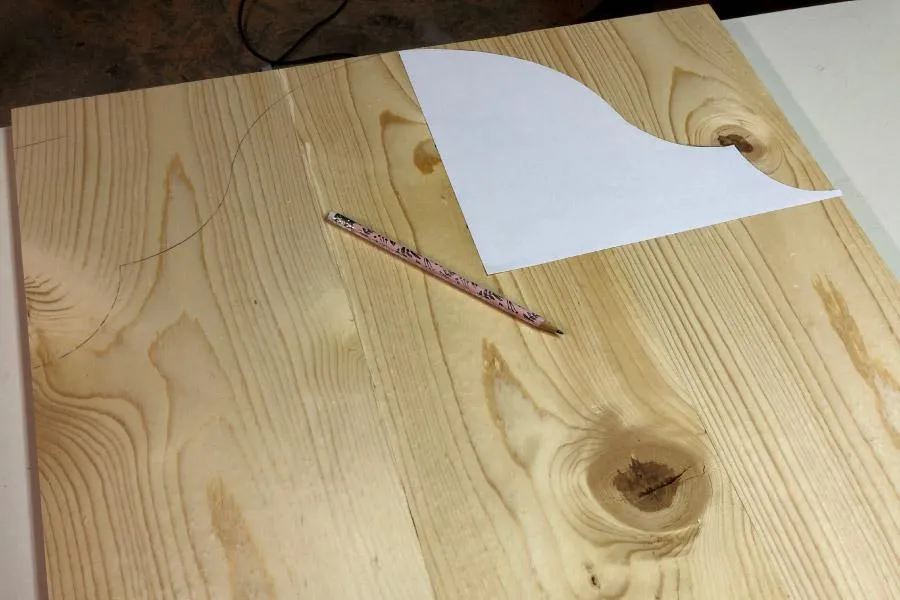
- Sketch out the decorative top you want on your spice rack or download the one I used in the extras tab.
- Cut out the template and trace it on one half of the top of your connected boards.
- Then flip and trace the other side.
- Cut along the lines with a jig saw.
3Add optional router edge
To add a farmhouse look to my spice rack, I used my router to apply a decorative edge to the front edges of the spice rack back.
4Cut boards for the spice shelves
- My spice shelves were built to hold spice jars that are 2 1/16" x 2 1/16".
- Measure your spice jars and adjust as necessary.
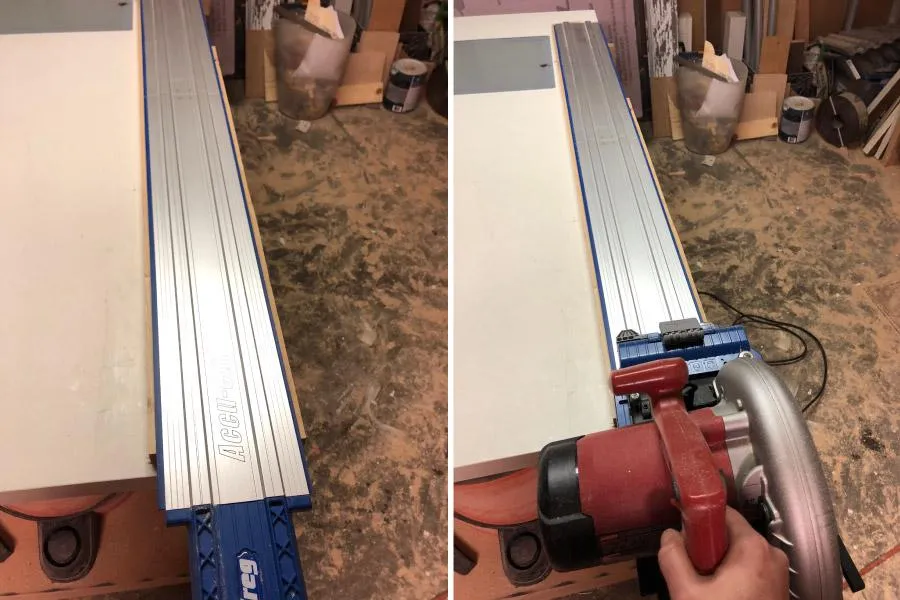
- Cut the 1x3 board into (3) 25" pieces and then rip those pieces into 2 1/4" wide boards. Do not discard the ~1/4" wide piece that is remaining. If you do not have a table saw, you can easily rip boards with the Kreg AccuCut and a circular saw by using a second piece of wood to balance the AccuCut. Or feel free to leave the boards 2 1/2" wide and purchase 1/4" x 1/2" trim for the front of the shelves.
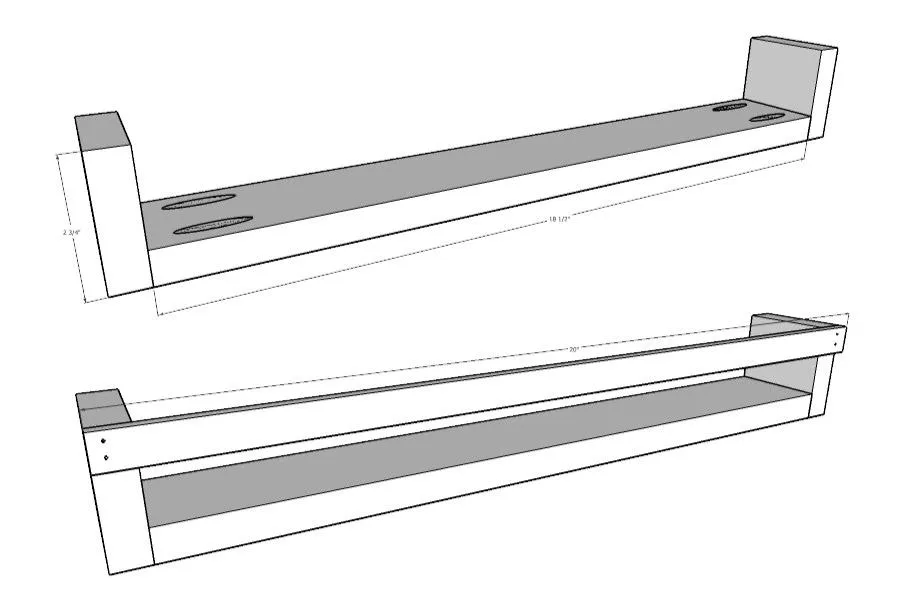
- Cut each of the 2 1/4" wide boards into (1) 18 1/2" piece and (2) 2 3/4" pieces.
5Build the spice shelves
- Drill pocket holes into both ends the top of the 18 1/2" pieces.
- Line the 2 3/4" pieces up on the edges to create a U and secure with wood glue and pocket hole screws.
- Cut the ~1/4" piece to 20" and attach to the top front of the spice shelves with wood glue and finishing nails.
6Sand and finish back & shelves
- If you want to add a chalkboard back like I did.
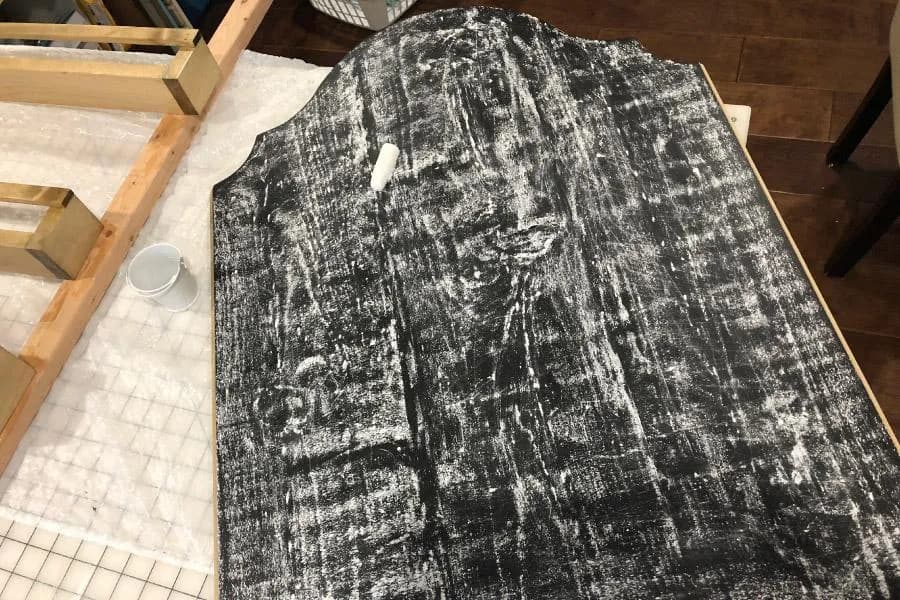
- Sand, stain or paint, and seal all the spice shelves and the back piece before attaching the shelves. For the chalkboard back, apply 3 coats of chalkboard paint.
- Then prime the chalkboard by rubbing the side of a piece of chalk over the entire surface then wiping it off with a cloth or eraser before attaching the spice shelves.
7Attach the spice shelves
- Measure and mark where you want to attach your spice shelves. Make sure you have enough room between shelves to easily remove your spice jars. My jars are 4 1/2" tall so I spaced my shelves 4 3/4" apart.
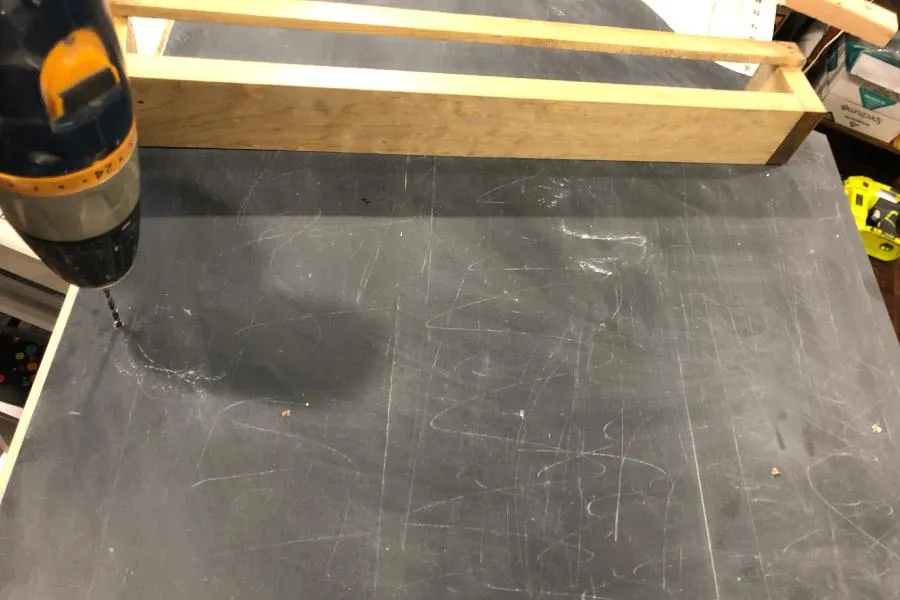
- Drill holes through the back of the spice rack where you will attach the shelves.
- Then attach the shelves with wood glue and 1 1/4" wood screws from the back of the spice rack.