 Notch
NotchVertical Herb Garden
Step-by-step build — 7 steps. Also available as a print sheet.
1Curve the Side Boards
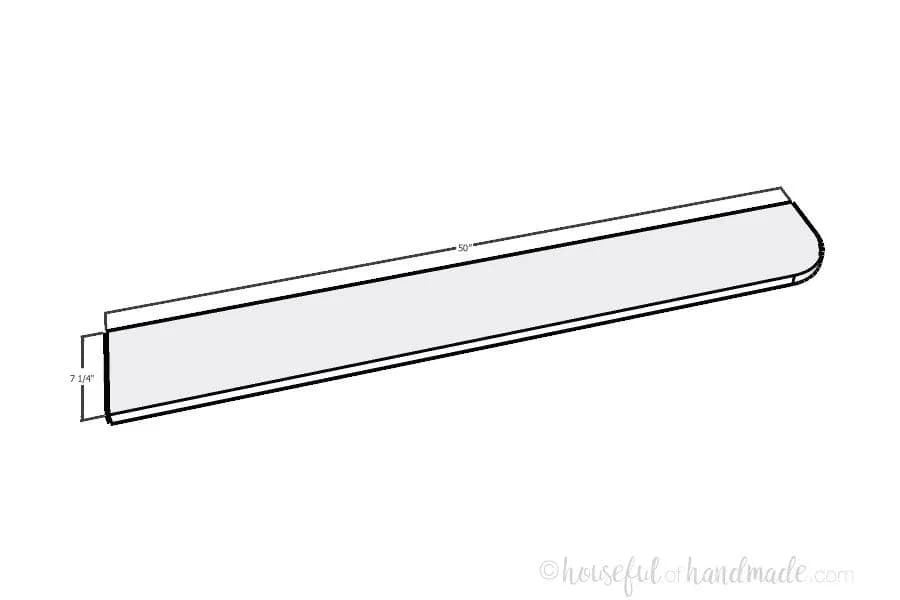
Cut the 2 50" sides from the 1x8 boards. Using the template in the extras, draw a curve on the top, front of each board and cut it out with a jig saw.
2Mark out Shelf Placement
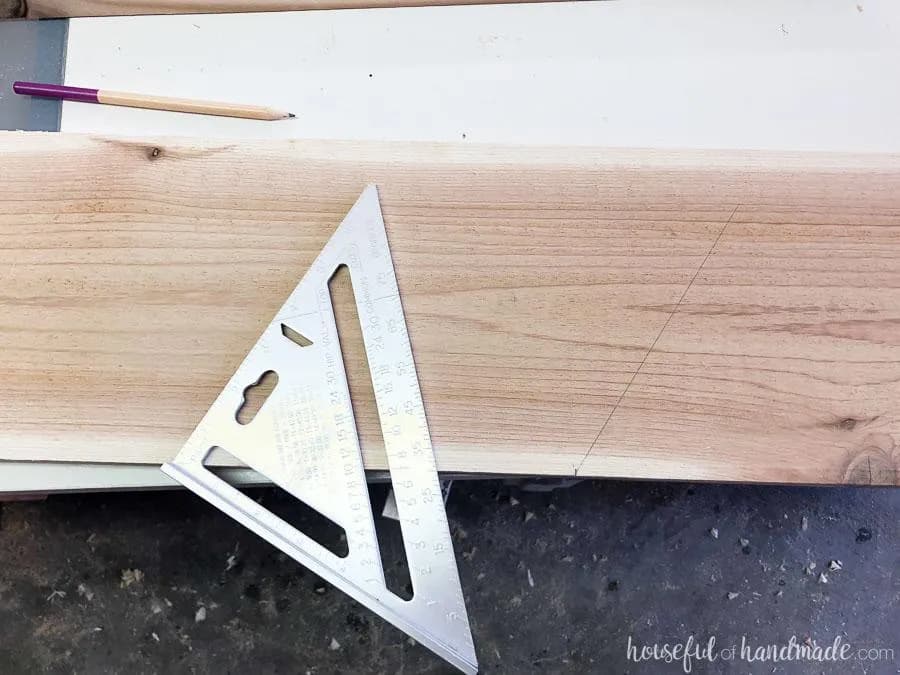
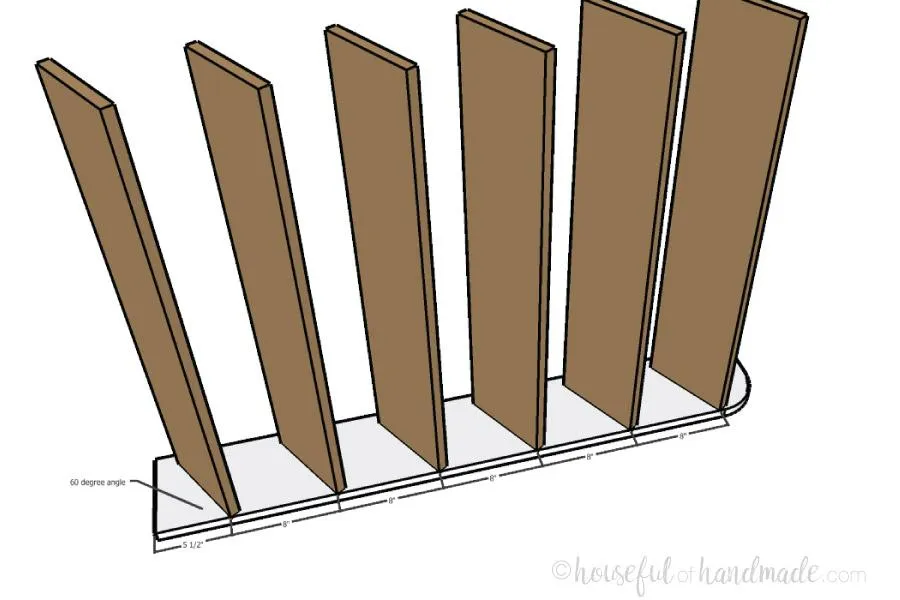
- Mark out the shelf placement on each of the sides. The front bottom corner of the bottom shelf should be 5 1/2" up from the bottom of the sides and angled back at a 60 degree angle. Each additional shelf will be 8" up from the other at the same angle. I use my speed square to draw the line.
- Line up the pivot point at the edge of the front and rotate the square until the bottom is lined up on 30 degrees.
3Attach Shelves to Side
- Cut the 6 32" shelves from the 1x8 boards.
- Drill 3 pocket holes in each end of the shelf boards.
- Line the bottom of each shelf up with the line you drew and secure with wood glue and 1 1/4" pocket hole screws. Make sure the pocket holes are on the top part of the shelf so they will be hidden under the soil.
4Add the Other Side
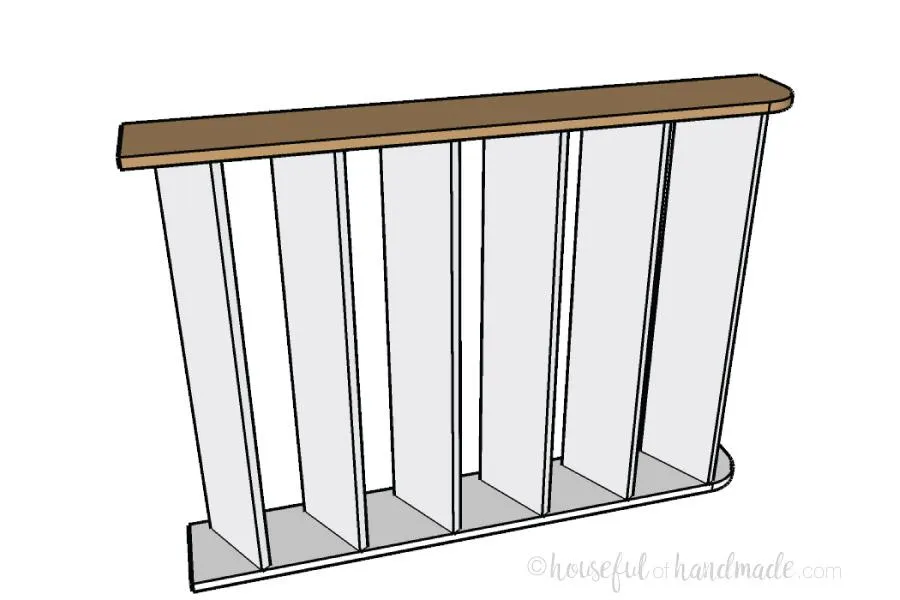
Attach the other side to the top of the shelves with wood glue and pocket hole screws. Make sure to line up other sides of the shelves with the placement lines.
5Attach the Back
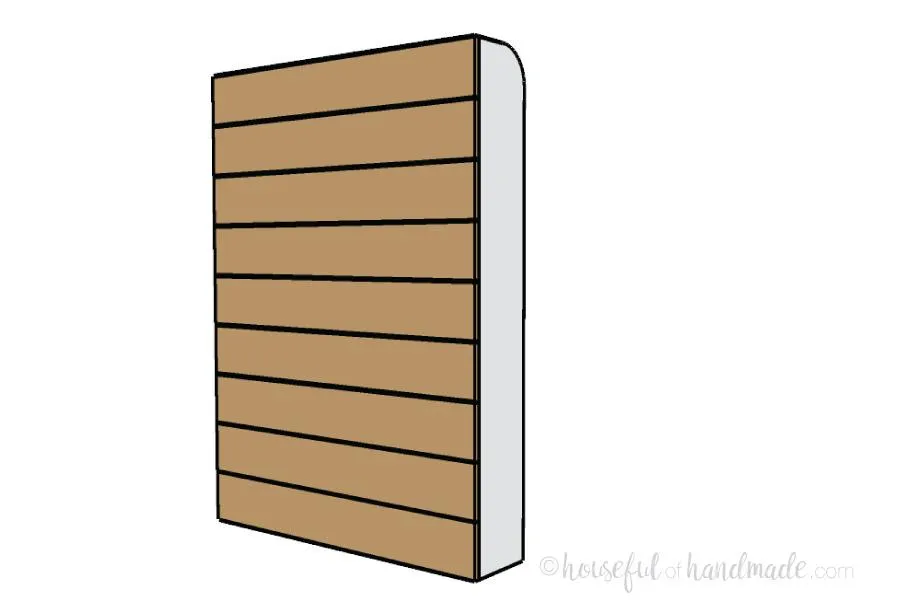
- Double check the width of your herb garden (should be around 33 1/2" but could be slightly different if you wood is not exactly 3/4" thick).
- Cut your cedar fence pickets to that length.
- Attach them to the back of the herb garden with wood glue and finish nails or staples.
- Start at the top of the garden and leave the extra 1/2" open at the back bottom for water to escape.
6Add the Base
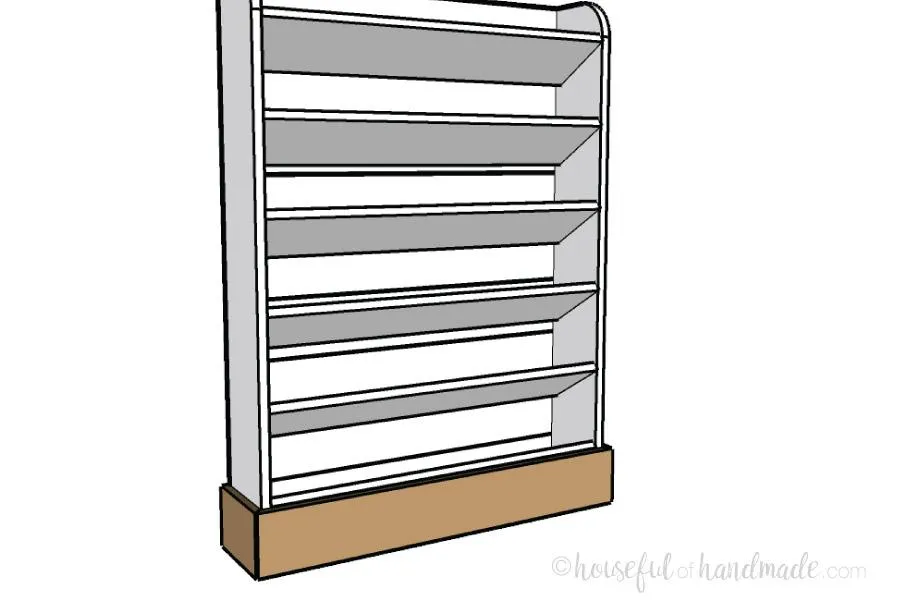
- Using the 1x6 boards, add the base to the bottom of the herb garden.
- Measure the width of the herb garden and cut a piece of wood that length + 45 degree angle on each end.
- Attach to the front of the garden hiding the open area under the bottom shelf.
- Measure and cut the sides with 45 degree angles on the front to create mitered corners.
7Attach Landscaping Fabric
- There is a 1/2" gap at the back of each shelf to allow water to easily drain.
- Cut 11" x 36" pieces of landscaping fabric with a high water flow rating to the inside of each shelf with light staples. This will still allow the water to drain, but keep the soil in place.
- Also, if you want to add a drip watering system, I have all the details for that on my blog (link in the extras).
- Fill each shelf with potting soil and plant!