 Notch
Notch- Difficulty
- Easy
- Time
- 3.5–6.8 hours
- Cost
- $
About this build
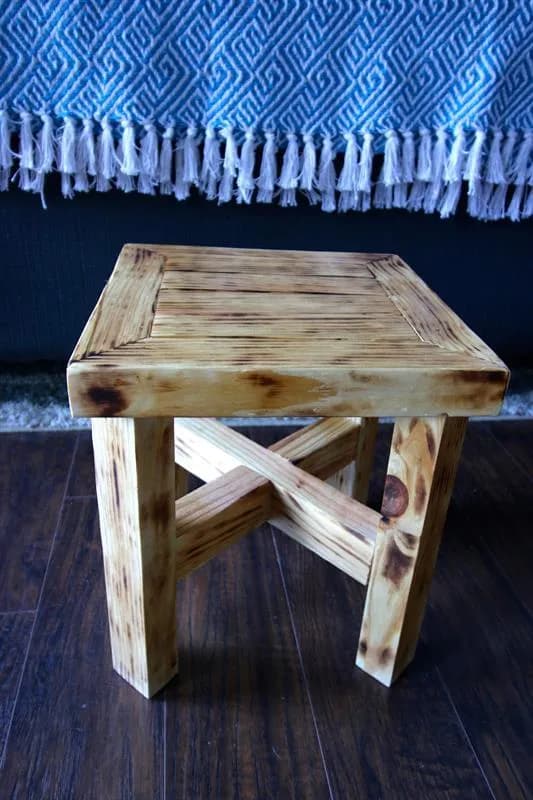
This is an easy, sturdy stool to build that fits perfectly in front of a vanity or window. Could easily be used as a step stool or a plant stand as well. Easily finish the vanity stool with a wood burning tool, paint or stain.
Tools
Essential
- Miter Saw
- Pocket Hole Jig
- Random Orbit Sander
Optional / nice to have
- Bar / Pipe Clamps
- Tape Measure
Materials
| Item | Qty |
|---|---|
| Board, 2x4 96" | 2 board |
| 2 1/2 inch Kreg Screws | 36 each |
| Wood Glue | 1 each |
Overall cost: $. Lumber prices vary by region, species, and season, so we give a band rather than a figure we would only be pretending to know.
Cut list
| Part | Qty | T × W × L |
|---|---|---|
| Legs | 4 | 1" × 2" × 12" |
| Top supports | 4 | 1" × 2" × 8" |
| Top Edges | 4 | 1" × 2" × 12" |
| Middle Cross Support | 1 | 1" × 2" × 11" |
| Middle Cross Supports | 2 | 1" × 2" × 5" |
What to buy
Buy 2 boards at 8 ft.
1" × 2"
2 boards
Assumes 8 ft stock, a 1/8" saw kerf, and buying each part at its own width. Change the board size or kerf on the full board plan →
Instructions
1Rip down 2x4s
Rip down all 2x4 boards to 2" wide.
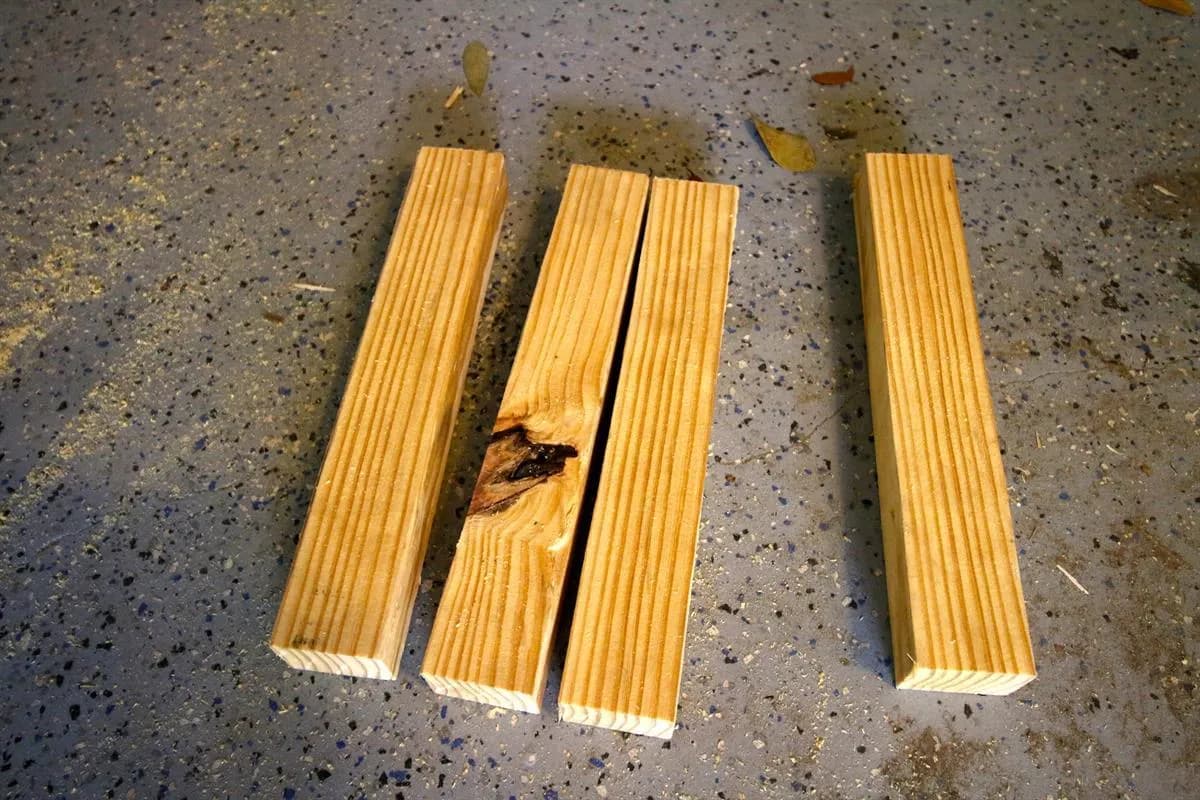
2Cut legs
Cut four legs to 12 inches.
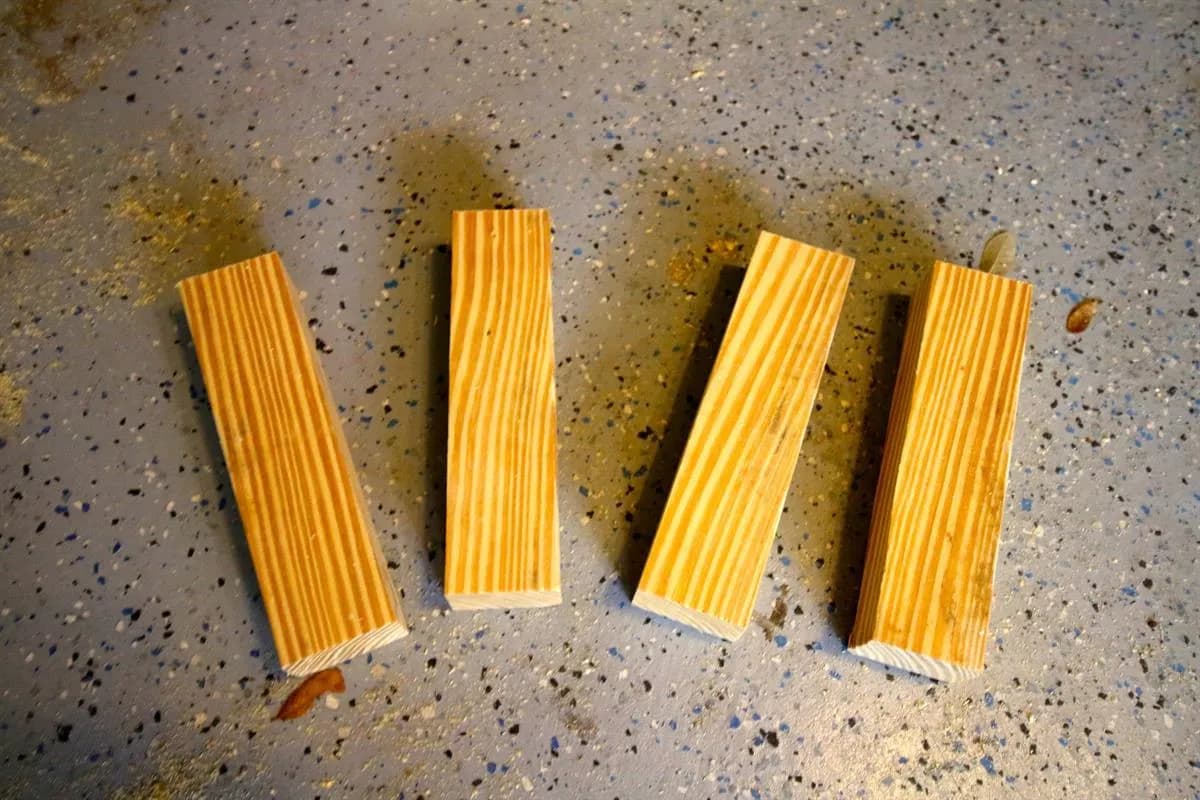
3Cut top supports
Cut four top supports to 8 inches
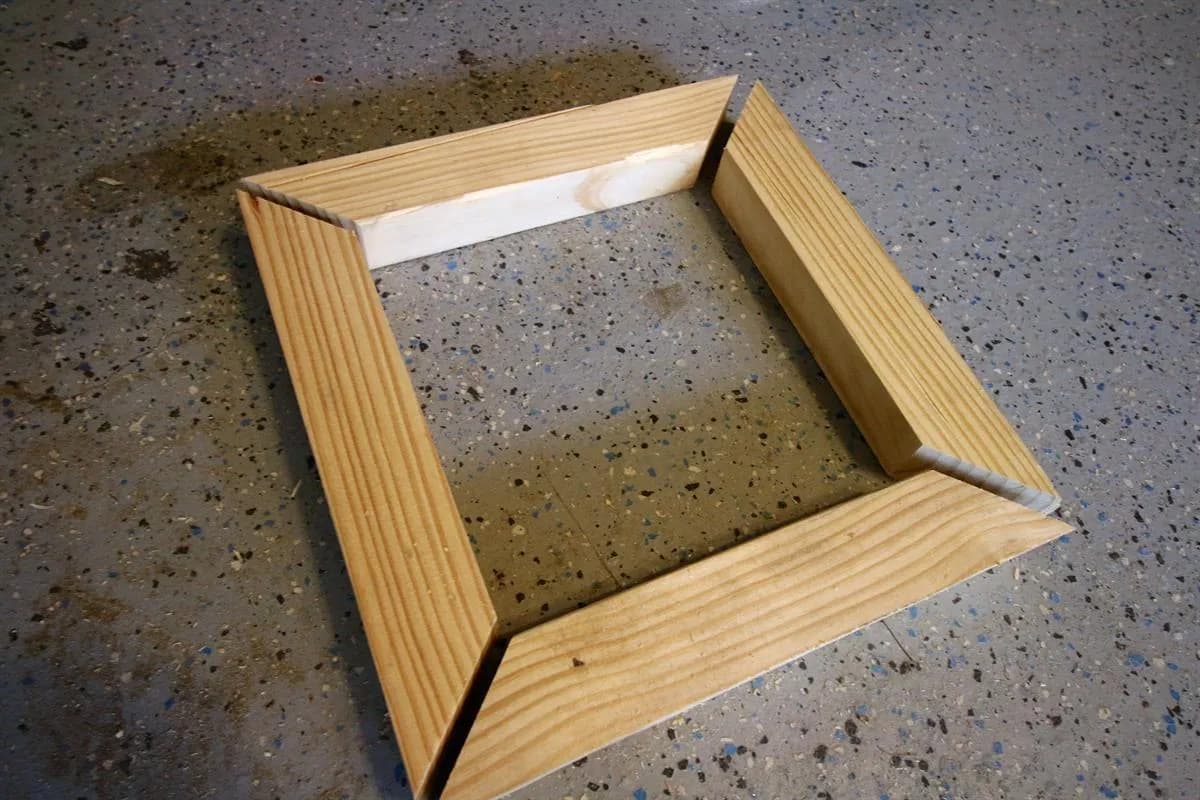
4Cut top edges
Cut the edges of the top. Use a 45 degree miter and cut to four pieces with an outside edge of 12 inches.
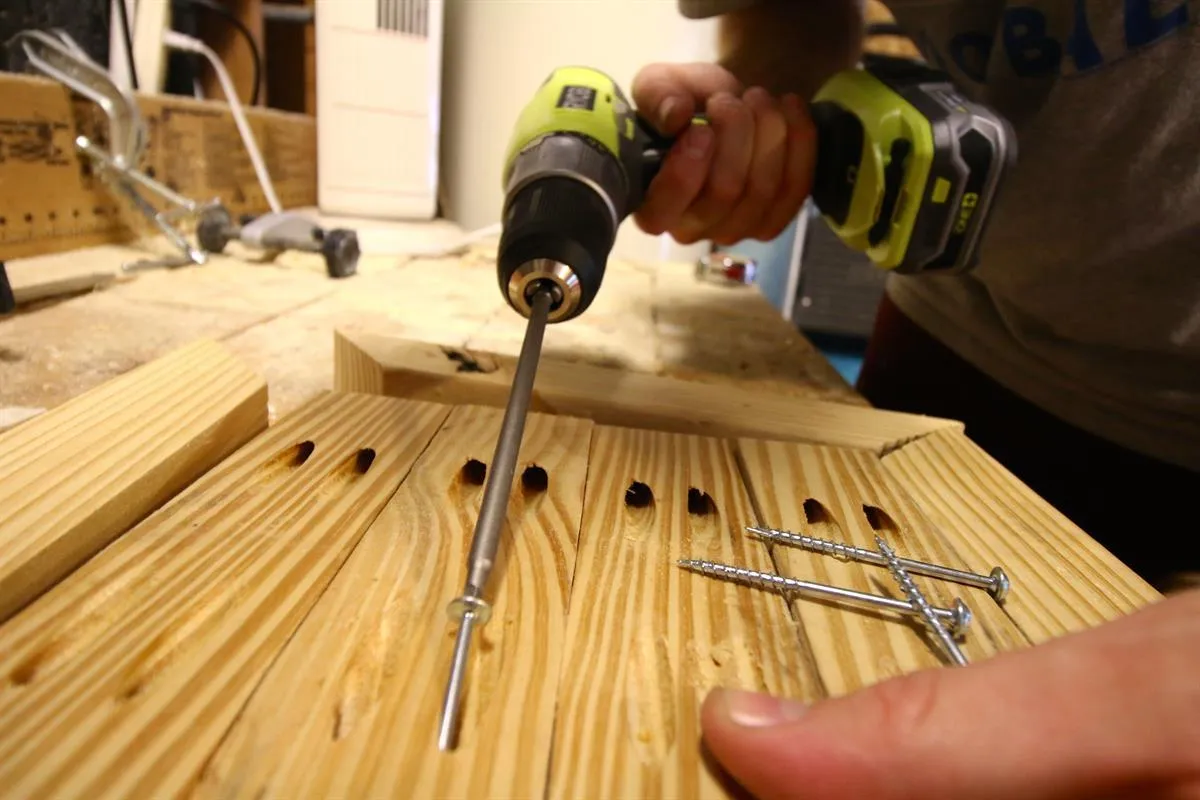
5Drill Pocket Holes in Top Supports
- Set your Kreg pocket hole jig for the thickness of the wood at 1 1/2 inches.
- Drill two pocket holes on each side of of the top support pieces.
- Attach those to two of the top edges.
6Attach other two top edges
Place a small amount of wood glue on the corners of the remaining two top edges and clamp together to the supports. If you have the right Kreg system, you can also use the jig to connect these corners.
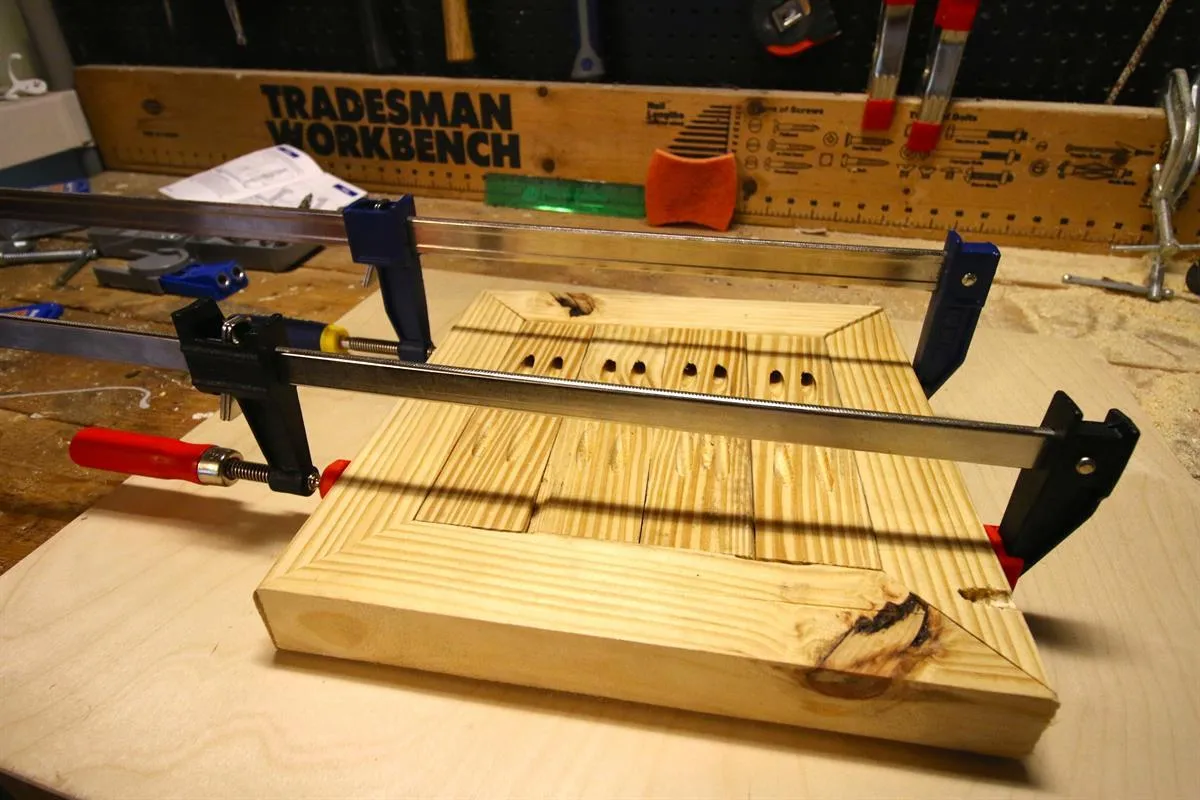
7Attach Legs
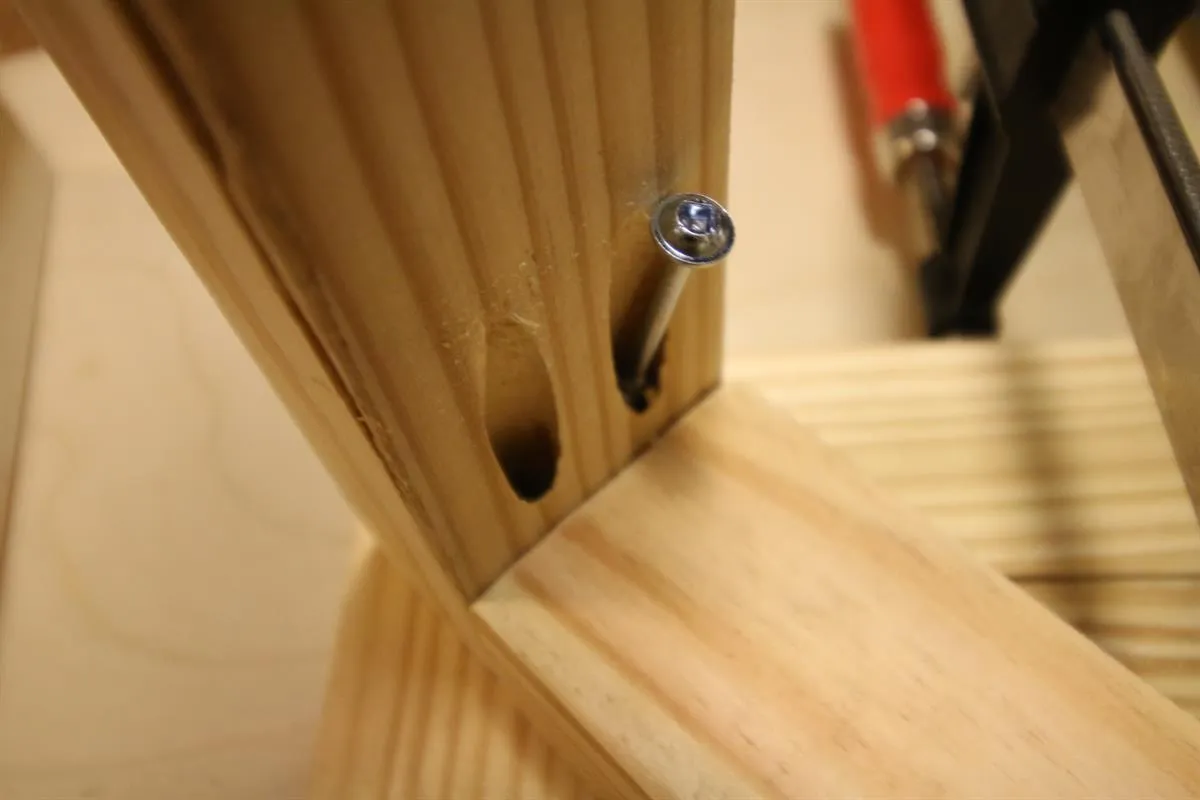
Drill two pocket holes in each of the legs and attach to the corners of the underside of the top. Attach them angled away from the corners so that the back side of each leg faces the leg on the diagonal corner.
8Cut Support Beams
Cut one support beam to 11 1/2 inches. Then cut two smaller beams to 5 inches.
9Drill Pocket Holes in Support Beams
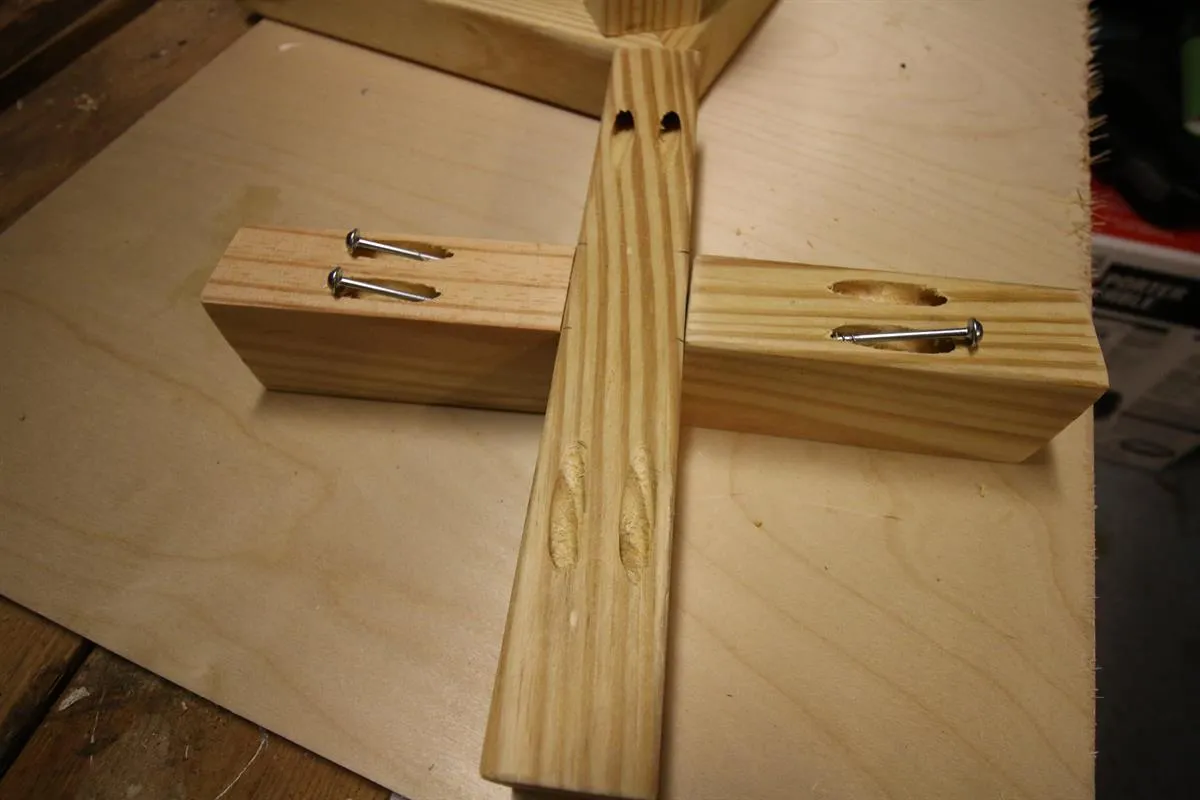
- Drill two pocket holes in both ends of each of the support beams.
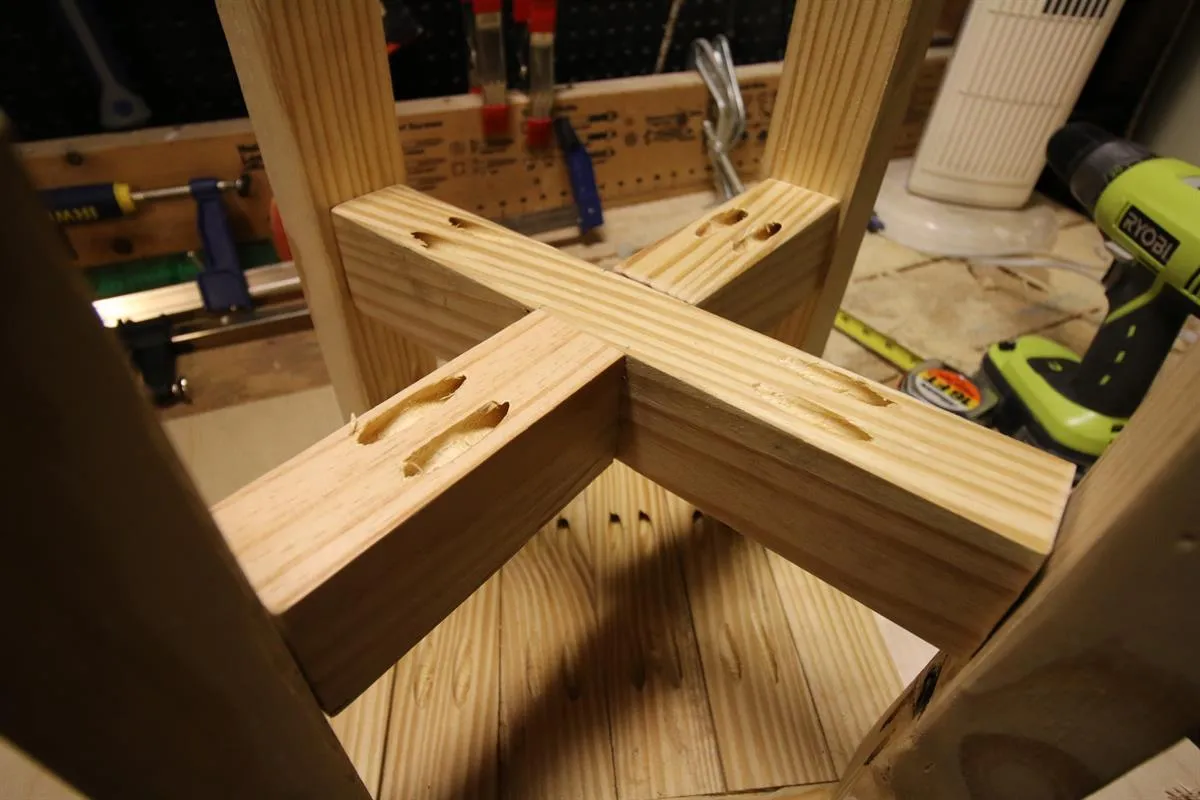
- Attach the two short pieces to the center of the long piece.
- Then, attach the support beams to the legs.
10Add Finish
Paint, stain or wood-burn your stool. I used a heat gun to give a light burn look to the stool.
11Check Us Out
For the rest of the post and more projects, check us out at www.CharlestonCrafted.com.
Tags
- Bathroom
- Beginner
Reviews & builds
No reviews yet
Sign in to review this plan or share your build.
No reviews yet. Be the first to build this.