 Notch
Notch- Difficulty
- Easy
- Time
- 3–5.8 hours
- Cost
- $$
About this build
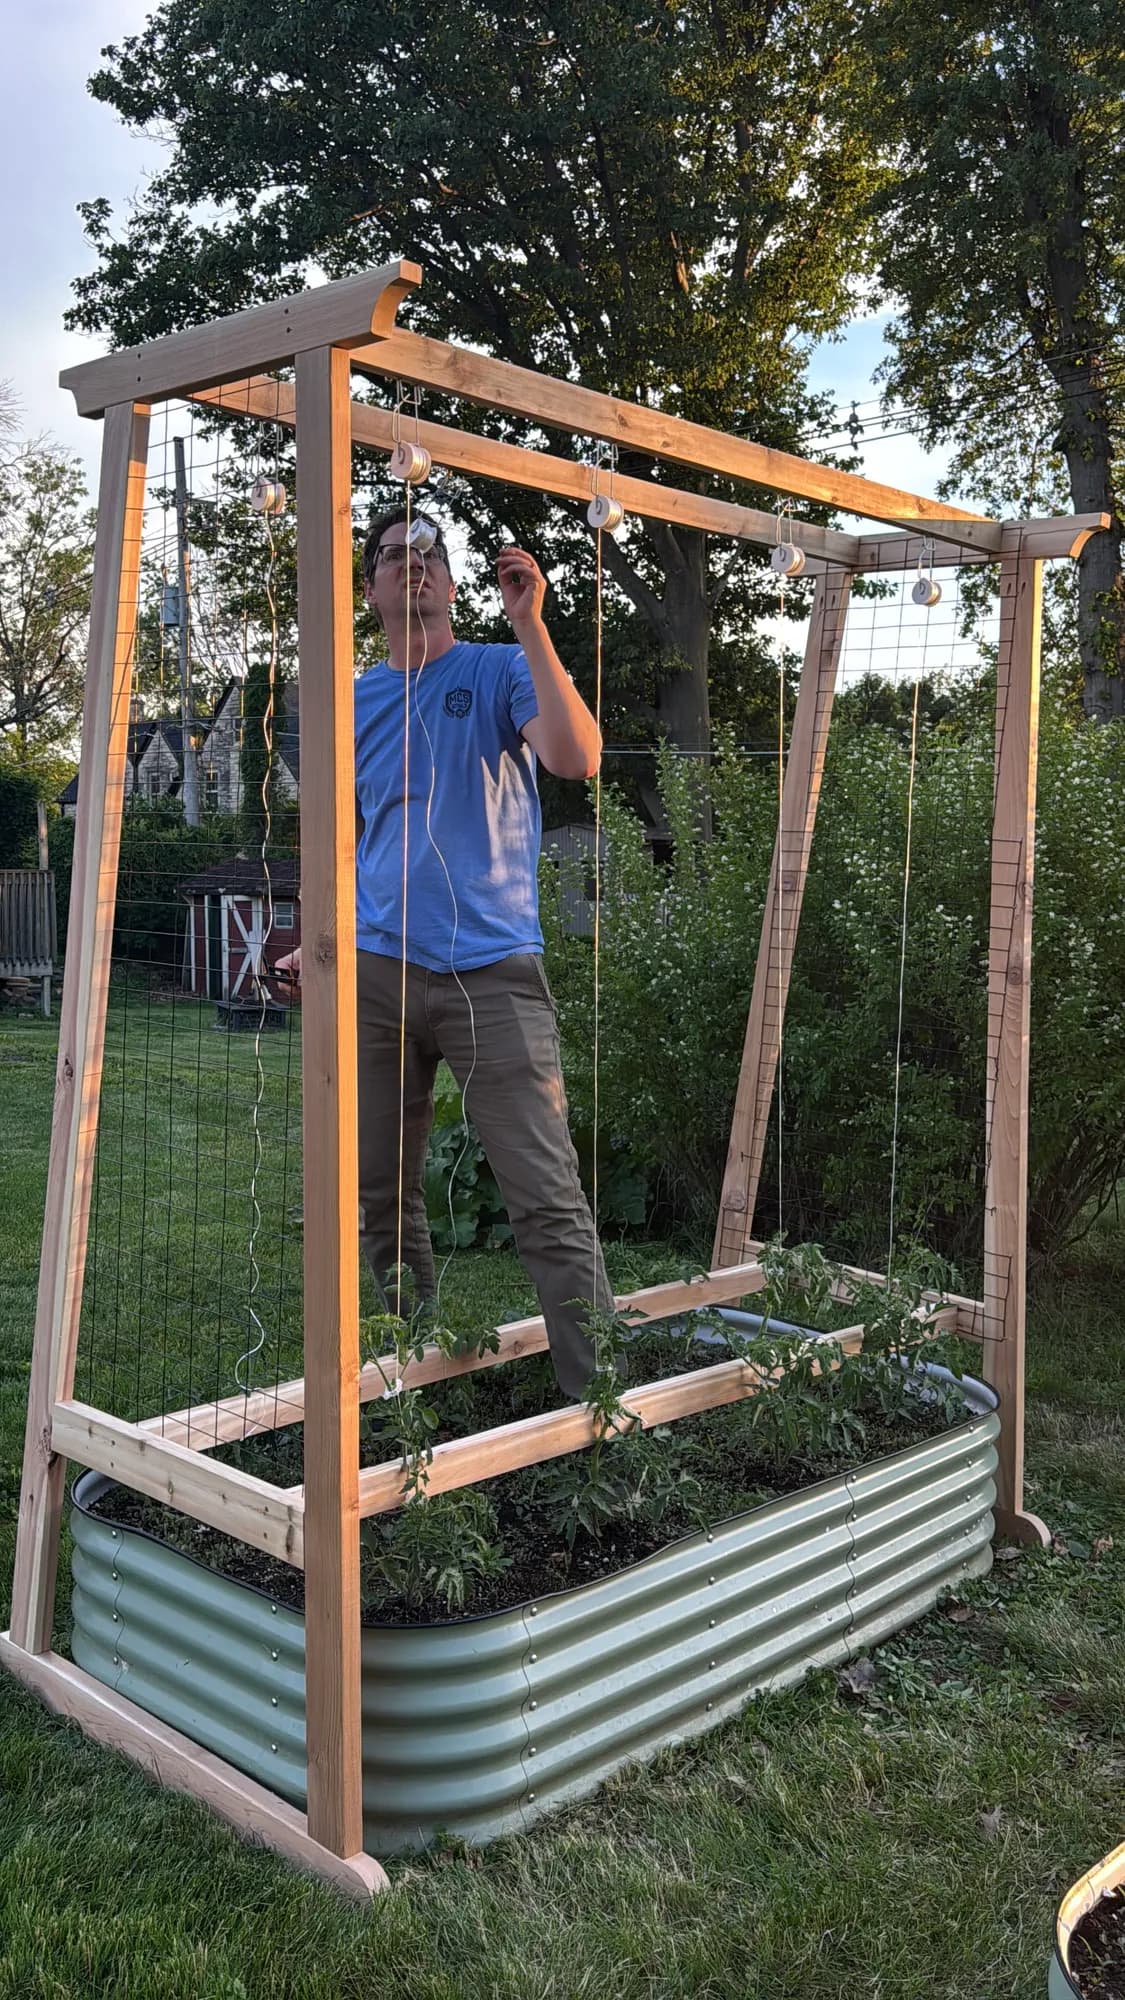
This tomato trellis will allow your tomatoes to grow tall and strong! No more plants flopping over from the weight of those big beautiful tomatoes.
Tools
Essential
- Drill / Driver
- Impact Driver
- Miter Saw
- Pocket Hole Jig
- Random Orbit Sander
- Table Saw
Materials
| Item | Qty |
|---|---|
| Cedar 2x4, 2x4x8 | 7 board |
| Cedar 2x6, 2x6x8 | 2 board |
| Black welded wire fencing (3'x50') | 1 each |
| Fence Staples (3/4") 1 lbs | 1 each |
| Blue-Kote™ Pocket-Hole Screws (50 ct) | 1 each |
| 3" deck screws | 16 each |
| Tomato Trellis Clips (100ct) | 1 each |
| Rollerhook (25ct) | 1 each |
Overall cost: $$. Lumber prices vary by region, species, and season, so we give a band rather than a figure we would only be pretending to know.
Cut list
| Part | Qty | T × W × L |
|---|---|---|
| Base | 2 | 2" × 4" × 44" |
| Middle Brace (5º Angle) | 2 | 2" × 4" × 28" |
| Top | 2 | 2" × 4" × 36" |
| Sides (5º Angle) | 4 | 2" × 4" × 87" |
| Rails | 4 | 2" × 2" × 74" |
What to buy
Buy 11 boards at 8 ft.
2" × 4"
7 boards
2" × 2"
4 boards
Assumes 8 ft stock, a 1/8" saw kerf, and buying each part at its own width. Change the board size or kerf on the full board plan →
Instructions
1Top and Bottom
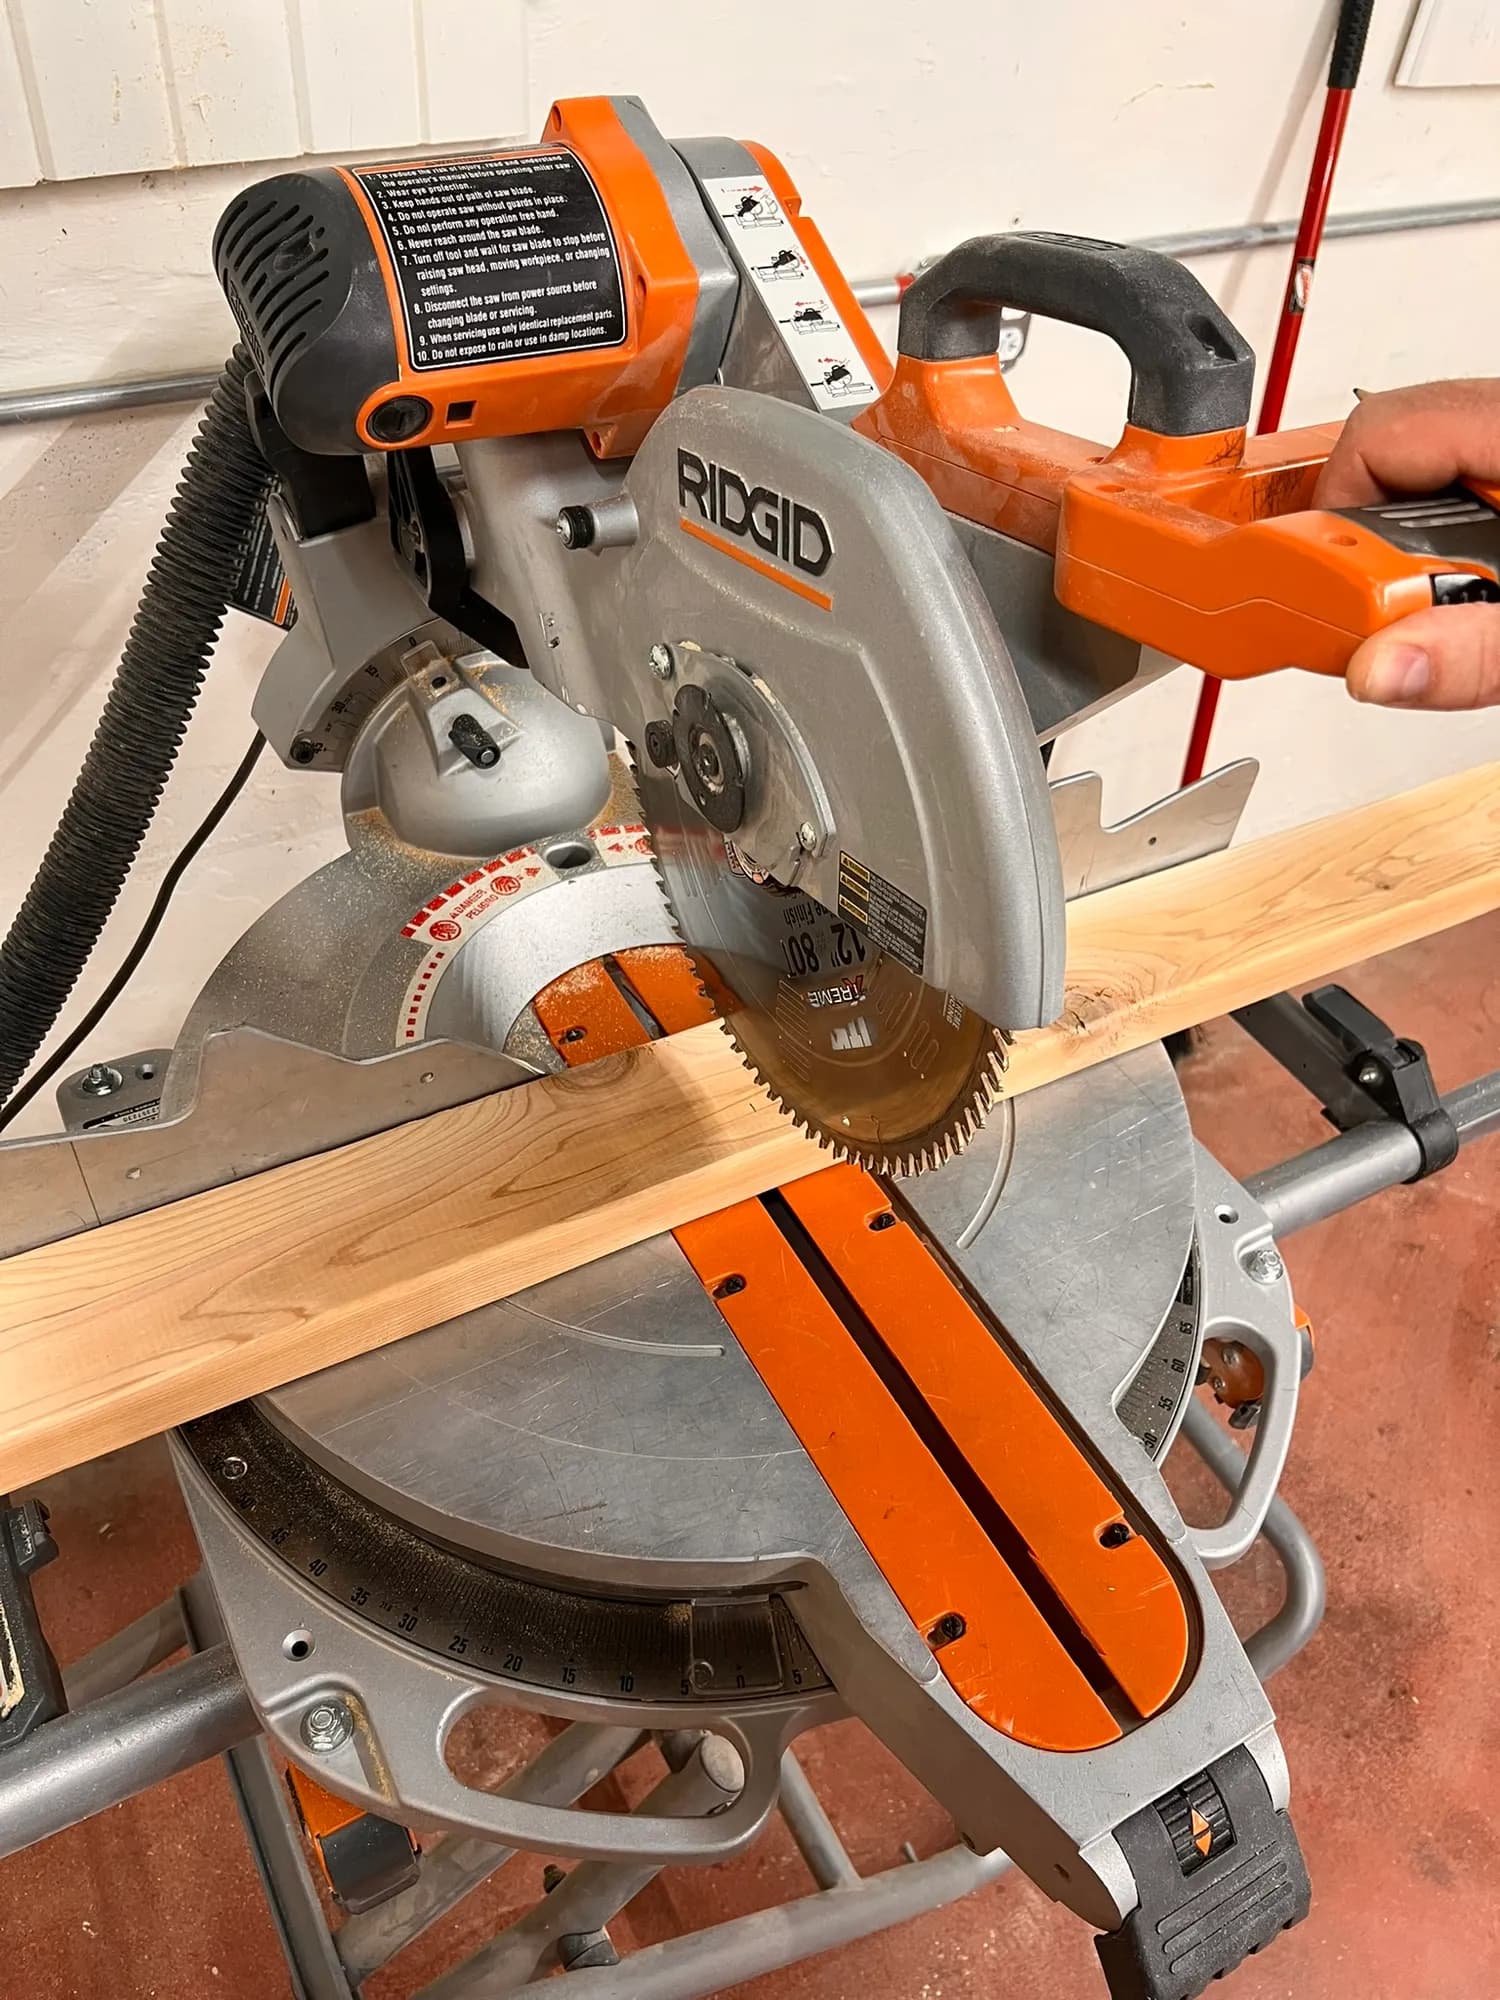
Cut tops and bottoms to length.
2Details top and bottom
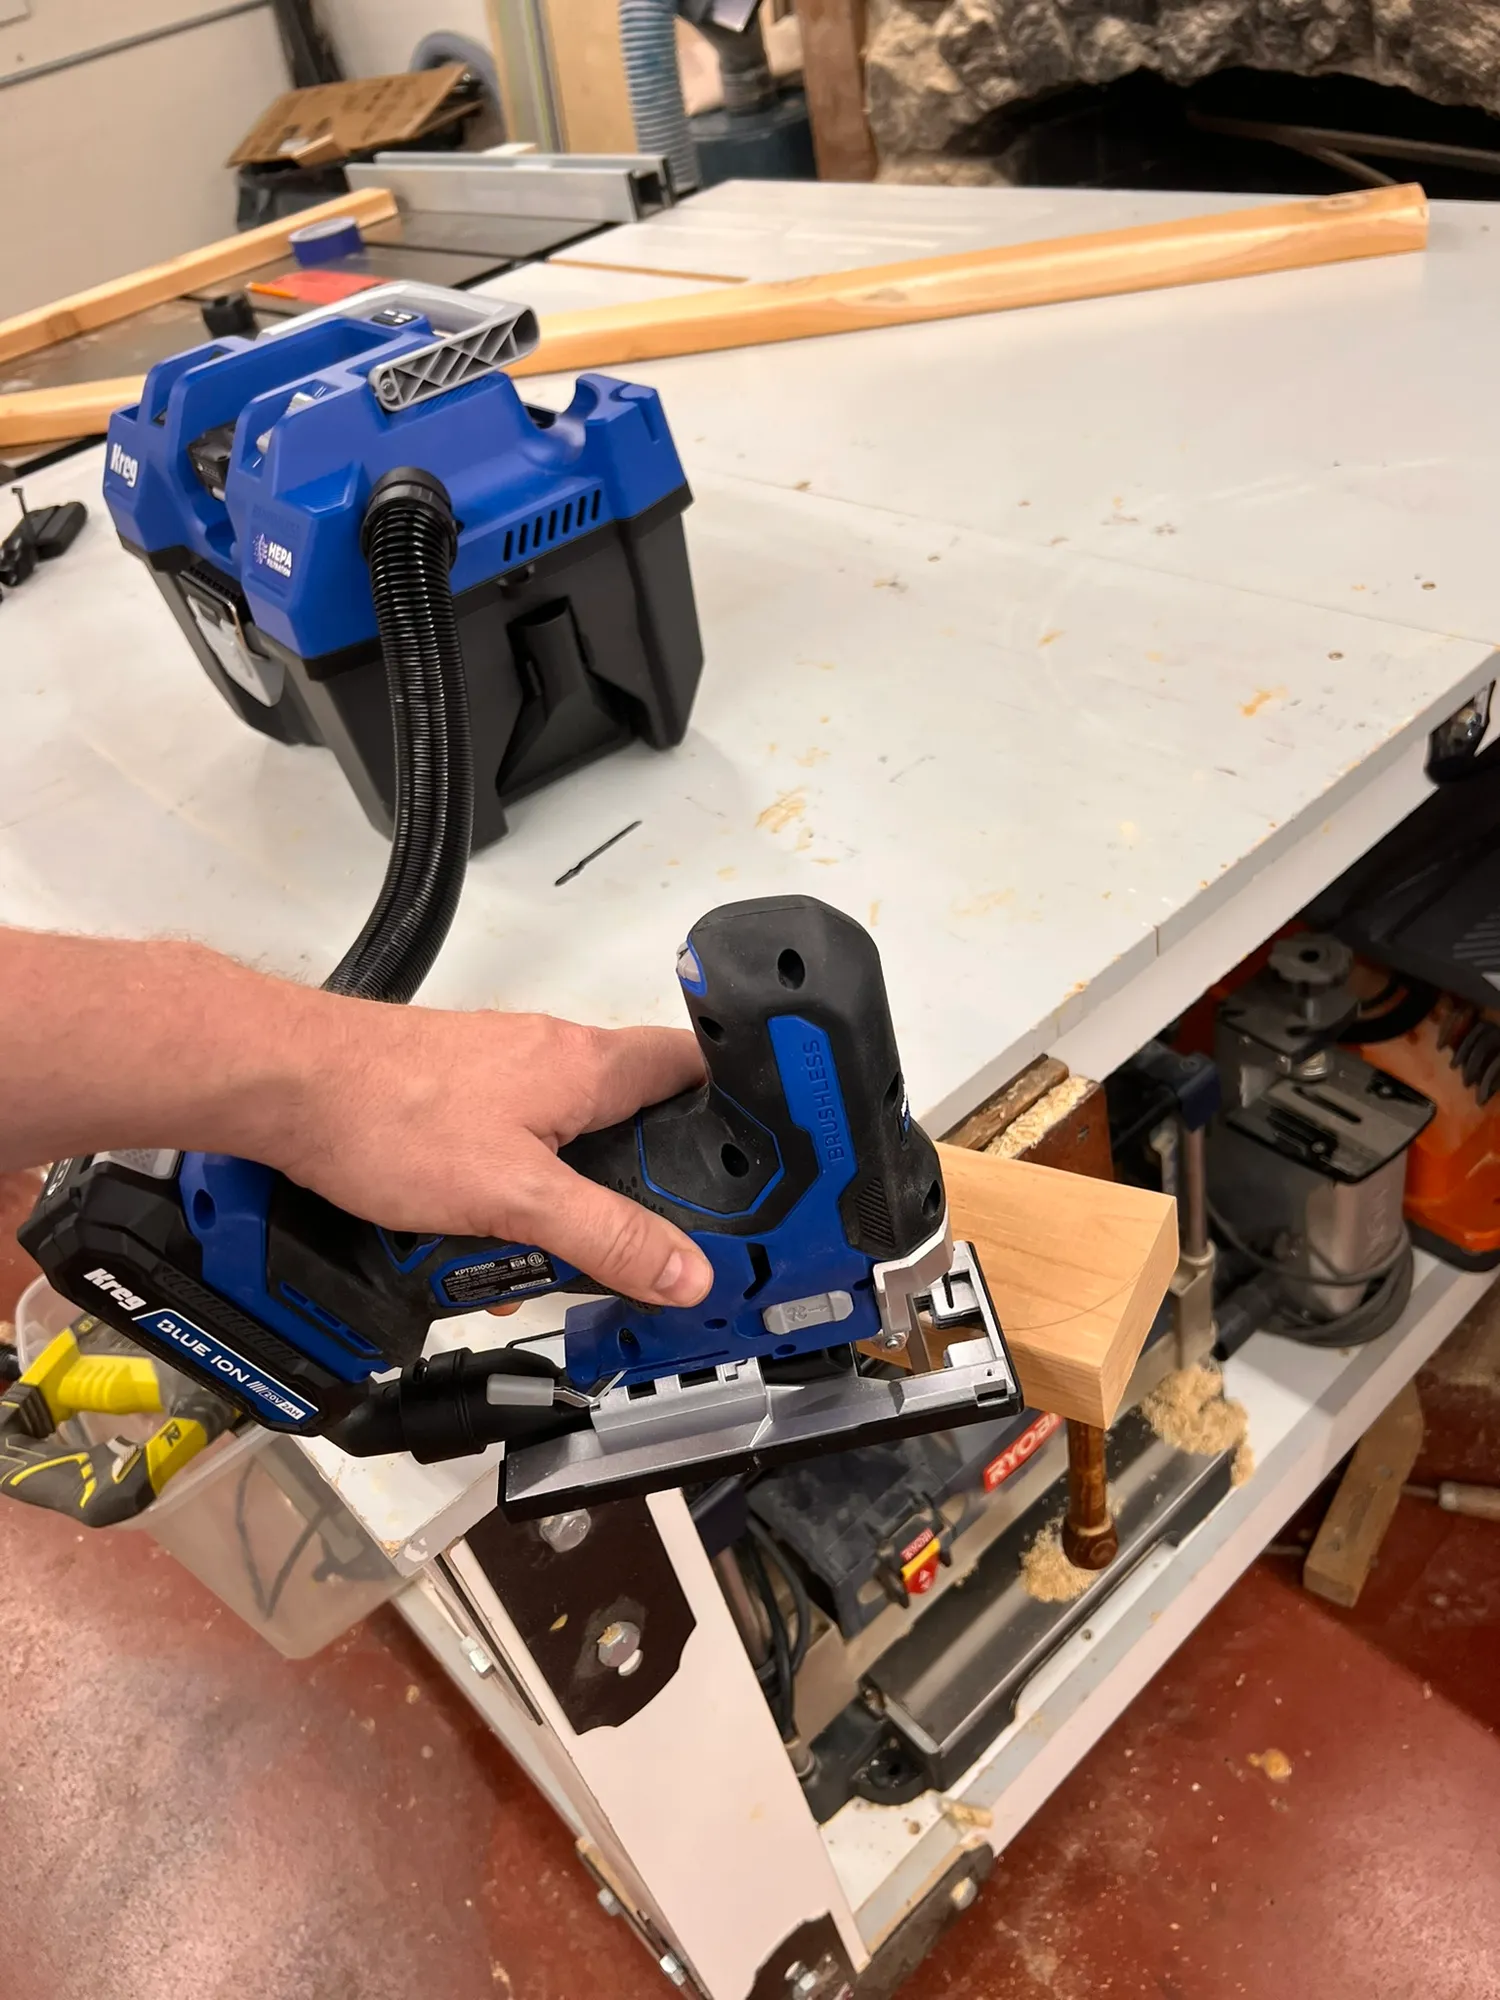
We wanted to round the bottoms and cut a cove on the tops. Using a roll of tape as a guide we traced the radius on the tops and bottoms and cut with a Jig saw
3Sanding Corners
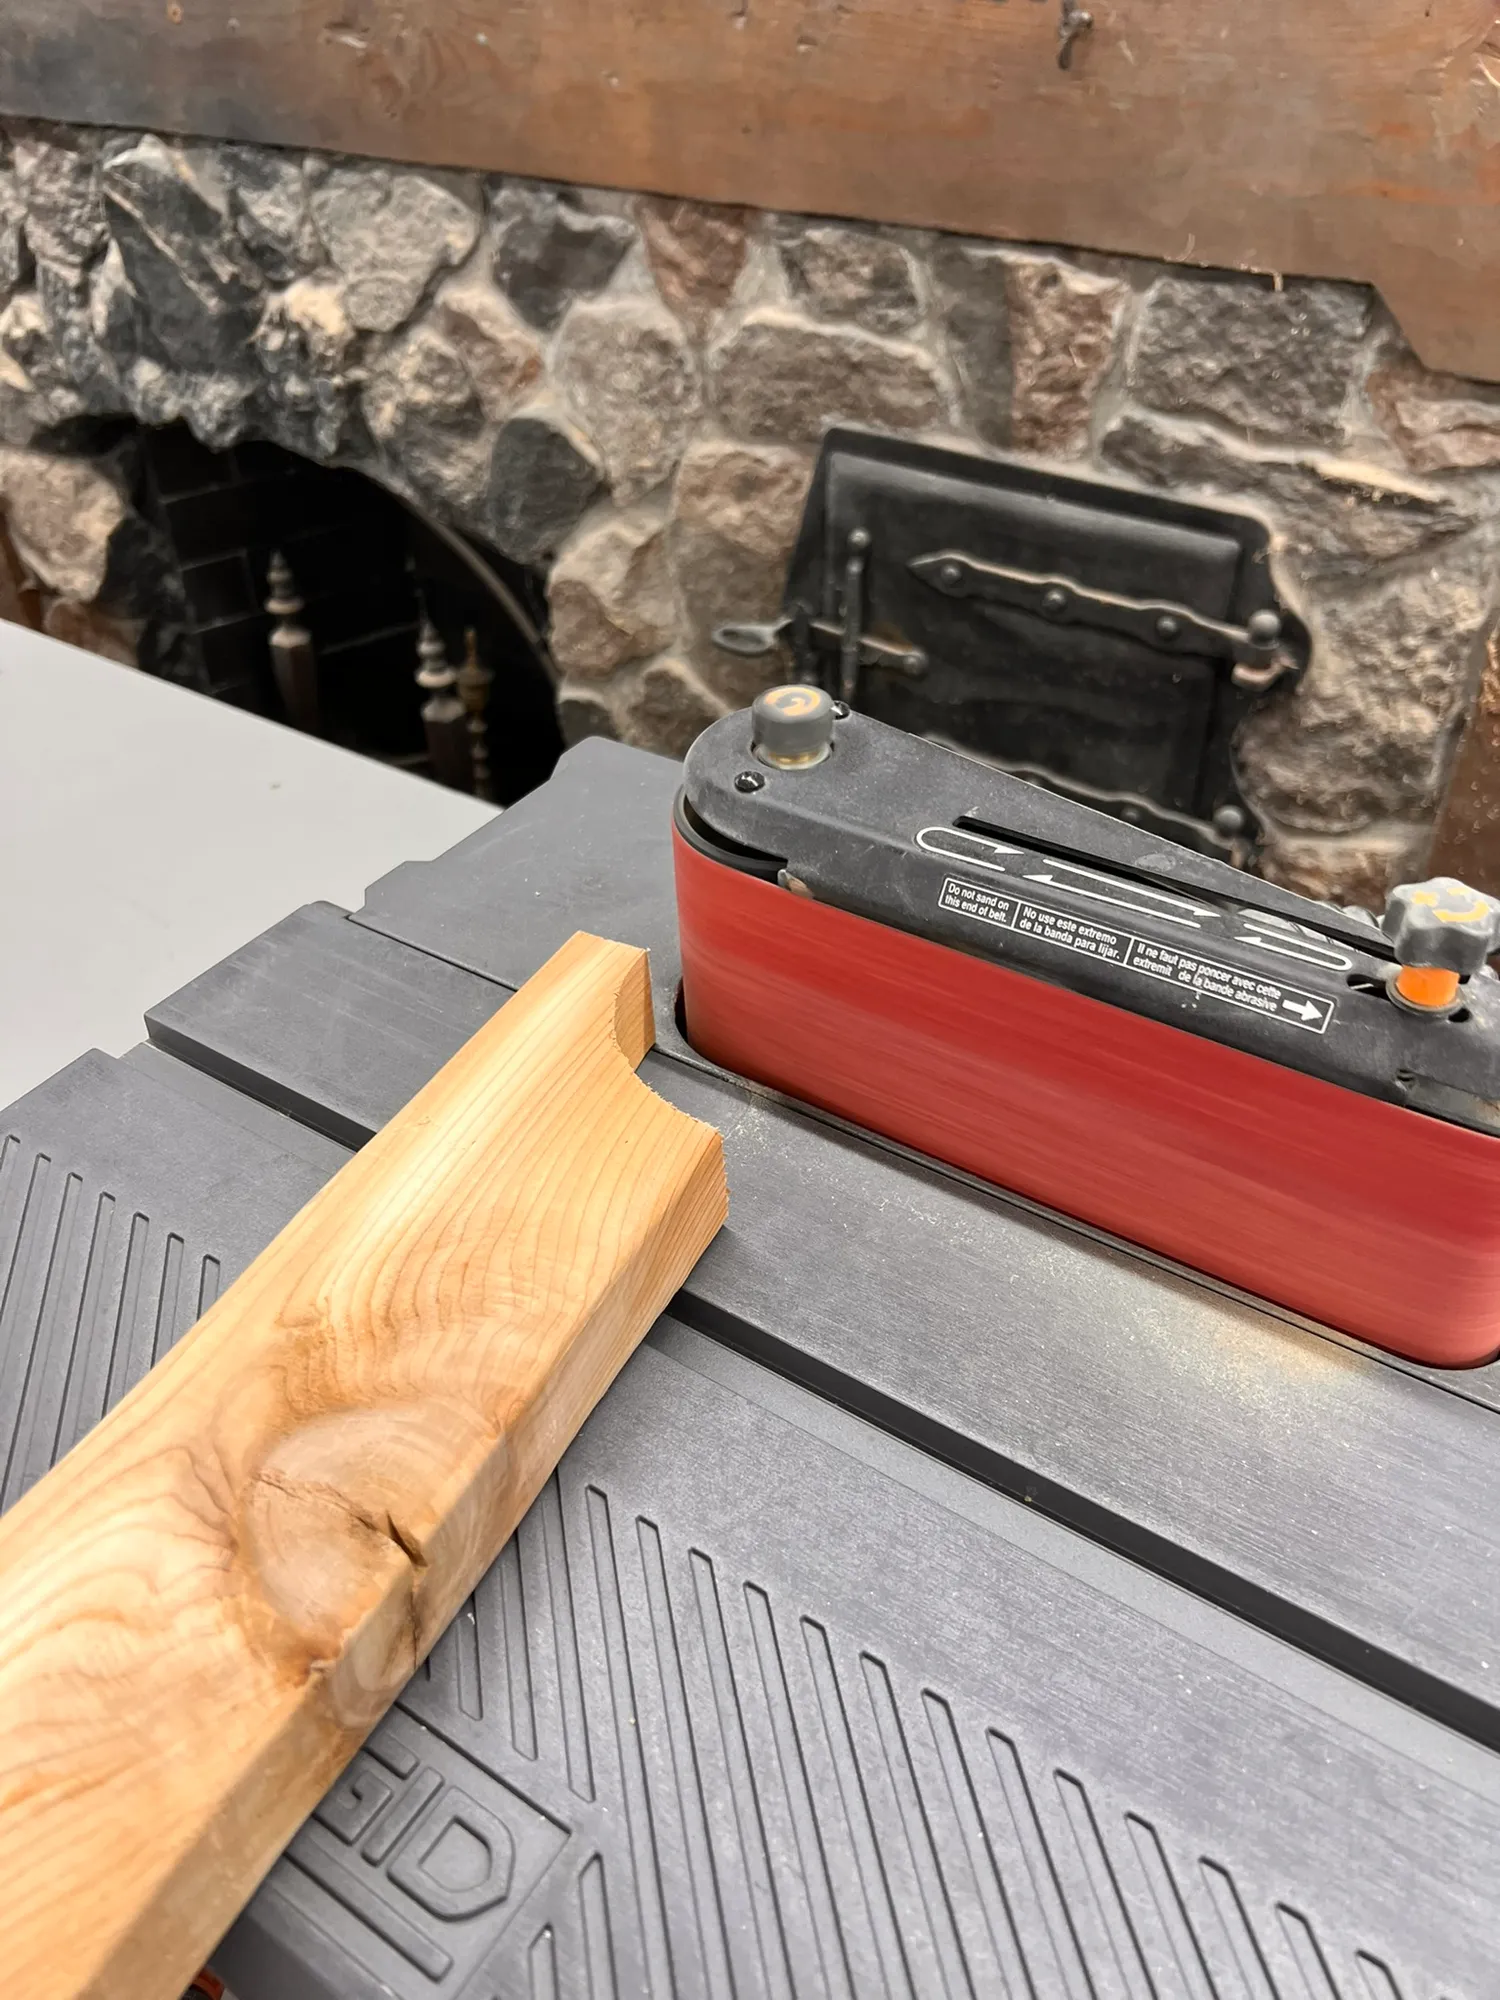
Use an Oscillating sander to clean up the cuts.
4Cut the sides
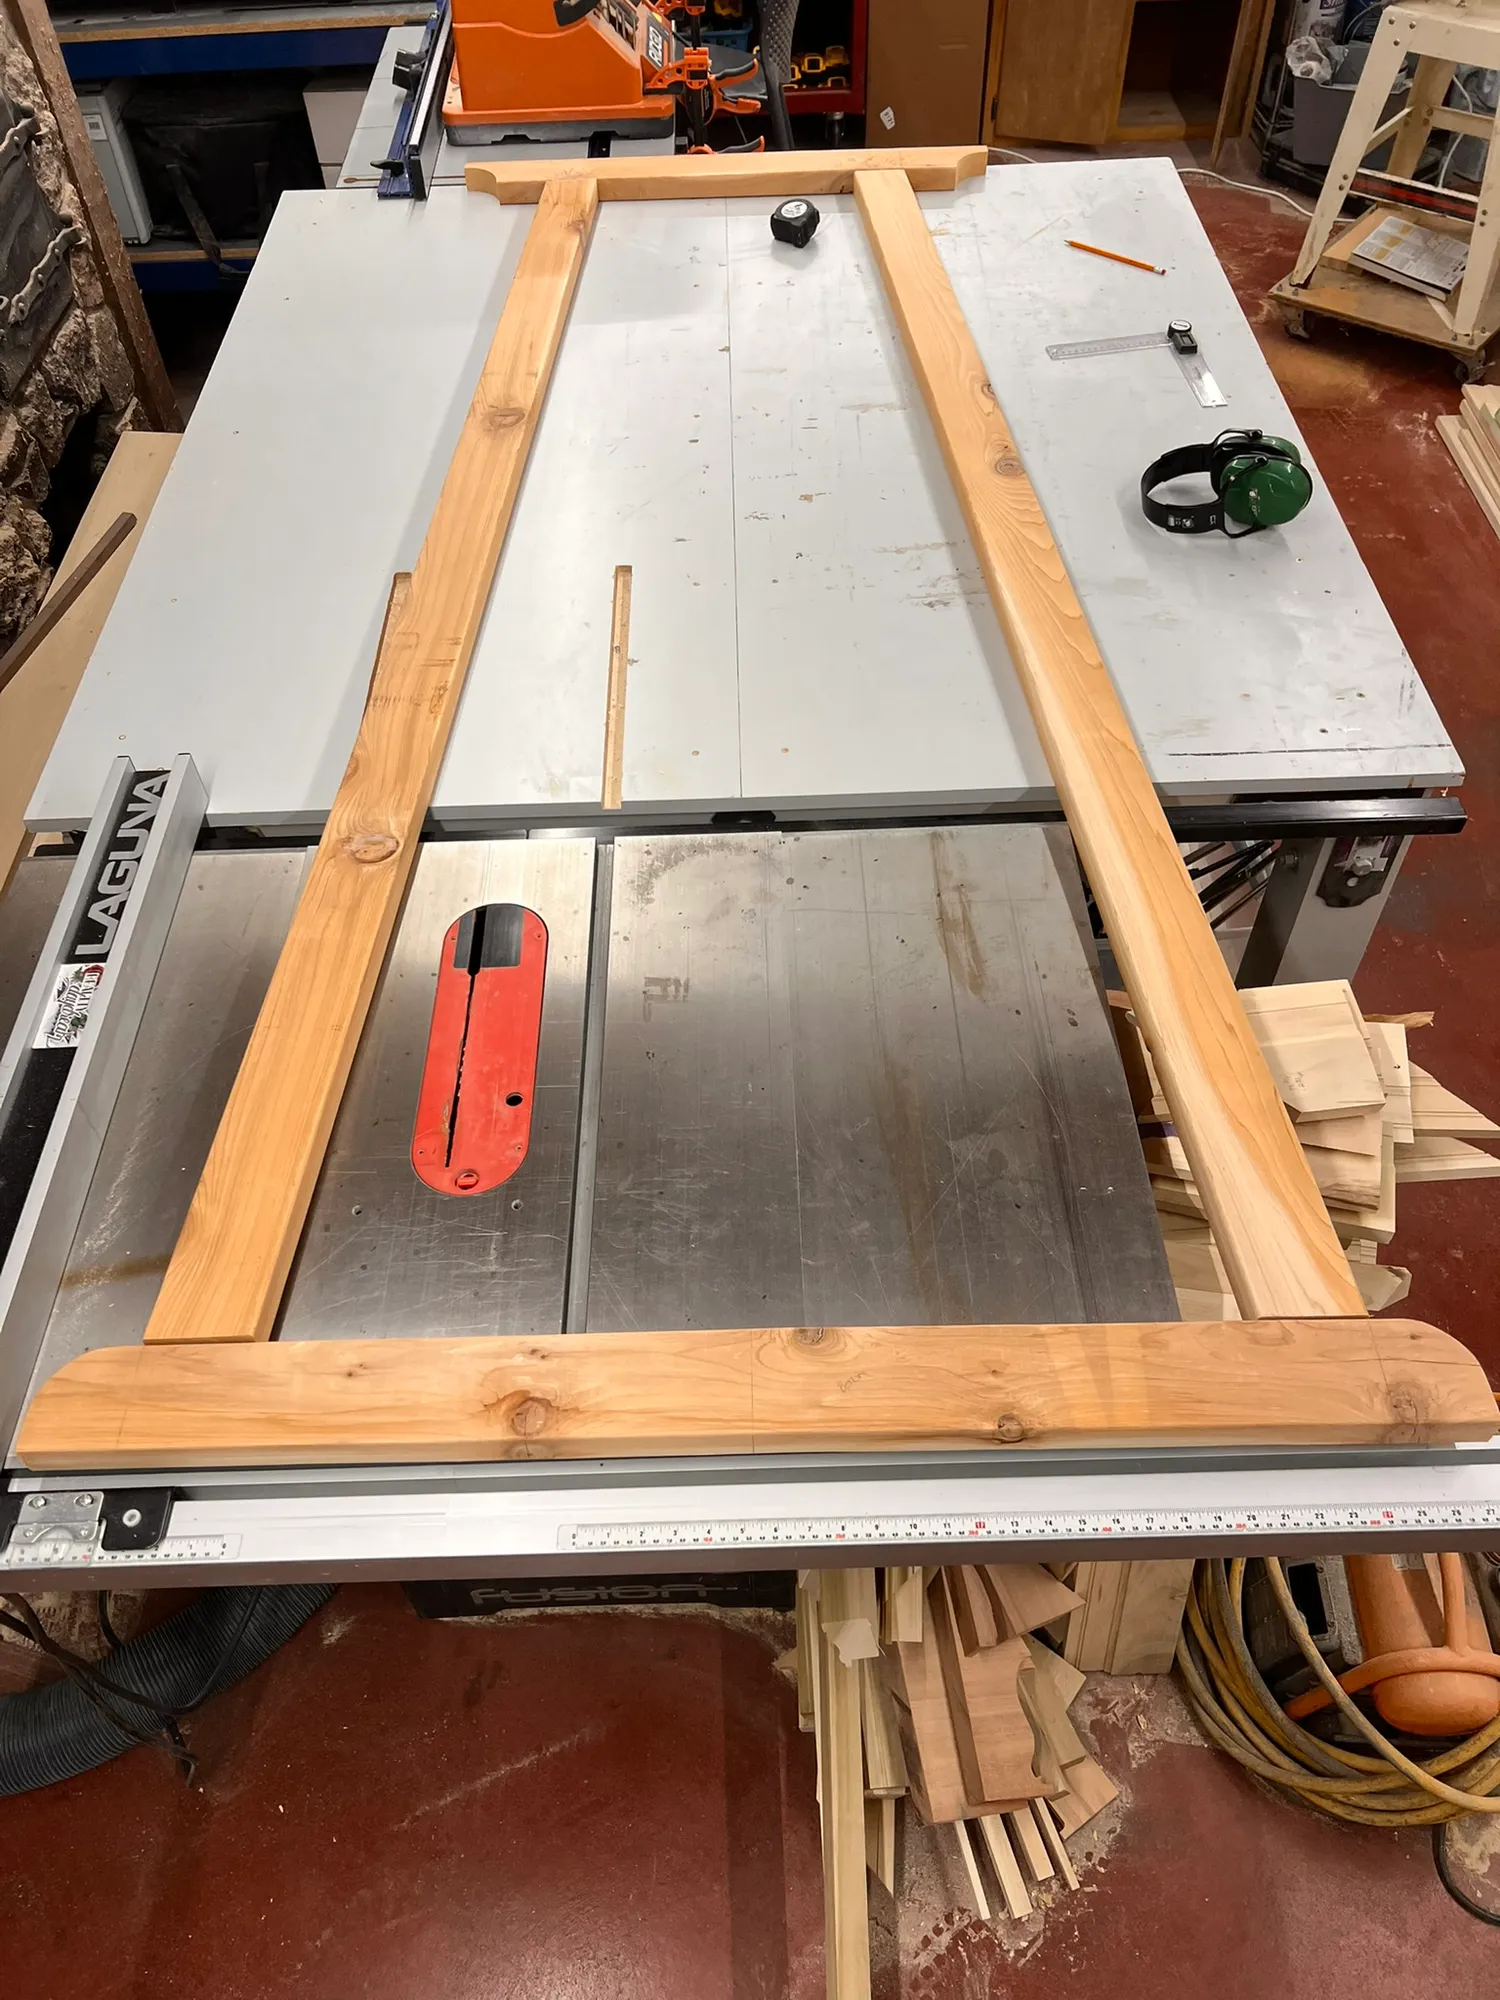
We cut the sides using the miter saw at a 5° angle on both ends and laid them out so the bottom of the side is 3" from the edge and the tops are 6" from the edge
5Drilling Pocket Holes
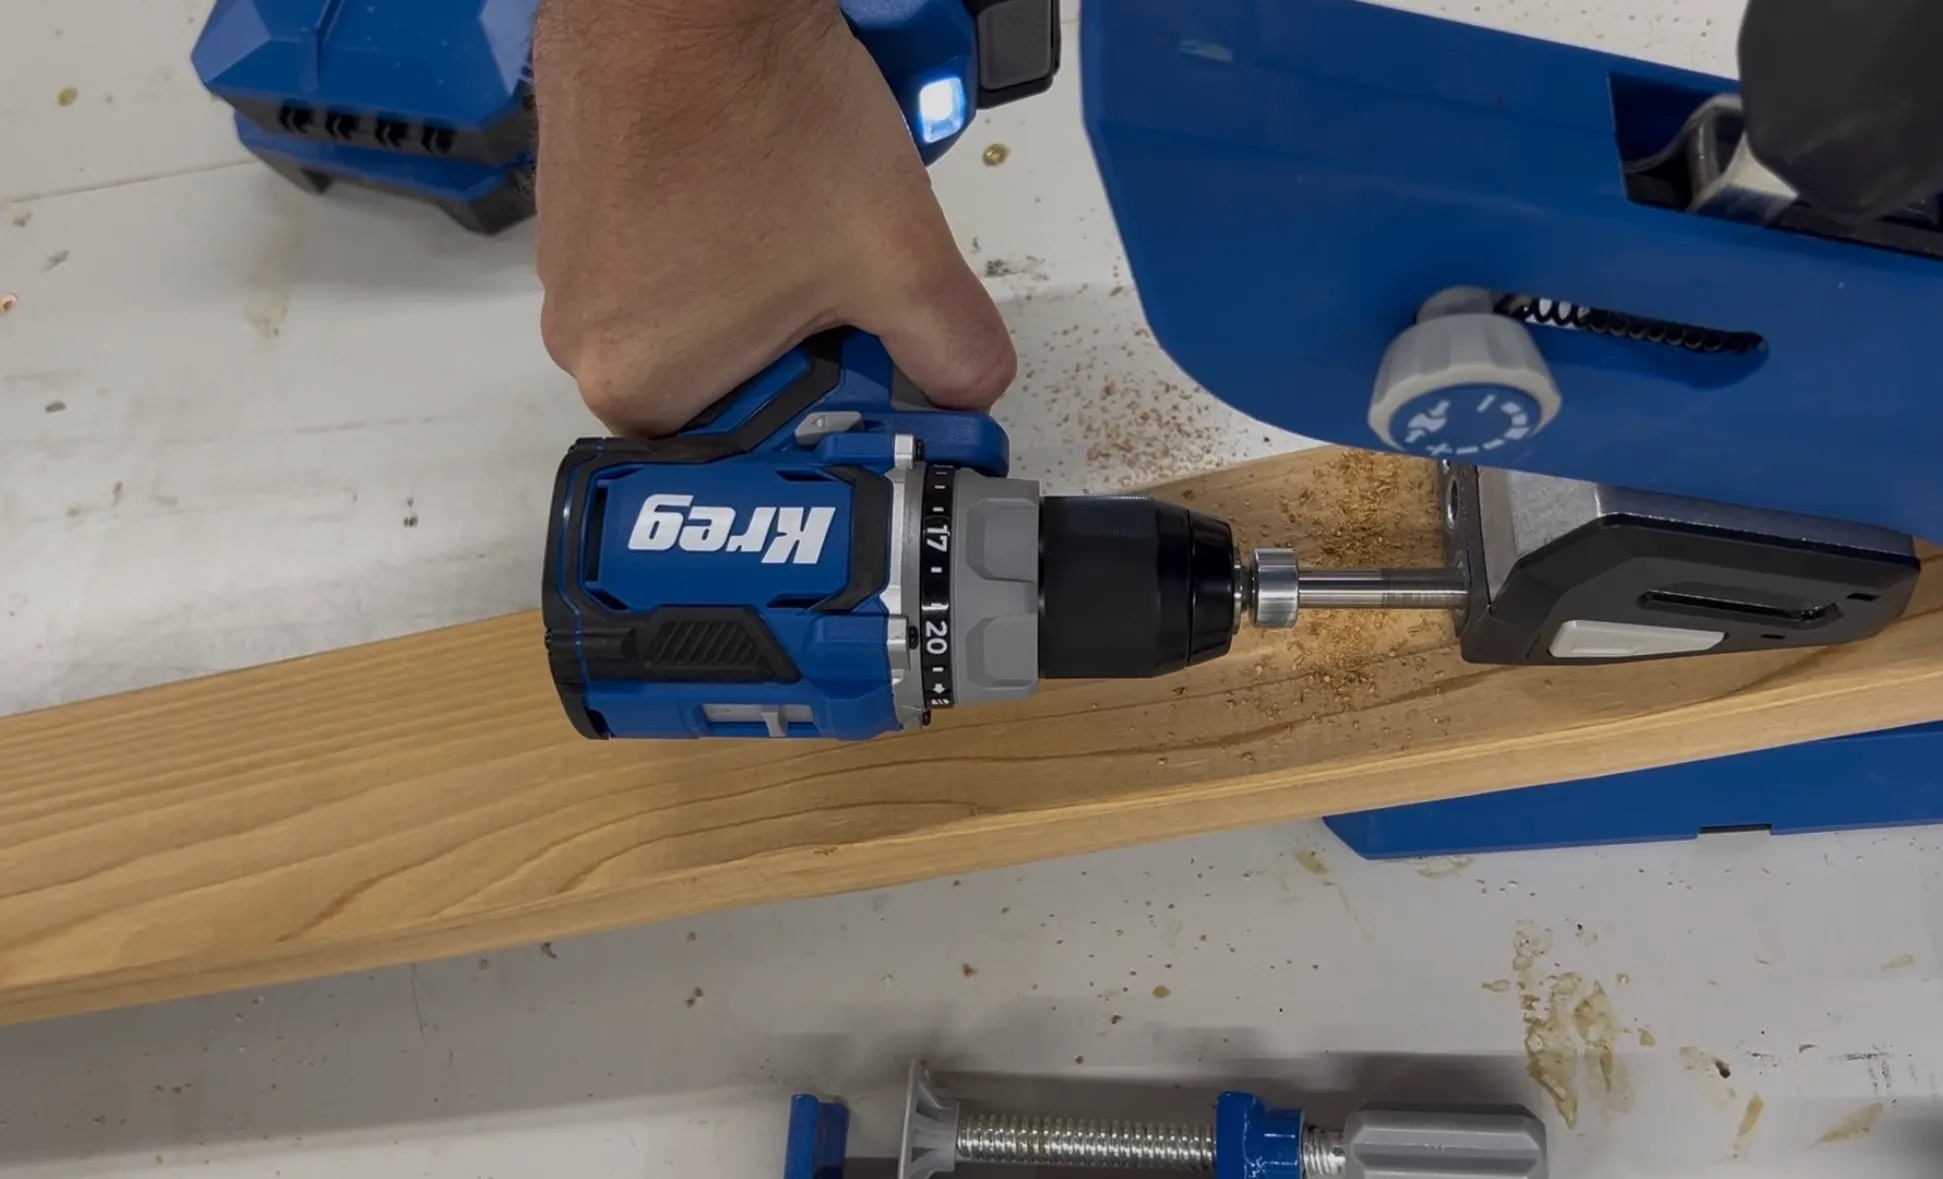
Drill pocket holes to attach the top and bottom to the sides
Tip: Water drainage Drill the pocket holes so they are facing down, this will allow them to shed any water.
6Side assembly
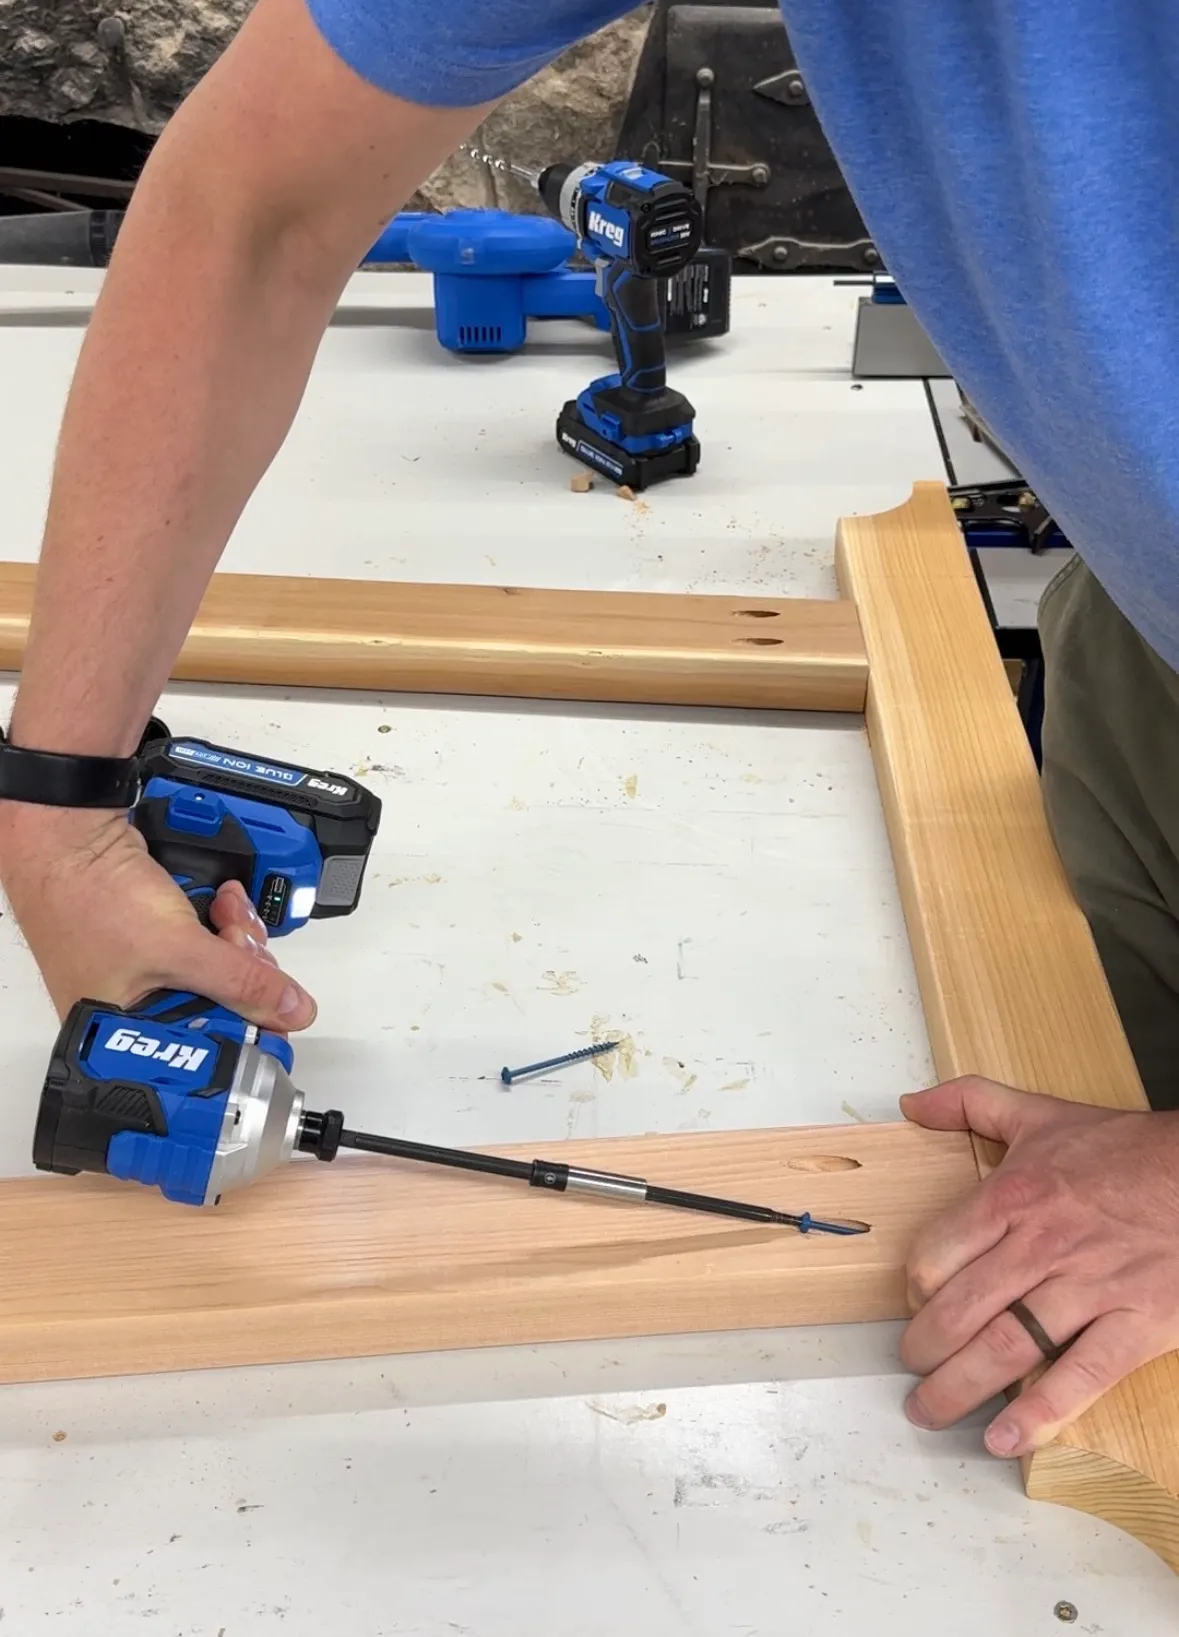
Assemble the sides using 2 1/2 Blue-Kote screws, then measure the middle bracing 18" from the bottom of the side-bottom. mark (28 3/4"), cut, pocket hole and install.
Tip: This middle brace should be the height of the garden bed.
7welded wire fencing
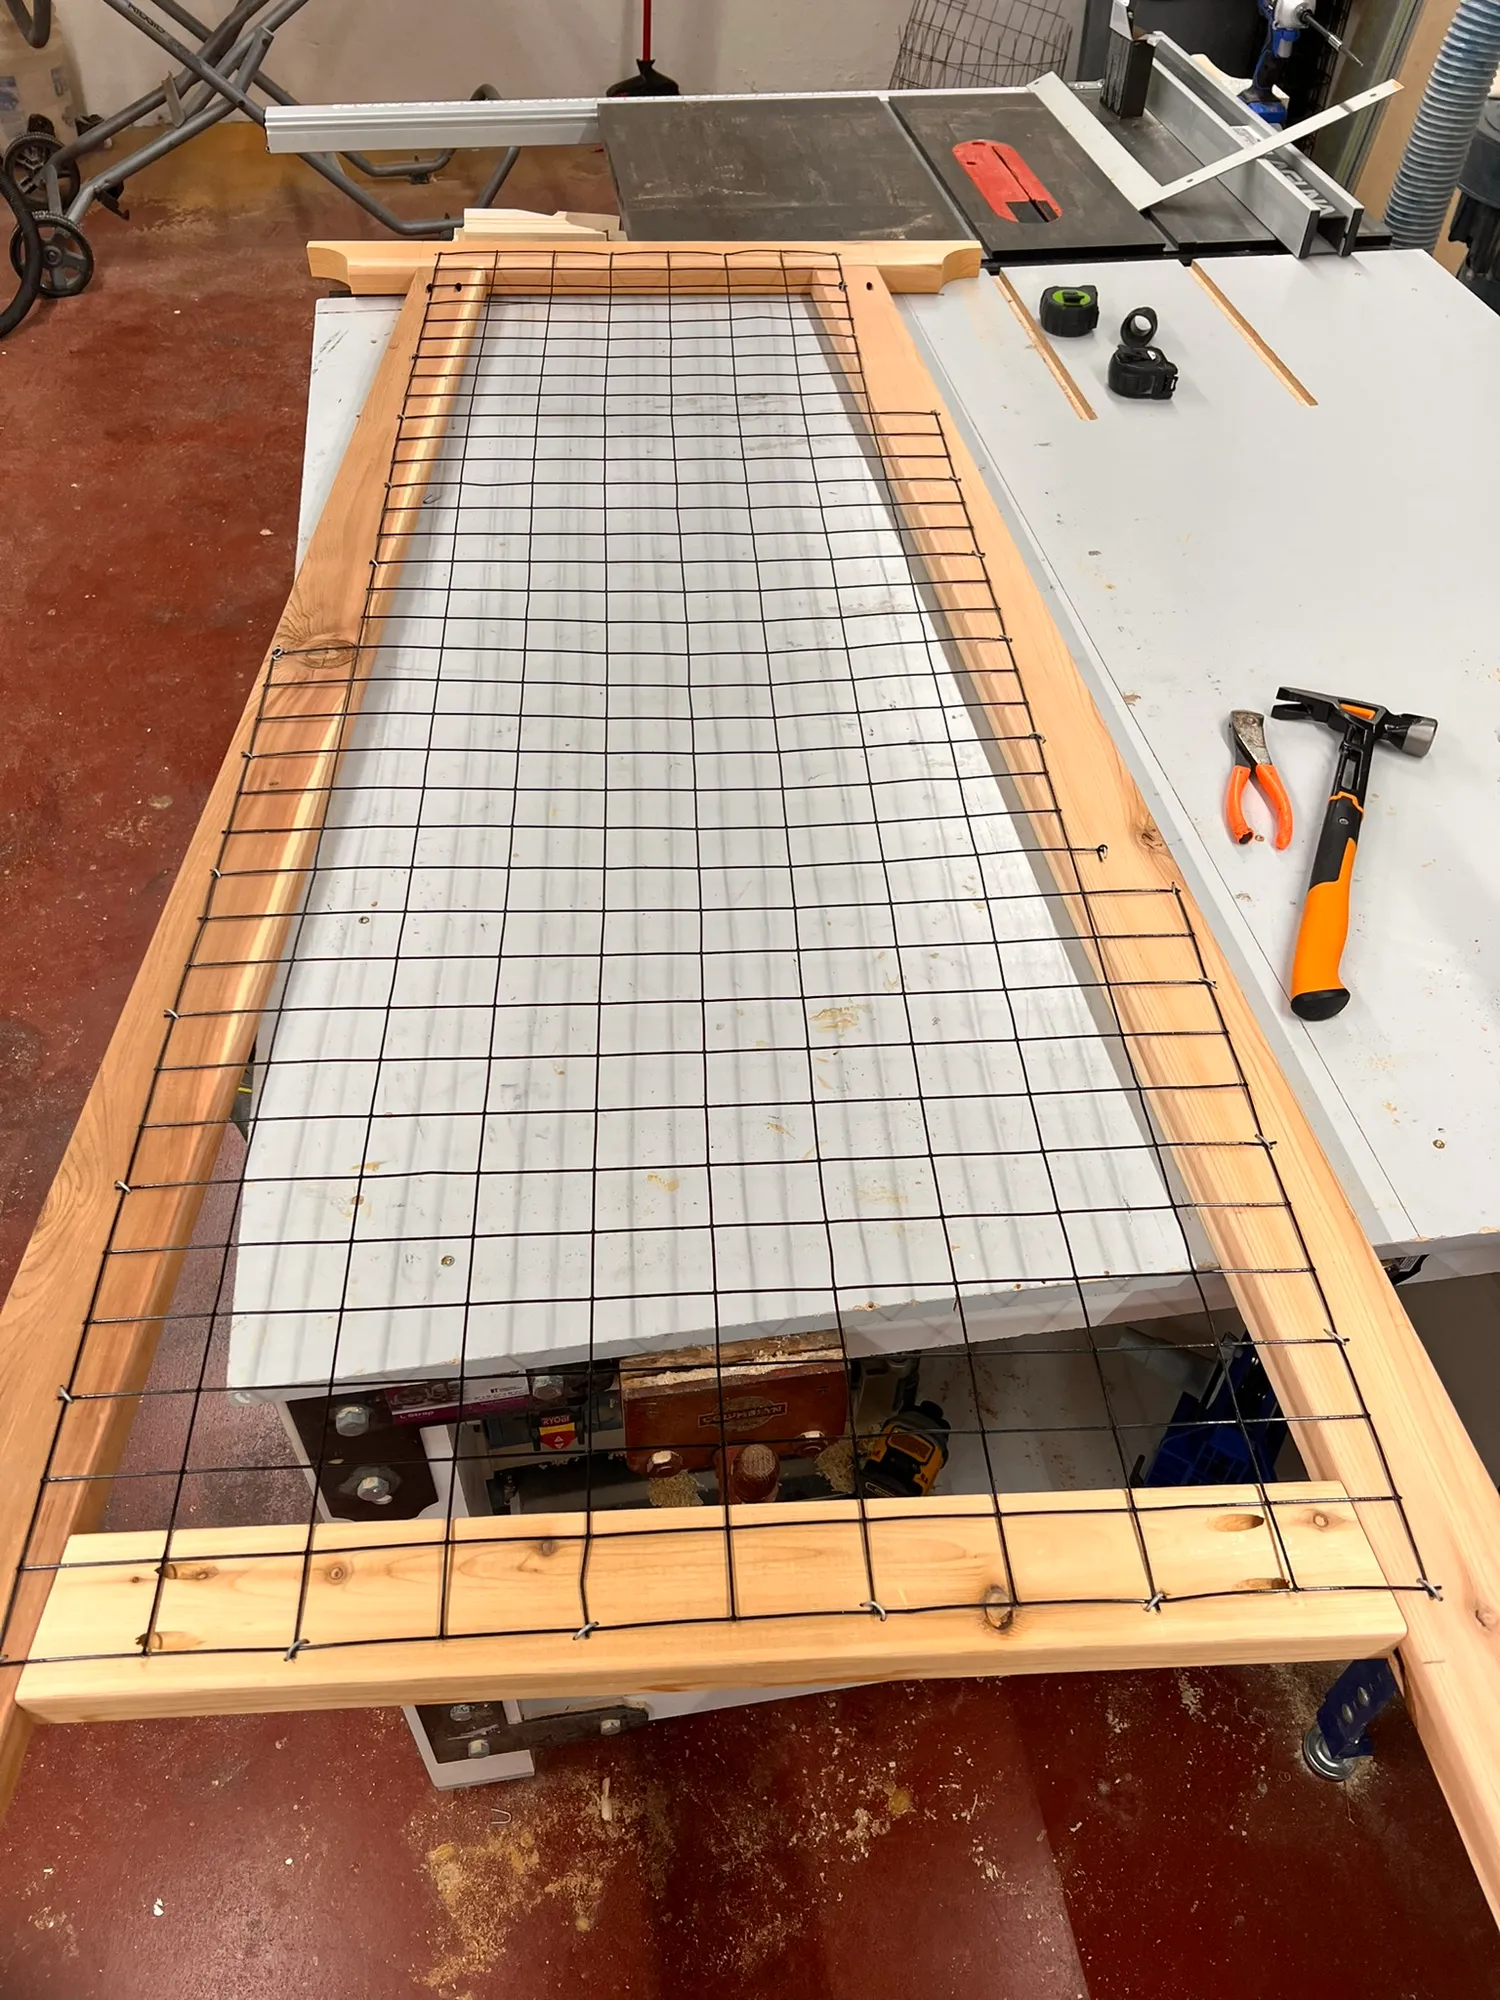
Attach welded wire fencing to the inside of both sides using fence staples. Cut excess fencing with diagonal cutters (we went from the middle brace up)
8Assemble
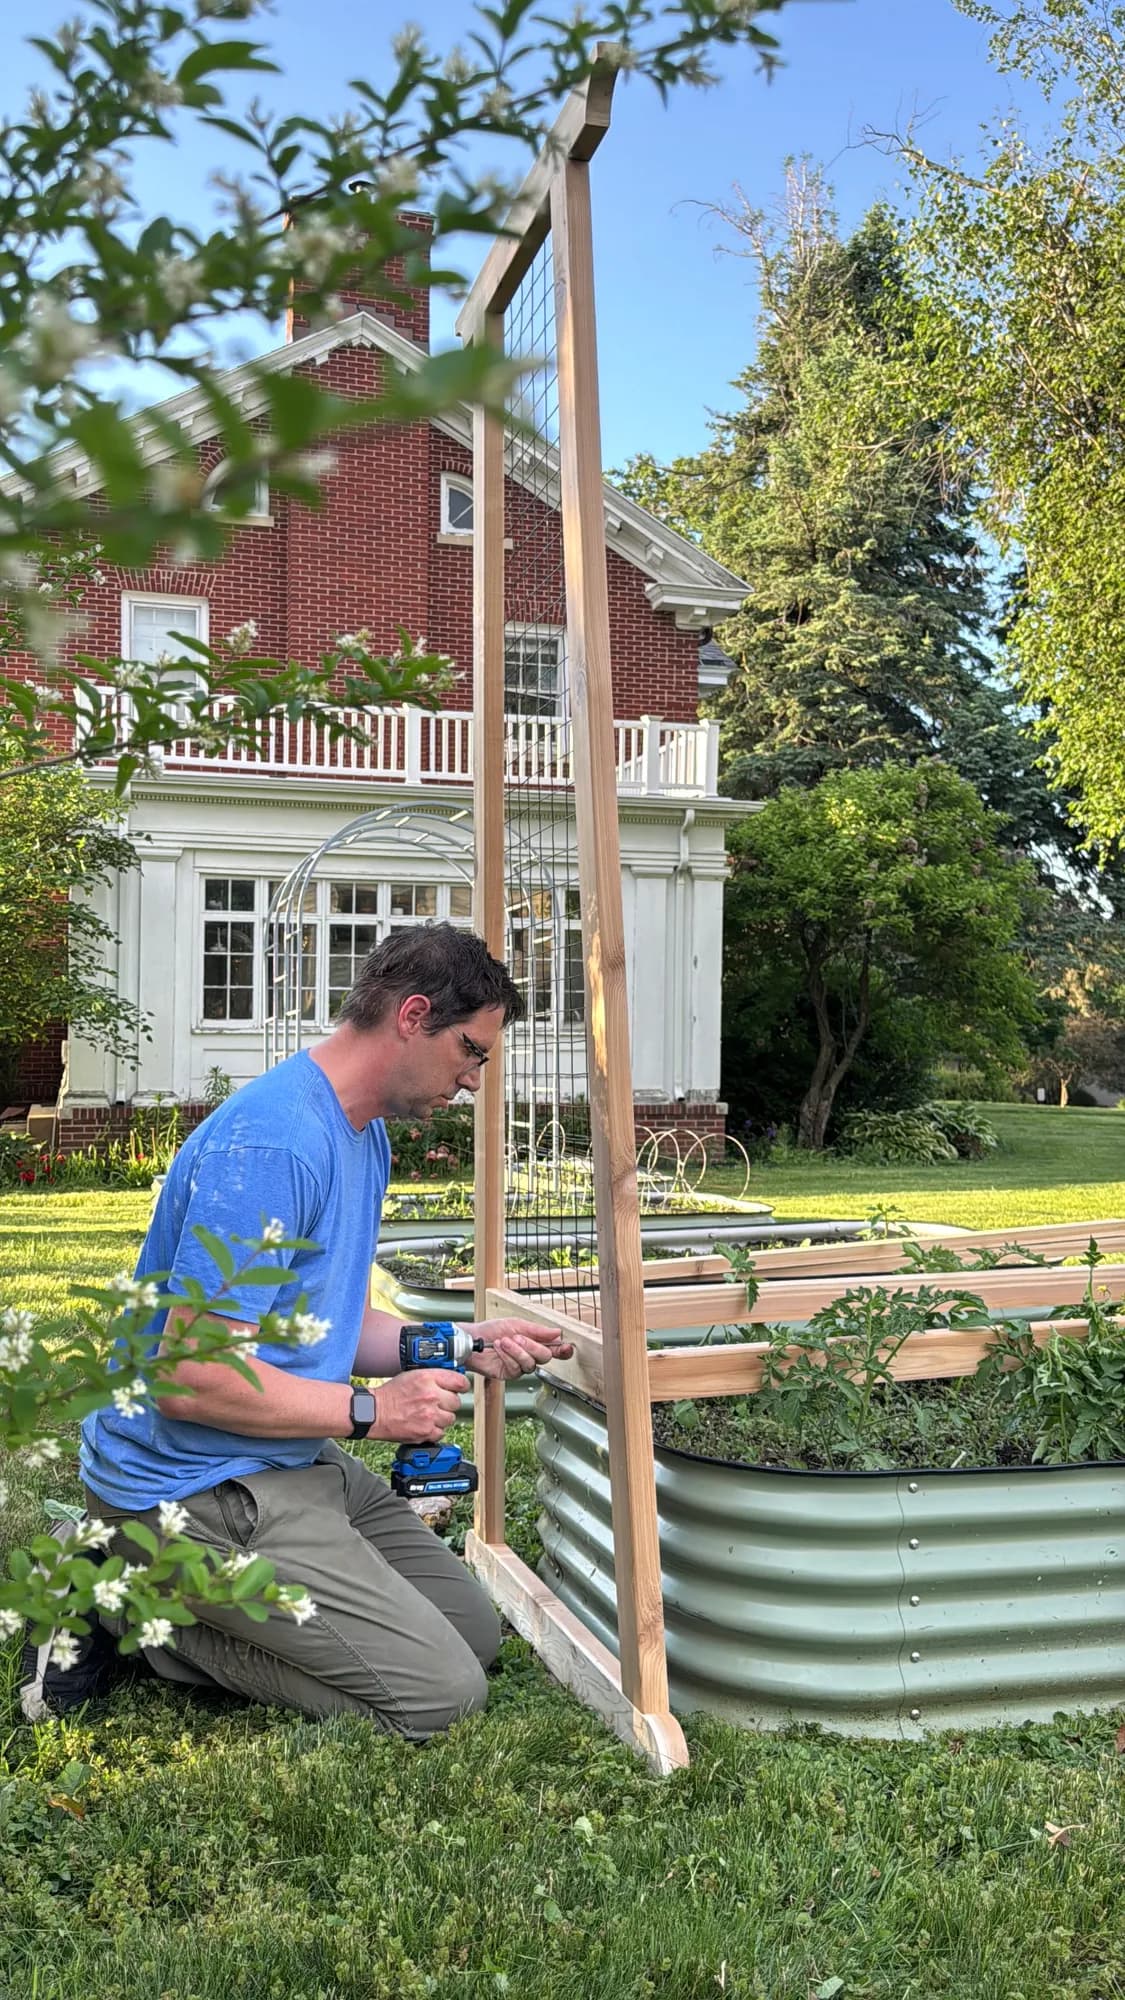
We ripped a 2x6 in half for the braces to connect the two halves. We used deck screws to assemble the 2 sides to the rails.
9Rollerhooks
Install roller hooks and use trellis clips to train your tomato plant up the line.
Tip: I used the same fence staples to install the roller hooks. If I had to do it again I would run a wire from one side of the trellis to the other and hang them from that.
Tags
- Planters
- Beginner
Reviews & builds
No reviews yet
Sign in to review this plan or share your build.
No reviews yet. Be the first to build this.