Notch
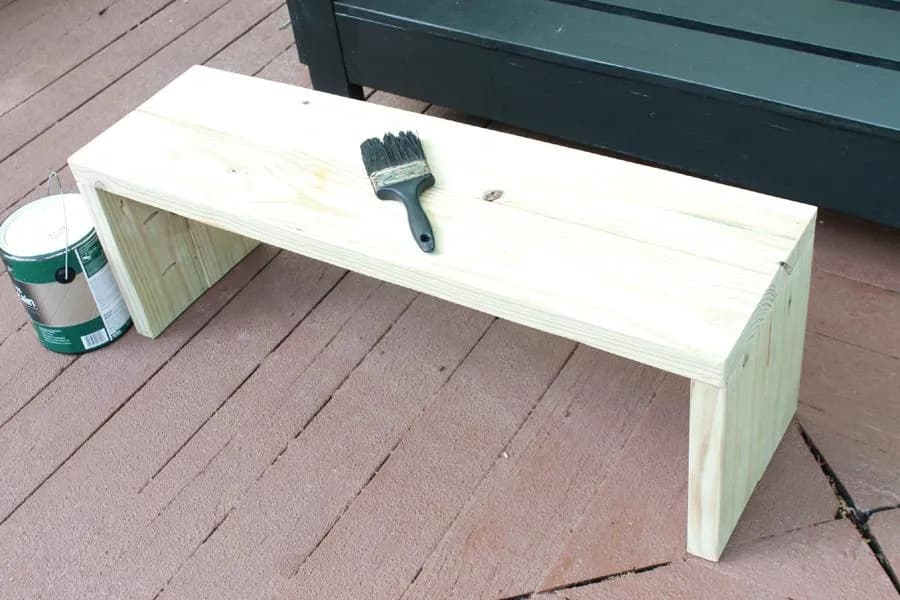
NotchSimple Outdoor Bench/Coffee Table
Step-by-step build — 7 steps. Also available as a print sheet.
1Cuts & Tips
Use pressure treated lumber that can be left in the outdoors once stained and sealed. You only require two 2"x 6" x 72" boards cut to size to build this simple bench/coffee table. You can also choose 2" x 8" x 72" wood for a wider version.
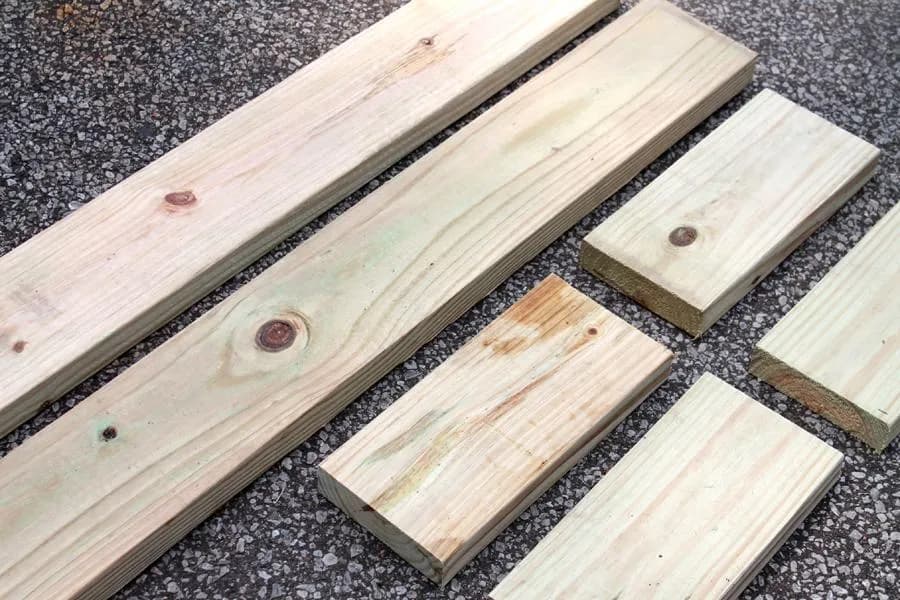
2Start Bench Feet
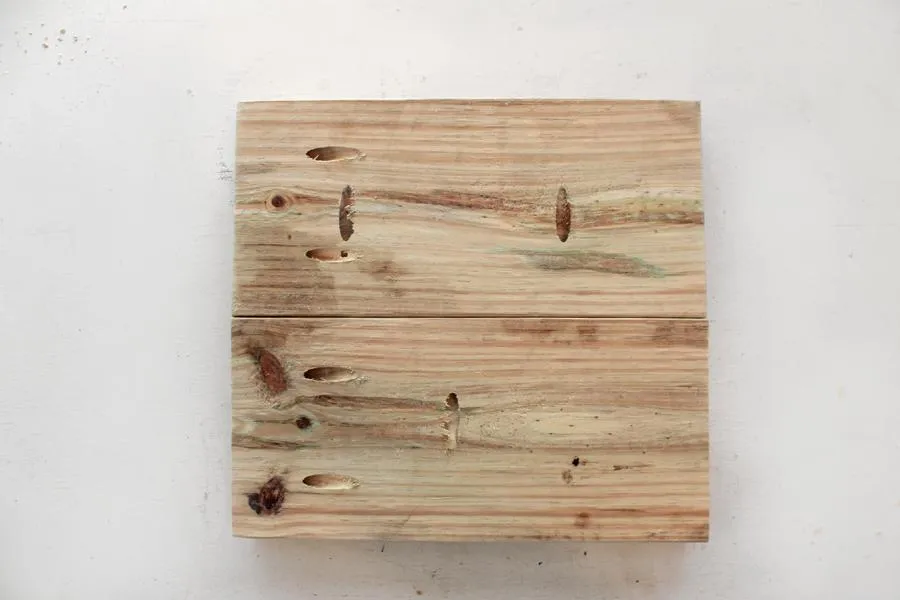
Using a Kreg Jig, drill pocket holes into the side (not the end) of the 2" x 6" x 14" boards...one pocket hole about 3 inches from the top and another 3 inches from the bottom. In the second 14" piece place your pocket hole directly in the middle of the side.
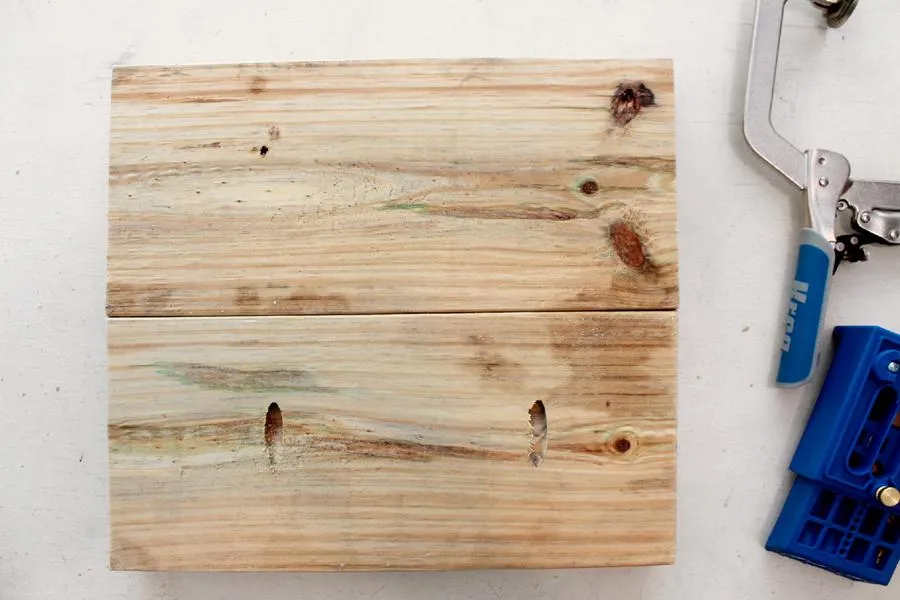
3Add Pocket Holes To One End
Next add two pocket holes to only one end of the 2" x 6" x 14" board. Do the same (on the same end) for the other 14" board.
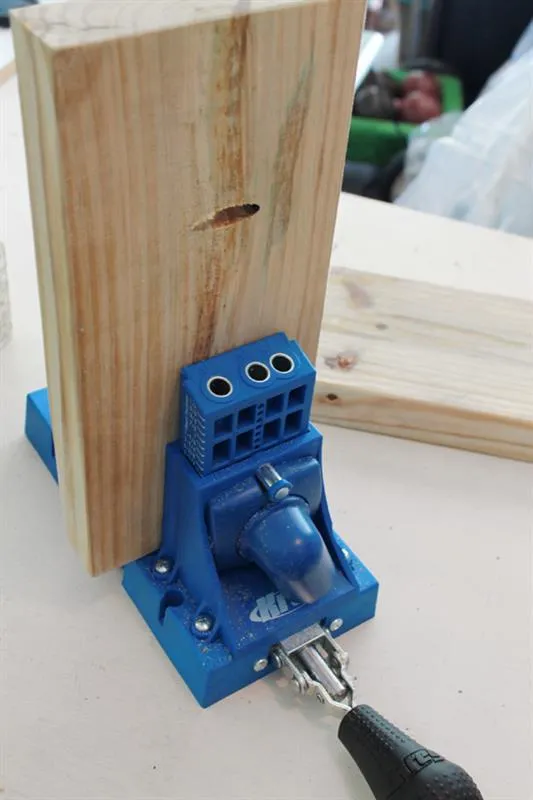
4Complete Bench Feet
Attach the two 14" feet together side by side using wood glue, and screw together using the pocket holes. Follow direction 2 & 3 again for the second bench foot.
5Make Bench Top
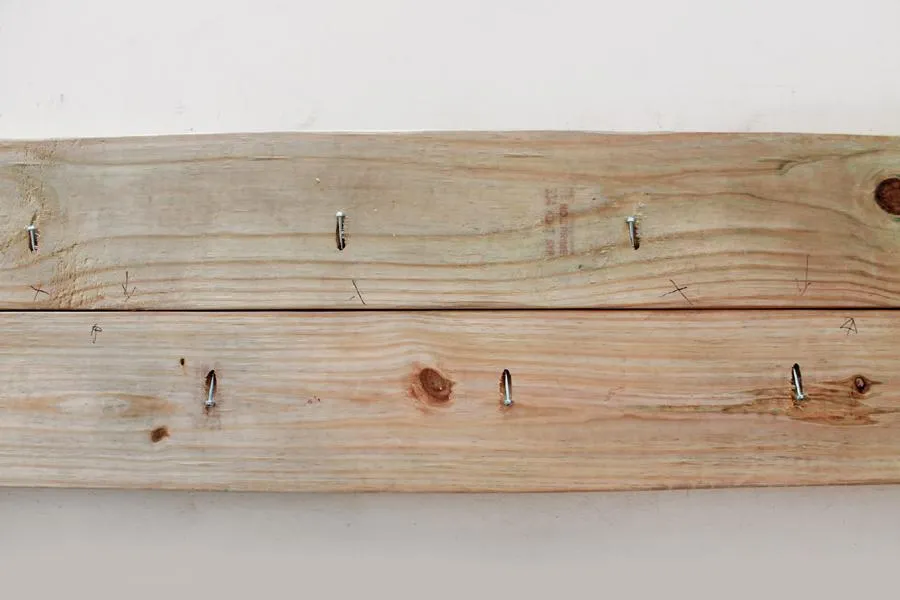
- Drill pocket holes along one side of the 2" x 6" x 36".
- Then along the side of the other...Be sure to stagger the holes so they don't line up to each other when the two boards are placed side by side.
- Attach the two bench faces with wood glue, and pocket hole screw.
6Attach Legs to Bench Top
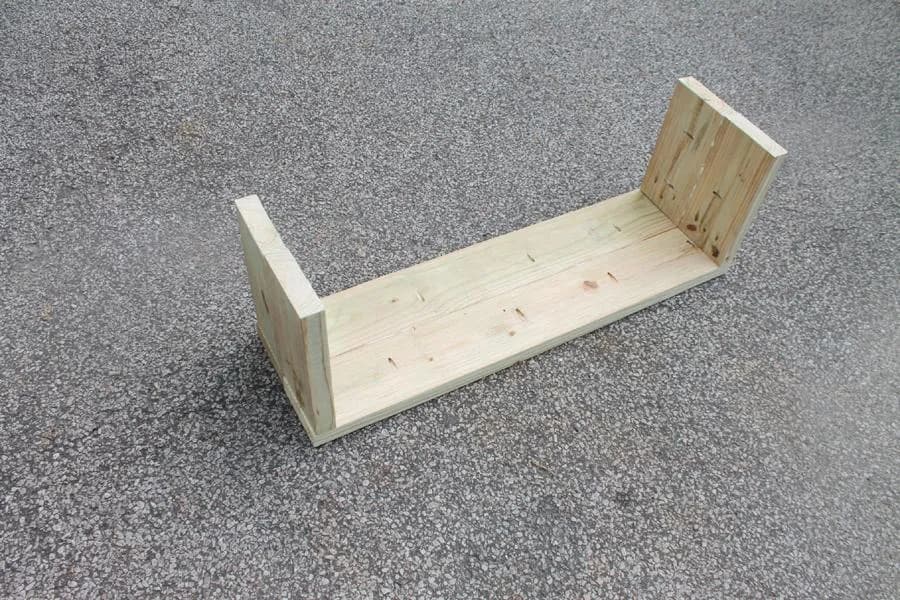
- Place the legs atop the bench face, flush on the edge.
- Attach via pocket holes (also use wood glue). Be sure all pocket holes are facing in so they don't show.
7Sand, Stain & Seal
Sand until perfectly smooth. Stain and seal your bench, and enjoy it alongside it's outdoor sofa counterpart!