 Notch
- Difficulty
- Beginner
- Time
- 2.8–5 hours
- Cost
- $
About this build
Tired of tracking mud, crud and water all over your house, but don’t have a designated spot to drop those dirty shoes? With just two boards and an hour of your time, you can build this easy modern boot tray that is not only cute, but will help coral all the water and dirt to keep it off your floor!
Tools
Essential
- Drill / Driver
- Miter Saw
- Pocket Hole Jig
- Random Orbit Sander
Optional / nice to have
- Tape Measure
Materials
| Item | Qty |
|---|---|
| Board, 1x2 96" | 1 board |
| Board, 1x4 96" | 1 board |
| 1 1/4" pocket hole screws | 40 each |
Overall cost: $. Lumber prices vary by region, species, and season, so we give a band rather than a figure we would only be pretending to know.
Cut list
| Part | Qty | T × W × L |
|---|---|---|
| Short Frame Sides | 2 | 3/4" × 1" × 11" |
| Long Frame Sides | 2 | 3/4" × 1" × 36" |
| Bottom Slats | 8 | 3/4" × 3" × 11" |
What to buy
Buy 2 boards at 8 ft.
3/4" × 3"
1 board
3/4" × 1"
1 board
Assumes 8 ft stock, a 1/8" saw kerf, and buying each part at its own width. Change the board size or kerf on the full board plan →
Instructions
1Gather Materials
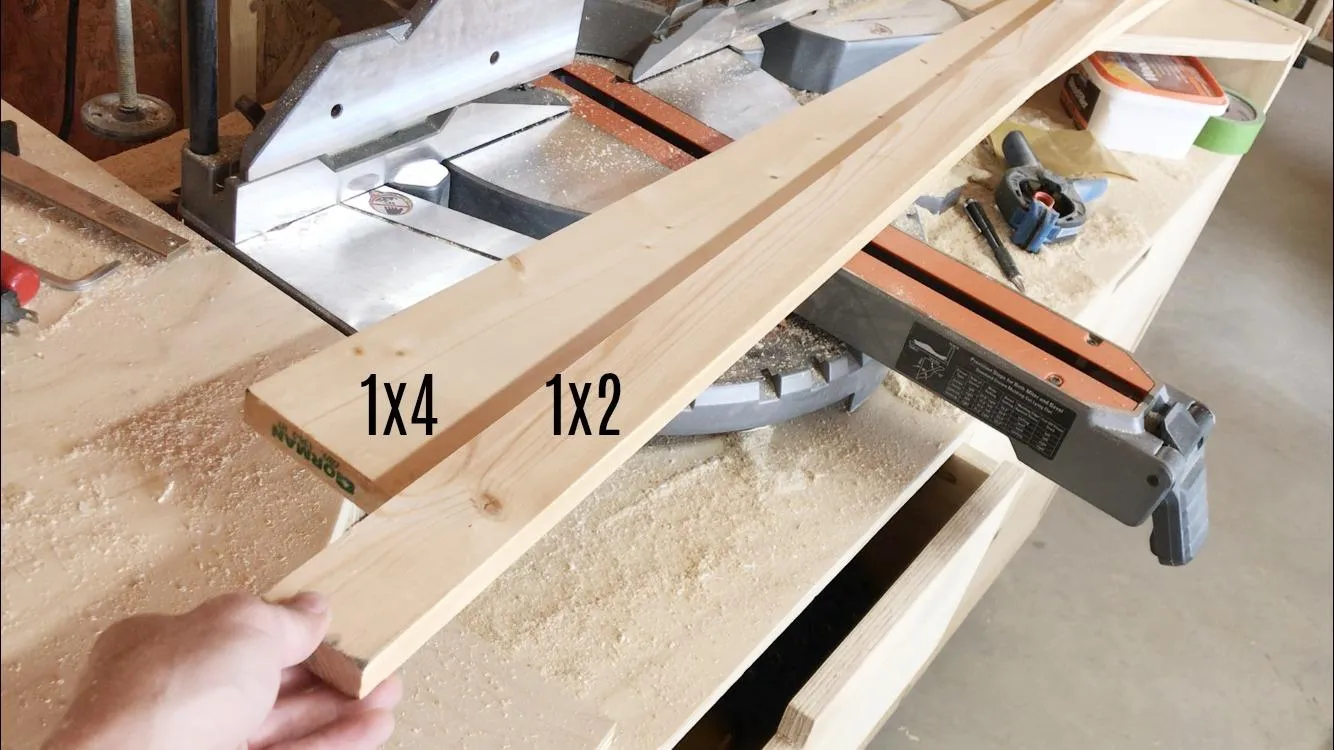
This project is only a two board project and is very simple. All you need is one 1x2 and one 1x4 board both 8' long. You will also need some 1 1/4" pocket hole screws to assemble. And that's it! Time to get building.
2Cut Pieces to Size
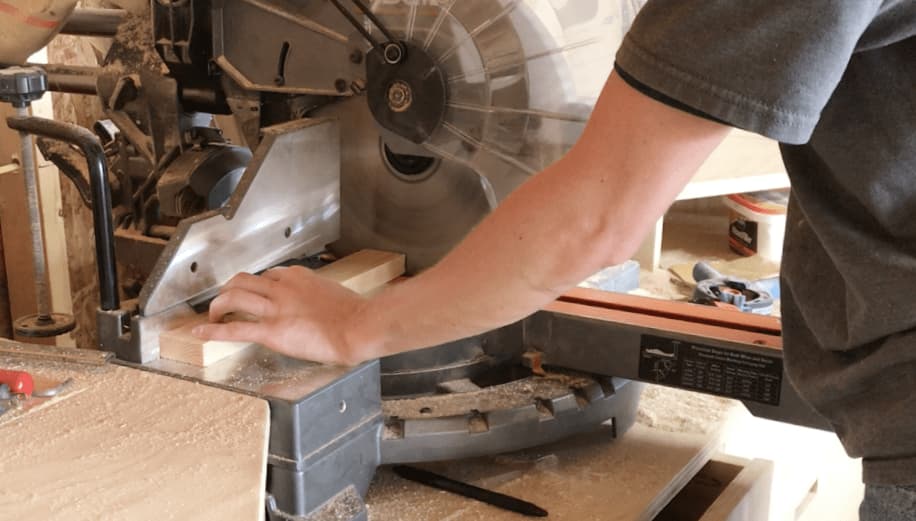
- Cut your boards according to the cut list using a miter saw. You will need (2) 1x2 boards 11 3/4" long and (2) 1x2 boards 36" long.
- Then, cut your 1x4 into (8) 11 3/4" long pieces.
3Assemble Boot Tray Frame
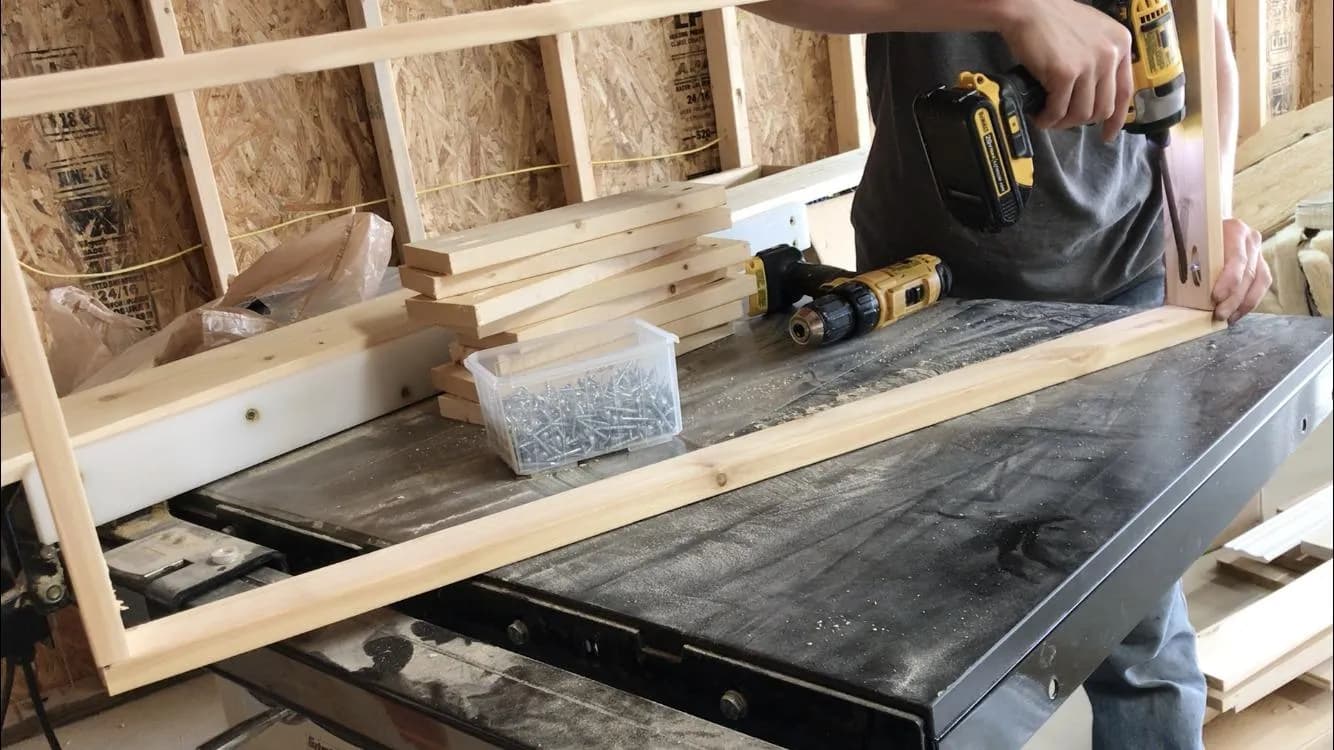
First, assemble the frame of the tray. Using 1 1/4" pocket hole screws, attach the short frame pieces between the 36" long pieces on the ends like shown so that you have a rectangle frame.
4Attach Bottom Slats
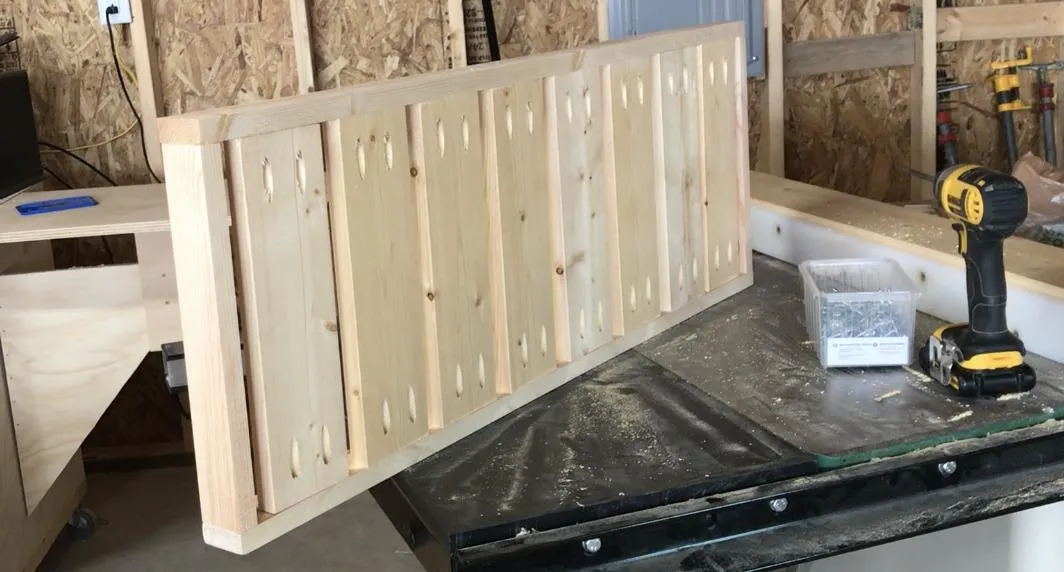
- Next, attach the bottom slats like shown using 1 1/4" pocket hole screws. Make sure the slats are flush to the bottom of the frame and space them about 3/4" apart. You can use a scrap piece of 1x material to help with spacing.
- Once you get to the last slat, you won't be able to have exactly 3/4" space on each side, but exact measurements here don't matter for this project, so that's okay.
5Install Moisture Barrier
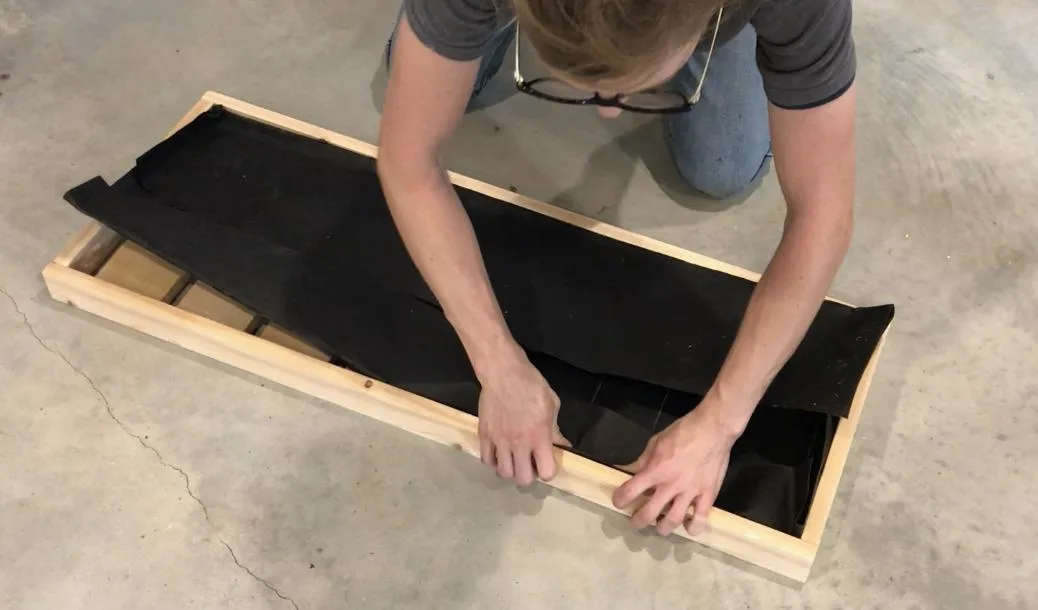
Now that the tray is assembled, it's time to add a little functional decoration :) Because you will probably be placing wet boots on the tray occasionally, you don't want that moisture to seep down onto your floor. To prevent this, place a moisture barrier on top of your slats. I used a piece of tar paper (roofing paper) for this. Simply place the paper onto the tray and fold it to fit snuggly into the tray making sure to leave a little lip on the sides to catch any water.
6Drill Pocket Holes
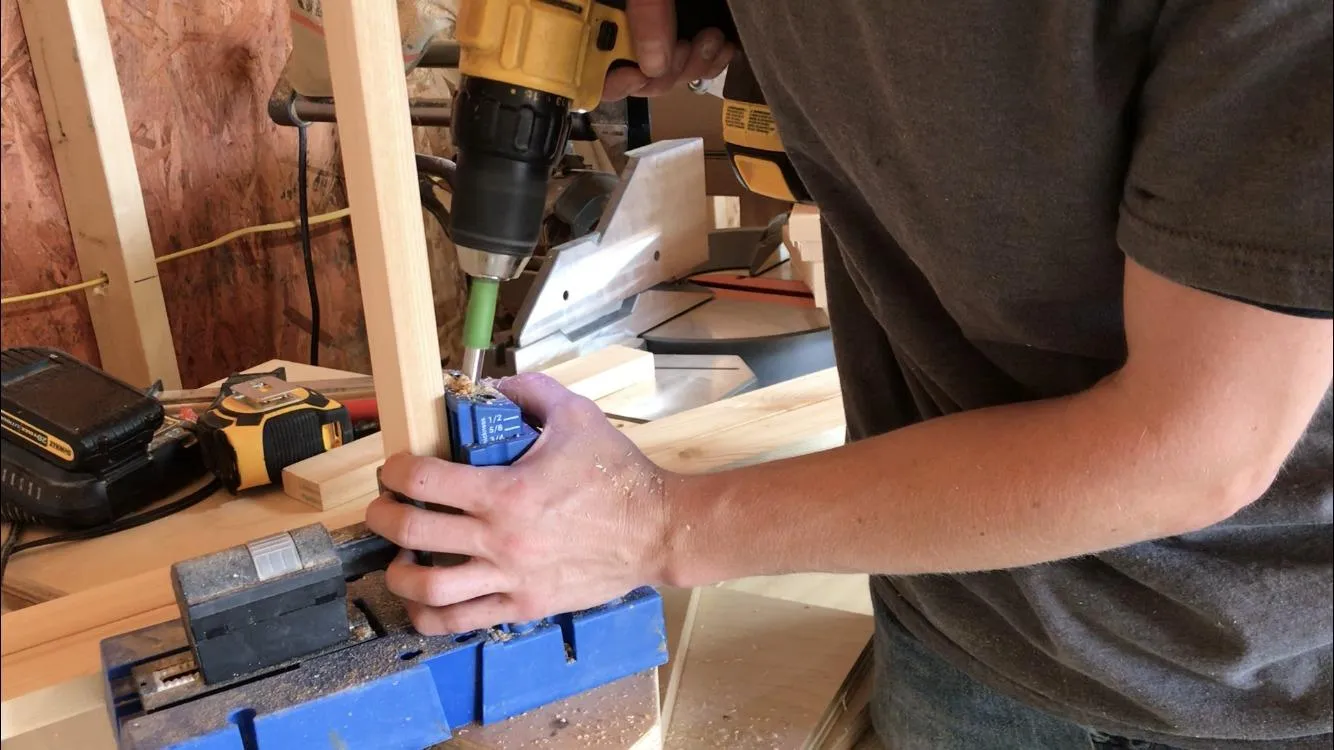
Using a Kreg Pocket Hole Jig, drill 3/4" pocket holes into the ends of the short frame pieces and into both ends of the slat pieces.
7Fill with Rocks
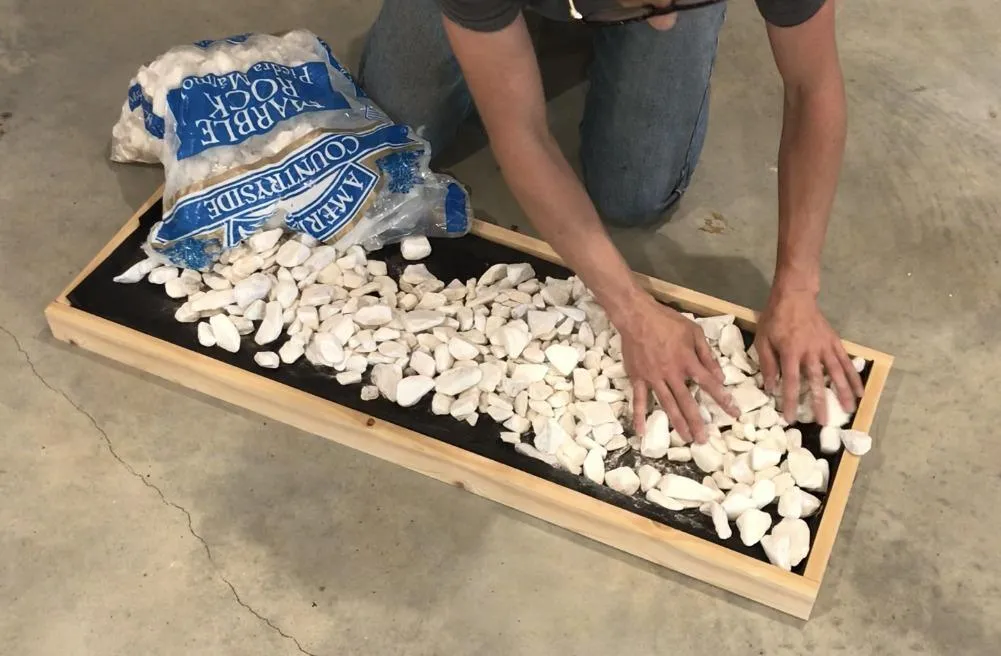
Lastly, fill your tray with decorative landscape rocks. This covers up your moisture barrier, gives it a more decorative look, and helps drain the water off your boots/shoes. Just pour the rocks in and spread them out with your hands.
8Set in Place
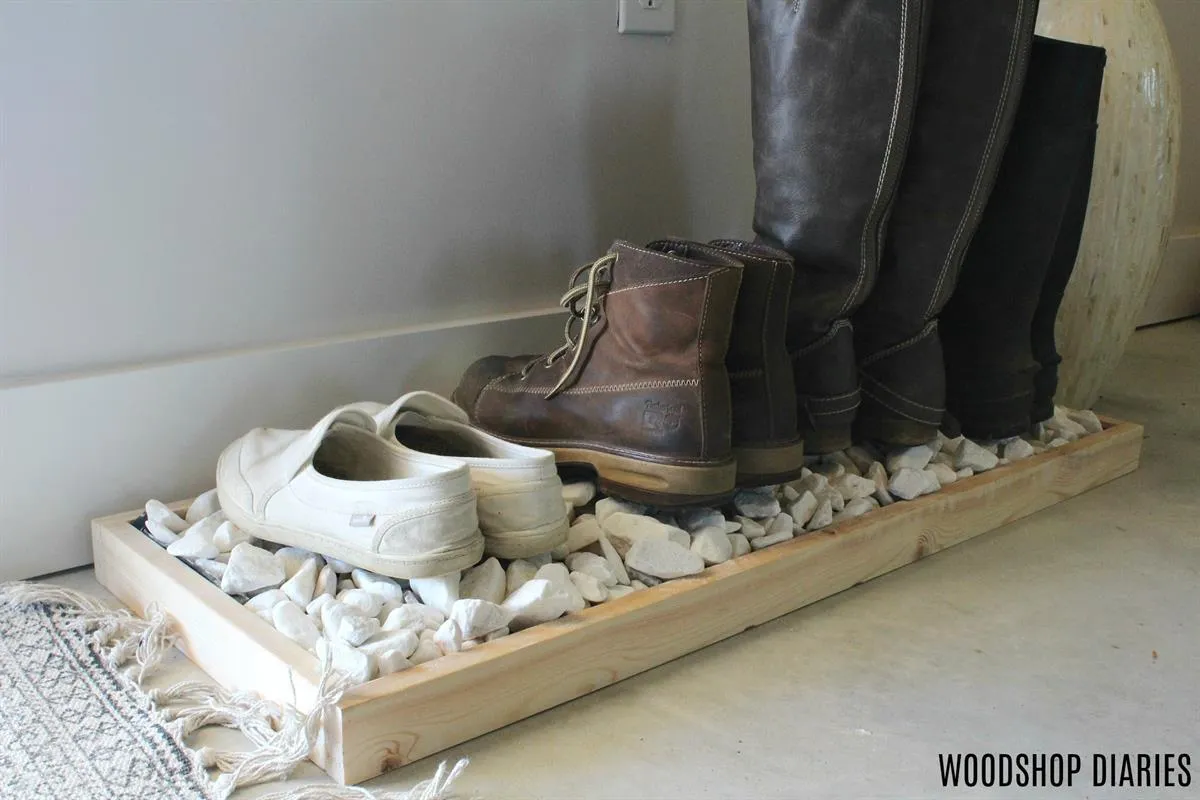
- Set your tray in place where you want it and place your shoes and boots on top. That's it! For a few bucks and an hour of your time, you can create this simple piece that every entryway needs.
- Check out more details in the YouTube tutorial. The link is in the extras tab ;)
Tags
- Bedroom
- Beginner
Reviews & builds
No reviews yet
Sign in to review this plan or share your build.
No reviews yet. Be the first to build this.