 Notch
NotchSimple Fence Gate – Hardware Cloth & Shou Sugi Ban
Step-by-step build — 18 steps. Also available as a print sheet.
1Project Assumptions
This project assumes the fence gate will be 36" wide and 72" tall. All measurements used in this project are tailored to this size gate. Your measurements will vary if your gate dimensions are different. All lumber dimensions are nominal (ex. 2x4). Lumber lengths are actual.
2Cut Back Stiles
Cut 2ea. 2"x4"x70.5" stiles. These are cut 1.5" less than 72" to account for the top plate.
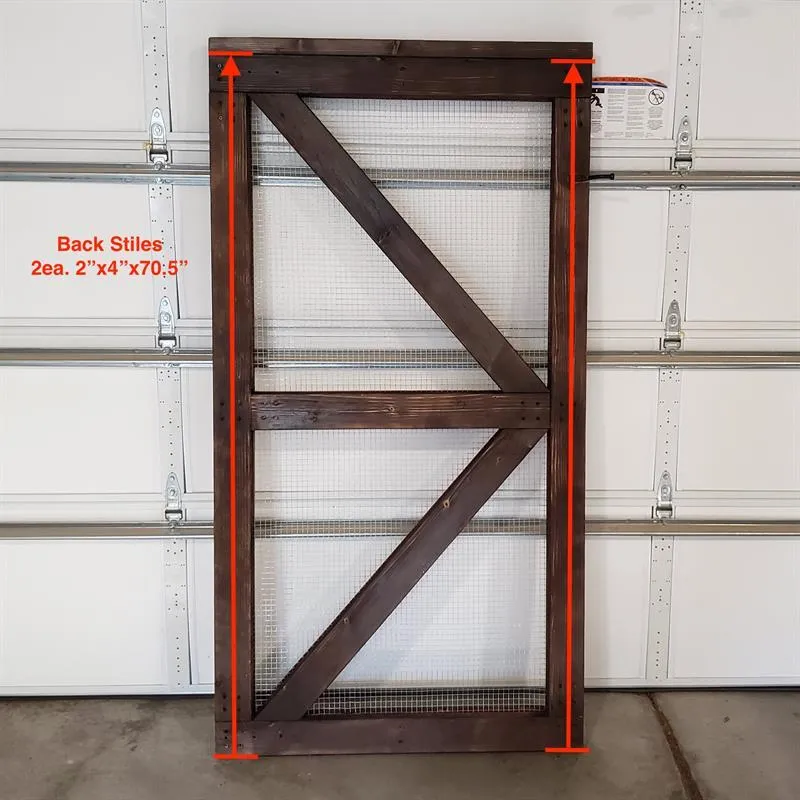
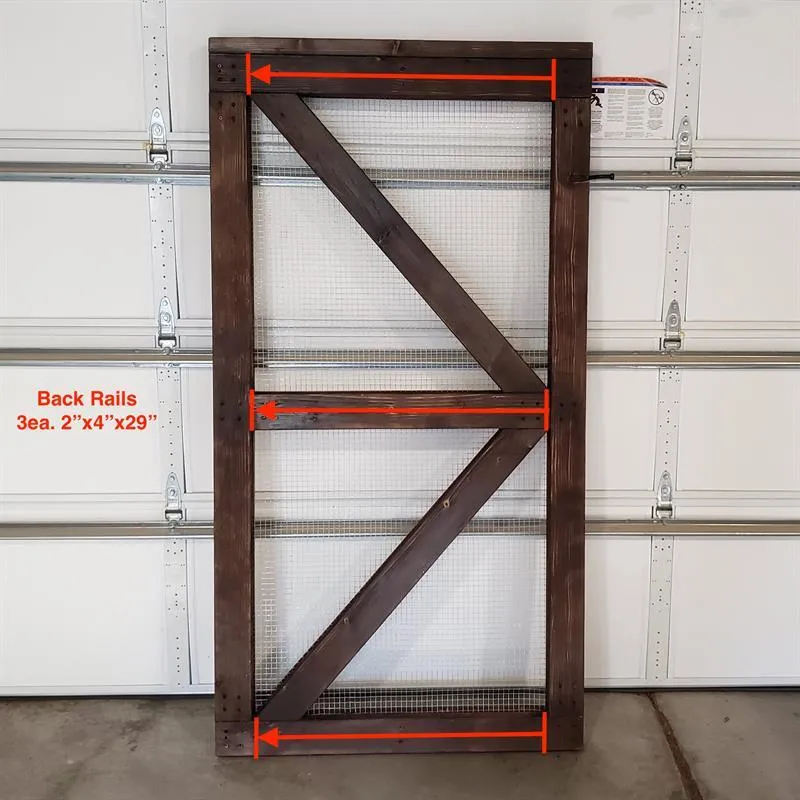
3Cut Back Rails
Cut 3ea. 2"x4"x29" rails. The 29" size accounts for the 2 stiles which equal 7" in width.
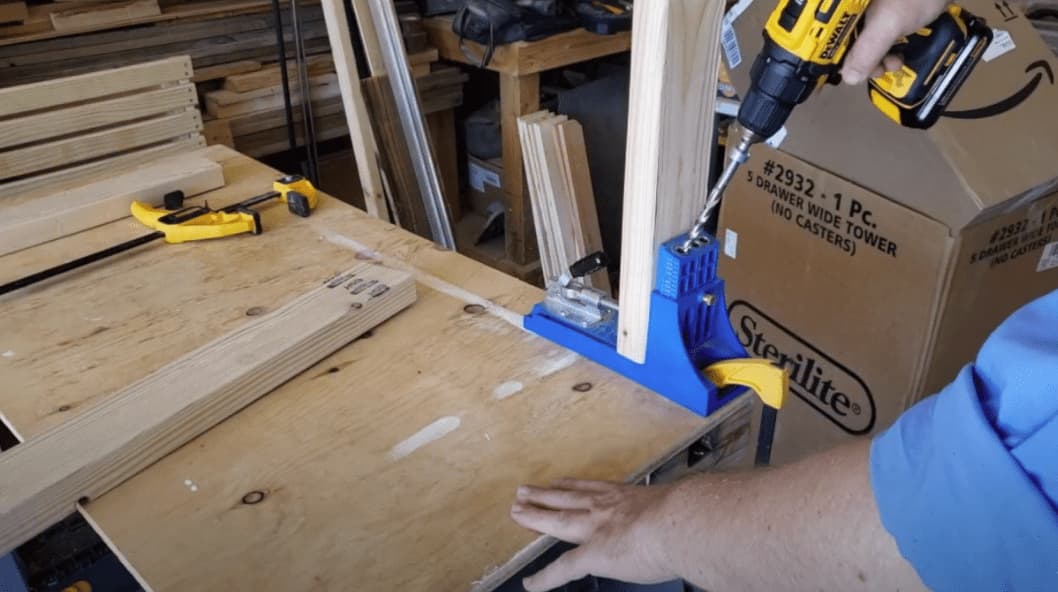
4Drill Pocket Holes in Back Rails
Using a Kreg Pocket Hole jig, drill two pocket holes at each end of the three Back Rails.
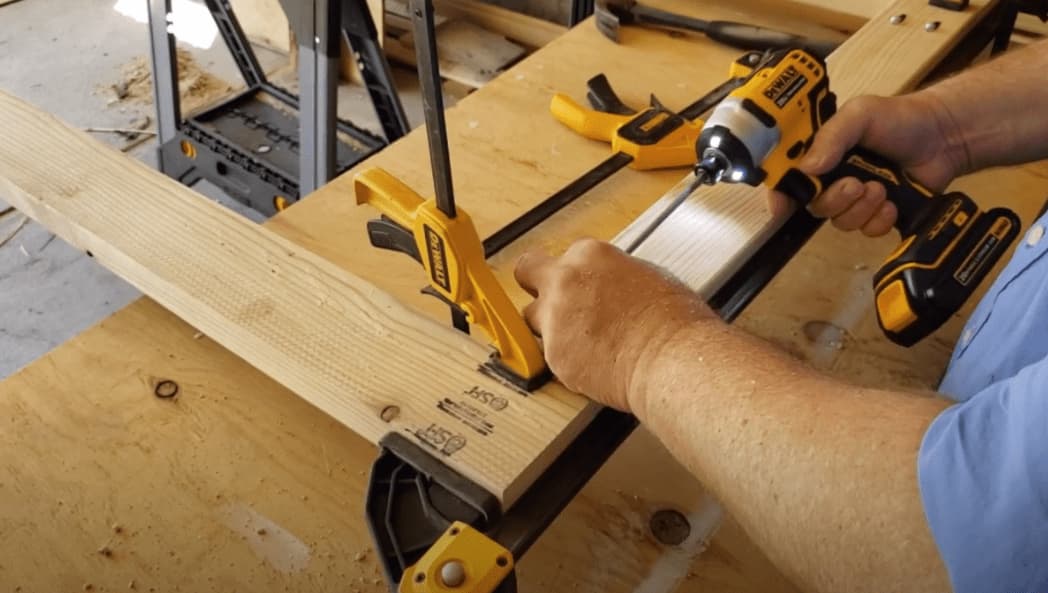
5Build Back Frame
Attach the 3 back rails to the 2 back stiles (using pocket holes) to create the back frame. Place one rail at the top, one rail at the bottom and one rail in the center.
6Attach Hardware Cloth to Back Frame
Roll out your 36"x60" hardware cloth panel across the back frame. Staple hardware cloth to the frame starting at the bottom end and moving up each side, finishing along the top. Hint: it might be easier to clamp the hardware cloth to the frame as you go to prevent buckling.
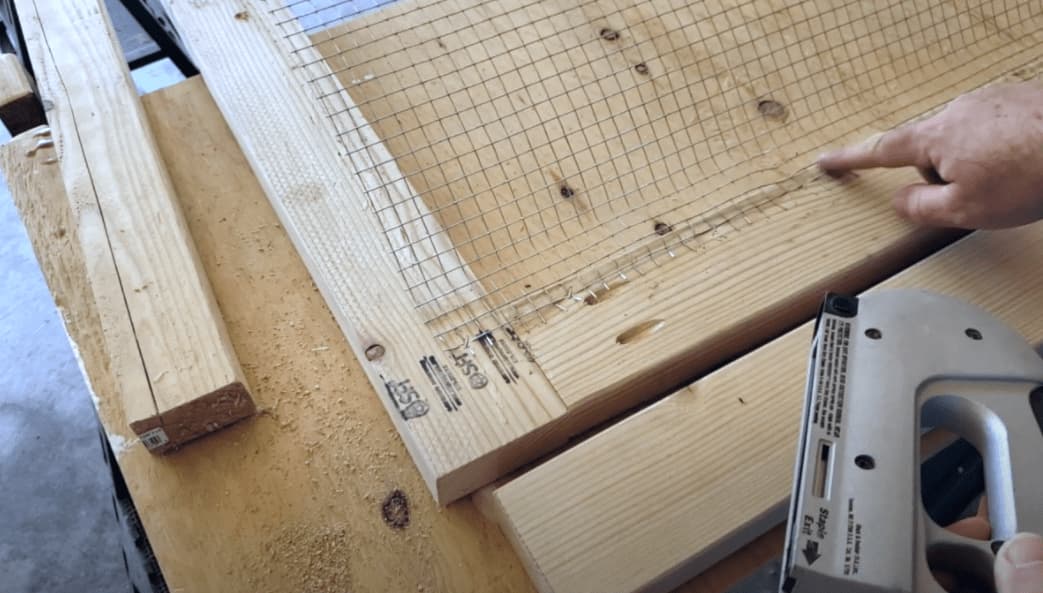
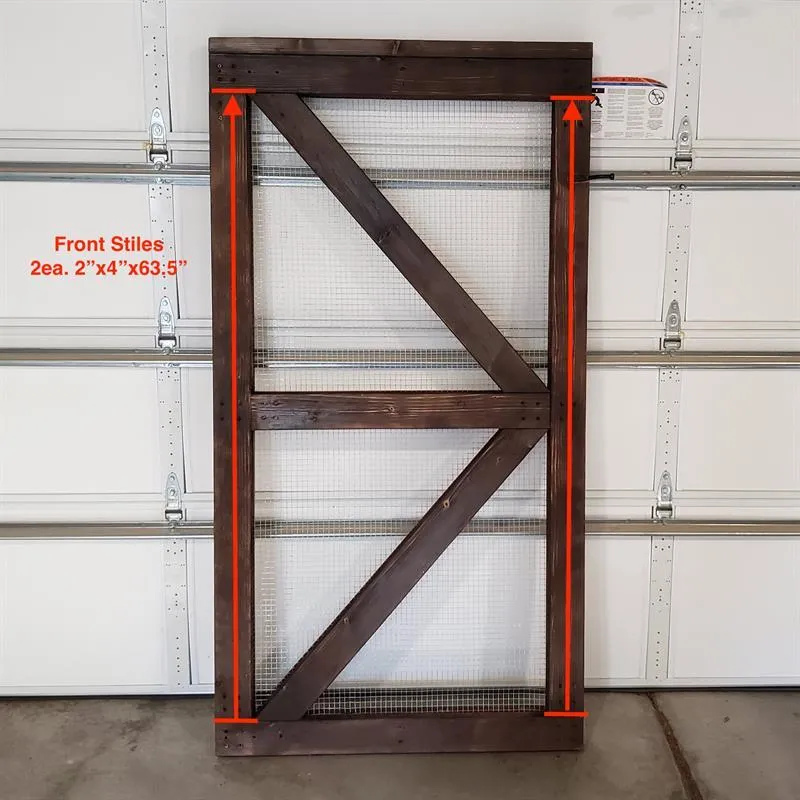
7Cut Front Stiles
Cut 2ea. stiles for the front frame at 2"x4"x63.5". Notice that the front stiles are shorter than the back stiles. This is to allow for an overlap of the top and bottom front rails.
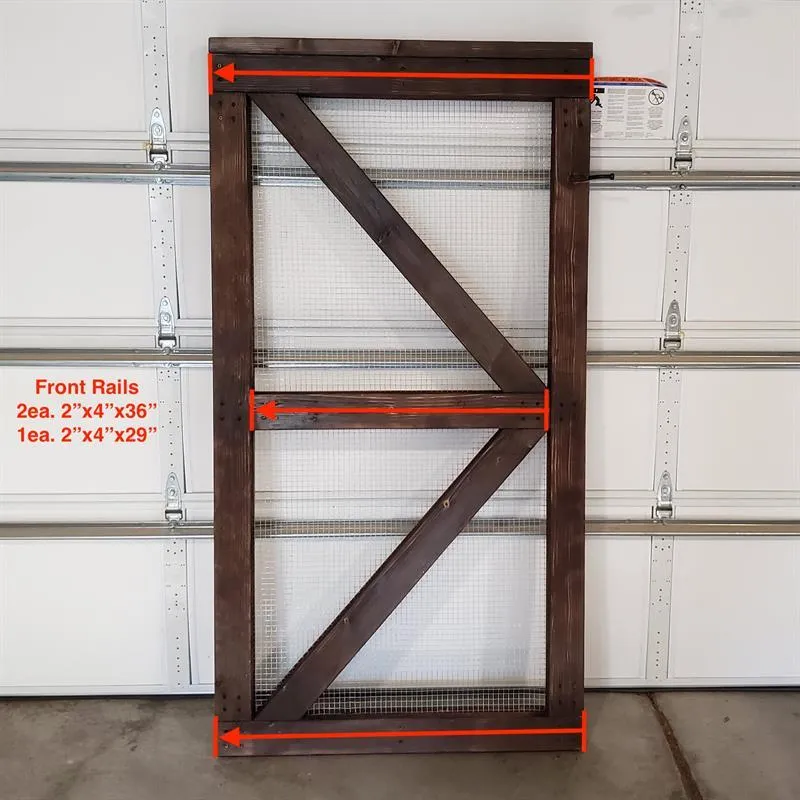
8Cut Front Rails
- The front rails do not match the back rails. This is due to the top and bottom rails being longer to overlap the stiles, adding more strength.
- Cut 2 rails at 2"x4"x36" for the top and bottom rails.
- Cut 1 rail at 2"x4"x29" for the center rail.
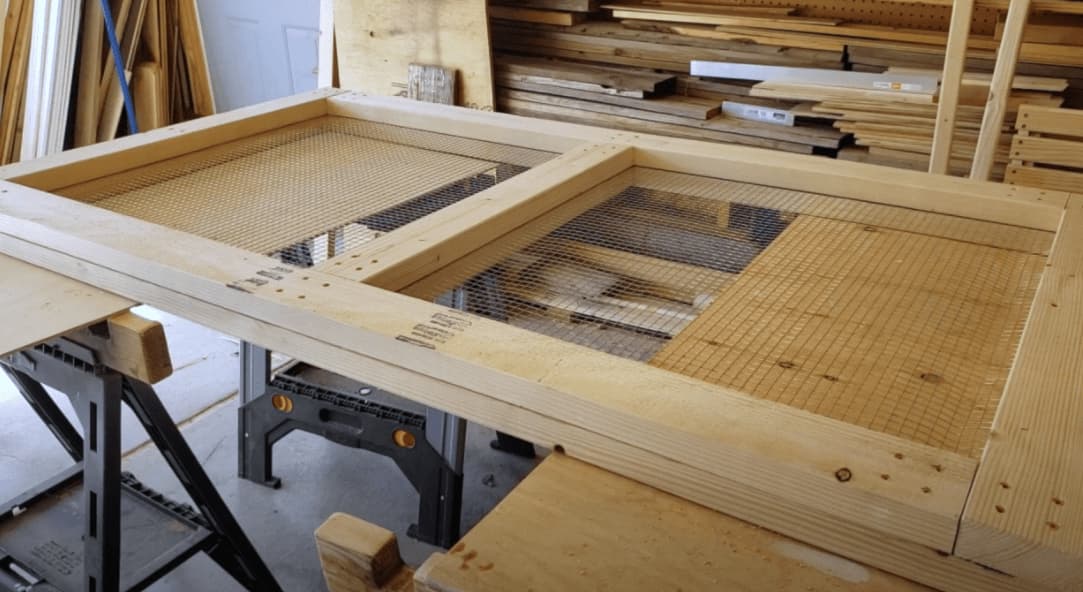
9Attach Front Rails and Stiles
- Attach the front rails and stile over the hardware cloth on the back frame.
- Start with the bottom rail, attaching with 2.5" deck screws.
- Next attach one of the stiles in the same manner.
- Next place the center rail in place to use as a spacer and attach the second stile.
- Finally attach the top rail. Hint: It is easier to attach each rail and stile after clamping it in place.
10Cut and Attach Top Cap
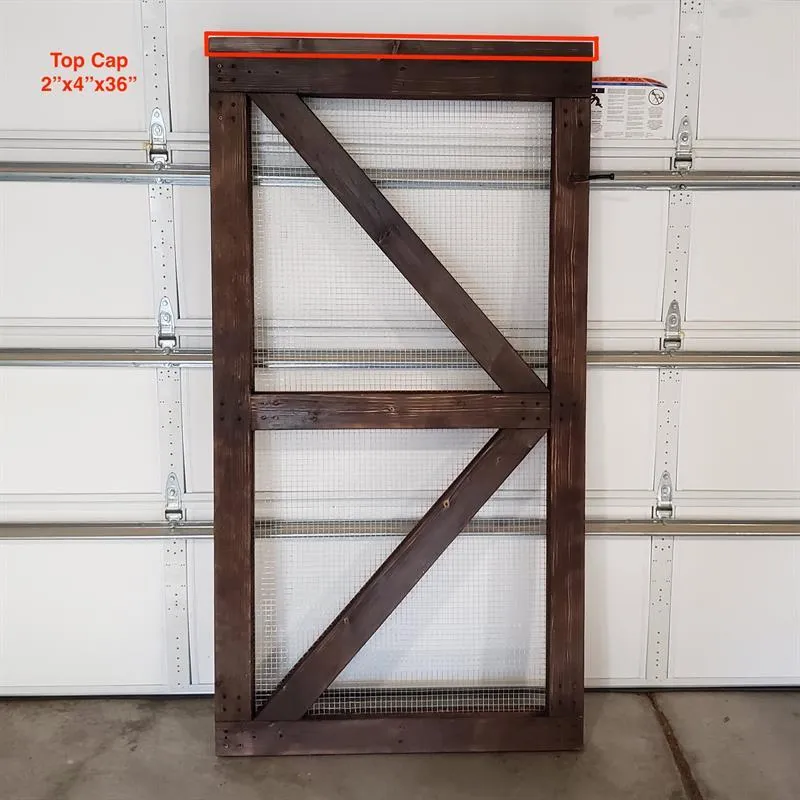
Cut the top cap to be 2"x4"x36" Attach directly to the top of the frame with 2.5" deck screws.
11Attach Gate to Fence
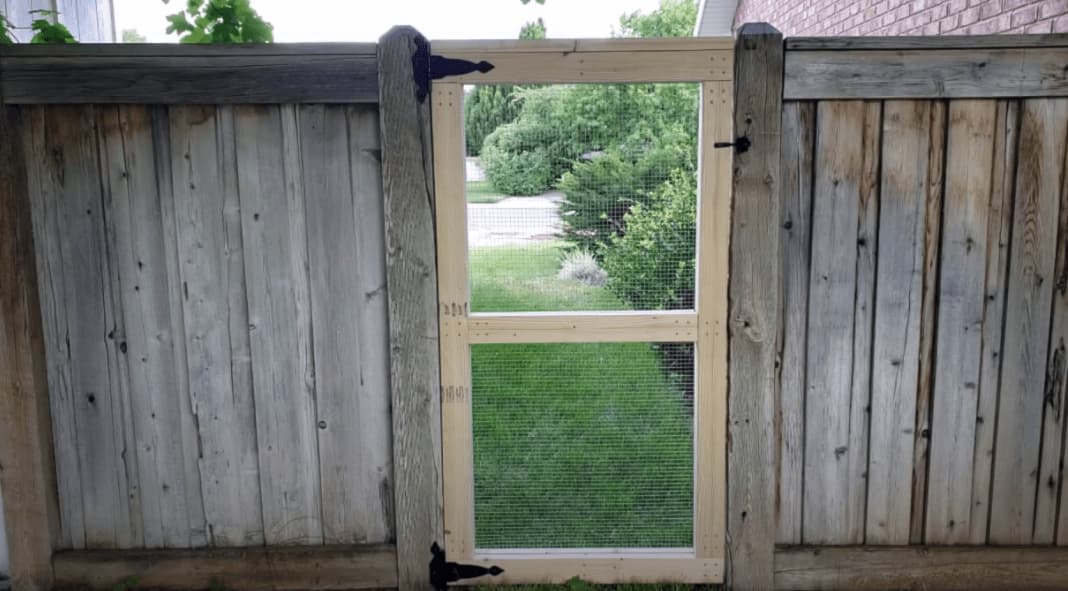
Using a fence gate hinge and latch kit, attach the gate to the fence using the hardware that comes with the kit. Attach the latch to the post and gate as shown.
12(Optional) Cut Cross Braces
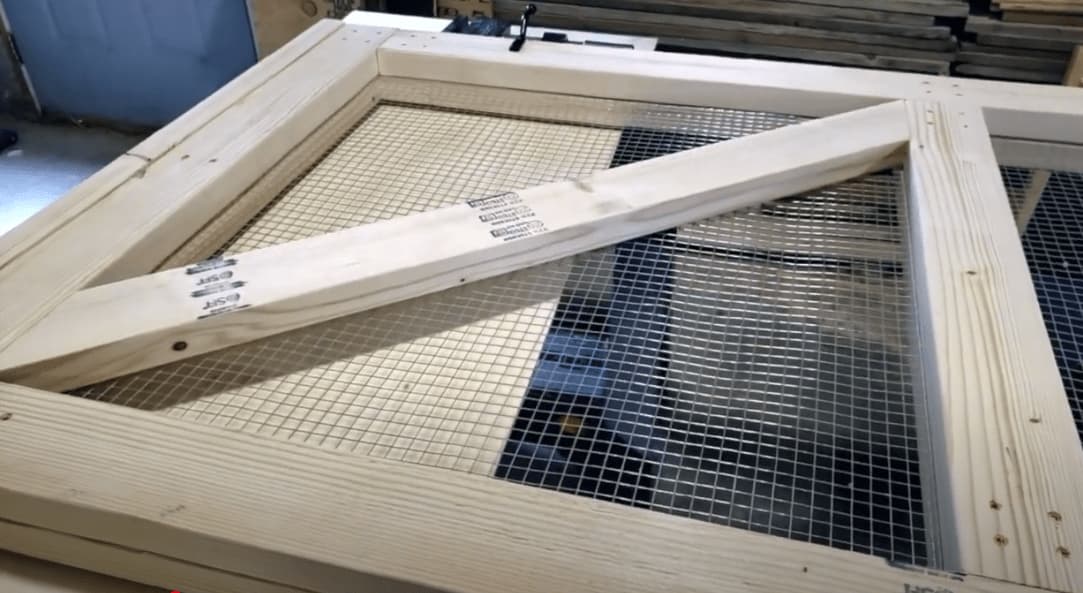
- Cut 4ea. 2"x4" to 48" in length.
- Lay them diagonally across the frame, going from a hinge-side corner to the latch-side center.
- Mark where the board crosses over the two rails to give the appropriate angle.
- Cut the cross brace to length paying attention to each of the angle cuts. The finished brace should resemble a parallelogram. Hint: weigh one of the ends down to keep it from moving while marking the angles to be cut.
13(Optional) Attach Cross Braces
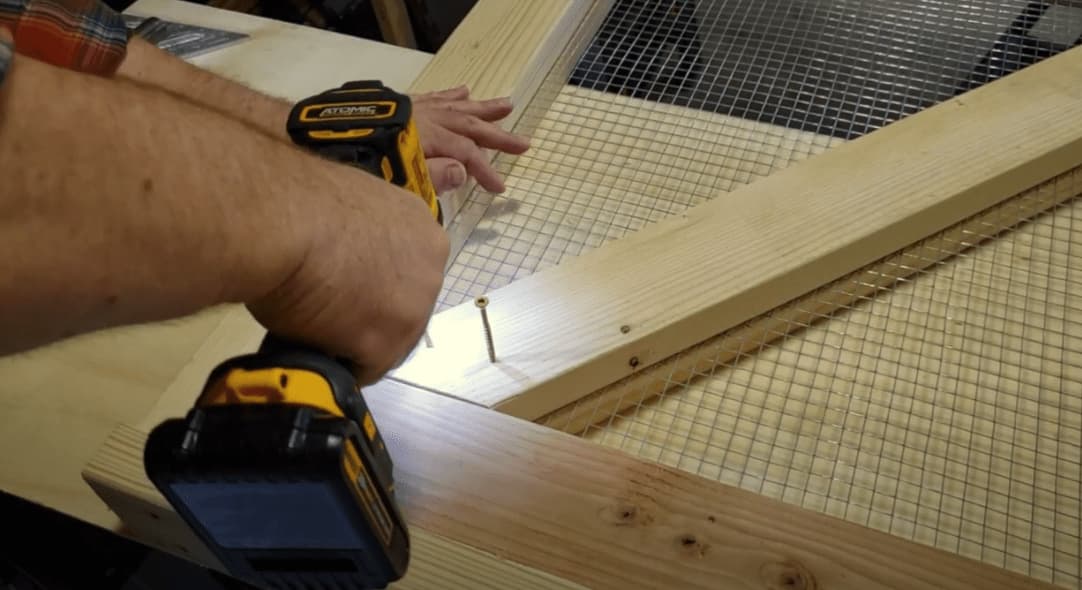
Take 2 matching cross braces and place one on the back side of the hardware cloth, and one on the front side of the hardware cloth. Attach the 2 braces to each other using 2.5" deck screws.
14(Optional) Secure Braces to Rails
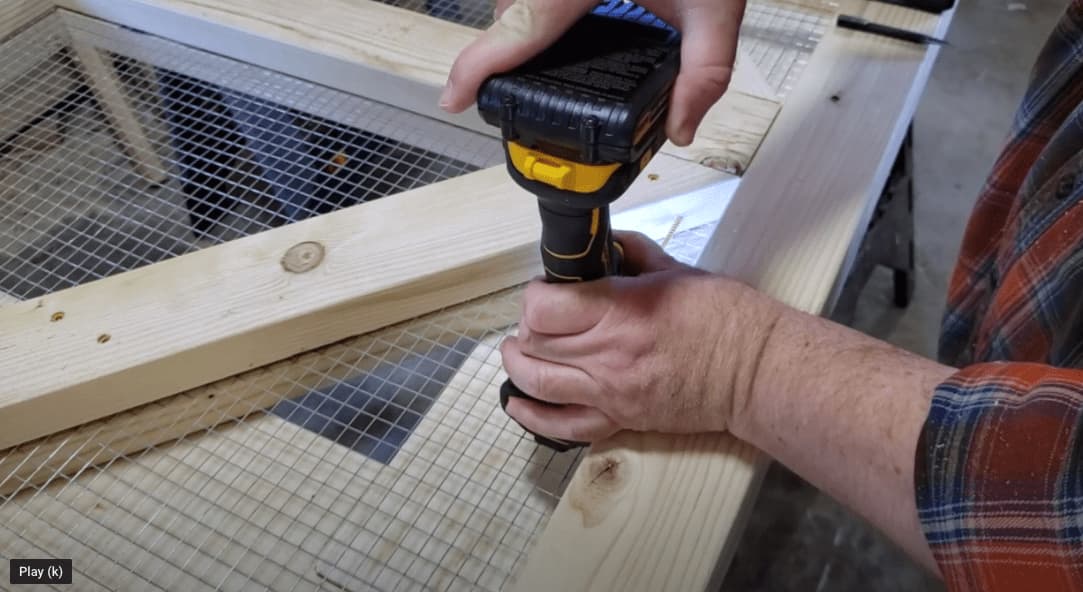
Pre-drill and screw cross braces to rails using 2.5" deck screws. Do this on both ends of each cross brace.
15(Optional) Shou Sugi Ban
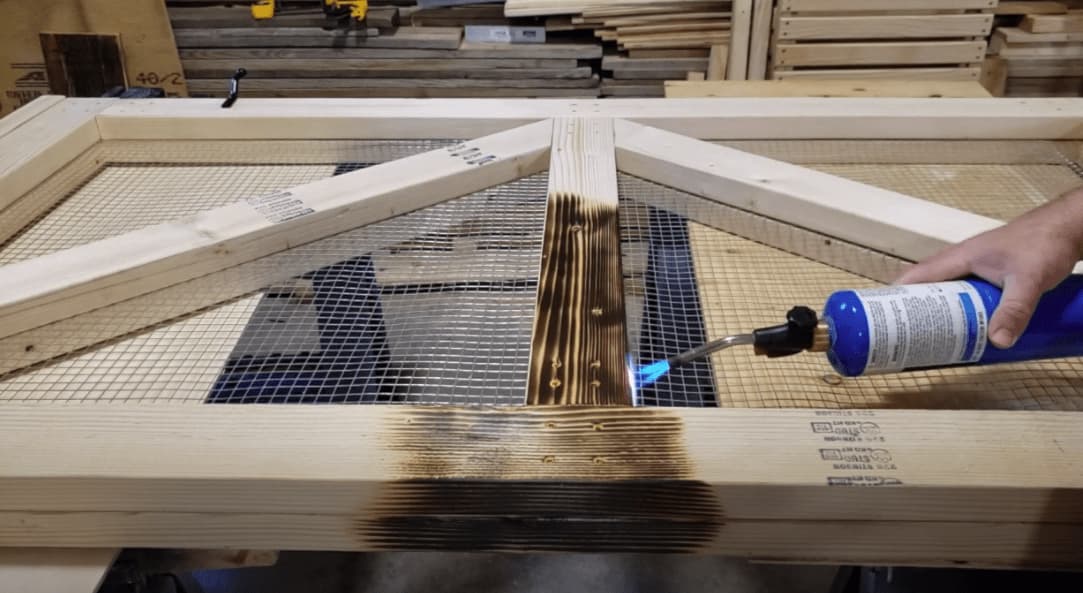
If you built your gate from untreated pine like I did, you may want to use a technique called Shou Sugi Ban (Japanese Technique) to preserve your wood. Simply take a propane torch and burn the outside of all exposed areas of the gate. When complete, take a wire brush and brush all of the charred portion, then wipe down with a damp cloth. What this does is burn off all the cellulose which is what attracts insects and is the catalyst for rot. Once the cellulose is burned off, the gate becomes highly resistant to insects, water rot and even fire.
16(Optional) Add Stain
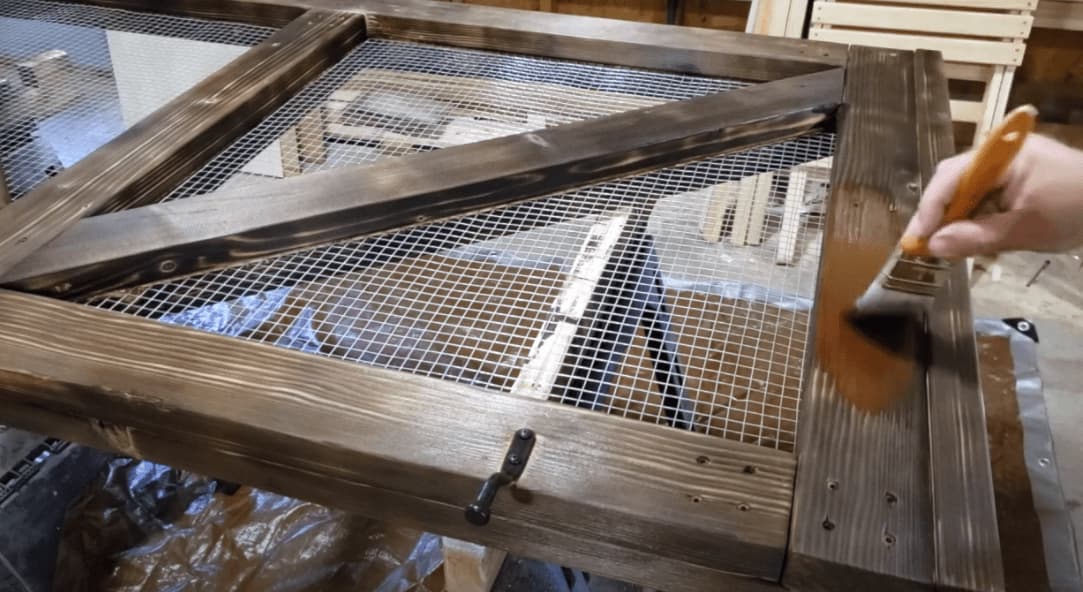
To give an additional layer of protection, you can apply stain directly over the top of the shou sugi ban. I chose to use Gunstock as my stain in order to give red highlights. Keep in mind that when the stain dries, the grain will become more prominent and dark while the red stain absorbs into the wood becoming more a background color versus the dominant color.
17(Optional) Attach Gate to Fence
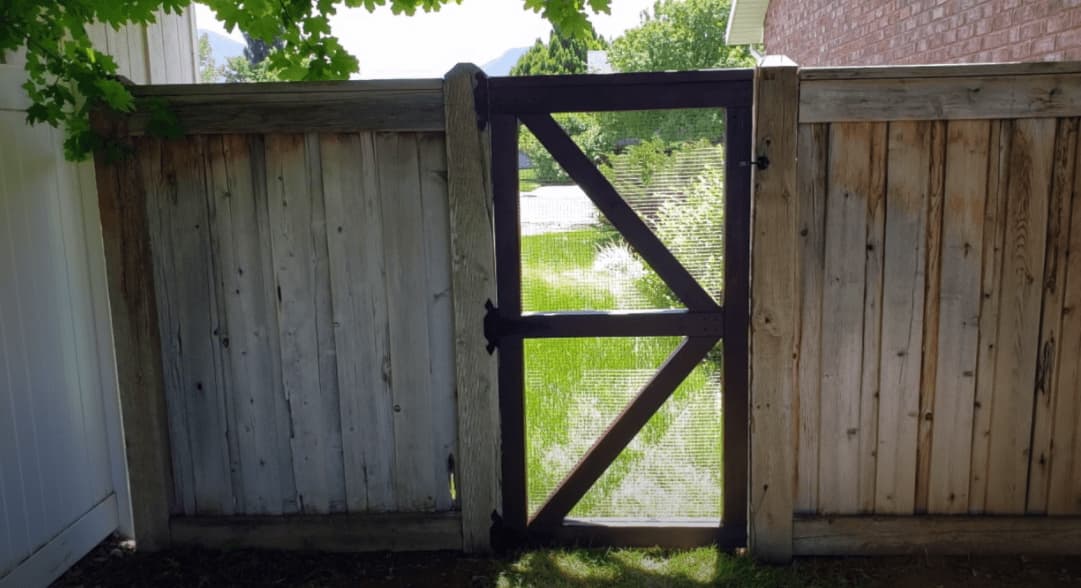
This step is not really optional but is considered optional as part of the other optional steps. Using a fence gate hinge and latch kit, attach the gate to the fence using the hardware that comes with the kit. Attach the latch to the post and gate as shown.
18Video Tutorials
For free video tutorials, view the two YouTube videos in the Extras section. The first takes you through the building and mounting of the gate without the optional steps. The second video takes you through all of the optional steps.