 Notch
- Difficulty
- Easy
- Time
- 2.8–5.5 hours
- Cost
- $$
About this build
This easy to build DIY desk organizer is perfect for a home office, entryway, or even a kitchen. It's so easy to toss bills, to do lists and receipts on the kitchen table or entryway area, but adding one of these to your "drop zone" could help curb the clutter. All you need is a few boards to build!
Tools
Essential
- Drill / Driver
- Miter Saw
- Pocket Hole Jig
- Random Orbit Sander
- Staple Gun
- Table Saw
Optional / nice to have
- Bar / Pipe Clamps
Materials
| Item | Qty |
|---|---|
| Board, 1x4 96" | 1 board |
| Board, 1x6 72" | 2 board |
| Plywood, 1/4" Thick Quarter Sheet | 1 board |
| 1 1/4" pocket hole screws | 32 each |
Overall cost: $$. Lumber prices vary by region, species, and season, so we give a band rather than a figure we would only be pretending to know.
Cut list
| Part | Qty | T × W × L |
|---|---|---|
| Shelf Pieces | 4 | 3/4" × 5" × 24" |
| Side Panel Pieces | 4 | 3/4" × 5" × 11" |
| Back Ledge | 1 | 3/4" × 3" × 24" |
| Drawer Front | 1 | 3/4" × 3" × 23" |
| Drawer Back | 1 | 3/4" × 3" × 22" |
| Drawer Sides | 2 | 3/4" × 3" × 10" |
| Drawer Bottom | 1 | 1/4" × 10" × 22" |
What to buy
Buy 4 boards at 8 ft.
3/4" × 5"
2 boards
3/4" × 3"
1 board
1/4" × 10"
1 board
Assumes 8 ft stock, a 1/8" saw kerf, and buying each part at its own width. Change the board size or kerf on the full board plan →
Instructions
1Glue up Panels
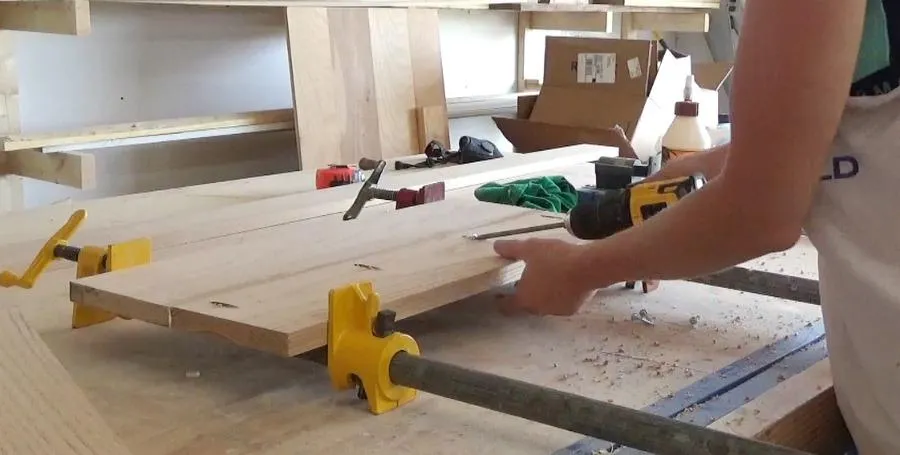
- To start this project, I glued up 2 shelf panels and 1 panel for the sides of the organizer. You can glue up the side panels separately, or as one panel and cut in two later (I thought cutting in two later was easier).
- Cut 6 pieces of 1x6 to 24" long and drill 3/4" pocket holes along one long edge of three of these pieces using a Kreg Pocket Hole Jig.
- Then glue and screw together each of these boards to another 1x6 using 1 1/4" Kreg Pocket Hole Screws to make three identical 24" long panels.
2Trim Panels to Size
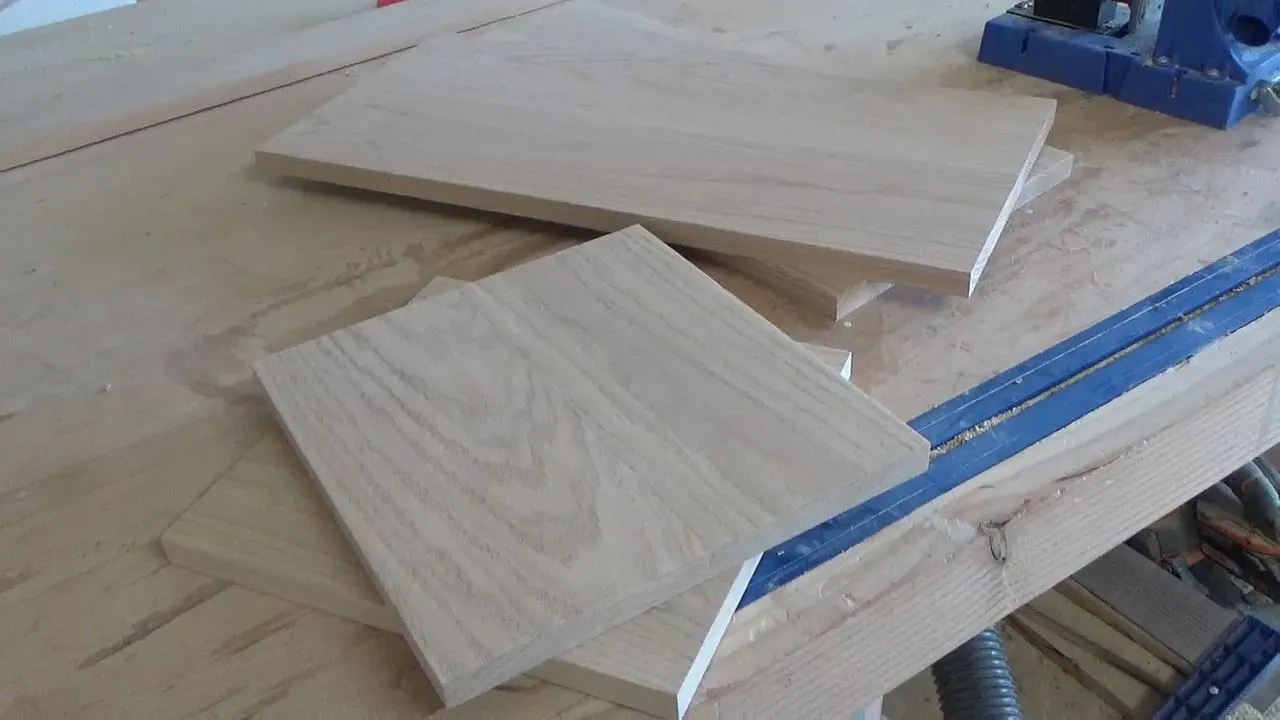
Once the three panels are assembled from step 1, set aside two for your shelves and trim one down to make two 11 1/2" long pieces. These will be your side panels on the organizer.
3Cut Back Ledge
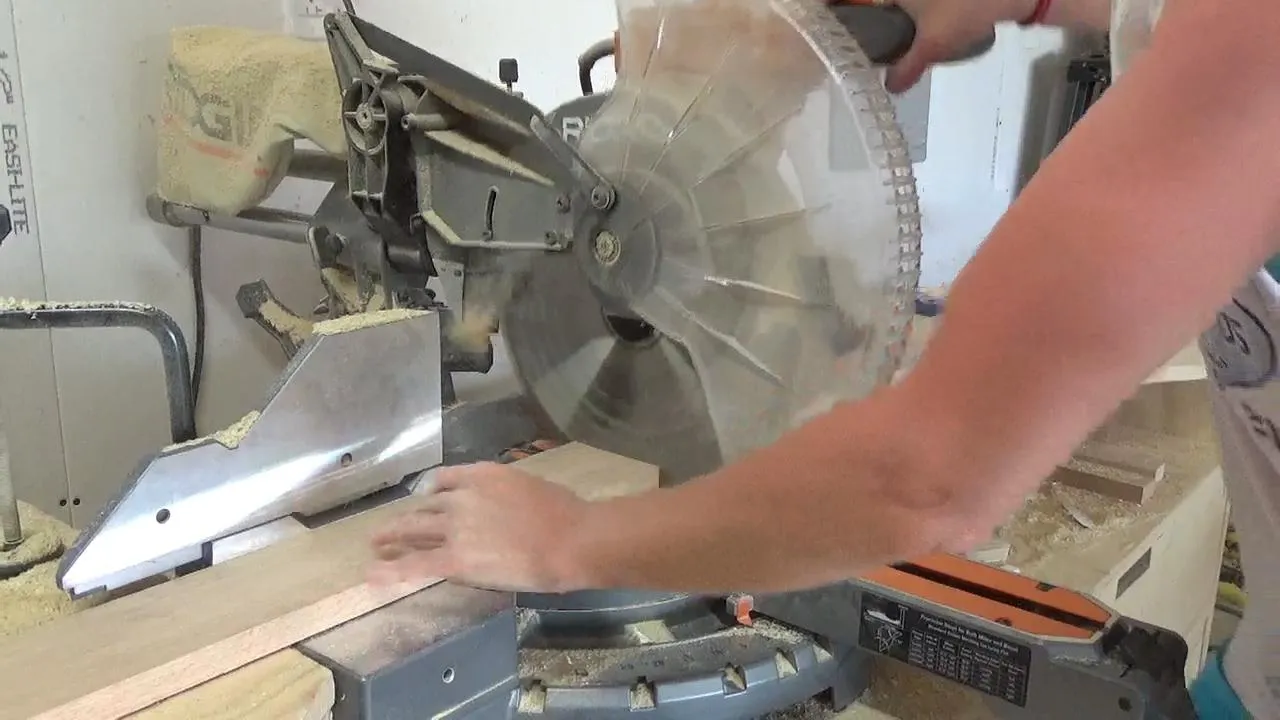
Cut a piece of 1x4 to the exact length of your shelves (should be 24" long).
4Assemble Desk Organizer
- Drill 3/4" pocket holes into both ends of the 1x4 back ledge and the two shelves using a Kreg Pocket Hole Jig.
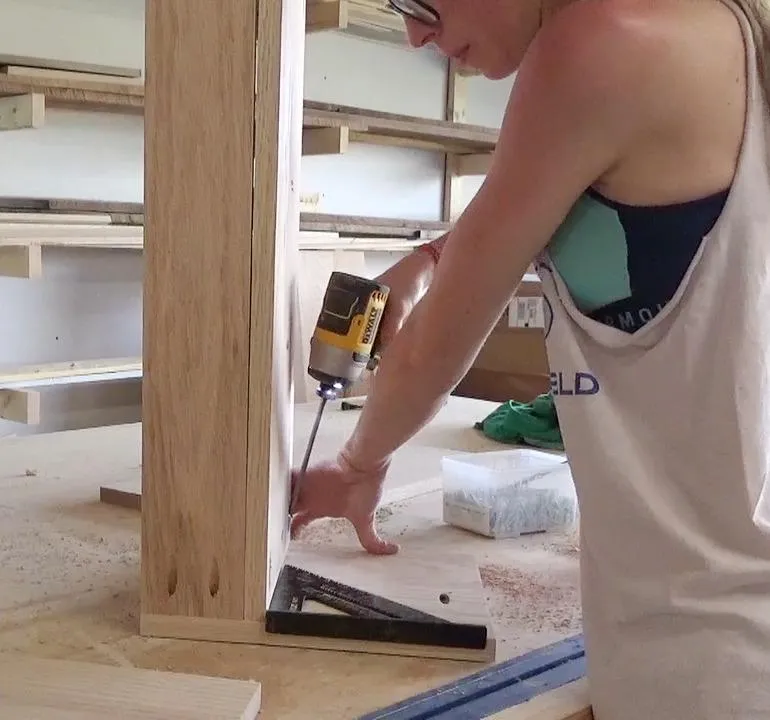
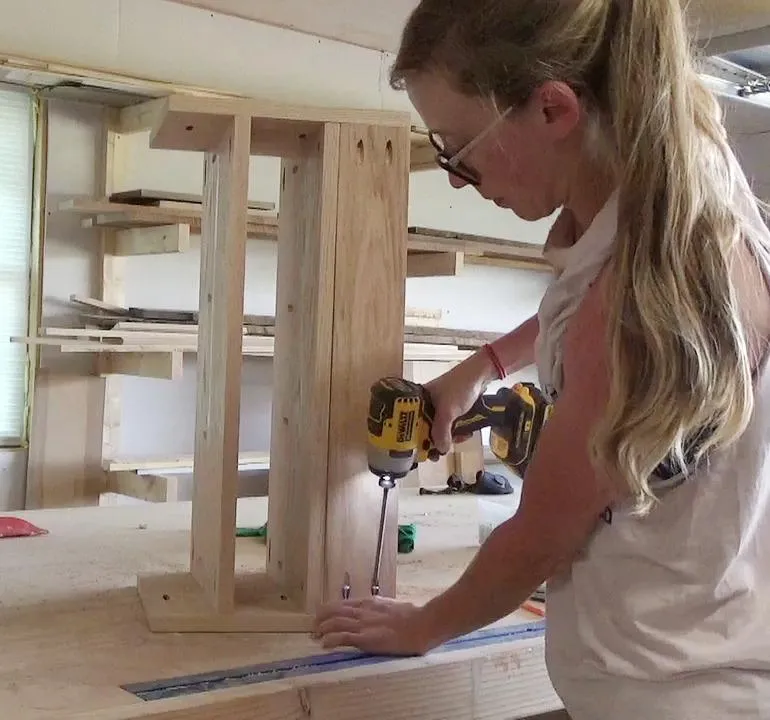
- Attach the 1x4 board so that it is flush to the back and top of one of the side panels using 1 1/4" pocket hole screws.
- Then, attach one shelf directly underneath this 1x4 making sure to keep it square to the side panel.
- Attach using 1 1/4" pocket hole screws.
5Assemble Desk Organizer Cont.
Attach the second shelf the same way, making sure to keep it square to the side panels and leaving about 3 5/8" space between the top and bottom shelf. Then, flip this over and attach on the other side similarly to the other side panel to complete the assembly.
6Notes about the drawer
At this point, you could finish it and use as is, but I wanted to add a little drawer between the shelves. To do this, cut drawer pieces according to the cut list and cut dadoes in the drawer sides to insert the 1/4" plywood drawer bottom. If you do not want to cut the dadoes, you can simply staple the bottom onto the drawer box after it's assembled, but you will need to leave a larger gap between shelves to accommodate for the thickness of the drawer bottom. OR you could insert a 1/2" or 3/4" piece of plywood into the drawer box opening at the bottom and attach to the sides using pocket holes and screws.
7Assemble the drawer
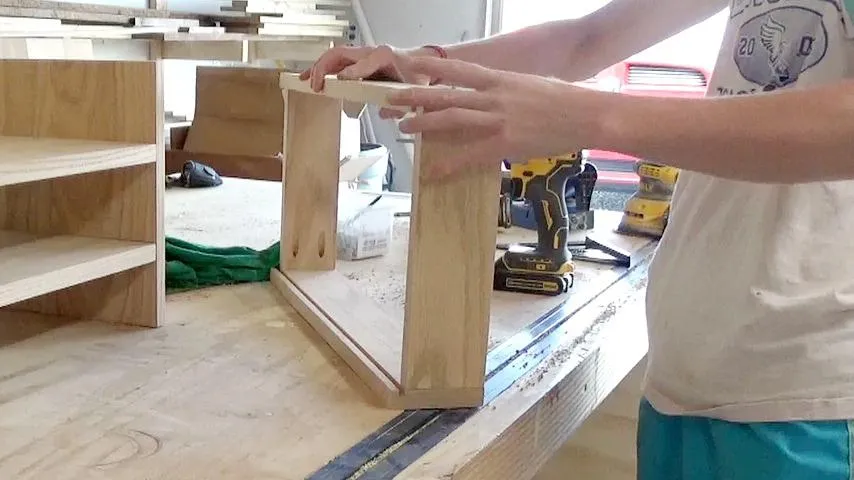
- Either way you choose to install the bottom of the drawer, cut the drawer box pieces and drill 3/4" pocket holes into the front end of the side pieces and into both ends of the back piece.
- Attach the side drawer pieces to the back side of the front piece, using 1 1/4" pocket hole screws.
- Then, attach the back piece between the two side pieces using 1 1/4" pocket hole screws to create a box.
- Insert the bottom into the dadoes before adding the last drawer piece OR, if you didn't use dadoes, attach your drawer bottom now.
- Check out the YouTube video in the extras tab for my mishap and to get a better visual of how the drawer box came together.
8Drill Drawer Handle and Finish
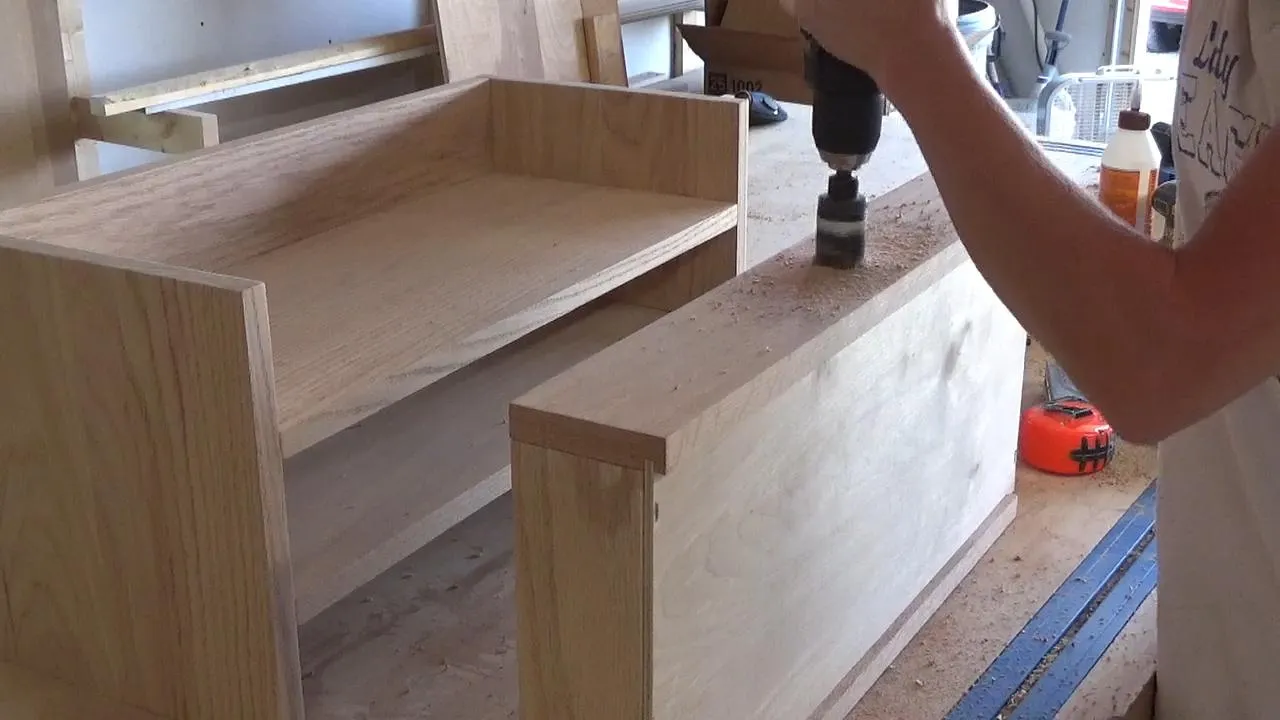
You can add a drawer pull or knob to the drawer, but to make things easy, I used a hole saw to drill a finger hole to open the drawer. Use a 1 1/4" hole saw to drill a hole in the center of the drawer front. Then, finish the organizer as desired.
Tags
- Office
- Beginner
Reviews & builds
No reviews yet
Sign in to review this plan or share your build.
No reviews yet. Be the first to build this.