 Notch
Notch- Difficulty
- Intermediate
- Time
- 5.3–10 hours
- Cost
- $$$
About this build
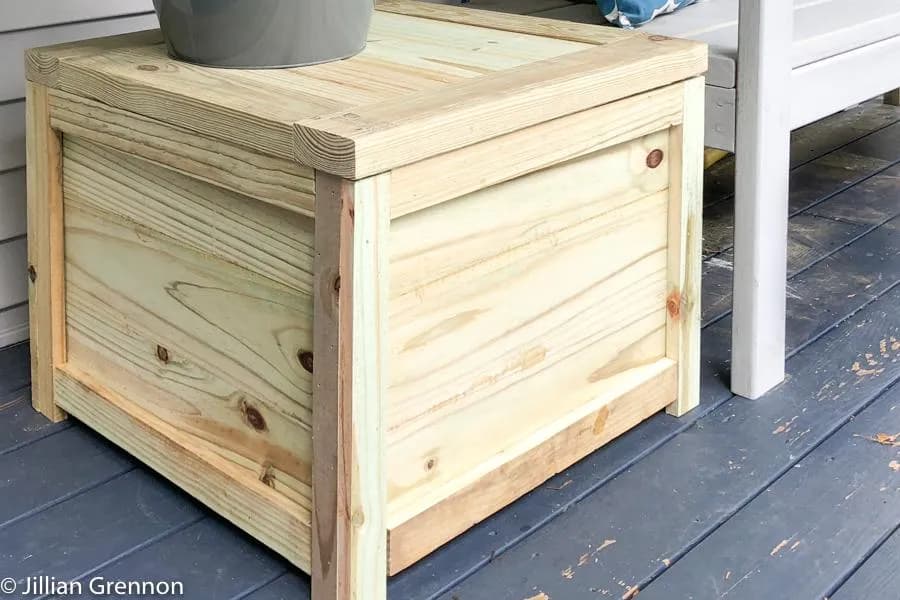
Outdoor toys always cause a storage problem for me so I created this side table with BIG storage to hold soccer balls, chalk, bubbles, jump ropes and don't forget the frisbee! All the storage you need while also providing an extra seat or a side table.
Tools
Essential
- Brad Nailer
- Drill / Driver
- Miter Saw
- Pocket Hole Jig
- Table Saw
Optional / nice to have
- Bar / Pipe Clamps
- Combination Square
- Tape Measure
Materials
| Item | Qty |
|---|---|
| Board, 1x6 96" | 6 board |
| Board, 1x2 48" | 1 board |
| Board, 1x4 96" | 2 board |
| Board, 2x4 96" | 1 board |
| 1 1/2" outdoor pocket screws | 12 each |
| 1 1/4" outdoor pocket screws | 150 each |
| 1 1/4" Brad Nails | 50 each |
| Hinges | 2 each |
| Lid Support | 1 each |
| 2 1/2" outdoor pocket screws | 8 each |
Overall cost: $$$. Lumber prices vary by region, species, and season, so we give a band rather than a figure we would only be pretending to know.
Cut list
| Part | Qty | T × W × L |
|---|---|---|
| Side A | 6 | 1" × 6" × 23" |
| Side B | 6 | 1" × 6" × 21 1/2" |
| Cleats | 2 | 1" × 2" × 21 1/4" |
| Bottom Slats | 5 | 1" × 4" × 21 1/2" |
| Legs | 4 | 1" × 2" × 17 1/2" |
| Legs | 4 | 1" × 1 1/2" × 17 1/2" |
| Trim | 4 | 1" × 2" × 20 1/2" |
| Trim | 4 | 1" × 2" × 20" |
| Lid Frame | 2 | 2" × 4" × 24 1/2" |
| Lid Frame | 2 | 2" × 4" × 17" |
| Lid Slats | 3 | 1" × 6" × 17" |
What to buy
Buy 12 boards at 8 ft.
2" × 4"
1 board
1" × 6"
4 boards
1" × 4"
2 boards
1" × 2"
4 boards
1" × 1 1/2"
1 board
Assumes 8 ft stock, a 1/8" saw kerf, and buying each part at its own width. Change the board size or kerf on the full board plan →
Instructions
1Right Side Up
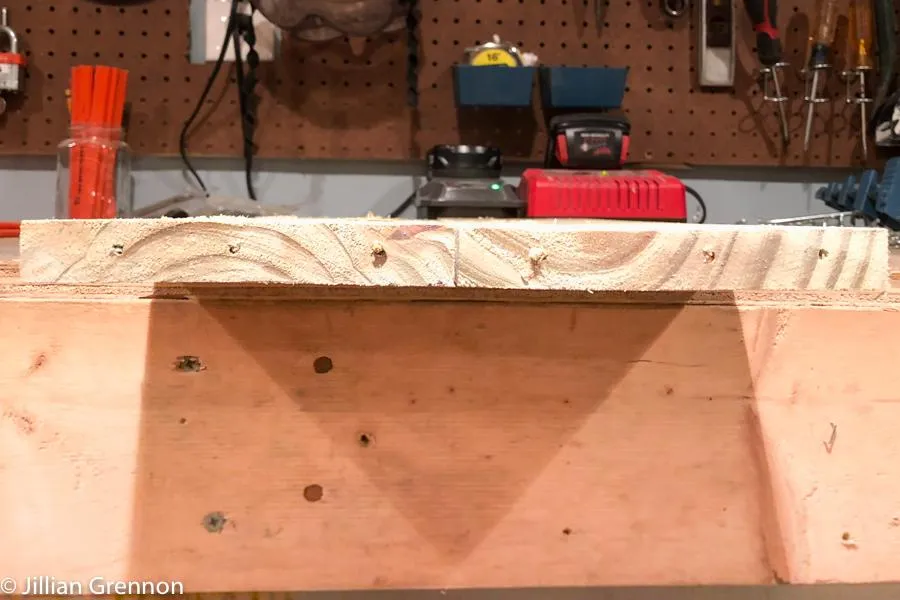
When creating the sides of this deck box, pay attention to the end grain. You want to alternate the direction of the end grain to prevent cupping. Think of it as alternating the direction of the rainbow.
2Sides
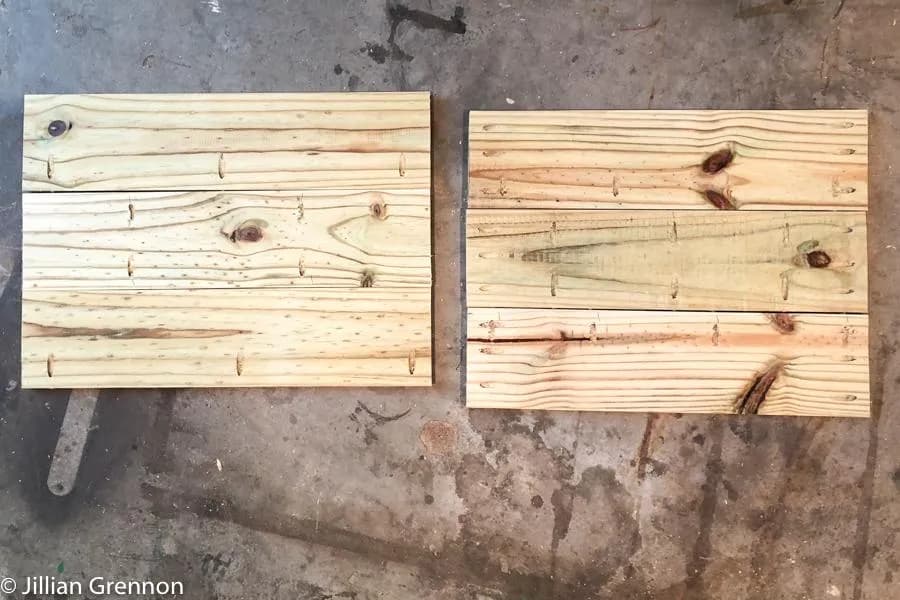
- Begin with your Side A (23" side) and Side B (21 1/2" side) cuts.
- Drill your pocket holes as shown in the picture with Side A on the left and Side B on the right.
- Then create each side using wood glue and 1 1/4" outdoor pocket screws. Be sure to clamp each joint before you screw them together.
3Create Box
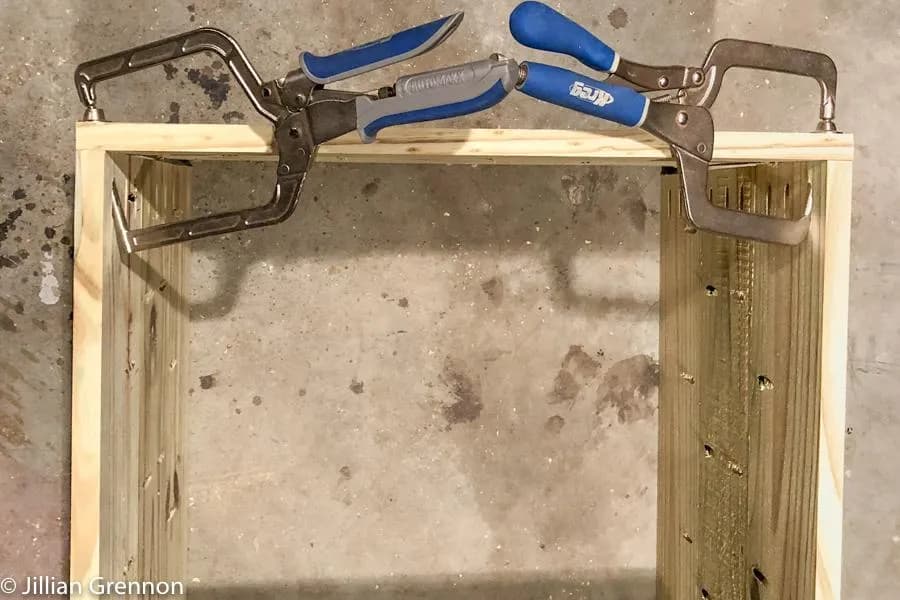
- Attach the 21 1/2" Side B to Side A. 90 degree angle clamps will help keep your sides in place while screwing them in. Use wood glue and 1 1/4" pocket screws.
- Check box for square.
4Cleats
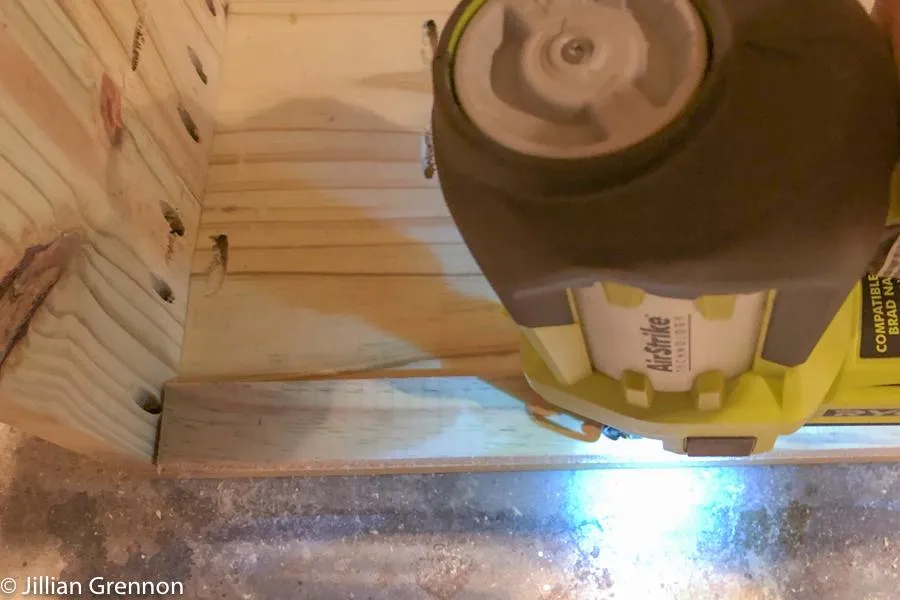
Add cleats flush with the bottom of the box on the inside of Side A using 1 1/4" brad nails and wood glue
5Bottom
Attach 1x4 slats to the cleats using brad nails. Be sure to space them evenly.
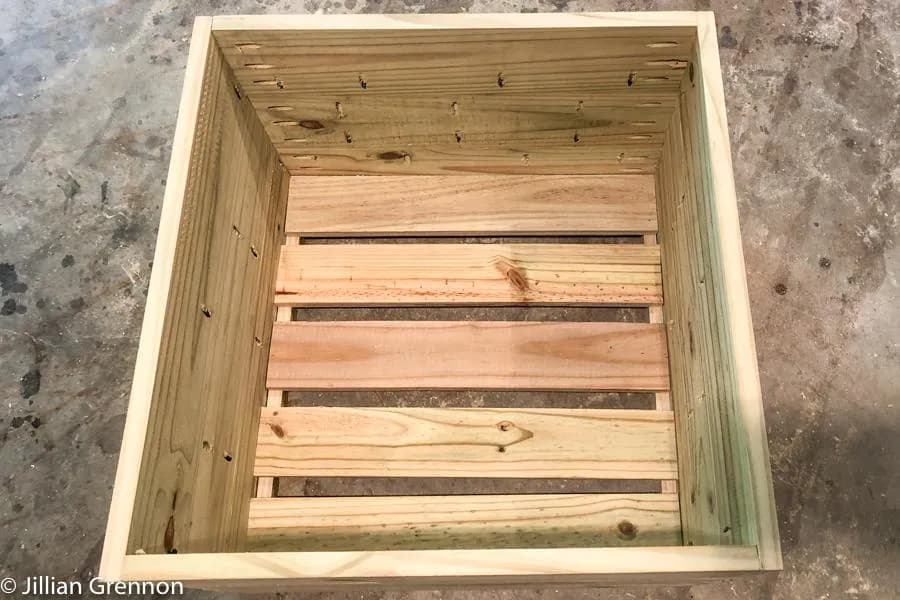
6Cut Trim and Legs
To create the trim and leg pieces, you will need to rip a 1x6 into two 2" pieces and one 1.5" piece. Then cut your trim and legs as noted in the cut list.
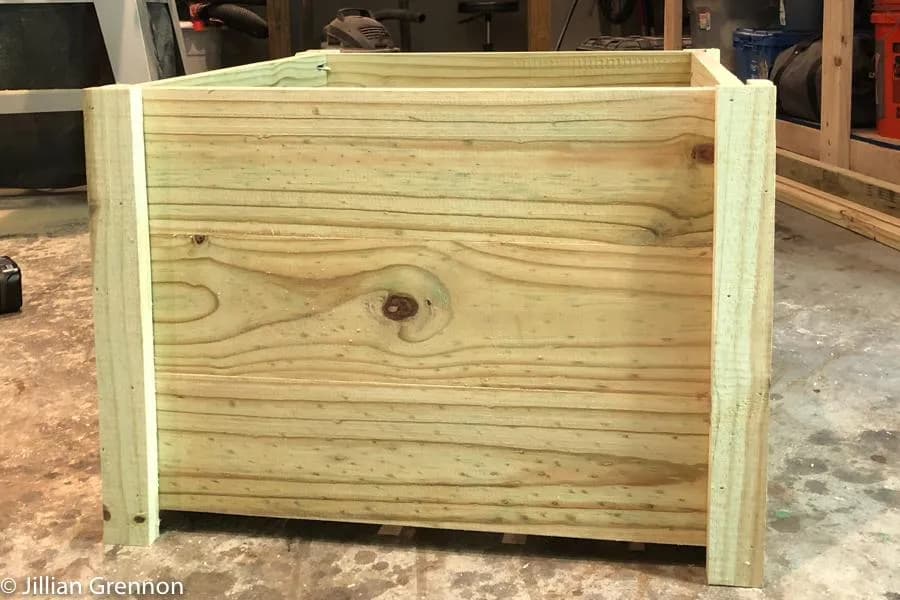
7Legs
Add Side B legs flush with the edge of the side, then add Side A legs flush with Side B legs. The leg should be even at the top and have a 1" foot at the bottom. Use wood glue and brad nails to attach.
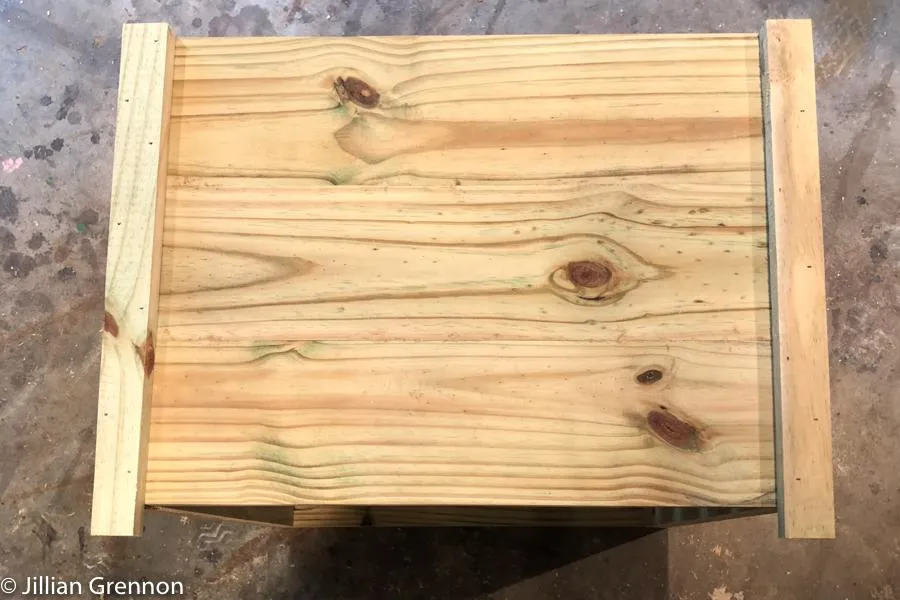
8Legs
Here you can see an overhead view of the leg placement.Side A is at the top and Side B is on the left.
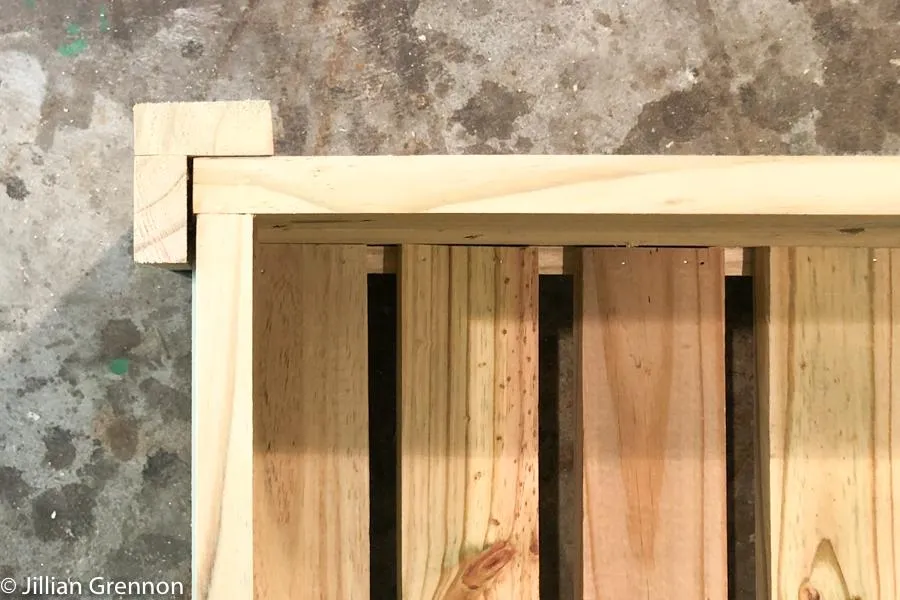
9Trim
Attach top and bottom trim using glue and brad nails.
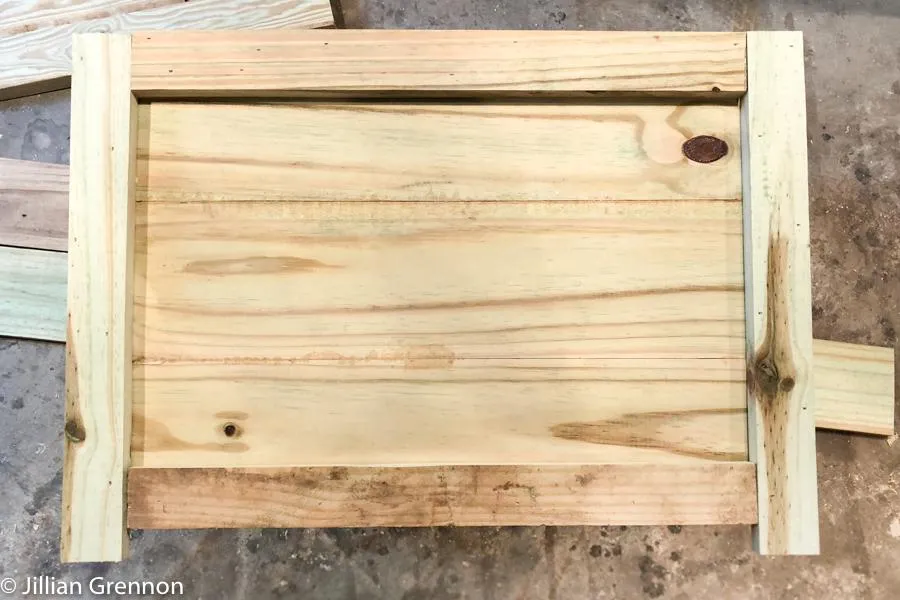
10Lid Step 1
Join 2x4's as shown, to create a frame for the lid of the deck box. The pocket holes will be on the 17 5/8" pieces.
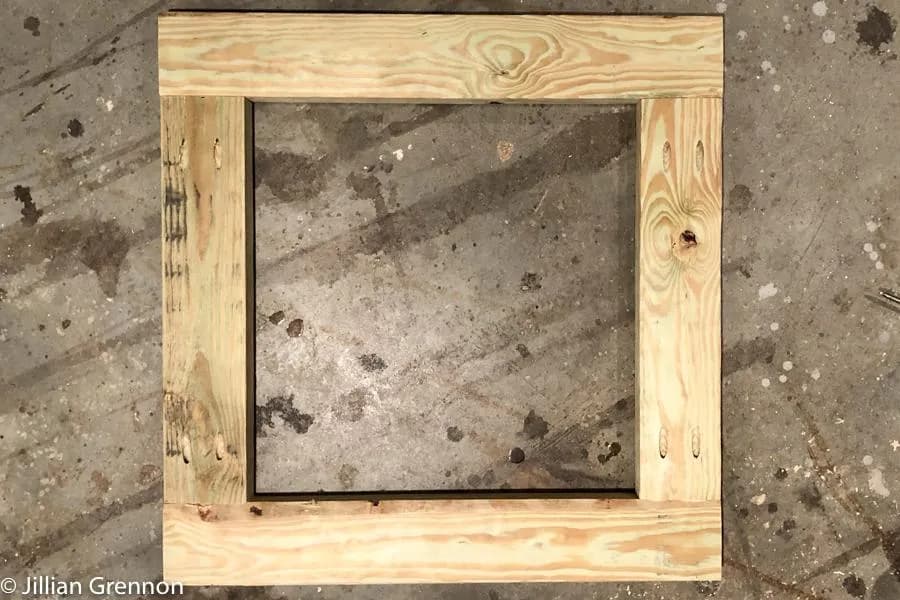
11Lid Step 2
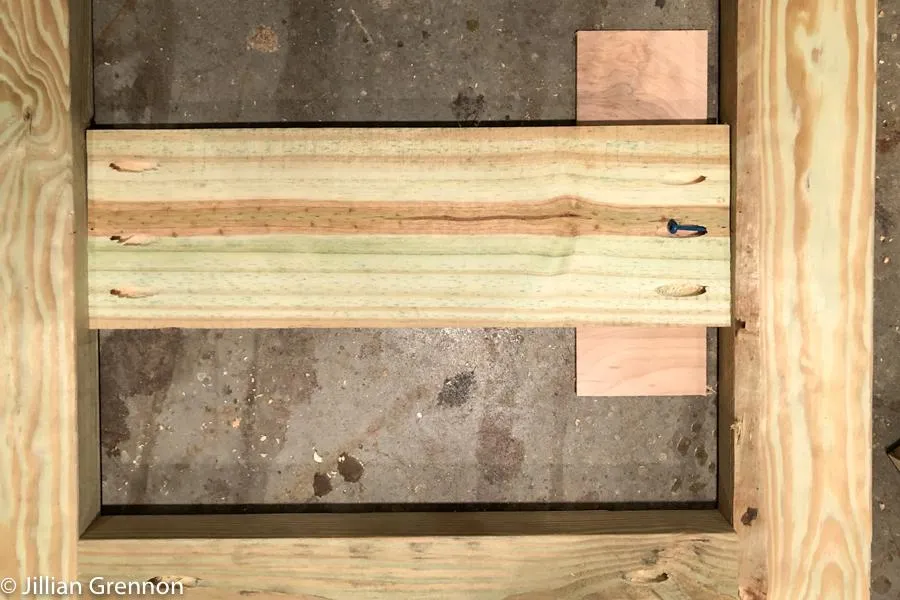
- Add 3 lid slats using pocket hole screws and wood glue. Use a scrap piece of 1/4" plywood to give a slight inset to the top.
- Place the center slat first, making sure the slat center lines up with the center of the lid frame. You will be screwing the slats into the 23" piece of the frame. Evenly space the last 2 lid slats and glue and screw them in place. There will be space between the slats to allow rain to rain through and not pool on the lid.
12Add hardware
Attach lid with hinges suitable for outdoor use and a lid support is recommended.
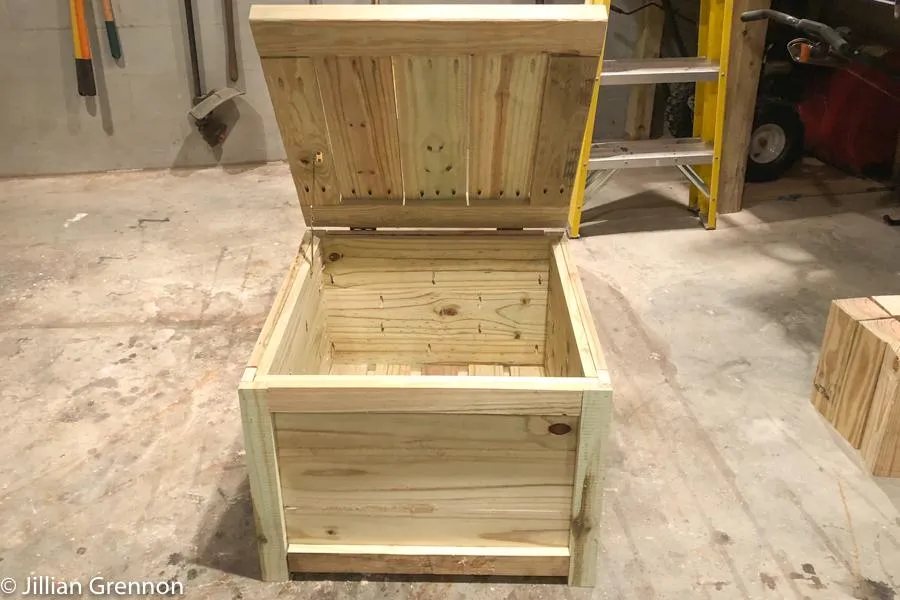
13Finish
If you are using pressure treated wood you should wait until the wood is fully dried before using a stain or paint. If you chose cedar or other dry wood, finish as desired.
Tags
- Outdoor Living
- Intermediate
Reviews & builds
No reviews yet
Sign in to review this plan or share your build.
No reviews yet. Be the first to build this.