 Notch
- Difficulty
- Beginner
- Time
- 2.3–4.3 hours
- Cost
- $
About this build
Scrap lumber. We've all got it. After building a trestle desk, I had a collection of 2x4 lengths cut at 45 degree angles I couldn't use for anything big, so I came up with a simple (but stylish) design to hold business cards!
Tools
Essential
- Miter Saw
- Random Orbit Sander
Optional / nice to have
- Tape Measure
Materials
| Item | Qty |
|---|---|
| Board, 2x4 2" | 1 board |
| Choice of Wood Stain (I used Varthane Carrington) | 1 each |
| Choice of topcoat (Shellac, poly, etc) | 1 each |
| Piece of felt, cut to fit | 1 each |
| Wood glue | 1 each |
Overall cost: $. Lumber prices vary by region, species, and season, so we give a band rather than a figure we would only be pretending to know.
Cut list
| Part | Qty | T × W × L |
|---|---|---|
| Holder | 1 | 1 1/2" × 2" × 3 1/2" |
What to buy
Buy 1 board at 8 ft.
1 1/2" × 2"
1 board
Assumes 8 ft stock, a 1/8" saw kerf, and buying each part at its own width. Change the board size or kerf on the full board plan →
Instructions
1Cut the angle
the leftover lumber I used to craft had already been cut at a 45 degree angle, so if you're starting from scratch you'll want to start by lopping off the end of your workpiece at an angle. this will be the front of your business card holder.
2Cut the groove
There's a lot of ways to do this--easiest would be a table saw, but at the time I was building these all I had was a miter saw with a depth stop. I marked where the front and back of the grove needed to be, then made successive cuts to notch out the groove. Finally, I cleaned it up with a chisel.
3Sand it down
Once you're done with the groove, you'll want to sand down the piece. I started with some 150 grit before using the 220 grit. Ultimately, it's up to you how smooth you want it to be. Make sure you blow all the dust off before you move on to the next step.
4Cut off excess
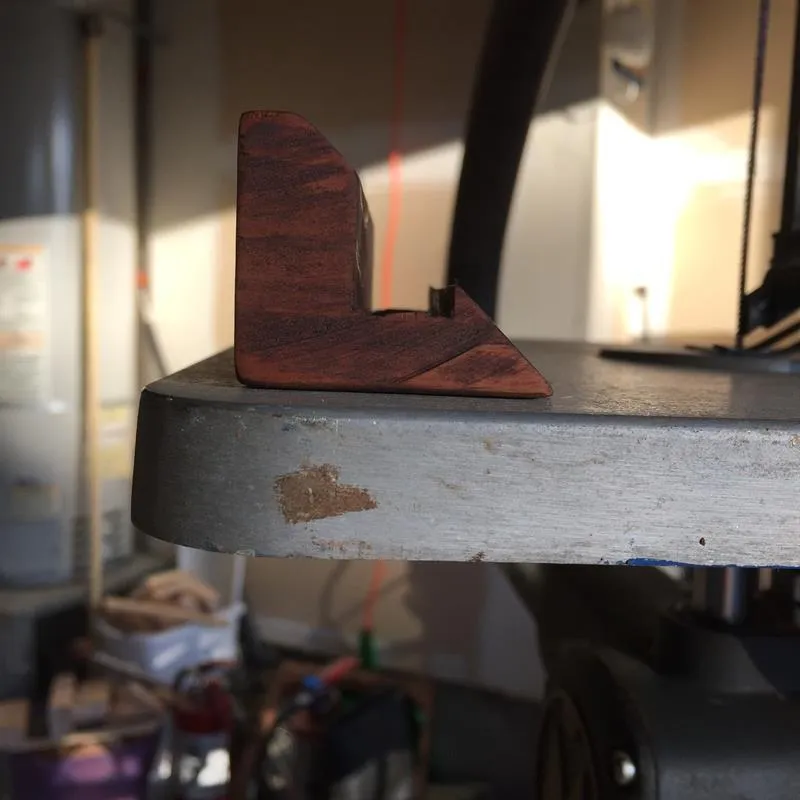
I didn't remove the holder from the 2x4 until I'd finished the groove--it let me keep my hand safely away from the sawblade. The holder should be about 2" from back to front.
5Stain it
This is where you get to personalize the finish--in my case, I used Varthane Carrington as my stain. Apply stain, allow it to soak into the wood, then wipe away with a clean rag.
6Apply topcoat
The topcoat is really going to protect that beautiful stain you applied in the previous step. You can use shellac, poly, really whatever you're comfortable with or what'll give you the look you're going for.
7Add felt
The felt on the bottom should be cut to the size of your base--it's going to protect your desktop from getting banked up by your business card holder. Apply some wood glue to the bottom of the piece and set the felt onto it, wiping away any excess.
Tags
- Desk Accessories
- Beginner
Reviews & builds
No reviews yet
Sign in to review this plan or share your build.
No reviews yet. Be the first to build this.