Notch
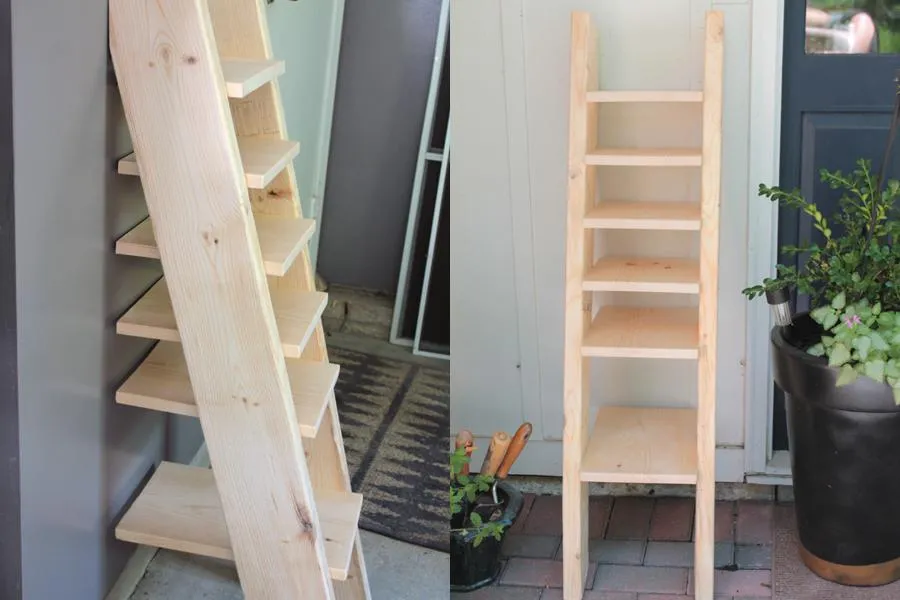
Rustic Ladder Shoe Shelf
Step-by-step build — 11 steps. Also available as a print sheet.
1Cut Shelf Legs
- Cut your 2"x6"x96" board directly in half (48"). If your board is slightly longer or shorter, make the necessary adjustments to ensure both pieces are the same size.
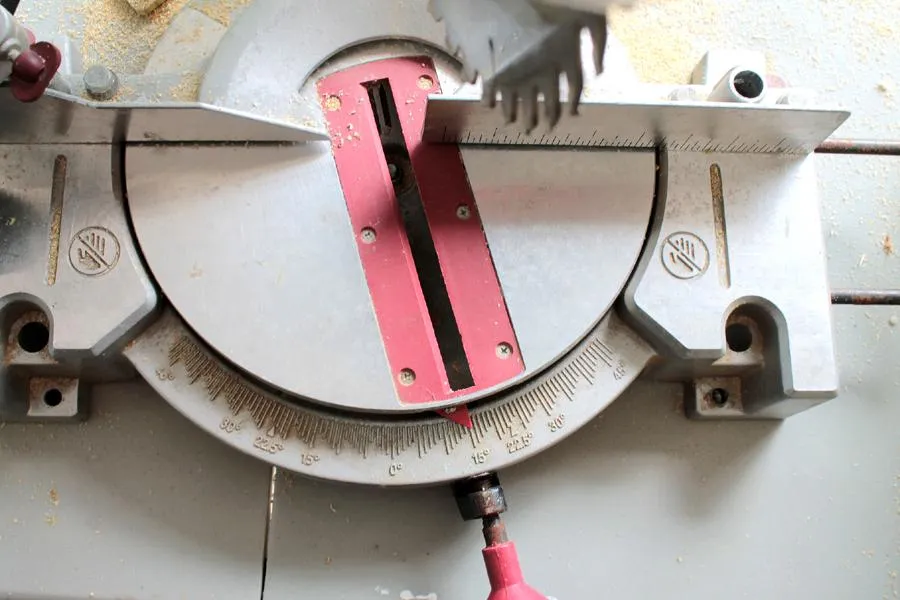
- Then for the next cuts, prepare your miter saw; set the table at a 15 degree miter.
2Cut Angles
Cut an angle off each foot of your shelf leg. Once again, ensure each leg is close to identical length.
3Final Angle Cut
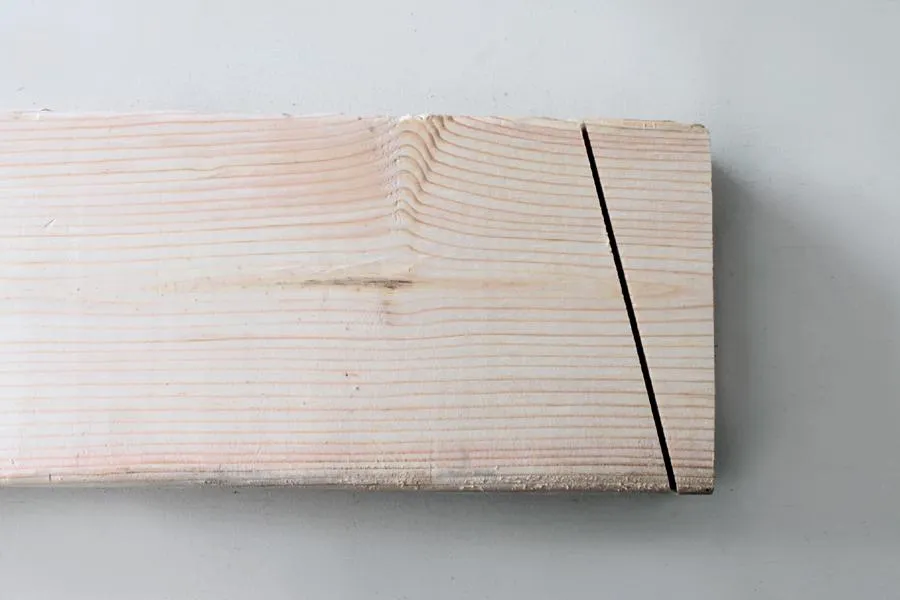
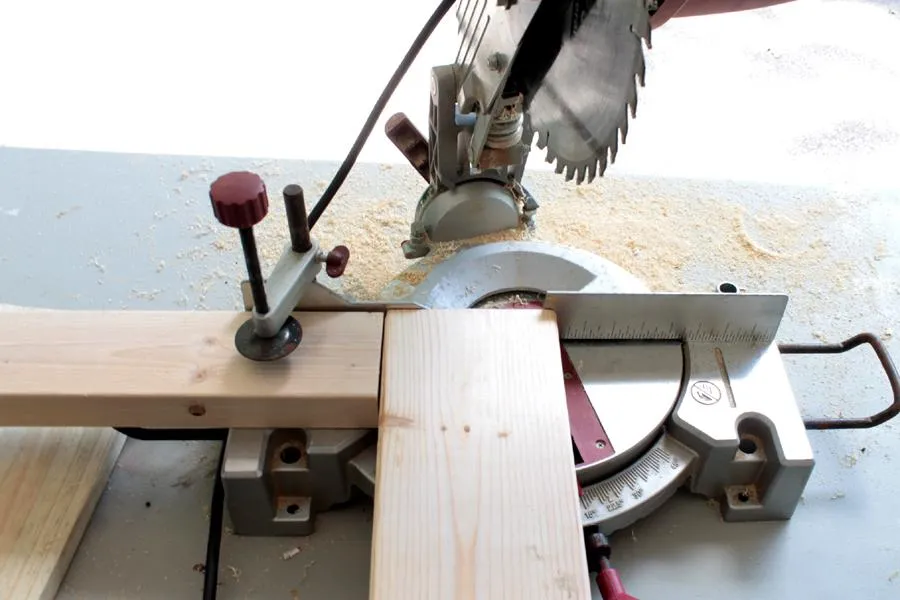
Finally cut one last angle out of the opposite end of each shelf leg. This time you will place the wood straight on, with the blade set to cut an inch in. *Not sure how to secure the wood before cutting it at this angle? Get details at Home Made by Carmona.
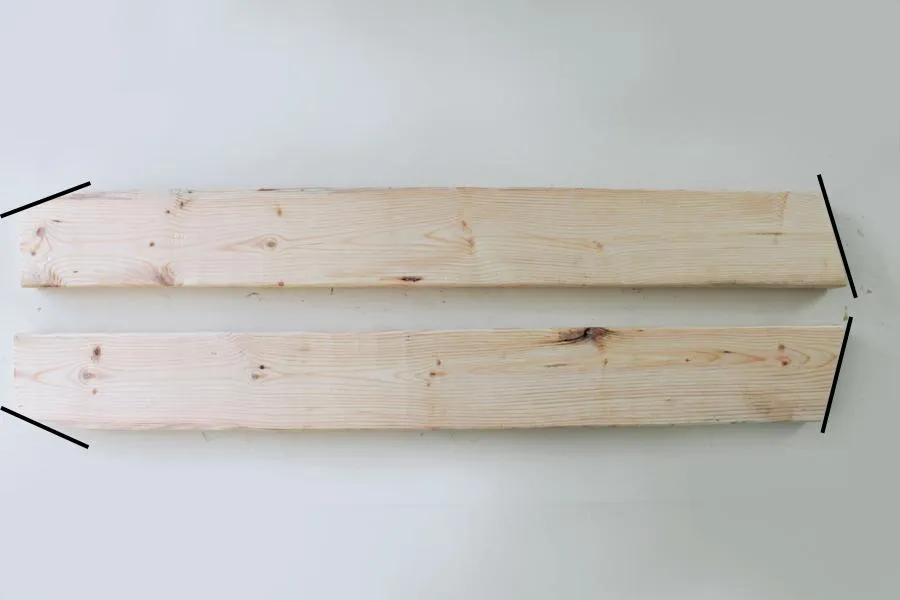
4What The Legs Should Look Like
This is what the cut angles on your two legs should look like, and which direction the angles should face.
5Measure & Mark
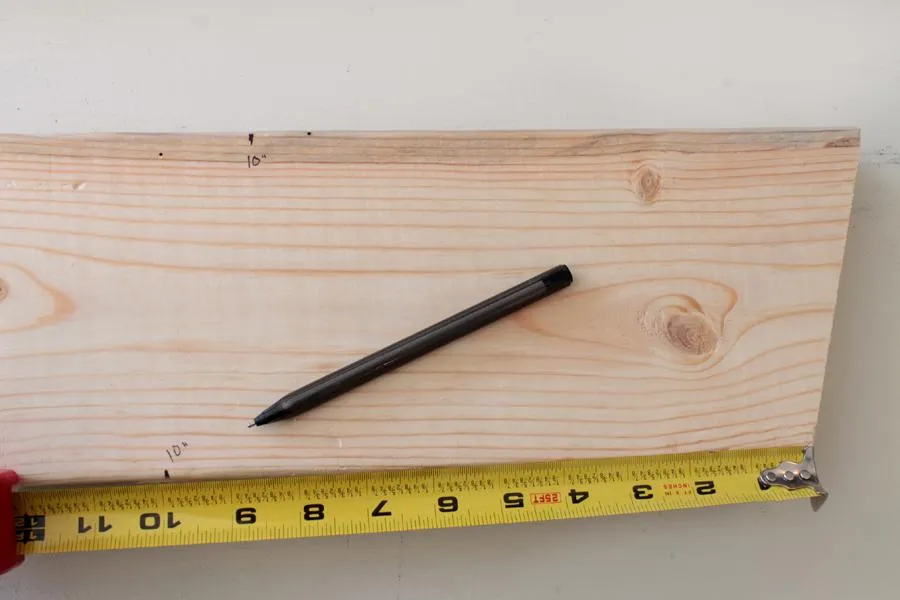
Use a tape measure to mark 10" increments along the edge of both sides of each leg. Since you are measuring from the cut angle, the 10" increments will be different on either side. After two 10" marks, transition to 5" increments.
6Draw A Line From Mark To Mark
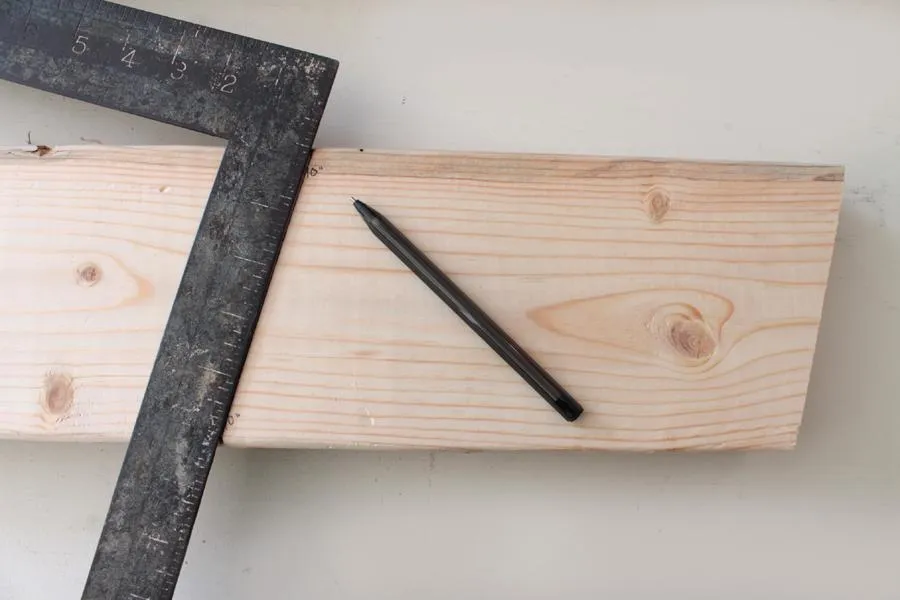
Use a carpenters square or edge to draw a line from each 10" (later 5") mark to the one across from it. These diagonal lines will be used to line up the small shelves later.
7Cut Individual Shelves
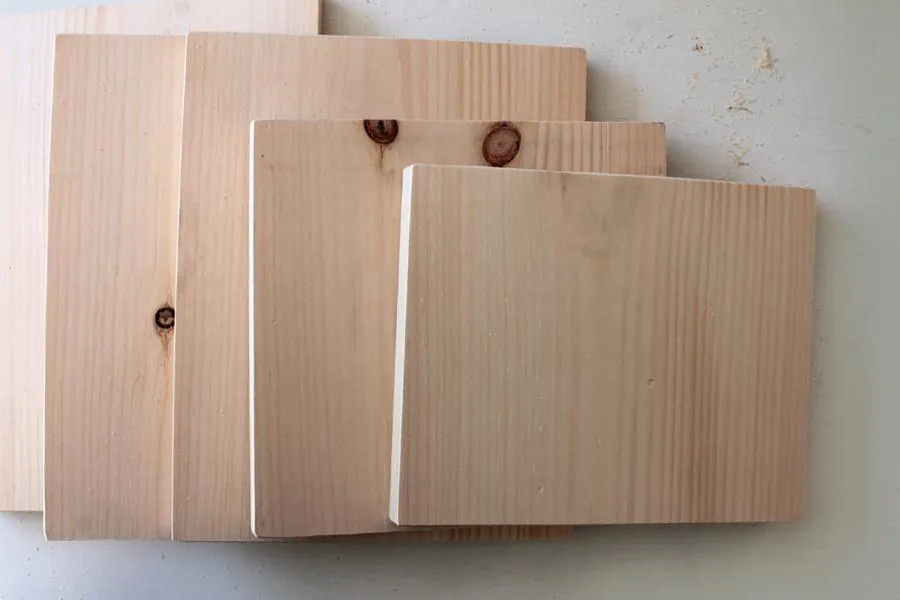
Cut your 1"x8"x72" board into individual shelves. Each shelf is a different depth, but the same 8" width. Here is your cut list: 14 5/8", 12 3/8", 11 1/8", 9 7/8", 8 3/8" ,7"
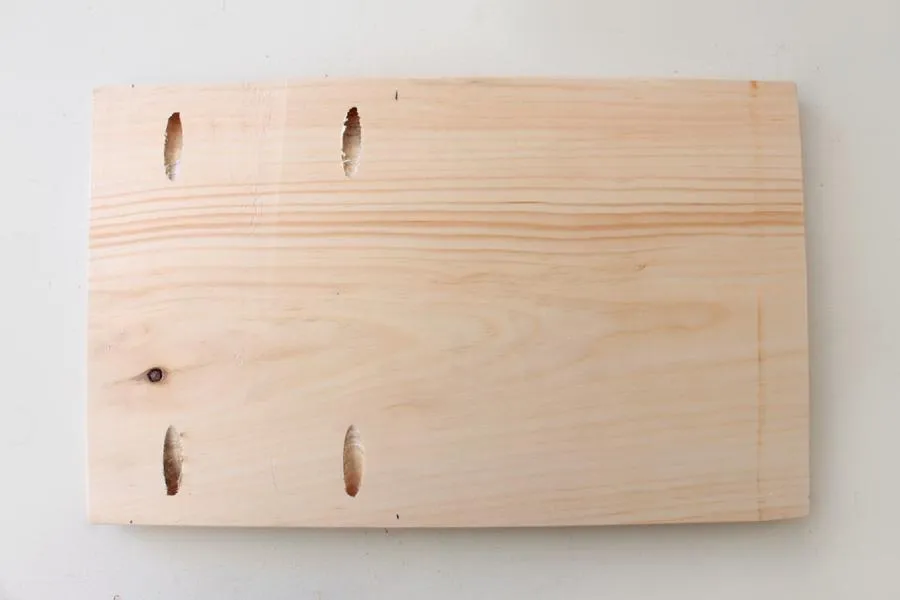
8Drill Pocket Holes
You will drill pocket holes in each shelf; two on each side. But first measure and mark one inch in (where the first pocket hole goes), then the second mark 6 1/2" in (where the second pocket hole goes. Do this on either side of the 8" shelf.
9Attach Shelves To Legs
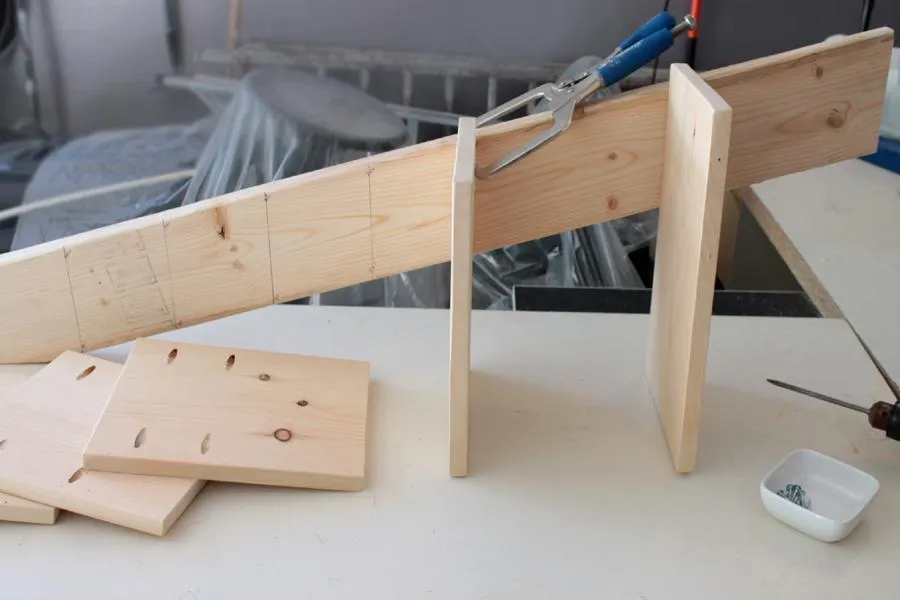
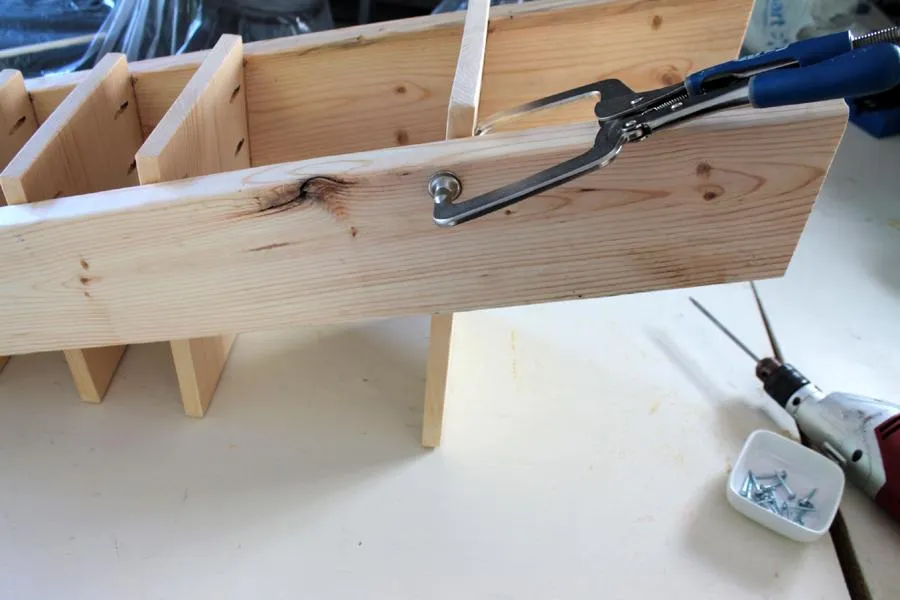
Using a Kreg pocket-hole clamp to hold the shelf in place, line up the shelf with the diagonal mark on the leg, and attach via the pocket holes. Do this for each shelf. Make sure you align each shelf so it protrudes by 3/4" at the top.
10Attach Final Leg
Align the second shelf leg and attach with screws via the pocket holes.
11Paint, Stain, or Leave Bare!
Paint, stain, or leave bare! Lean your new ladder shelf up against a wall, and enjoy!