Notch
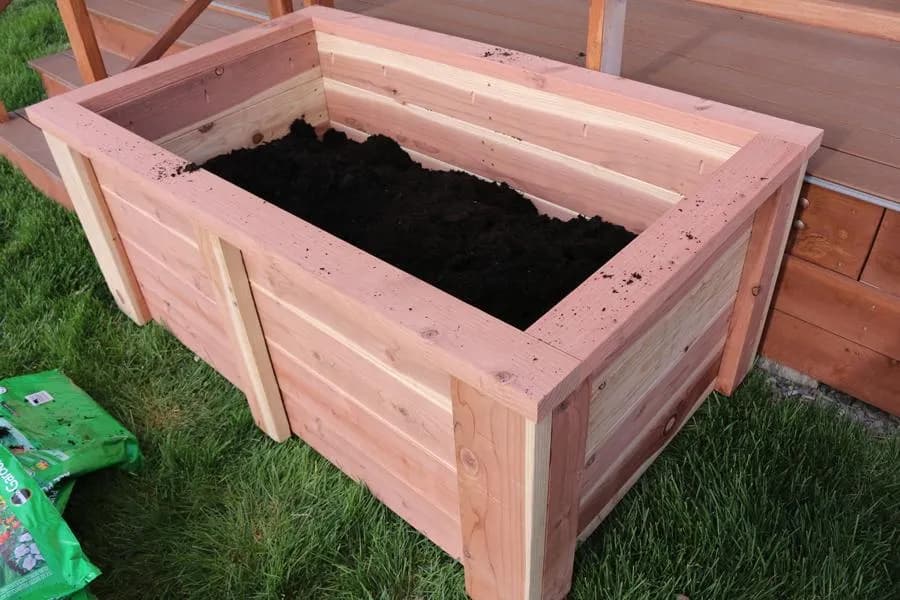
NotchRaised Garden Bed
Step-by-step build — 18 steps. Also available as a print sheet.
1Gather Materials
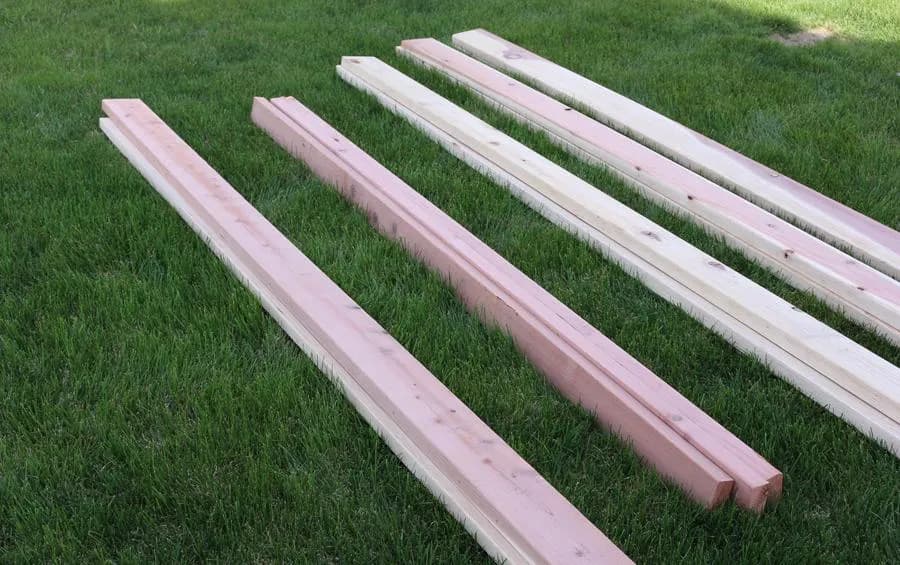
Gather materials. Redwood or cedar are both good choices for outdoor projects. You'll need 2x4 and 2x6 boards.
2Make Cuts
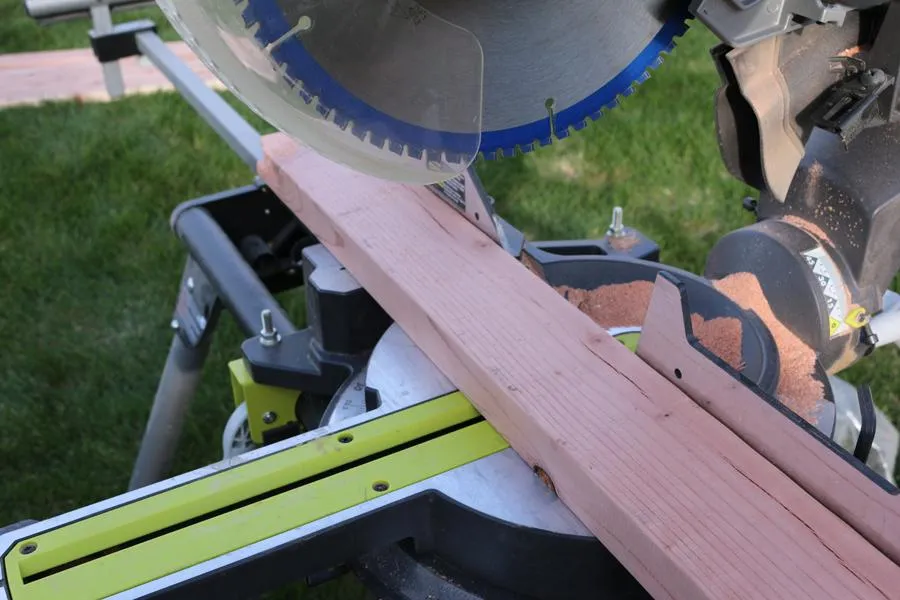
Use a miter saw or circular saw to make each cut according to the cut list. Feel free to modify the size as needed to best fit your needs.
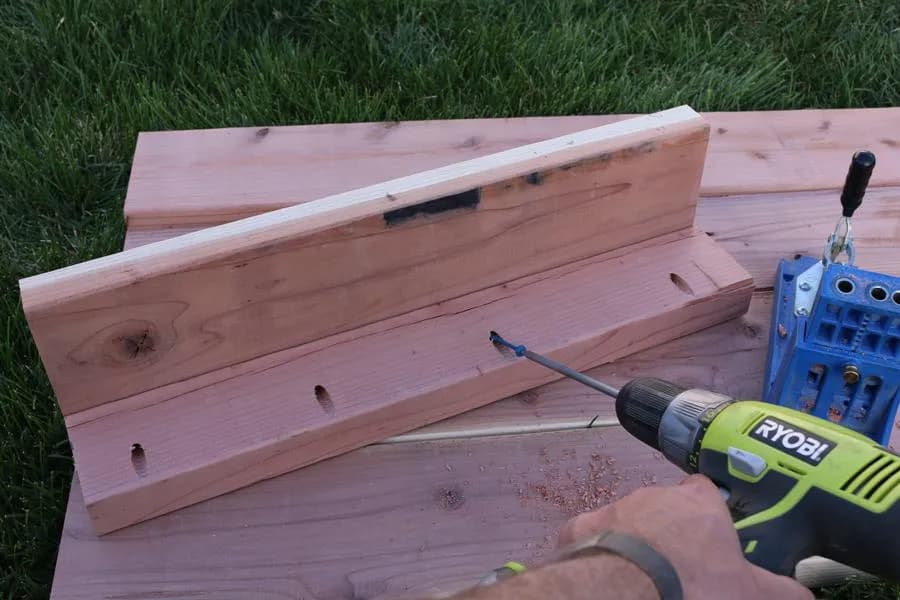
3Create pocket holes
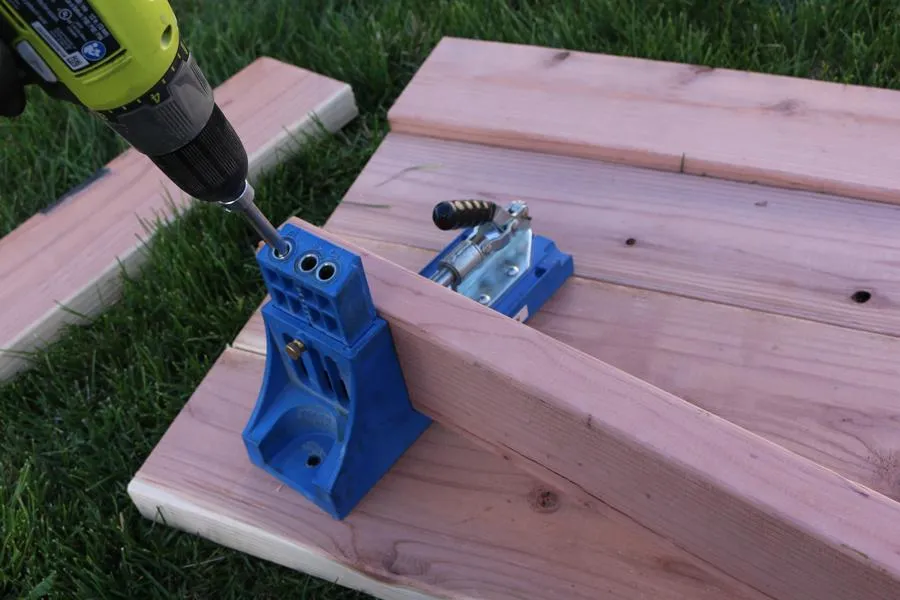
Use a pocket hole jig to attach the two boards that form each leg. Drill pocket holes into the 2x4 board. I'd recommend creating 4 pocket holes for each leg.
4Connect legs
Use 2 1/2 inch Kreg screws to attach the leg boards.
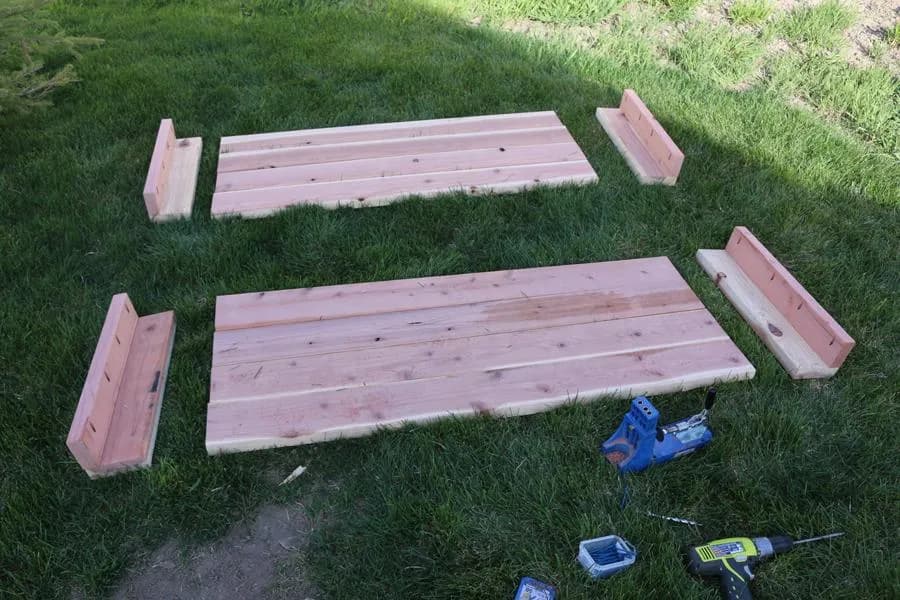
5Layout boards
Layout the legs and long side boards.
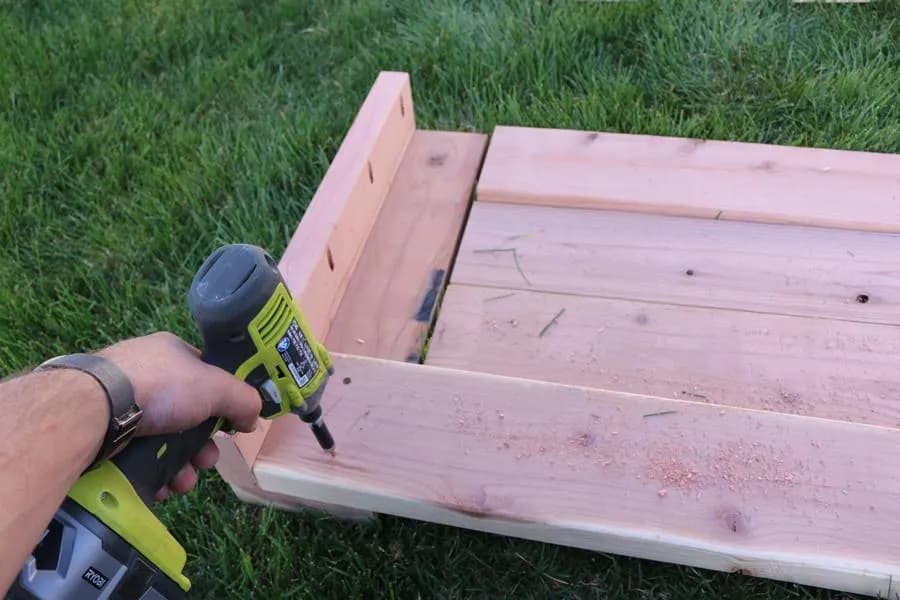
6Attach side boards to legs
Use 2 1/2 inch wood screws to attach each 2x6 board to each leg. Use 2 screws on the end of each board.
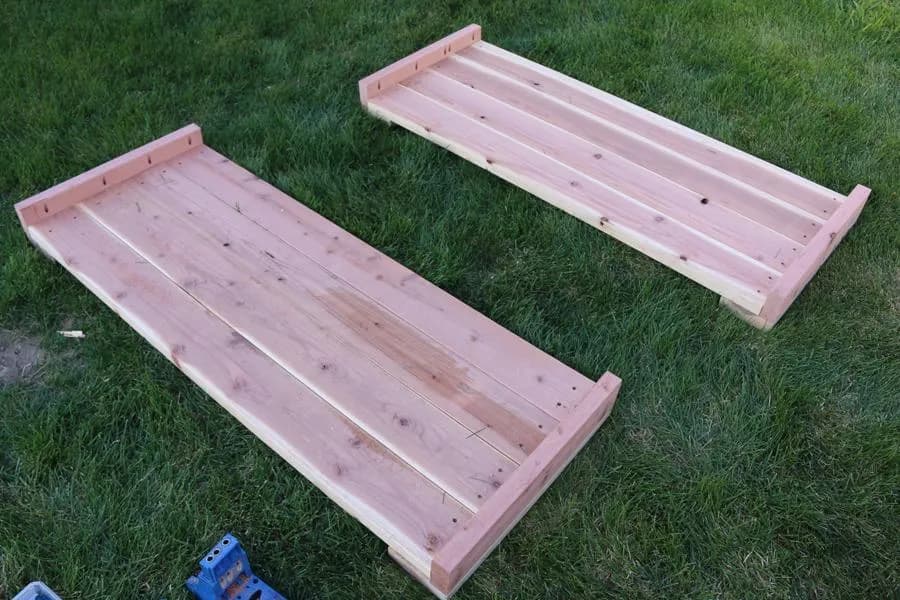
7Prepare to add short side board
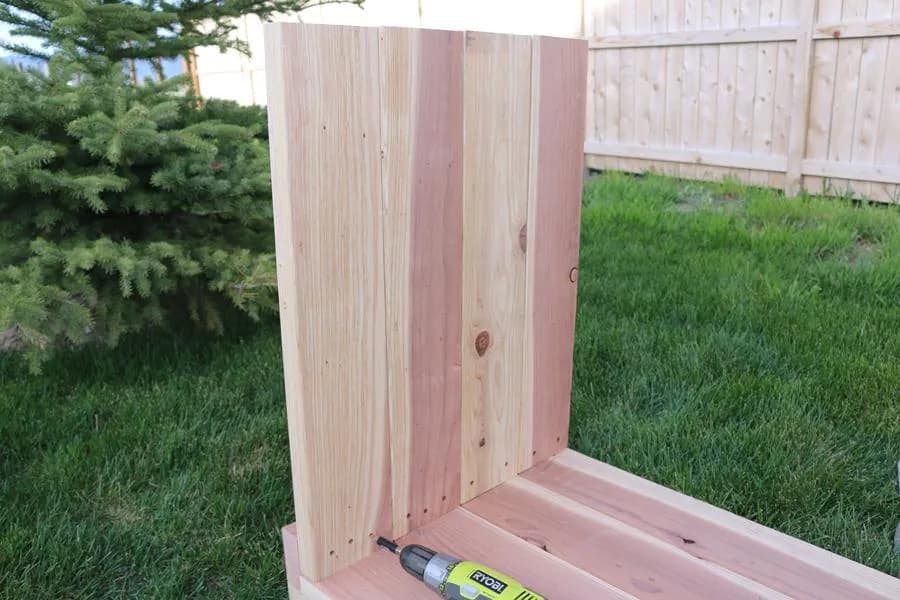
Here is a photo showing the two longer sections prior to adding the other 2 sections.
8Connect short side boards
Use 2 1/2 inch wood screws to attach the shorter 2x6 side boards to the leg.
9Sides added
Here is a photo showing the sides connected.
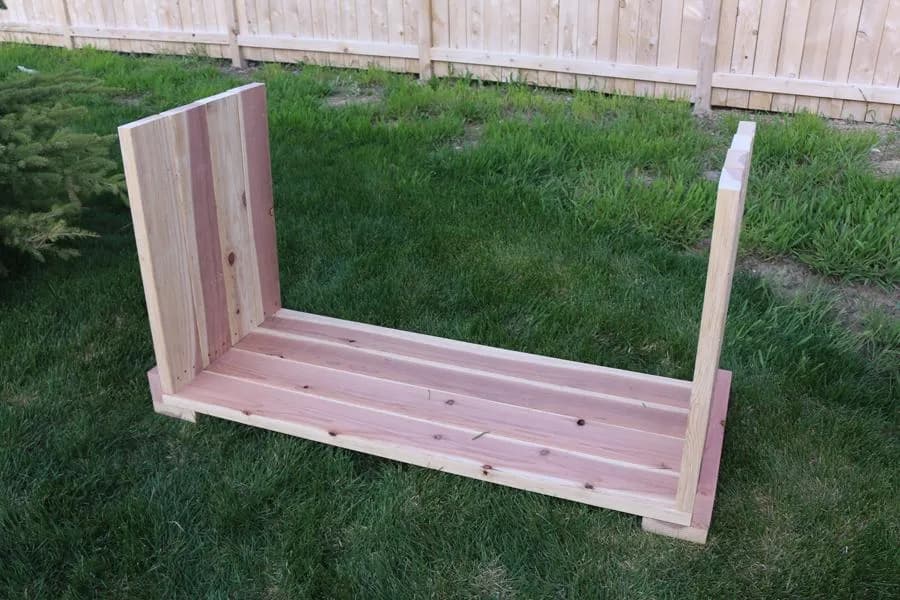
10Connect the last side
Complete the four sided box by attaching the remaining side with 2 1/2 inch wood screws.
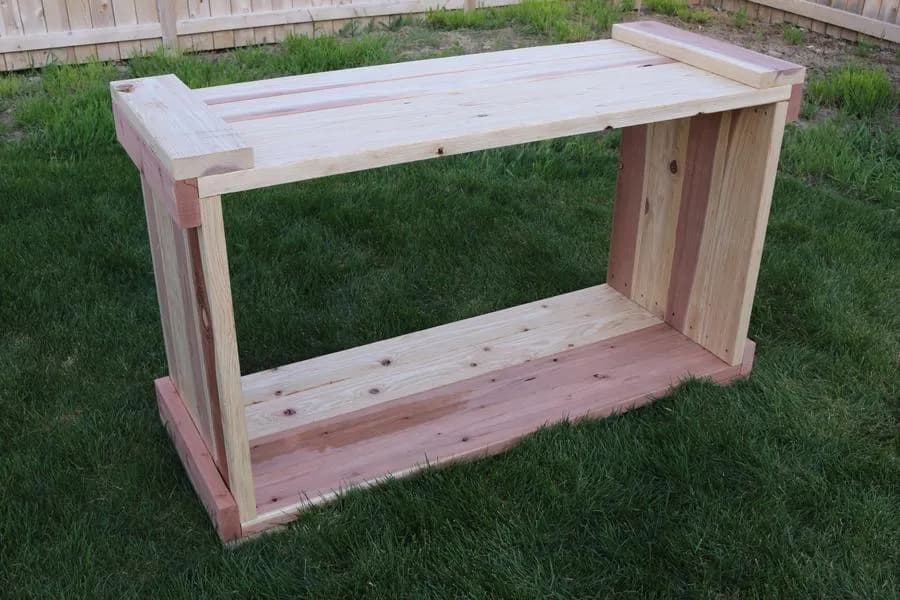
11Create cap boards frame
Form the frame for the top cap out of 2x4 boards. Connect at each corner from the underside using 2 1/2 inch Kreg screws.
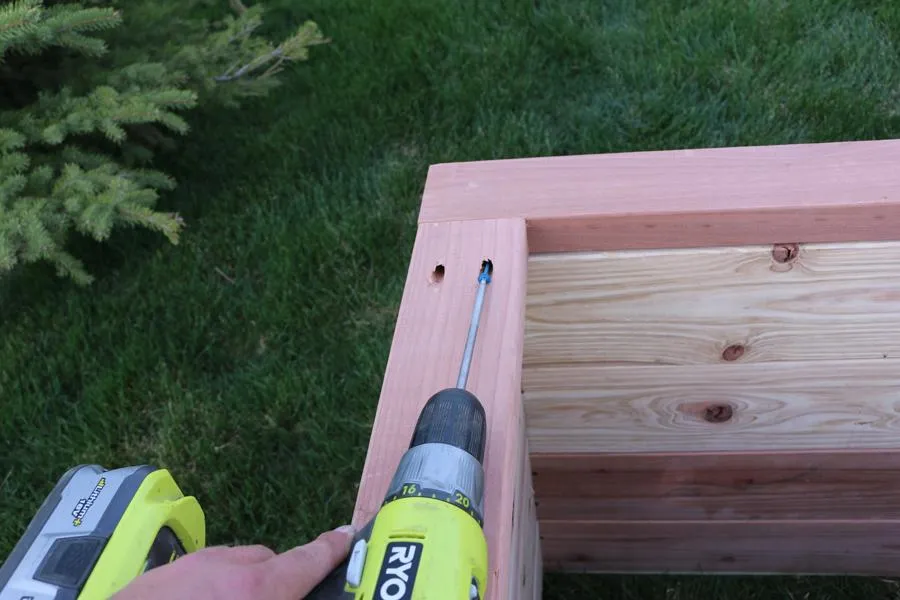
12Create pocket holes
Drill pocket holes to enable the top caps to be connected from the underside using 2 1/2 inch Kreg screws.
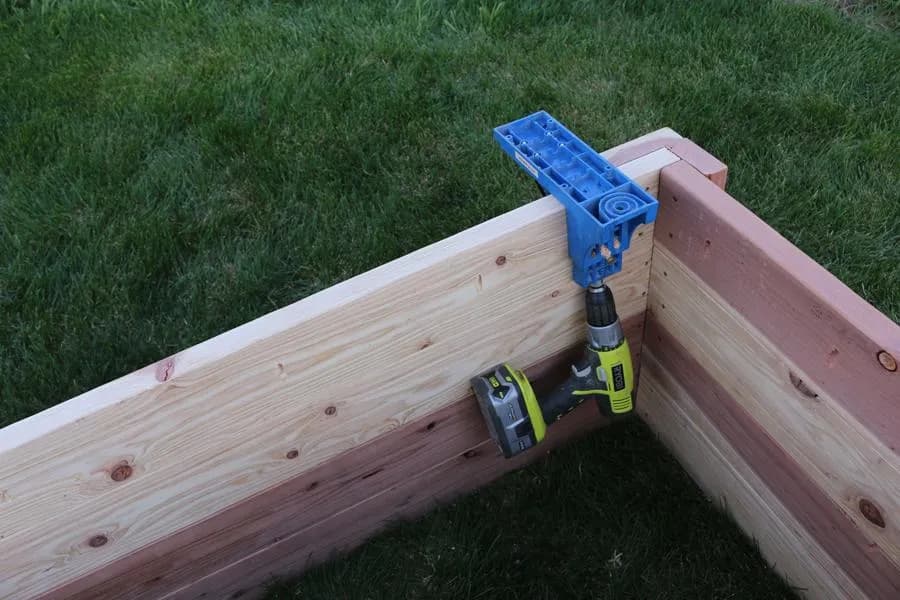
13Add center 2x4 supports
Center the 2x4 middle supports on the outside of the planter and then attach with 2 1/2 inch screws from the inside.
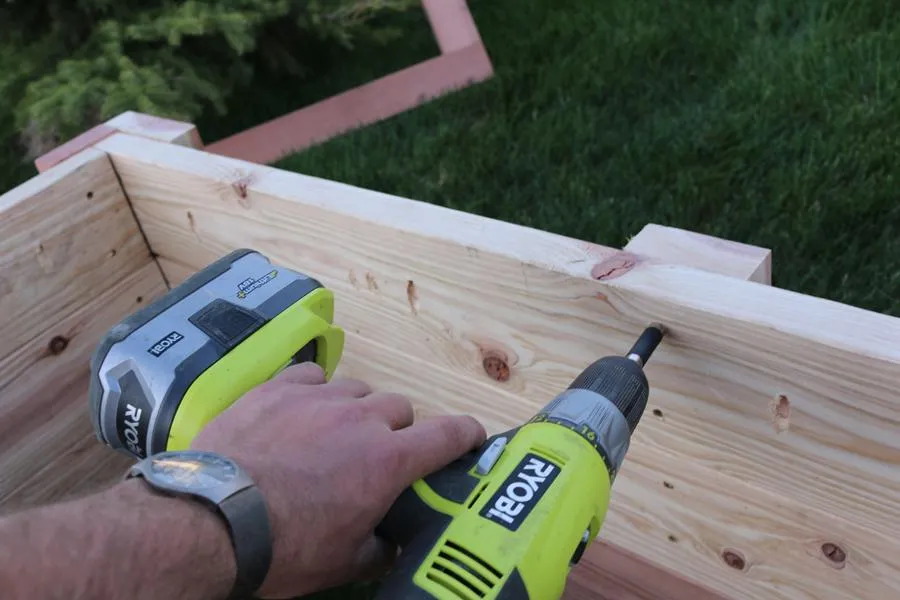
14Prior to cap
Here is the planter prior to the 2x4 cap frame being attached.
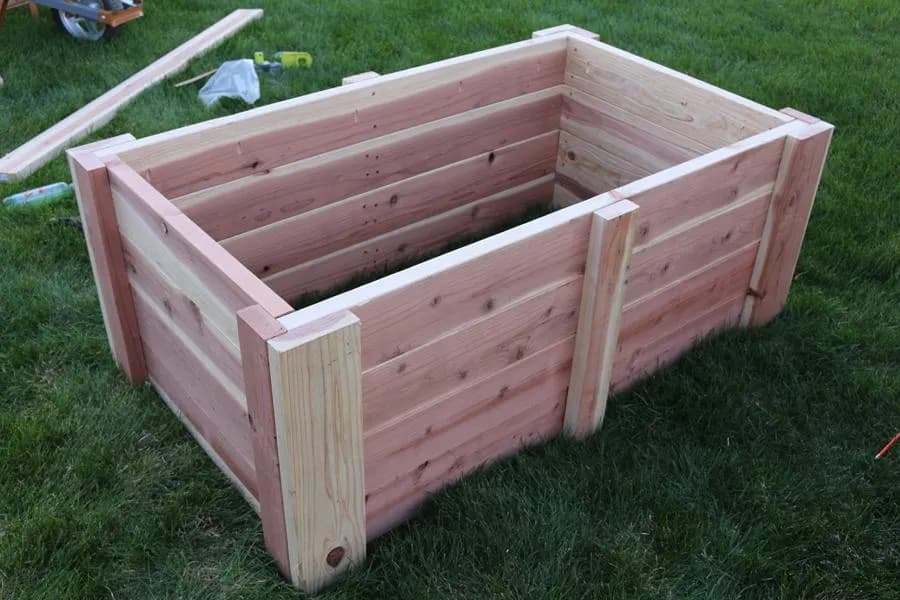
15Attach cap from underside
Attach the top cap to the sidewalls from the underside using 2 1/2 inch Kreg screws.
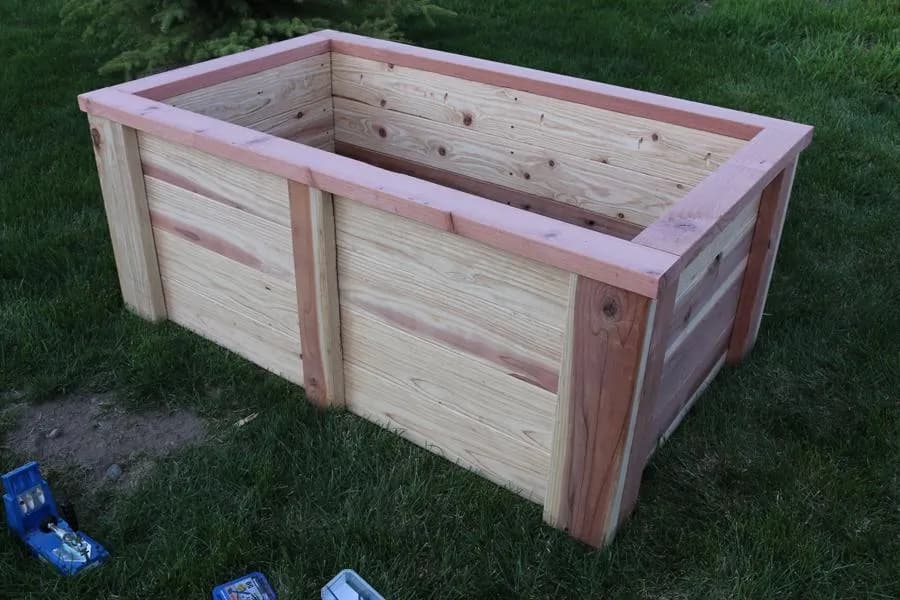
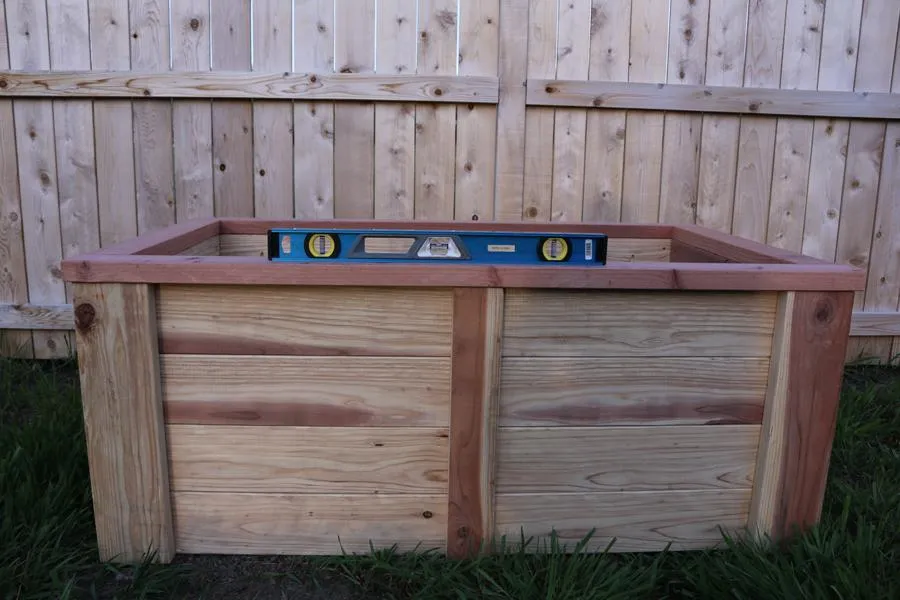
16Level
Determine where the planter will go. Create a level surface.
17Weed cloth
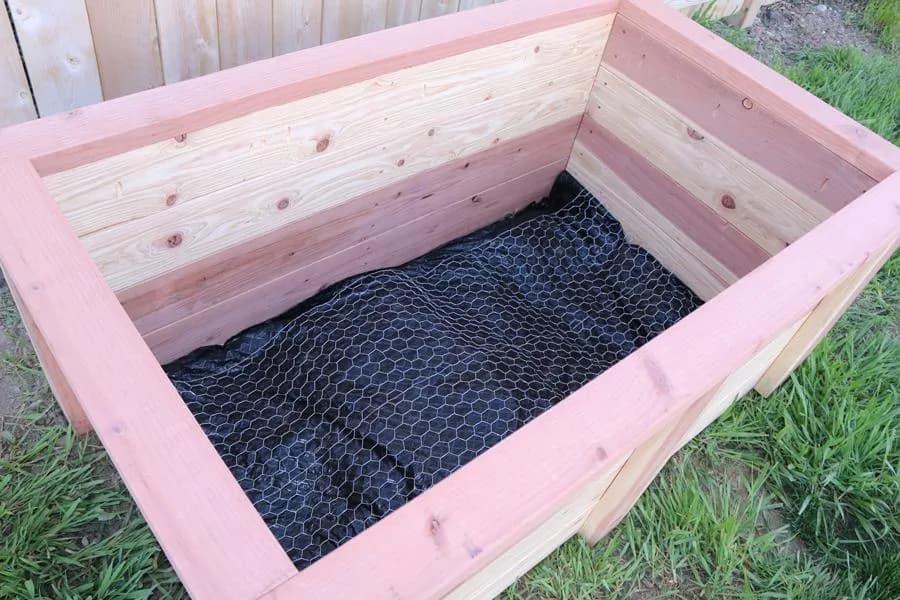
Add weed cloth to prevent unwanted vegetation from growing into your planter. Use chicken wire to keep gophers out if needed.
18Add soil
Add soil to the planter. It will take approximately 19 cubic feet. Plants some flowers, herbs, or vegetables!