Notch
NotchPorch Swing with Pergola
Step-by-step build — 21 steps. Also available as a print sheet.
1Making Your Cuts For the Swing Seat
- Using a miter saw cut 2 2x4 pieces at 48" long.
- Cut 4 2x4 pieces at 18" long.
- Set your Kreg Jig at 1 1/2. Make two pocket holes on each end of your 4 smaller 2x4 pieces.
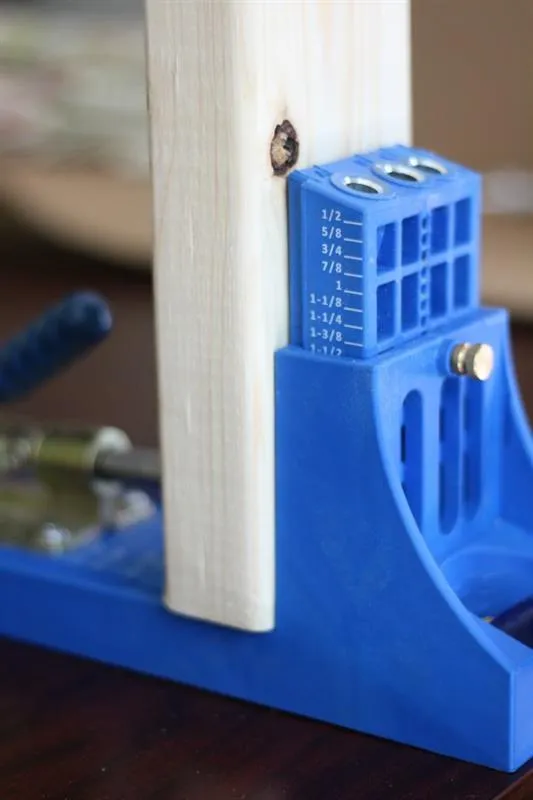
2Putting Your Swing Seat Together
Assemble your swing base as shown in the photo using 2" pocket hole screws. Use a clamp to hold the two pieces together to hold the 2x4's in place.
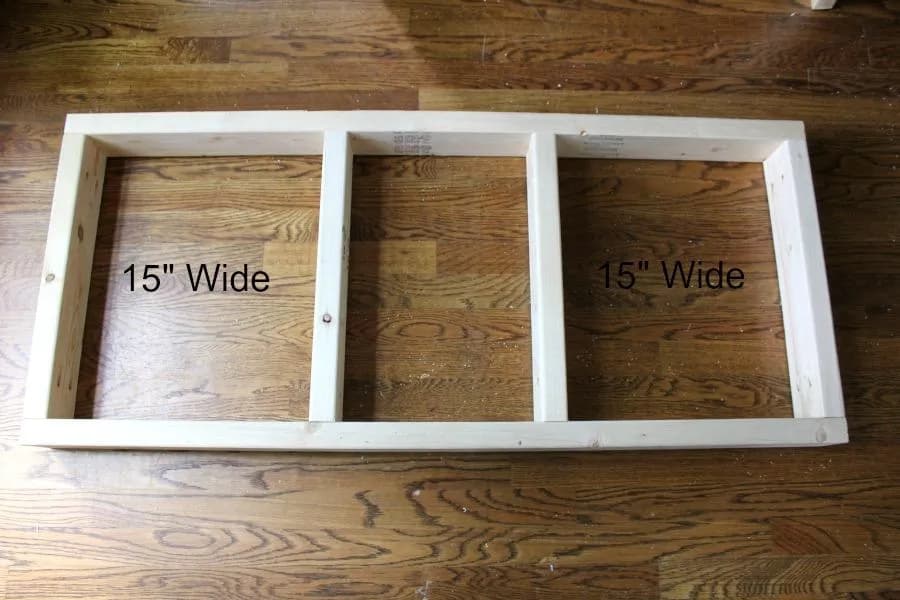
3Adding The Back Posts
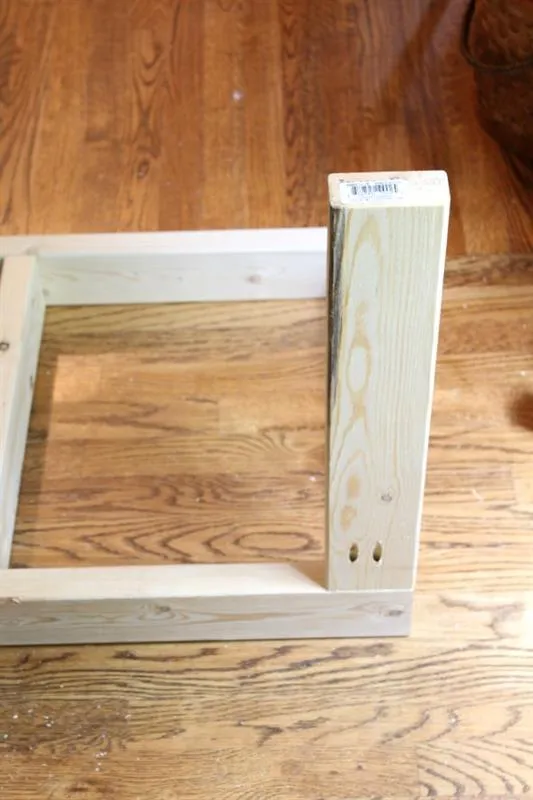
- Cut 2 2x4 pieces at 20.5" long for the back end posts. Create two pocket holes on one end of each of your 20.5" pieces.
- Screw the two 20.5" pieces on each end of the seat base as shown in the photo.
4Add The Back Top Rail
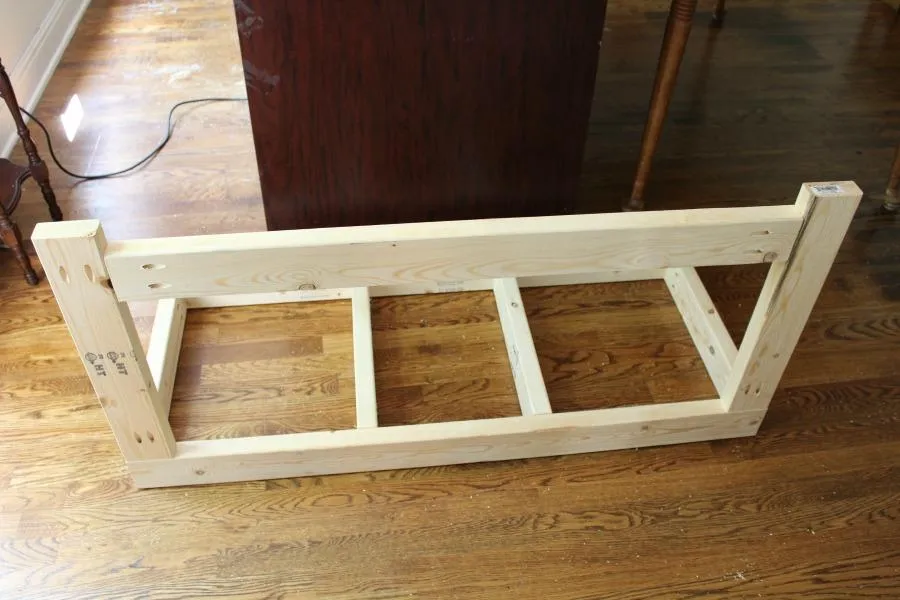
- Cut 1 2x4 piece at 41" long for the back top rail. Create two pocket holes on each end of your 41" long piece.
- Attach it to the two end posts 2" from the top.
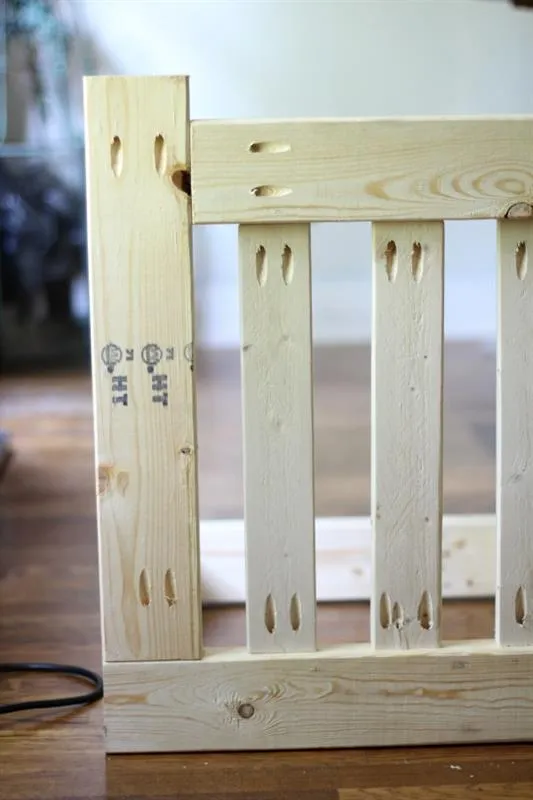
5Adding The Back Slats
- Cut 9 1x3" pieces at 15" long. Make two pocket holes on each end of your 1x3".
- Attach them to the top rail and the center of the 2x4". Each slat should be 2" apart.
6Adding The Arms Part 1
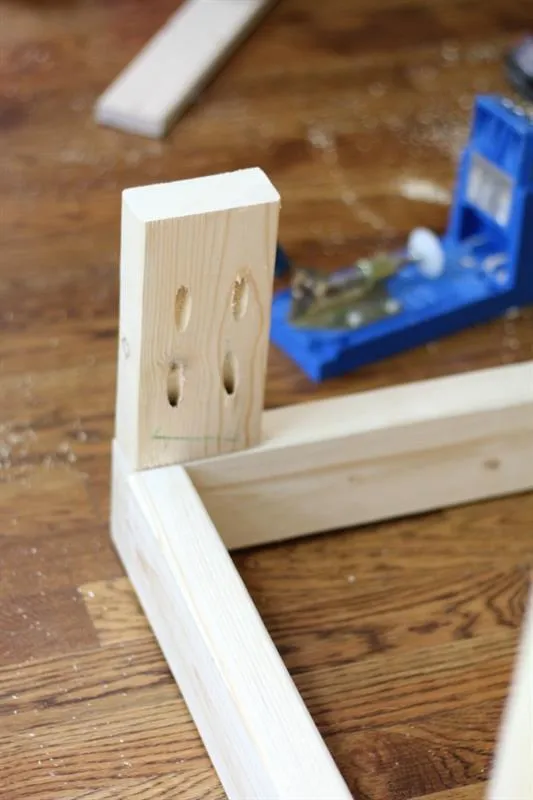
- Cut 2 1x4"s at 7.5" long. Make two pocket holes on each end of the two pieces.
- Attach to the front of the seat base using 2" pocket hole screws.
7Adding The Arms Part 2
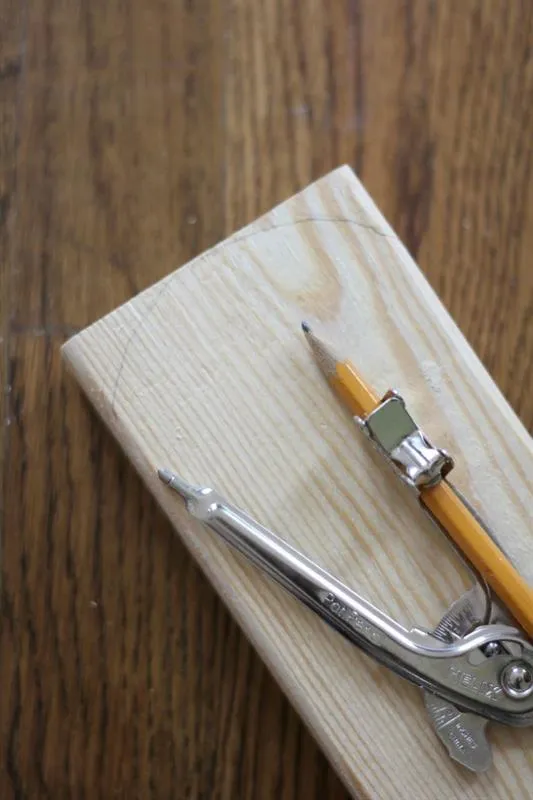
Cut 2 2x4" pieces at 21" long. Make 2 pocket holes in one end of each piece. Use a compass to round off the end that is without pocket holes. (opitional) Use a jigsaw to cut out the round profile.
8Adding The Arms Part 3
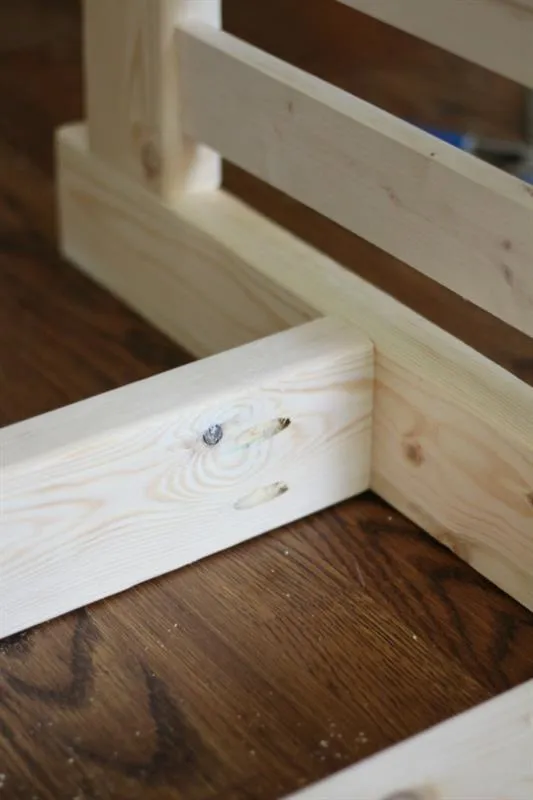
Screw each arm into the back of the seat and the front posts using 2" pocket hole screws.
9Adding The Seat Slats
- Cut 4 1x3"x8' pieces in half. Each piece should be just under 48" Use a nail gun to nail the first slat across the back.
- Place it right against the back posts.
- Line the front slat up with the base. Use a jigsaw to cut the front slat around each arm post.
- Space the rest of the slats equally and nail into the 2x4's underneath.
10Building The Pergola Posts
- Cut 4 pressure treated 2x4"s at 81" long. (Save left overs for angled base supports.) Cut 2 pressure treated 2x4"s at 48" long. Make three pocket holes on one end of two 81" 2x4"s.
- Attach 2 81" 2x4"s to the 48" base using 3" screws 10" from each end. There should be 25" from inside post to inside post along the base. Make sure angle is 90 degrees.
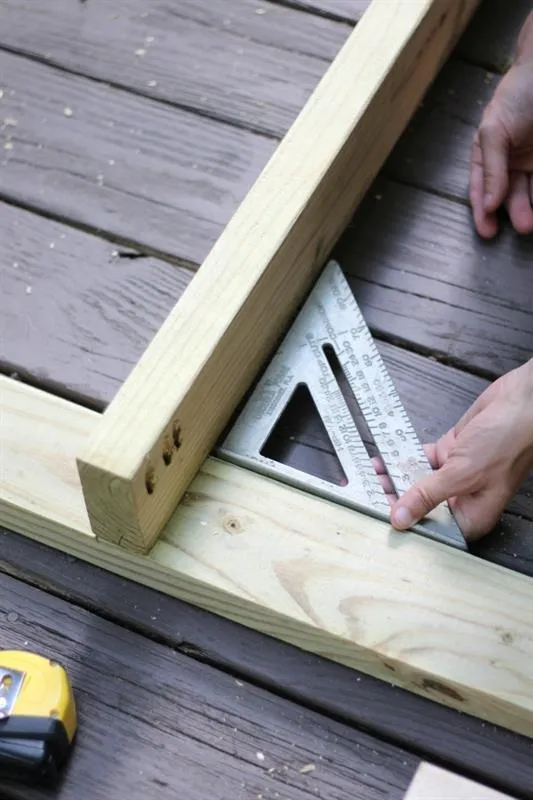
11Building The Pergola Posts
Complete the above steps twice to create both sides of your pergola.
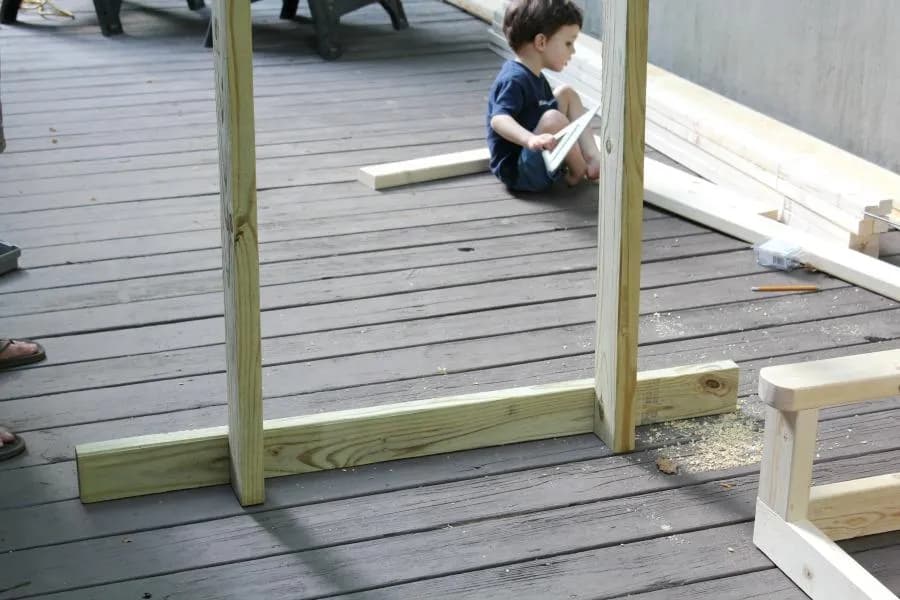
12Adding the Top Supports
- Cut 2 2x4"s at 66" long.
- Attach to the top of front and backside of the pergola posts using four 3" wood screws.
- Cut 2 2x2"s at 25" Make a pocket hole on each end of of the 2x2" top supports.
- Attach them to the inside of each post on the sides of the pergola 1 1/2" from the top of the posts so that your 2x4" that goes across will lay flush with the top.
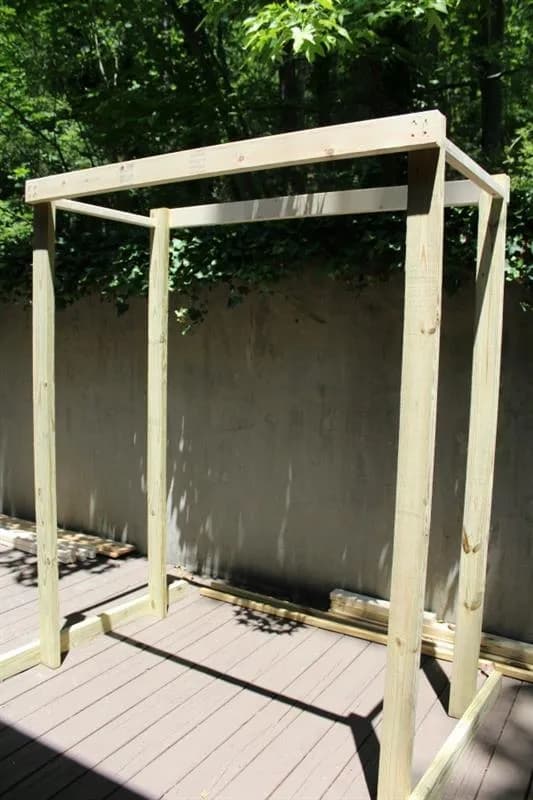
13Adding Your Middle Beam Support
Place the middle support in the middle of the pergola and screw into the 2x2 from the top using 3" wood screws. Adding middle beam after angled top support makes it easier to screw in supports.
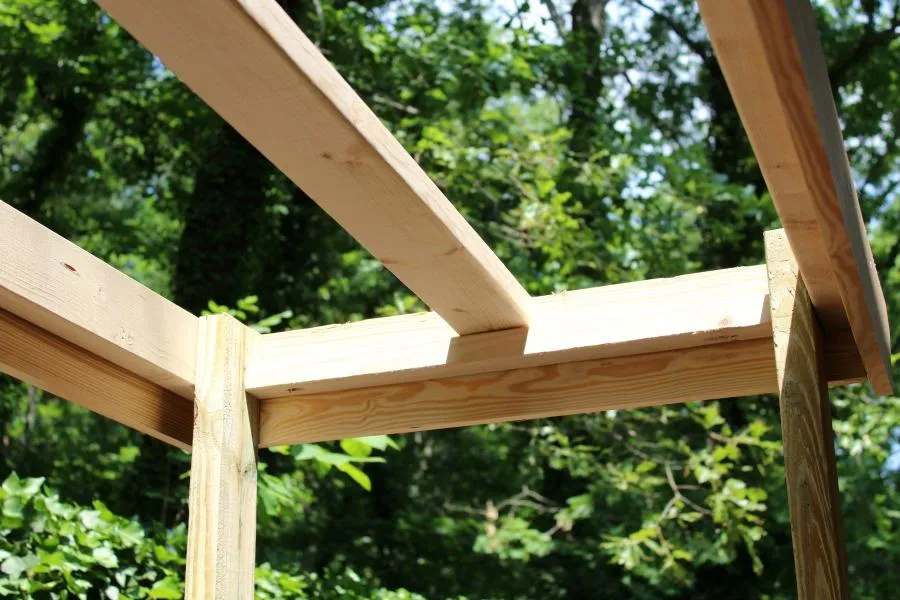
14Adding the Outside Trim
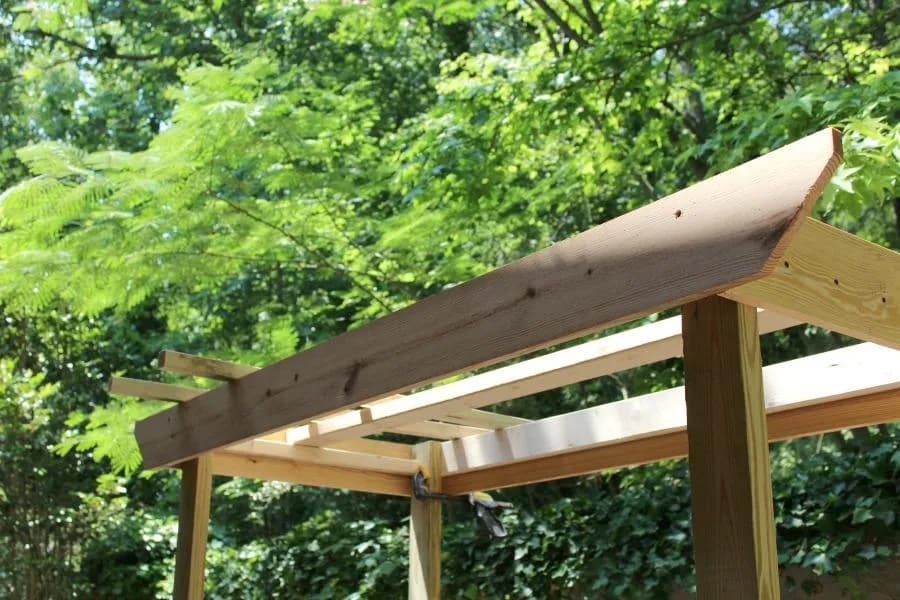
Attach the 31 1/4" 1x6" trim pieces to the outside of the posts flush with the top using 2" wood screws. put a few into the post and a few into the 2x2's for added support. Attach the 81" 1X6" trim pieces to the from and back flush with the top.
15Adding the Angled Base Supports
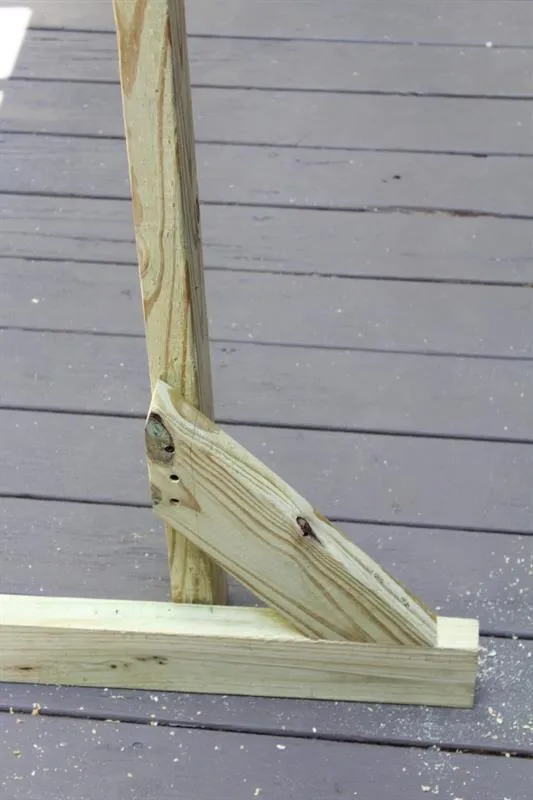
Add your 15" base angled 2x4" supports to the outside of each post starting at the bottom. Attach to the bottom base and the post using 3" wood screws.
16Adding the Angled Top Supports
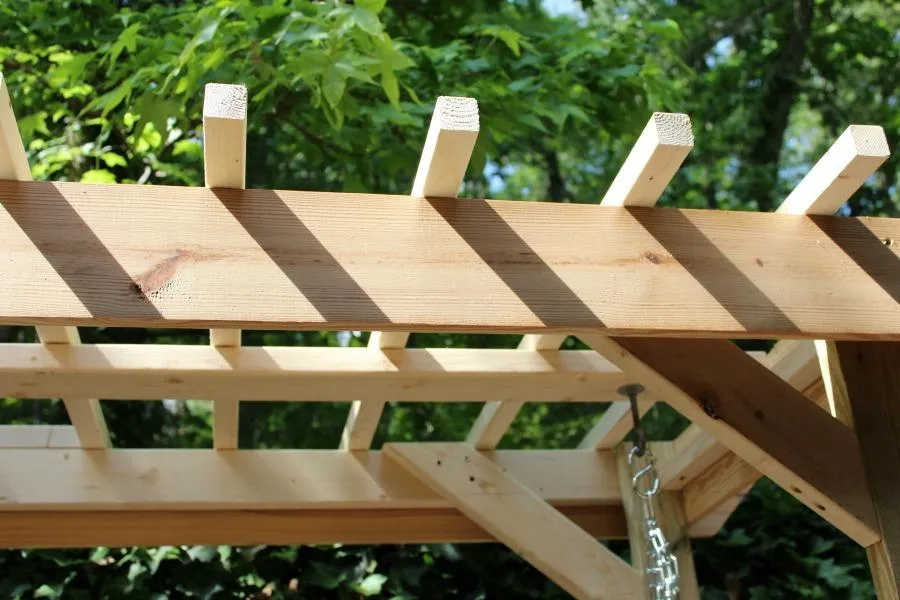
Attach the angled supports to the top using 3" wood screws just as you did the base supports.
17Attaching the Pergola Hardware
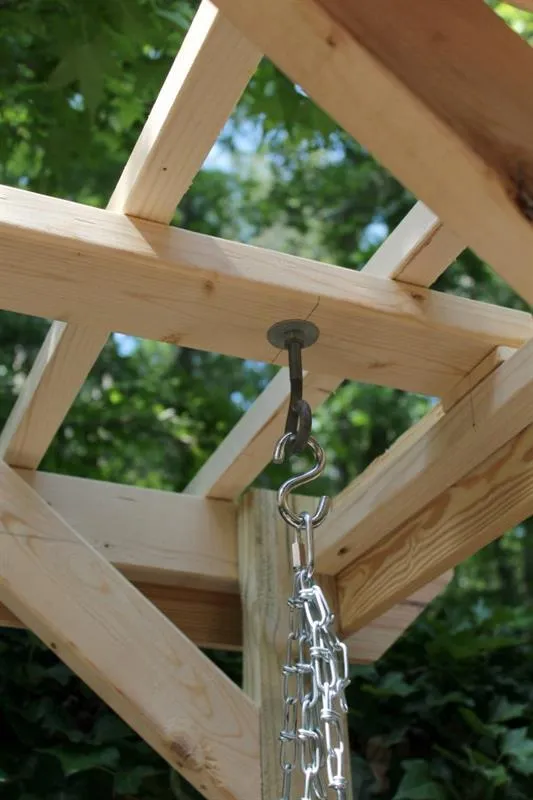
- Drill two holes for your eye hooks into the middle of the middle beam 6" from the outside and install your hooks. I used a Chain Quick Link here as well because my S hooks were too big for my chain.
- Also it makes taking the swing off and moving easier.
18Attaching the Swing Hardware
- Drill two holes into the swing base 4" from the ends using your 5/16 eye hooks of choice(use two washers and bolts for each).
- Screw the two eye hooks into the back posts of seat 6.5" from the top(Pre drilling holes, no washers or bolts needed for these).
- Set chain to desired length. We hung the front of our swing 17" off the ground and gave the back an inch or so more length so that it would lean back slightly. Use one Chain Quick Link for each eye hook.
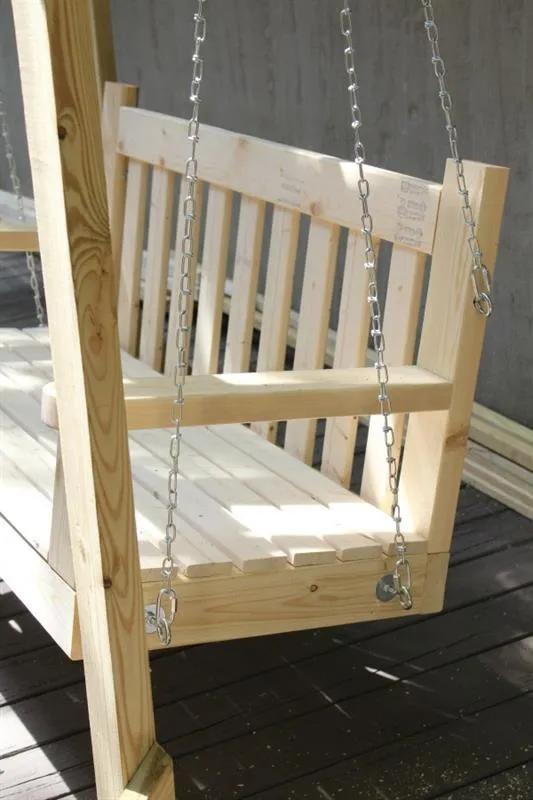
19Finishing
- Sand swing with medium grit sand paper.
- Apply an exterior paint or stain and finish. Let dry and you're ready to swing!

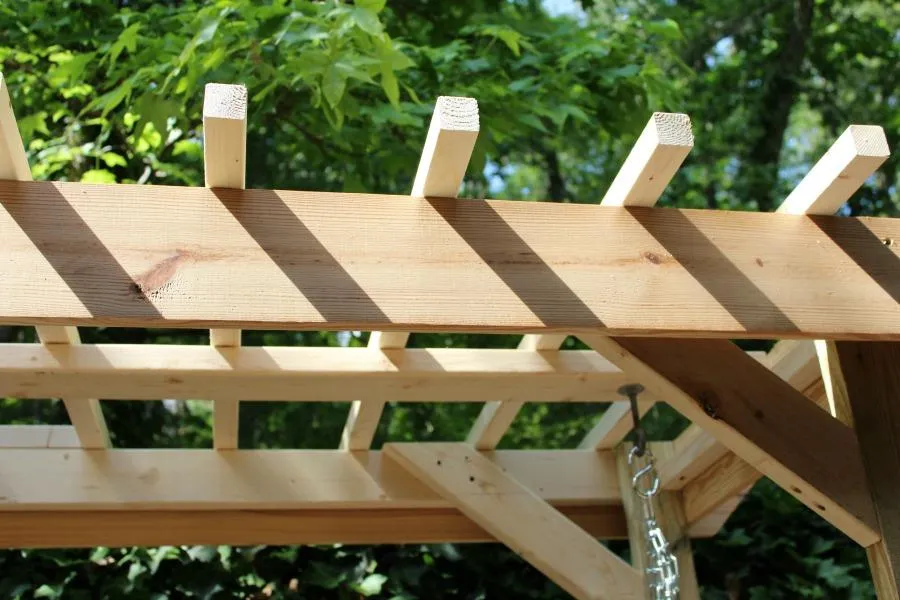
20Adding Top Trim
- Add the top 2x2 trim pieces to the top, just inside the posts using wood screws.
- Start with end pieces and space remaining pieces equally approximately 6.75" apart. Each end should hang off approximately 4.5" on each side.
21Visit The Tale of an Ugly House
Visit me at TheTaleofanUglyHouse.com