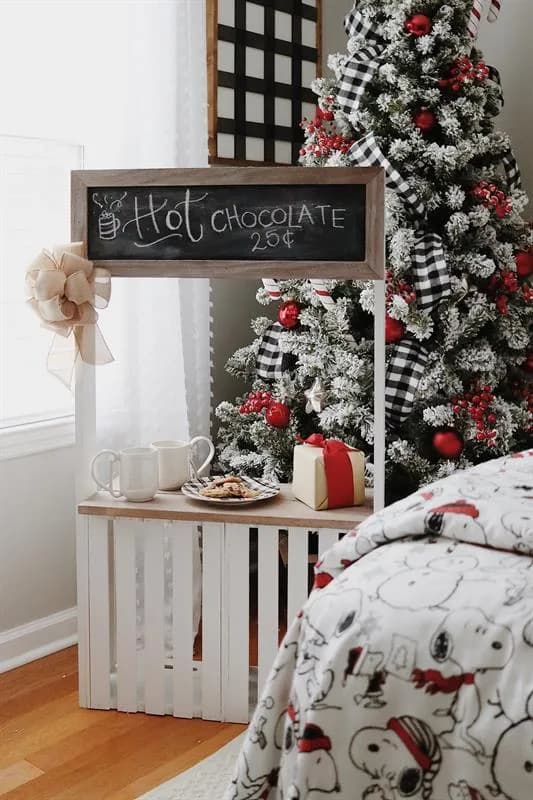
Notch
NotchPlay Stand
Step-by-step build — 10 steps. Also available as a print sheet.
1Step 1:
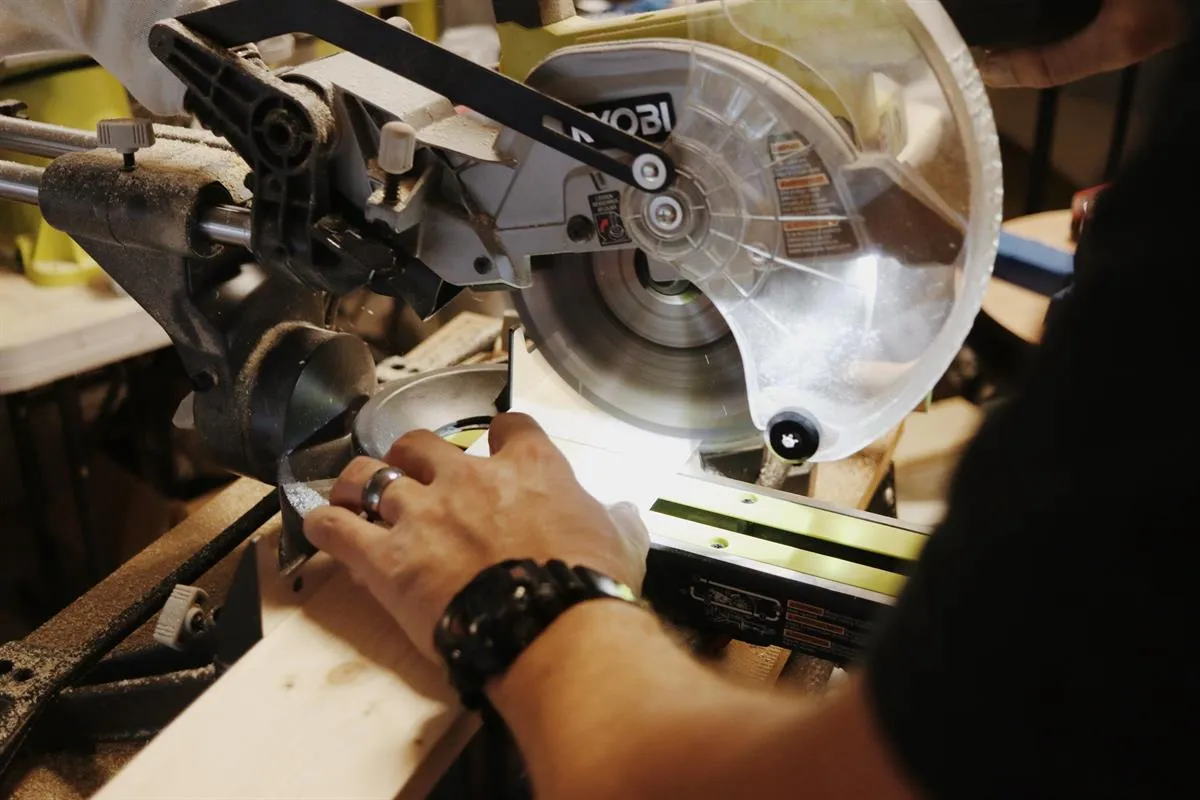
Cut your wood to size: Common Boards: (1) Top Sign - 1" x 10" board cut to 26-5/16" length (2) Side Poles - 1" x 4" board cut to 4' length (2) Counter Top - 1" x 6" board cut to 25" length Lattice Board Trim: (2) Long Trim Boards - 1/4" x 2" lattice board cut to 26-5/16" length (from long point to long point) with ends cut at a 45 degree angle, angles in toward each other (2) Short Trim Boards - 1/4" x 2" lattice board cut to 9-1/4" length (from long point to long point) with ends cut at a 45 degree angle, angles in toward each other
2Step 2:
Attach your two wooden crates by lining them up side by side and using (6) 5/8" wood screws to secure them together into the center boards.
3Step 3:
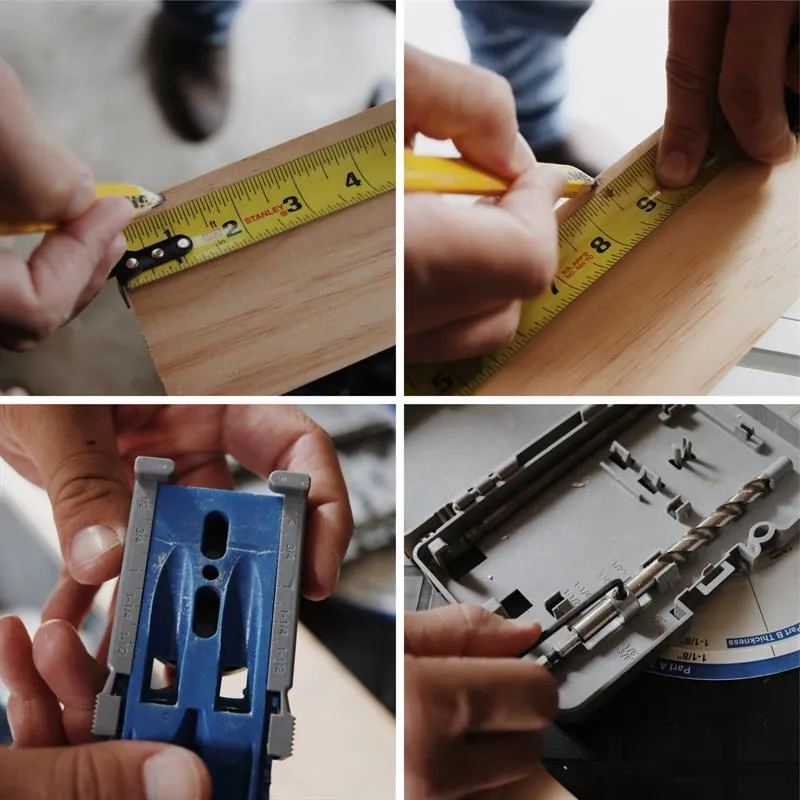
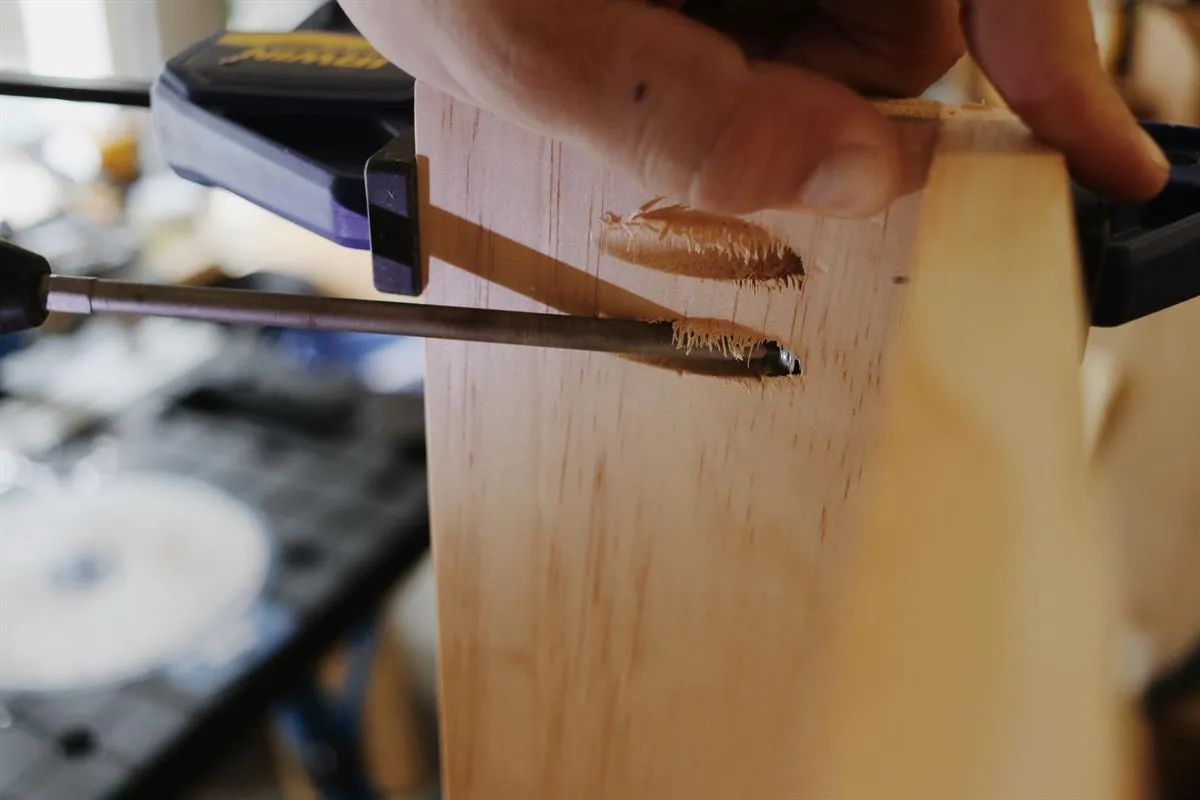
Drill your pocket holes using your Kreg Jig R3 into the side poles of the play stand measured at 2" down from the top end and 8-1/2" down from the top end of the board.
4Step 4:
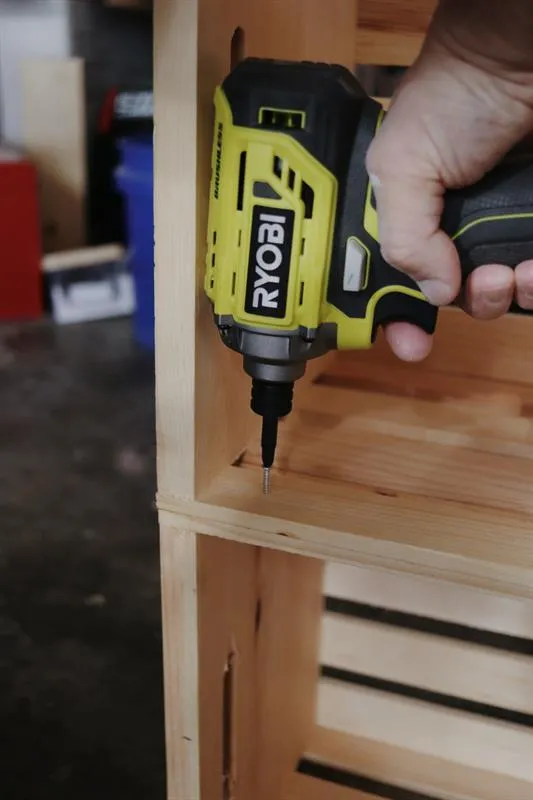
After the pocket holes are drilled into your 1" x 4" x 4' boards, attach them to the sides of your wooden crates using (4) 3/4" wood screws
5Step 5:
Now that your side poles are assembled, you are ready to attach the top sign. Clamp the sign flush into place at the top of your poles and screw the sign to the side poles using 1-1/4" Kreg screws
6Step 6:
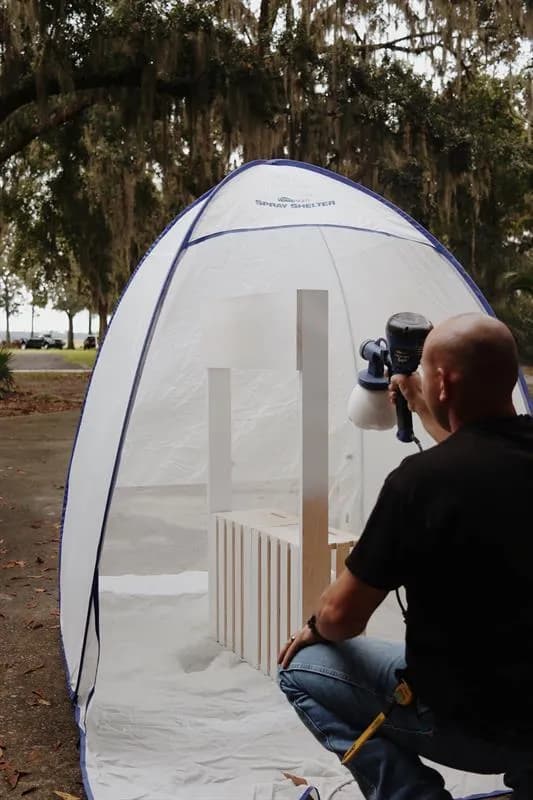
After your stand is assembled, you are ready for paint. We opted to use our Home Right paint sprayer and medium spray tent to make this process as easy as possible. We were able to paint our play stand in just minutes using Sherwin Williams paint in the color extra white.
7Step 7:
While you are letting your paint dry, take this time to stain your trim and counter boards. For our stain, we used Minwax - Special Walnut then sealed it with a coat of white furniture wax from Miss Mustardseed Milk Paint.
8Step 8:
After the paint is dry on your play stand, paint the top sign with chalkboard paint using a foam roller. We suggest doing 3 coats for an even finish.
9Step 9:
- Once all paint and stain is dry, you are ready for the final assembly.
- Attach the trim pieces on your chalkboard sign using 5/8" brad nails with your brad nailer.
- Then attach the top counter pieces by lining up the first board flush with the back side of the crates. You will then screw the board into place using 1-1/4" wood screws from the under side of the crates. After the first board is secured into place, line up the second board flush in front of it and repeat the process of assembly. The second board should slightly hang off of the front of the play stand.
10It's Play Time:
Now your play stand is ready for play time! Decorate the chalkboard to say anything that your child can dream up, a cupcake bakery, a surfboard shop, a vet clinic, the possibilities are endless... This stand assembled as in this plan is the perfect height for 2-5 year olds. To add additional height to your stand, you can buy decorative furniture legs from Home Depot (like we did for our dress up rack plans) and attach them to the underside of your crates to fit children 6-8+ year olds.