Notch
Outdoor Plant Wall
Step-by-step build — 9 steps. Also available as a print sheet.
1Cut wood
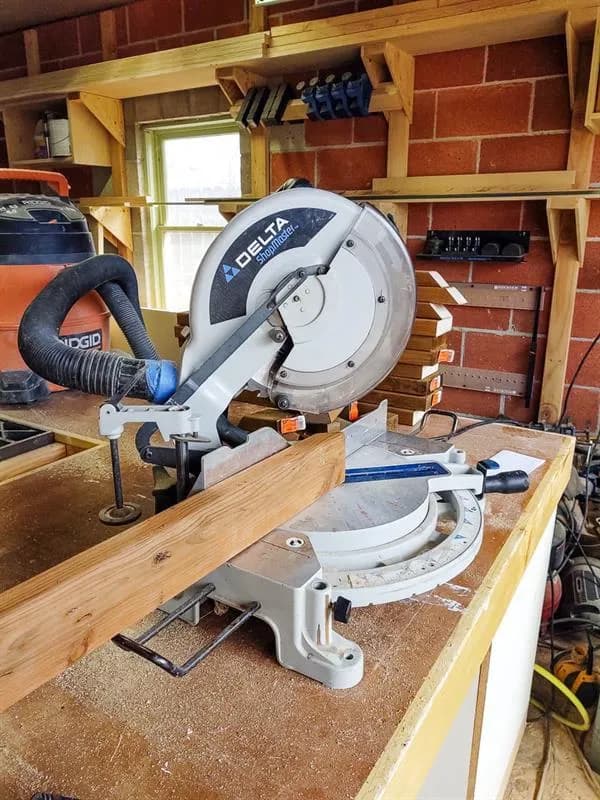
Cut wood down to size according to the cut list with a miter saw.
2Drill pocket holes
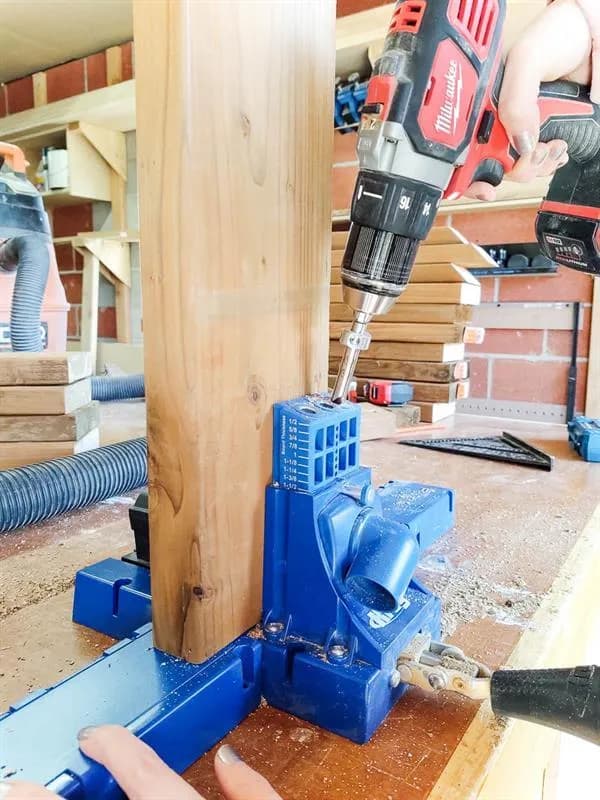
Drill pocket holes on the end of each slat (2 on each end). On one top slat and one bottom slat drill 5 pocket holes horizontally to screw into the top and bottom frame.
3Assemble outdoor plant wall
- Assemble outdoor plant wall.
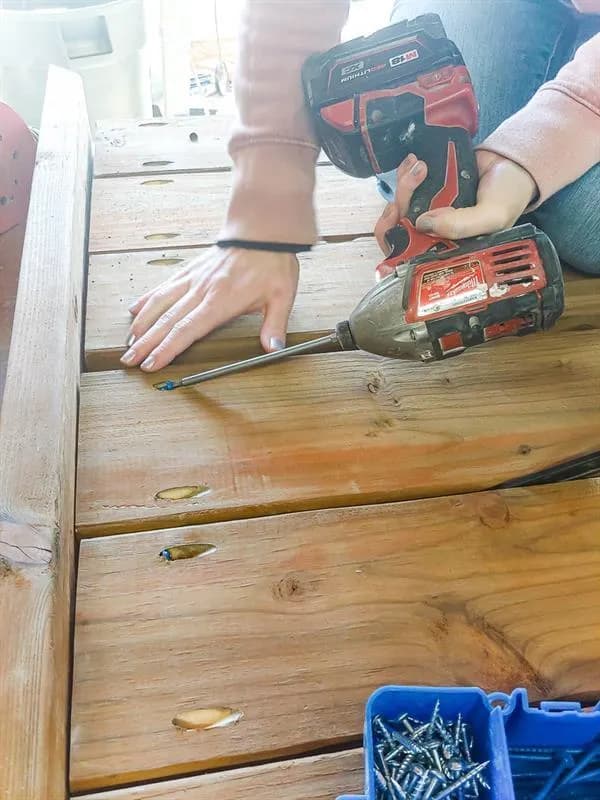
- Start by attaching all slats to one of the side pieces of the frame spacing them evenly with 1/4" space in between each slat.
- Next, add the top and bottom of the frame and lastly add the other side piece of the frame. On the mitered corners of the frame, add two screws through each outside corner (4 total screws in each corner).
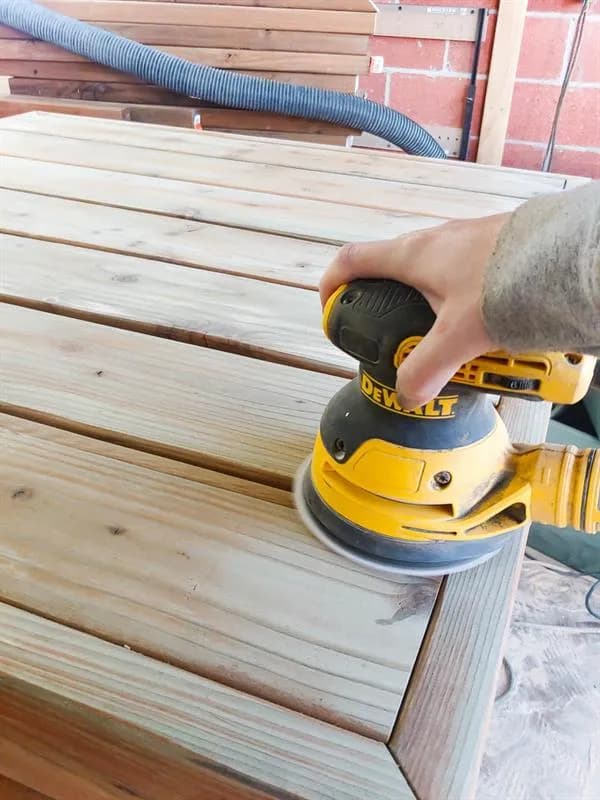
4Sand
Sand entire structure lightly with orbital sander starting with 80 grit sandpaper on any uneven pieces (we had some due to warping) and working up to 150 grit sand paper.
5Prime
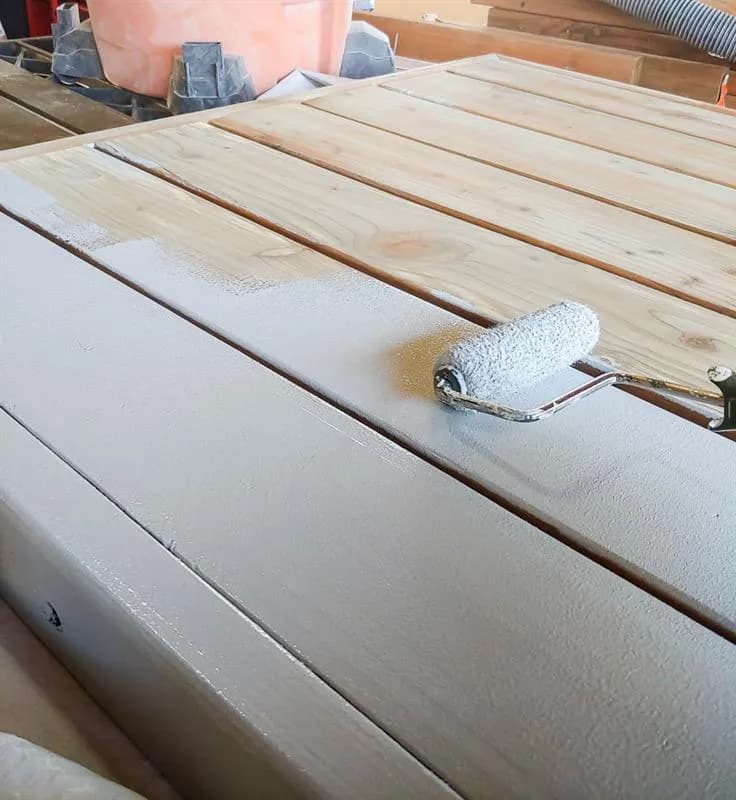
Roll on primer onto entire structure.
6Paint
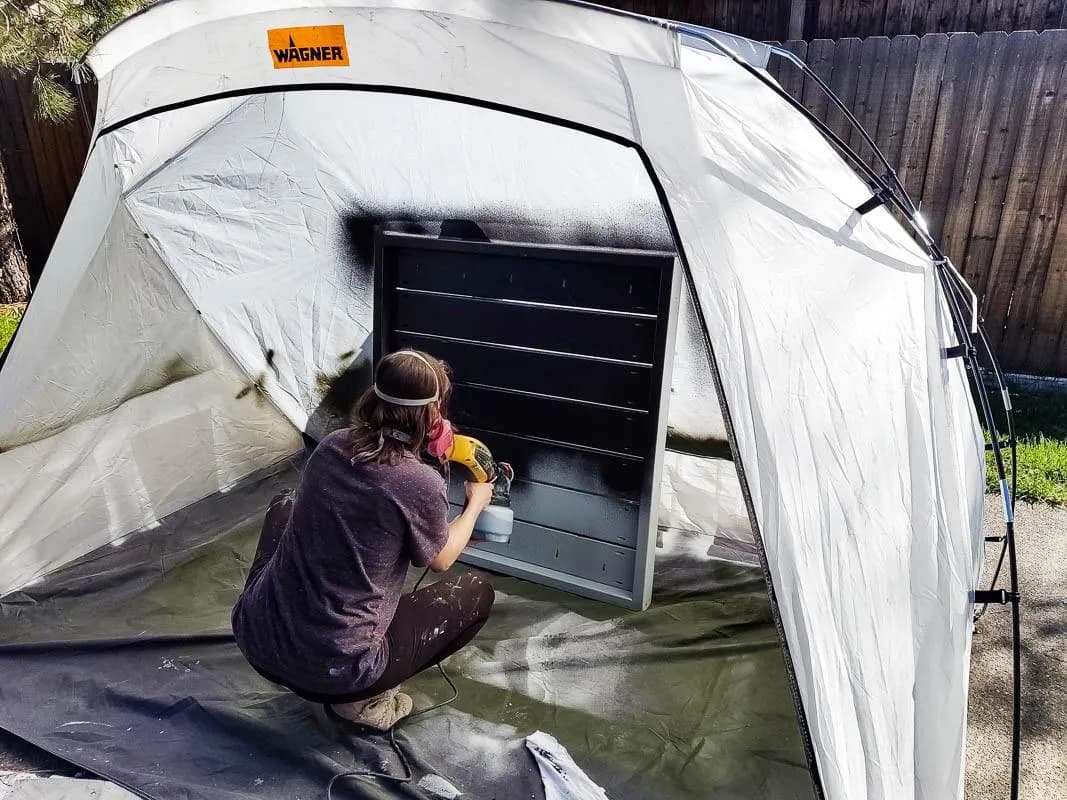
Paint entire structure with exterior paint. We used a paint sprayer, which made it easy to get into the cracks and corners.
7Add Planter Hooks
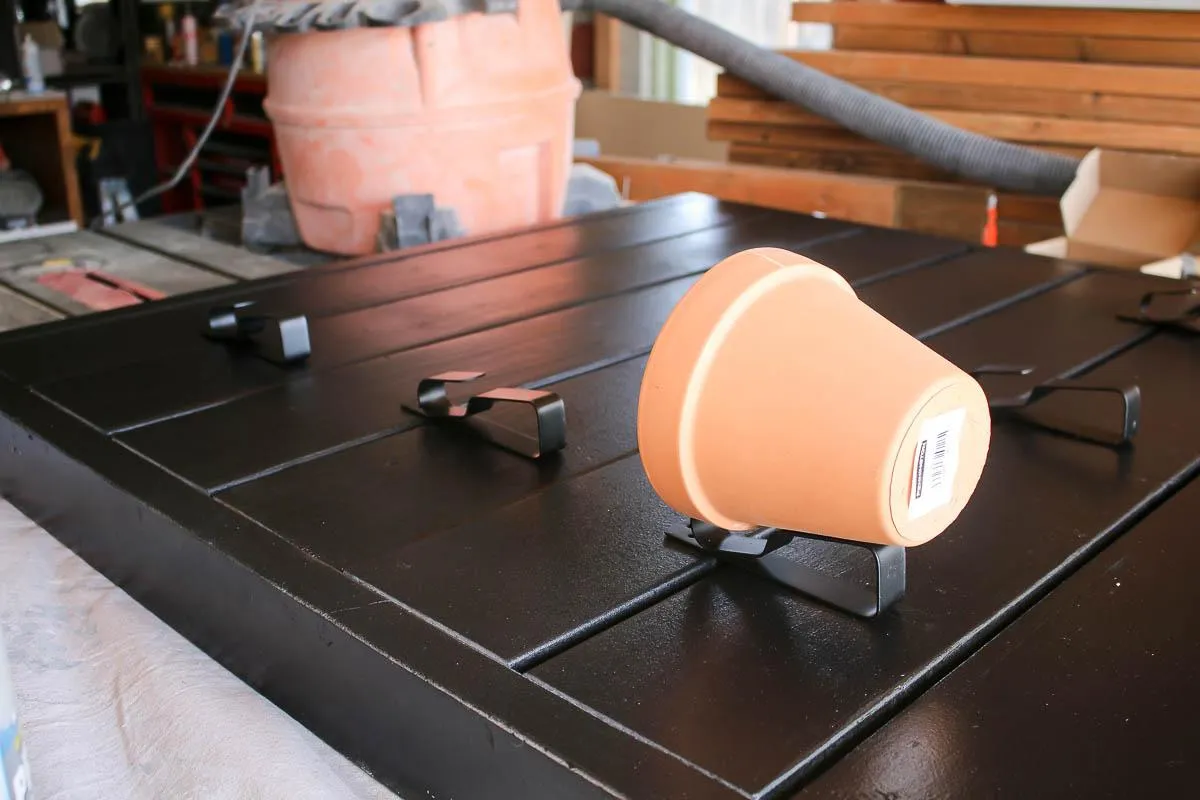
Mark spaces for 9 planters so they are evenly spaced on your plant wall and attach the planter pot hooks.
8Plant Succulents
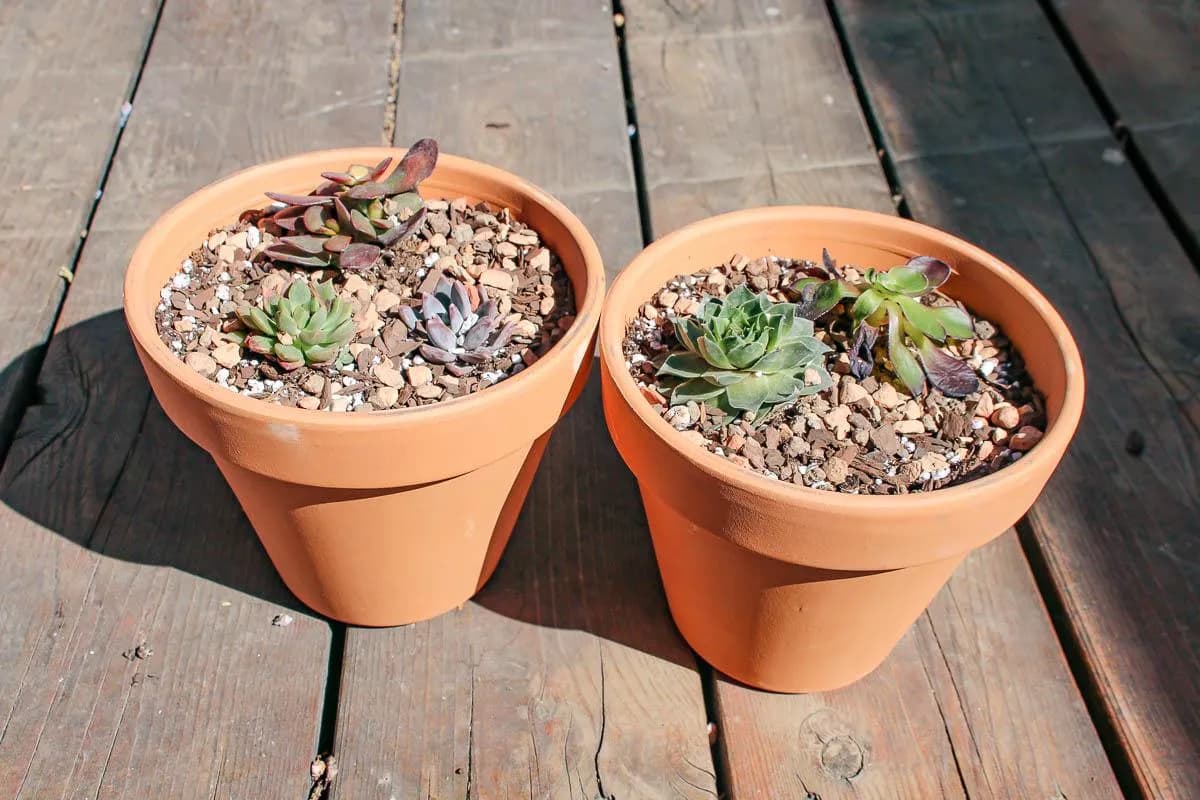
Plant your succulents in terra cotta planters with cactus soil, Perlite and succulent rock mix to provide adequate drainage.
9Hang plant wall
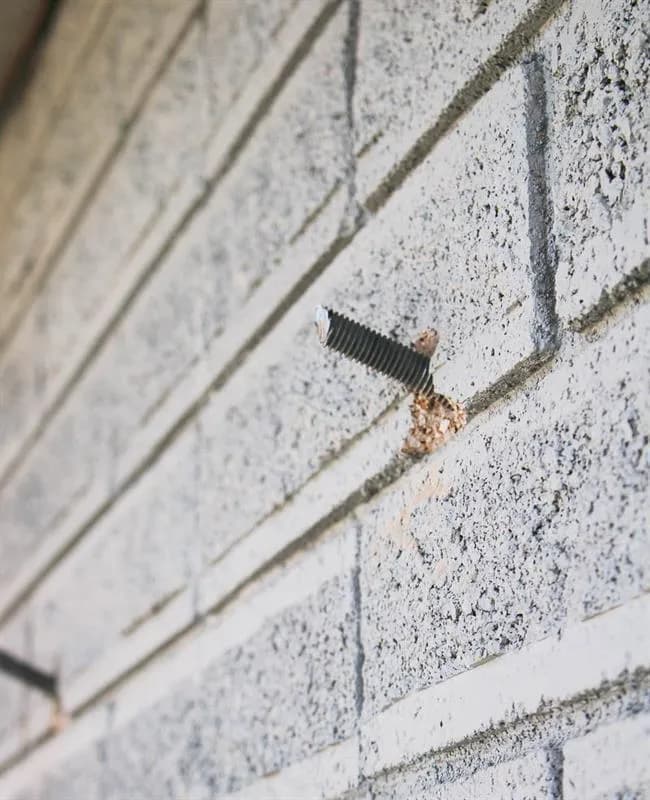
Hang plant wall on your wall. Our exterior is brick, so we drilled two angled holes at the correct height and added steel rods and secured with 100% silicone. The plant wall hangs directly onto the steel rods.