 Notch
- Difficulty
- Easy
- Time
- 5.3–10 hours
- Cost
- $$
About this build
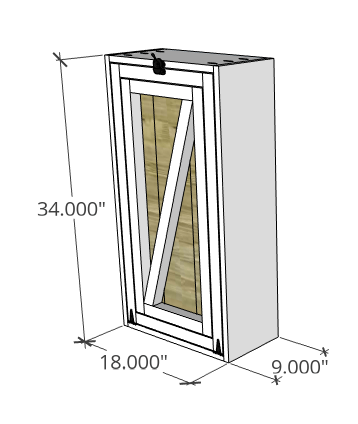
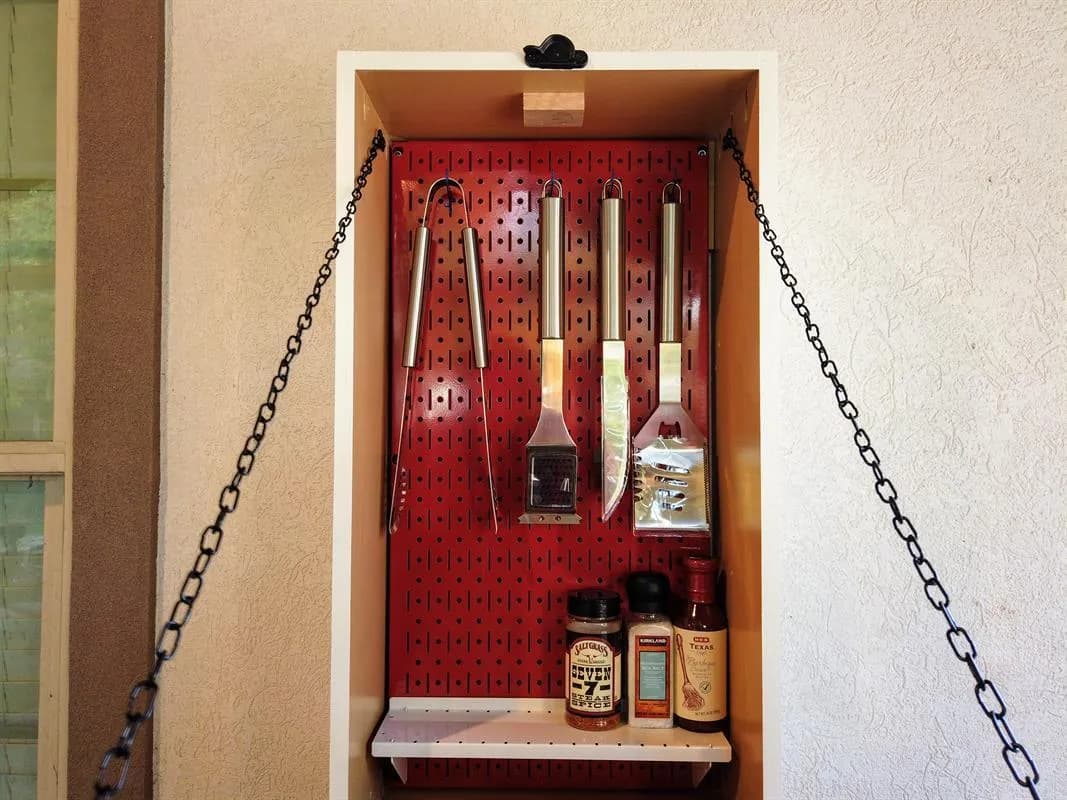
This fold down storage cabinet is a great place to store all your grill tools and accessories.
Tools
Essential
- Miter Saw
- Random Orbit Sander
- Table Saw
- Track Saw
Optional / nice to have
- Combination Square
- Tape Measure
Materials
| Item | Qty |
|---|---|
| Select pine board, 2x2 96" | 1 board |
| Plywood, 3/4" Thick Half Sheet | 1 board |
| WallControl Vertical Panel | 1 each |
| WeatherWash: RUSTED Aging Stain Quart size | 1 each |
| 2" pocket screws | 50 each |
| 1 1/4" pocket screws | 15 each |
| Primer | 1 each |
| Paint | 1 each |
| 3" Strap Hinge | 2 each |
| Window Sash Lock | 1 each |
| Decorative black chain | 1 each |
Overall cost: $$. Lumber prices vary by region, species, and season, so we give a band rather than a figure we would only be pretending to know.
Cut list
| Part | Qty | T × W × L |
|---|---|---|
| Sides | 2 | 3/4" × 9" × 34" |
| Top and Bottoms | 2 | 3/4" × 9" × 16 1/2" |
| Table top boards | 3 | 3/4" × 5 1/2" × 32 1/4" |
| Big Frame Stiles | 2 | 1" × 1" × 32 1/4" |
| Big Frame Rails | 2 | 1" × 1" × 13 1/4" |
| Small Frame Stiles | 2 | 1" × 1" × 29" |
| Small Frame Rails | 2 | 1" × 1" × 10" |
What to buy
Buy 6 boards at 8 ft.
1" × 1"
2 boards
3/4" × 9"
2 boards
3/4" × 5 1/2"
2 boards
Assumes 8 ft stock, a 1/8" saw kerf, and buying each part at its own width. Change the board size or kerf on the full board plan →
Instructions
1Complete Cut List
Use the cut-list to break down 3/4" plywood to the specified dimensions. You could also use MDF just make sure you the stock you use is nice and flat.
2Drill Pocket Holes
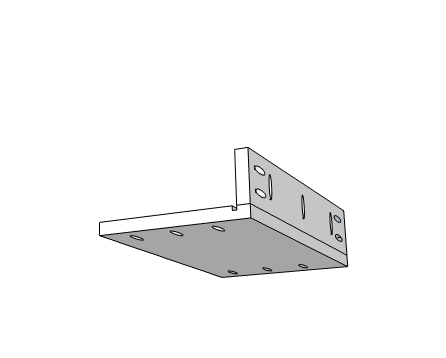
Drill pocket holes on each end of the top and bottom pieces. Do the same for the cleat and bottom support but make sure to add pocket holes to the top of the cleat as well.
3Assemble Cabinet
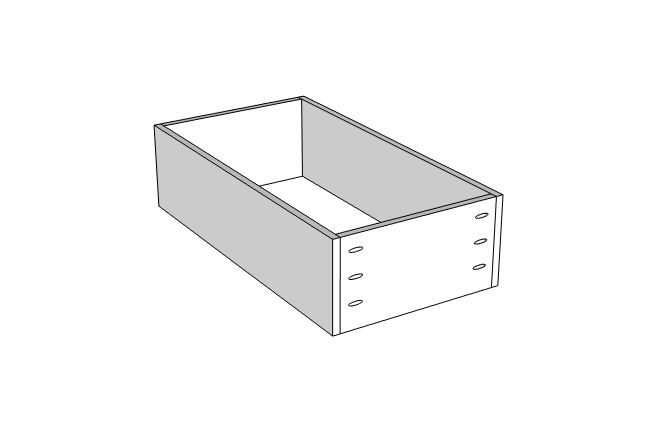
Attach the Sides to the Top and Bottom pieces uses pocket screws. Make sure the joints are square during assembly.
4Attach Cleat and Stretcher
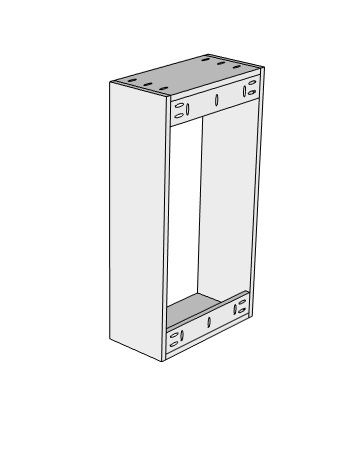
Secure the Top and cleat to the Sides with pocket screws. Attach the Bottom Stretcher to the Bottom and Sides as well.
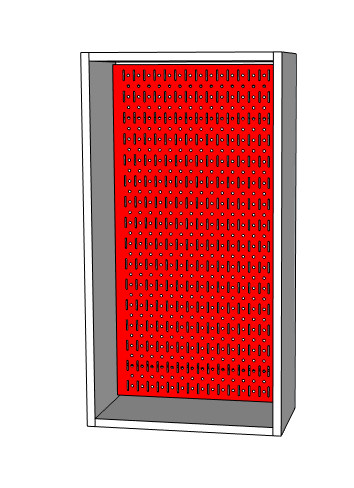
5Attach Wall Control Panel
Attach the panel using 5/8" pan head screws.
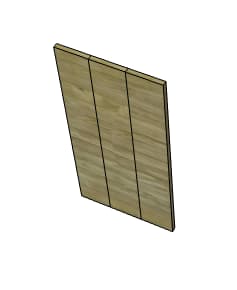
6Glue up Table Top
Glue your 1x6's together to form your Table Top. You can use biscuits too or even pocket screws to make the top.
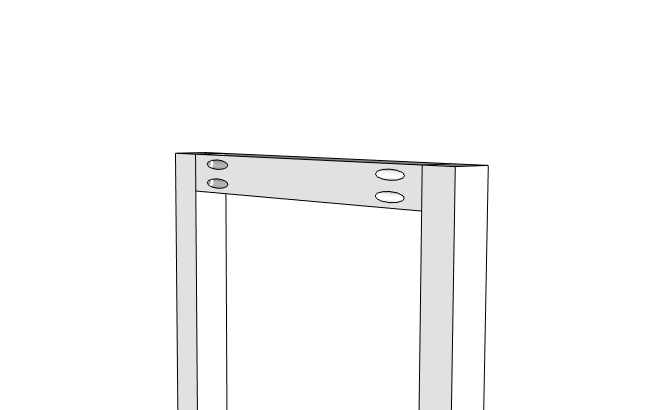
7Assemble Frames
Assemble your big and little frames using 2" pocket screws.
8Prep for Painting
Sand your Cabinet, Small & Big frame and Table Top down to 150 grit.
9Paint Cabinet and Frames
Paint your Cabinet and Frames using an airless or HVLP sprayer. You could also paint them by hand.
10Apply Weatherwash
Apply weather wash using a foam brush. You can do two coats for a richer color.
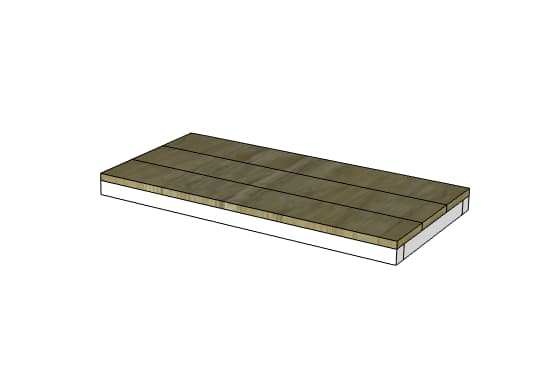
11Put it all together!
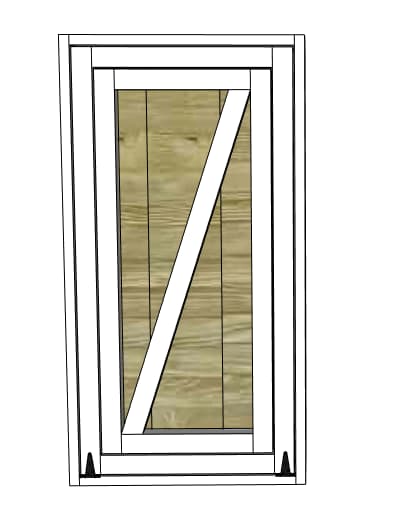
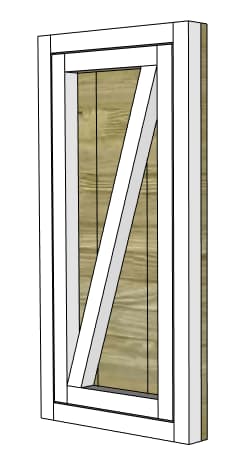
Attach the Table top to the big frame using glue and brad nails.
12Attach Hinges
- Attach the Hinges to the Cabinet first.
- Then clamp the Big frame to the cabinet using 1/8" spacers and screw in your hinges to the frame. This should give you equal spacing when you open and close the door.
13Mount on wall
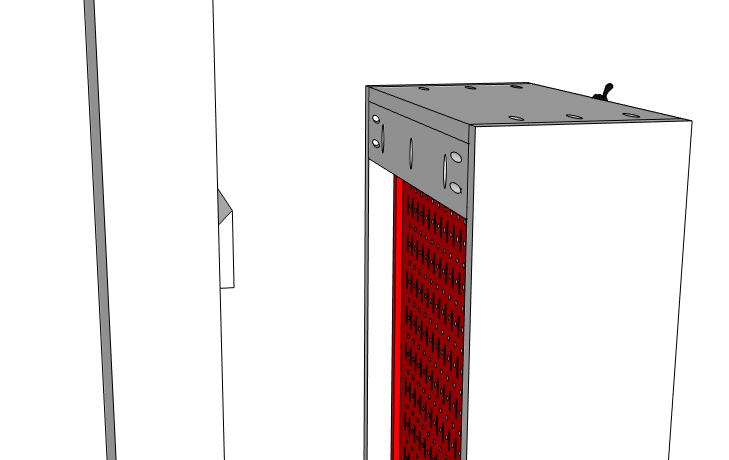
Mount the Wall Cleat to your wall using a couple of 3" screws. The cleat should be about 72" off the ground so that the top will be about counter-height when open.
14Slide in the Cabinet
Lift the cabinet onto the wall cleat. The Cabinet should easily drop into place and will be securely held up.
15Ready to Grill!
You are now ready to enjoy your patio space with awesome grill tool storage! Just fold it open and its ready to go!
16Attach Small frame to Table top
After the Big frame and Table Top dry, attach the Small Frame to the top using wood glue and brad nails. Check to make sure you have about 1/8" spacing all the way around for a nice reveal.
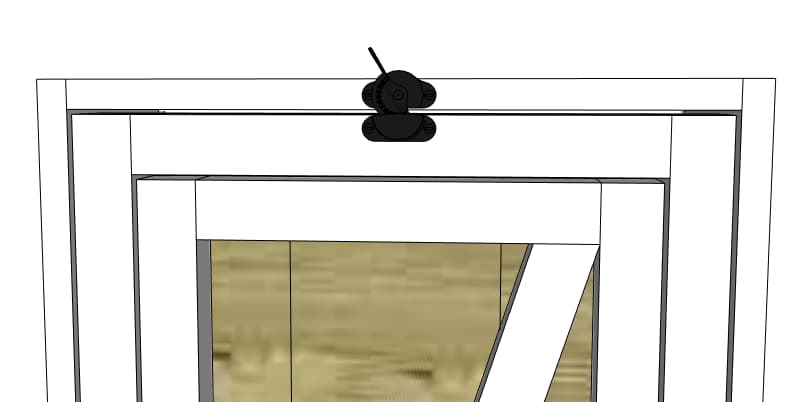
17Add Sash lock
Add the Sash lock to the top of the cabinet to keep it closed when not in use.
Tags
- Grilling
- Beginner
Reviews & builds
No reviews yet
Sign in to review this plan or share your build.
No reviews yet. Be the first to build this.