Notch
Modern Wall Shelf Stocking Holder
Step-by-step build — 8 steps. Also available as a print sheet.
1Cut Boards to Size
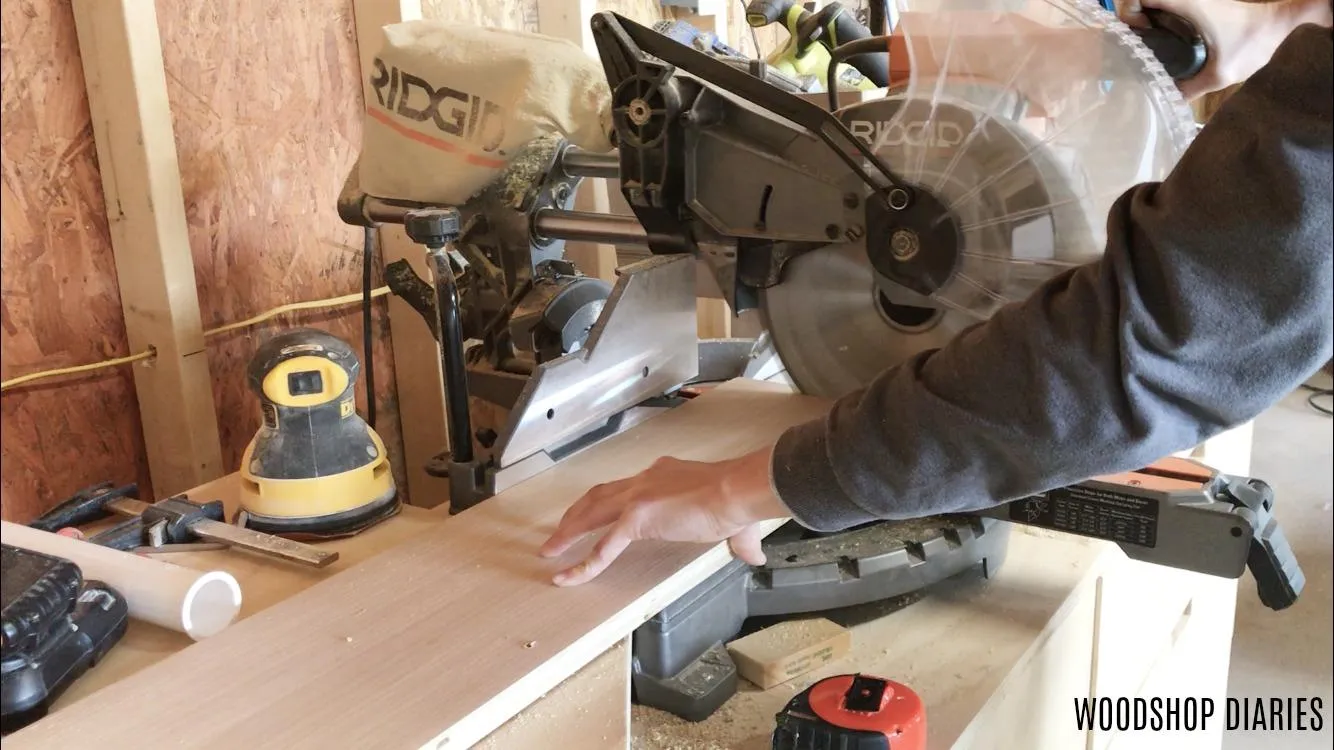
- Cut your boards according to the cut list. You can easily modify the lengths and widths of your shelf by modifying these measurements. If you want a deeper shelf, use a 1x10 or 1x12 instead of a 1x8.
- Also, for a longer shelf, cut your 1x2 and 1x8 longer than 44". Or a shorter shelf, obviously, trim your boards shorter than 44".
2Drill Pocket Holes for Back
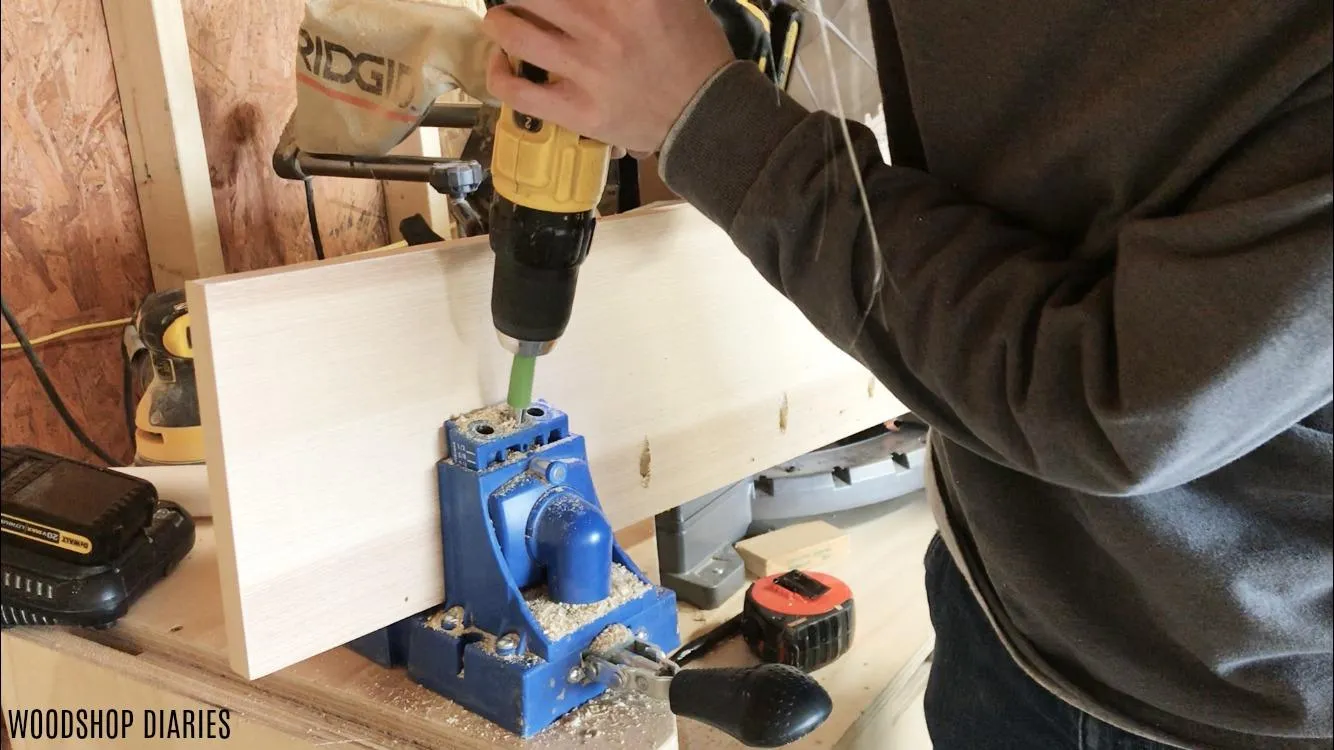
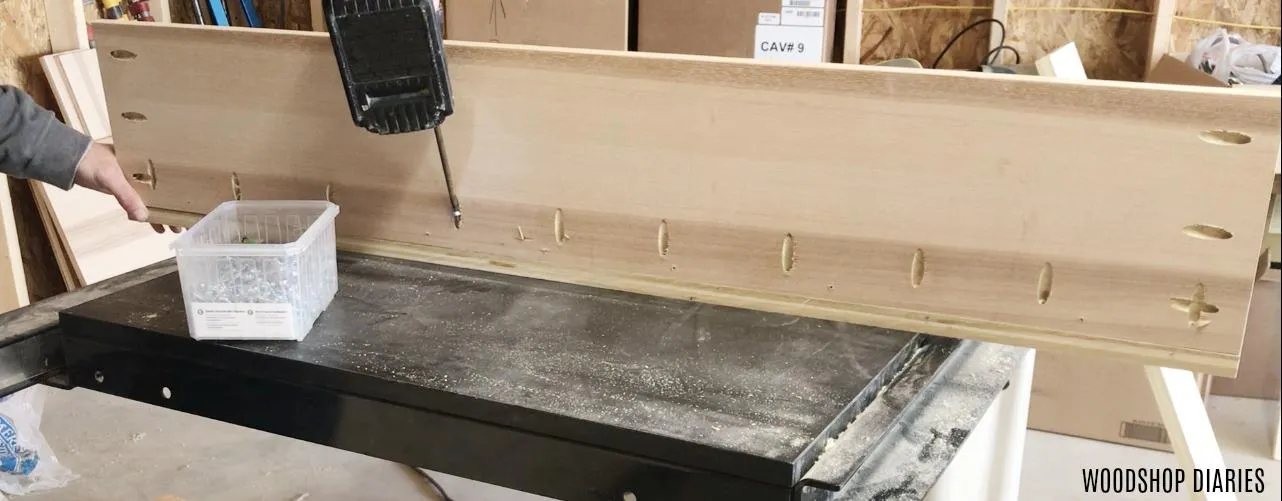
You will drill all your pocket holes for this project in the main shelf ledge piece. This is the piece that will lay horizontally that you will set stuff on once it is hung. Using a Kreg Pocket Hole Jig, drill 3/4" pocket holes along one long edge of this piece like shown. Space these about 6" or so apart. This will be for attaching the back ledge later.
3Drill Pocket Holes for Sides
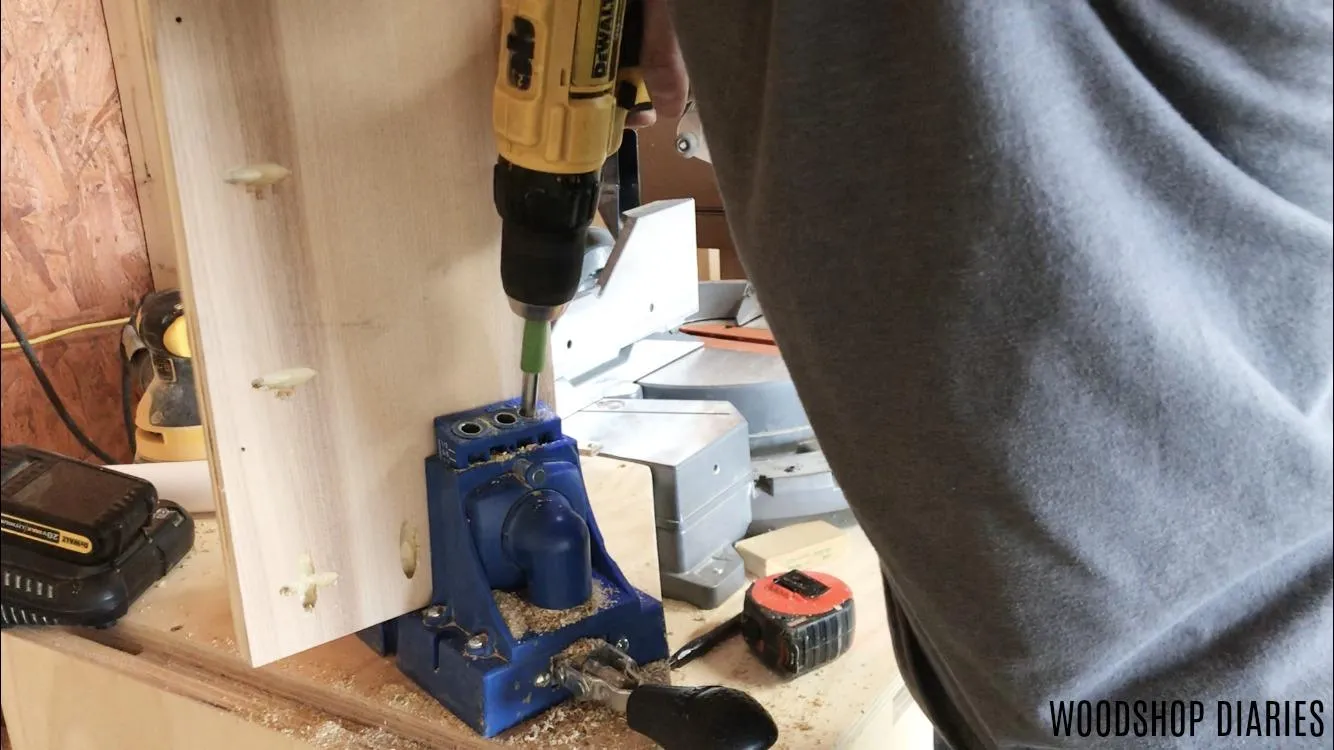
Using a Kreg Pocket Hole Jig, drill 3/4" pocket holes along both short edges of this main shelf. This will be for attaching the shelf sides later.
4Attach Main Shelf to Back Ledge
Using Kreg 1 1/4" Pocket Hole Screws, attach the main ledge to the 1x2 back ledge piece like shown. Make sure the back ledge is flush with the bottom of the main shelf ledge. So 3/4" of the board should stick out above the shelf.
5Attach Shelf Sides
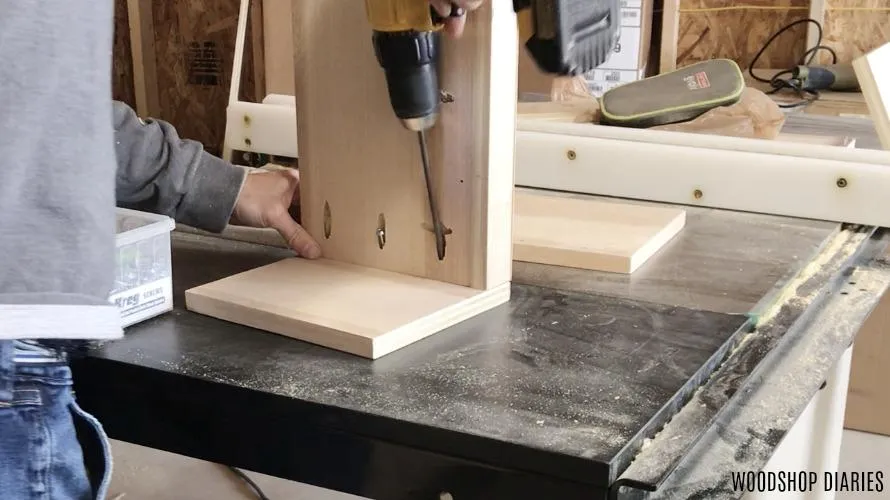
Using Kreg 1 1/4" Pocket Hole Screws to attach the shelf side pieces like shown. For a contemporary look, attach one going down and the other going up. You can also attach both at the top or both at the bottom. It's personal preference.
6Mark Wall Studs
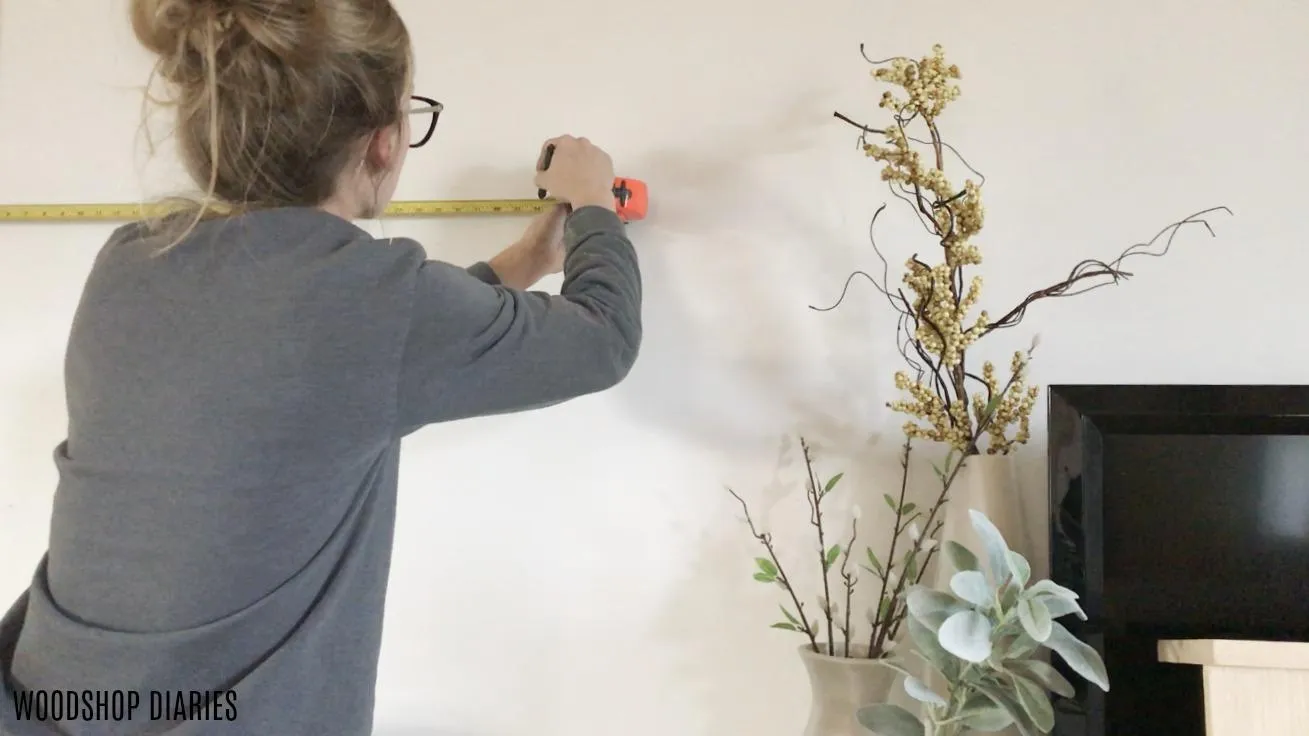
To hang this on the wall, you will need to screw it into the studs through the back ledge. First, though, you will need to measure and mark your studs. Using a stud finder can save you from accidentally drilling a million holes in your wall.
7Attach Shelf to Wall
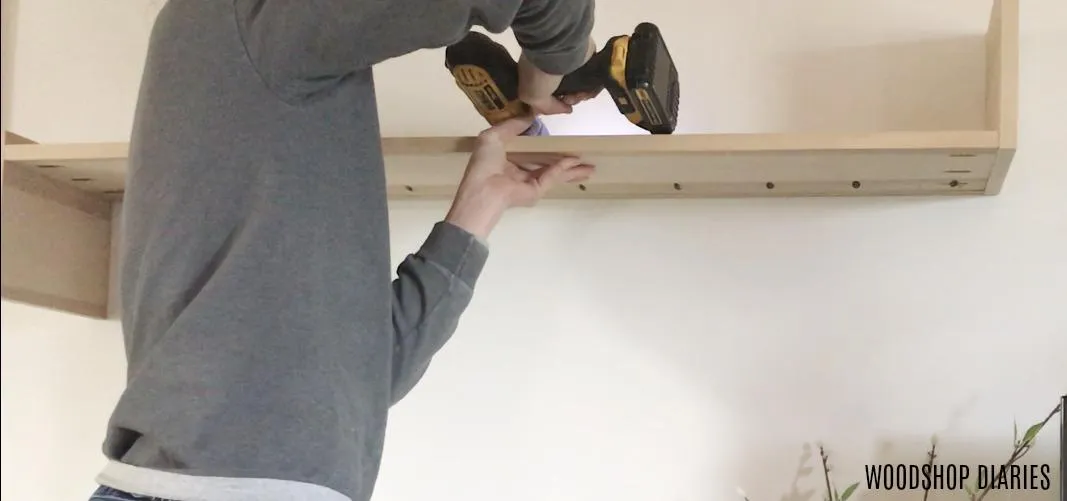
Using 2 1/2" screws, screw through the back ledge and into the wall studs in at least two places. Make sure your shelf is level!
8Decorate
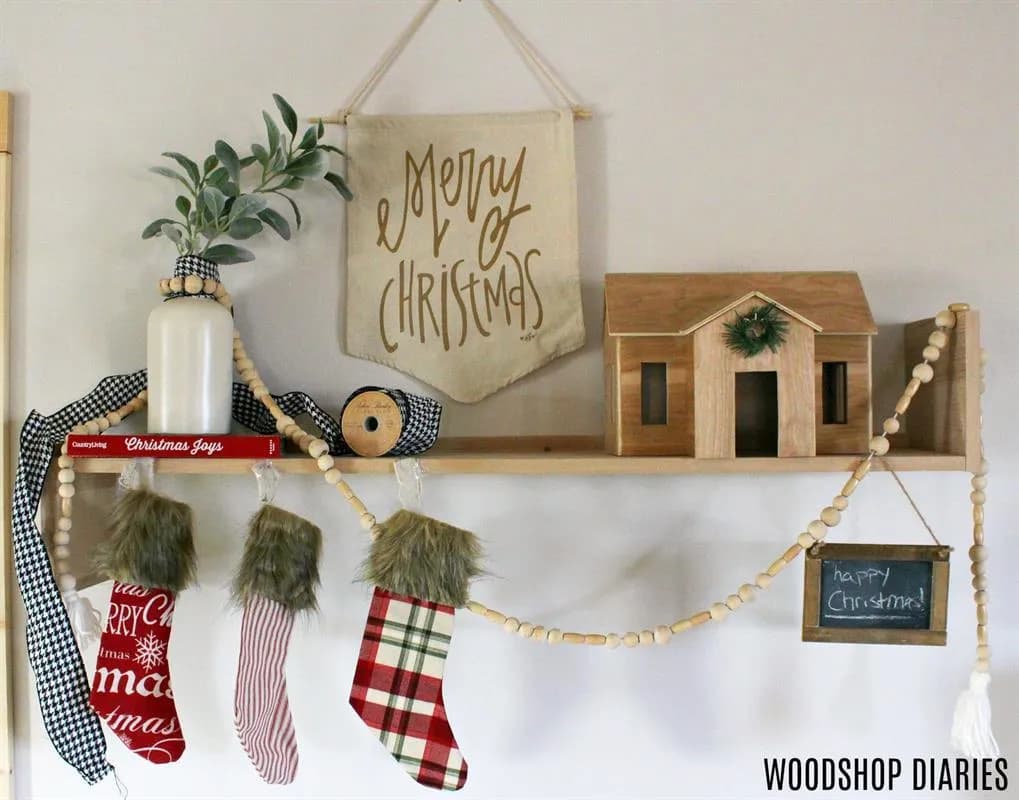
With Christmas coming, you will need a place for your stockings. For those without a fireplace, this might require some creativity. In our new small house, we don't have room for a lot of "stuff," but we do have room on the wall to hang and place decor. This is the perfect place to hang out stockings and set out my modern Christmas village (like to tutorial in extras tab) right next to where we will put the tree. It's a simple, modern design that works even after the holidays are over :)