Notch
Modern towel rack for rolled towels
Step-by-step build — 7 steps. Also available as a print sheet.
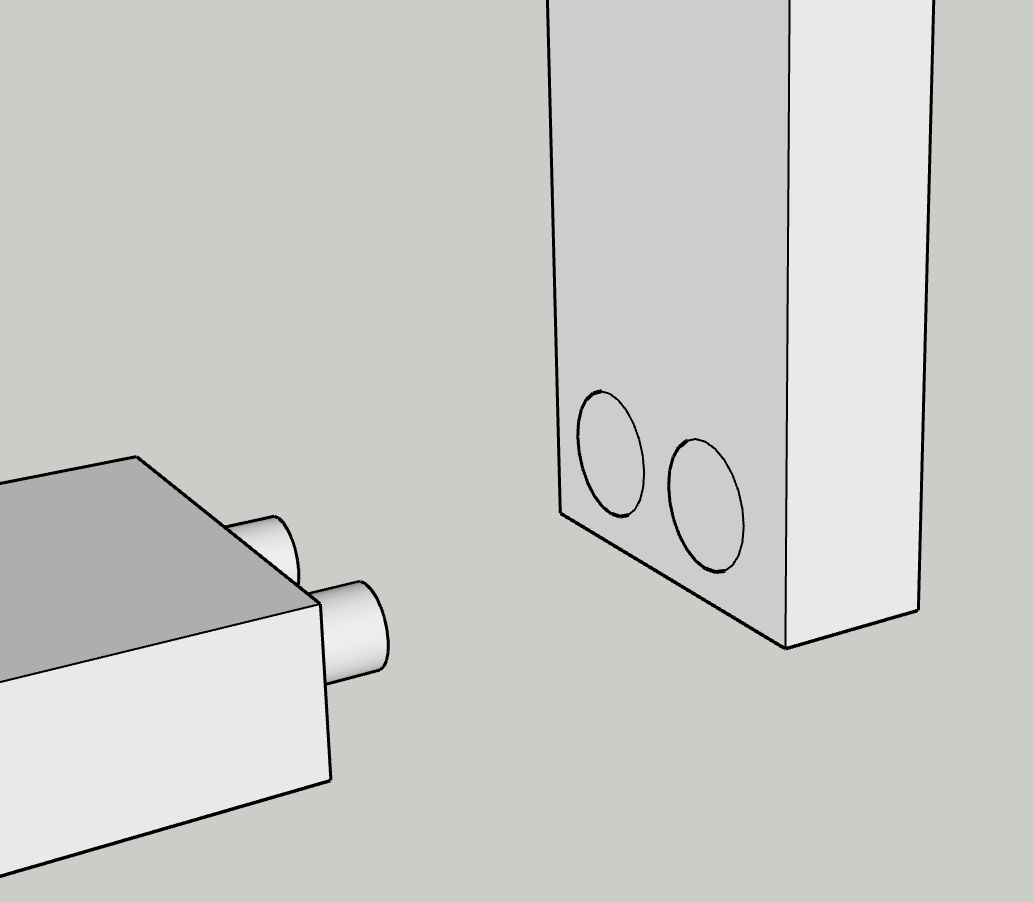
1Drill dowel holes
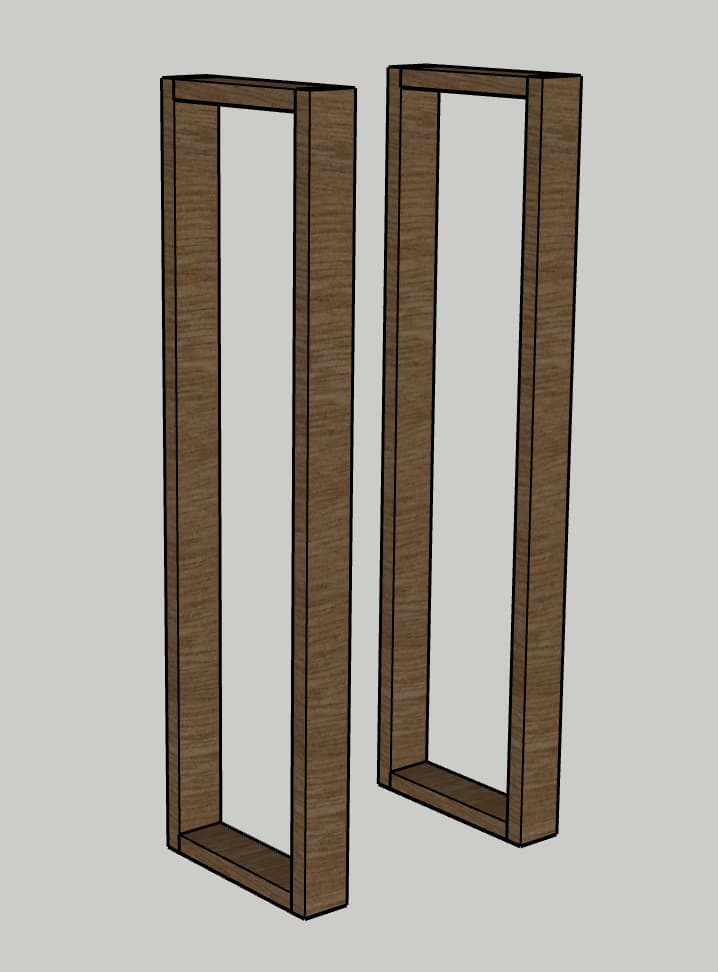
- Start by lining up your Spans and Posts in a rectangle pattern with the Spans between the Posts. - Using a Kreg Dowel Jig, drill two 3/8" dowel holes in both ends of the Spans and corresponding edges of the Posts.
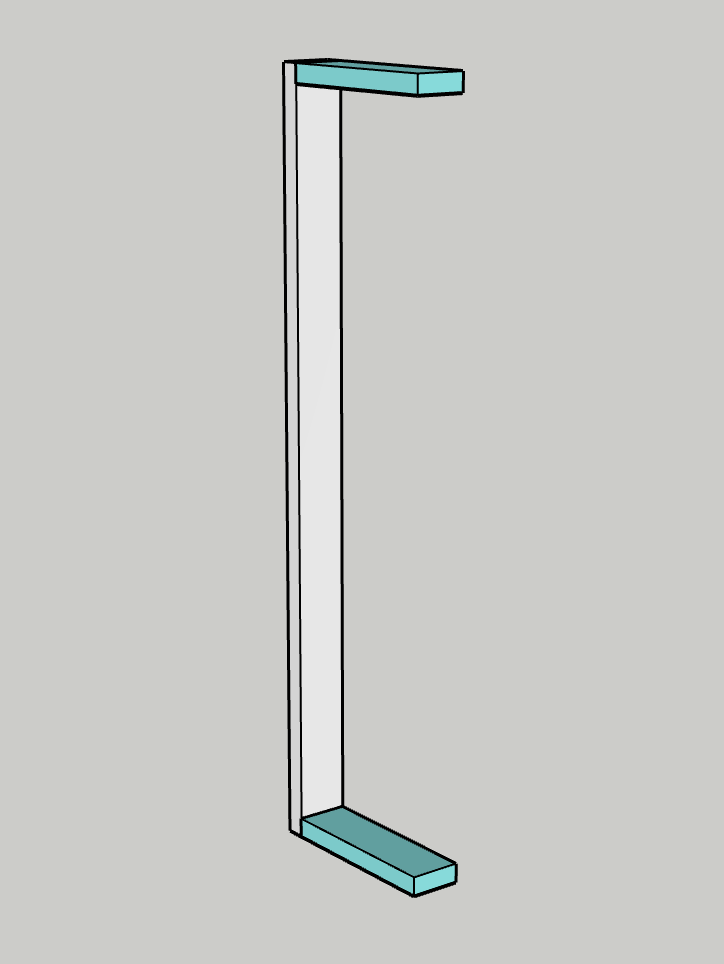
2Insert top and bottom
- Using wood glue, insert dowels into one end of two Spans. - Insert wood glue into two holes on one Post. - Use a mallet to tap the Span into the holes. - Repeat for another Span on the other end of the Post.
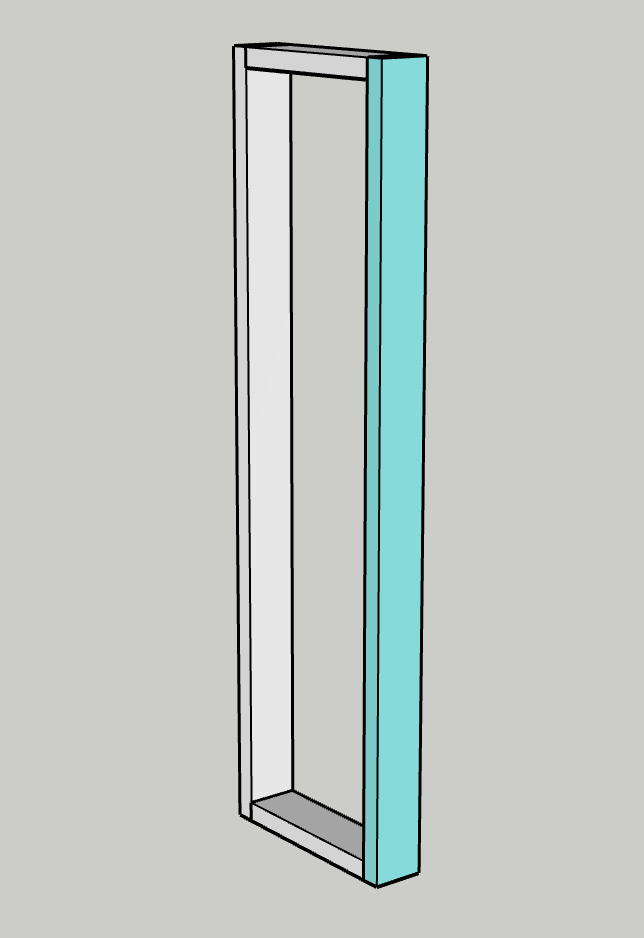
3Attach Front
- Insert wood glue and dowels into the other ends of the two Spans. - Insert wood glue into the holes on the remaining Post. - Using a mallet, tap the Post into the Spans. - Ensure everything is square using a speed square.
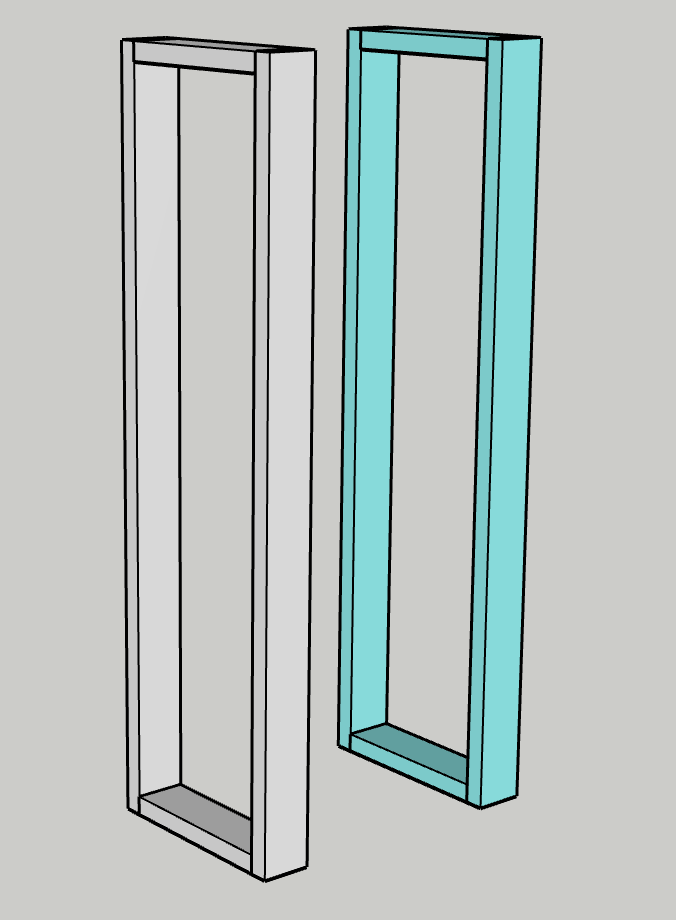
4Repeat
- Repeat Steps Two and Three to make a second towel rack. - Let the glue dry for 24 hours.
5Oil or Stain
- Apply a generous coating of oil or stain onto your racks to give it the color you want. - Once dry, add polyurethane if desired to protect the wood in the bathroom.
6Hang
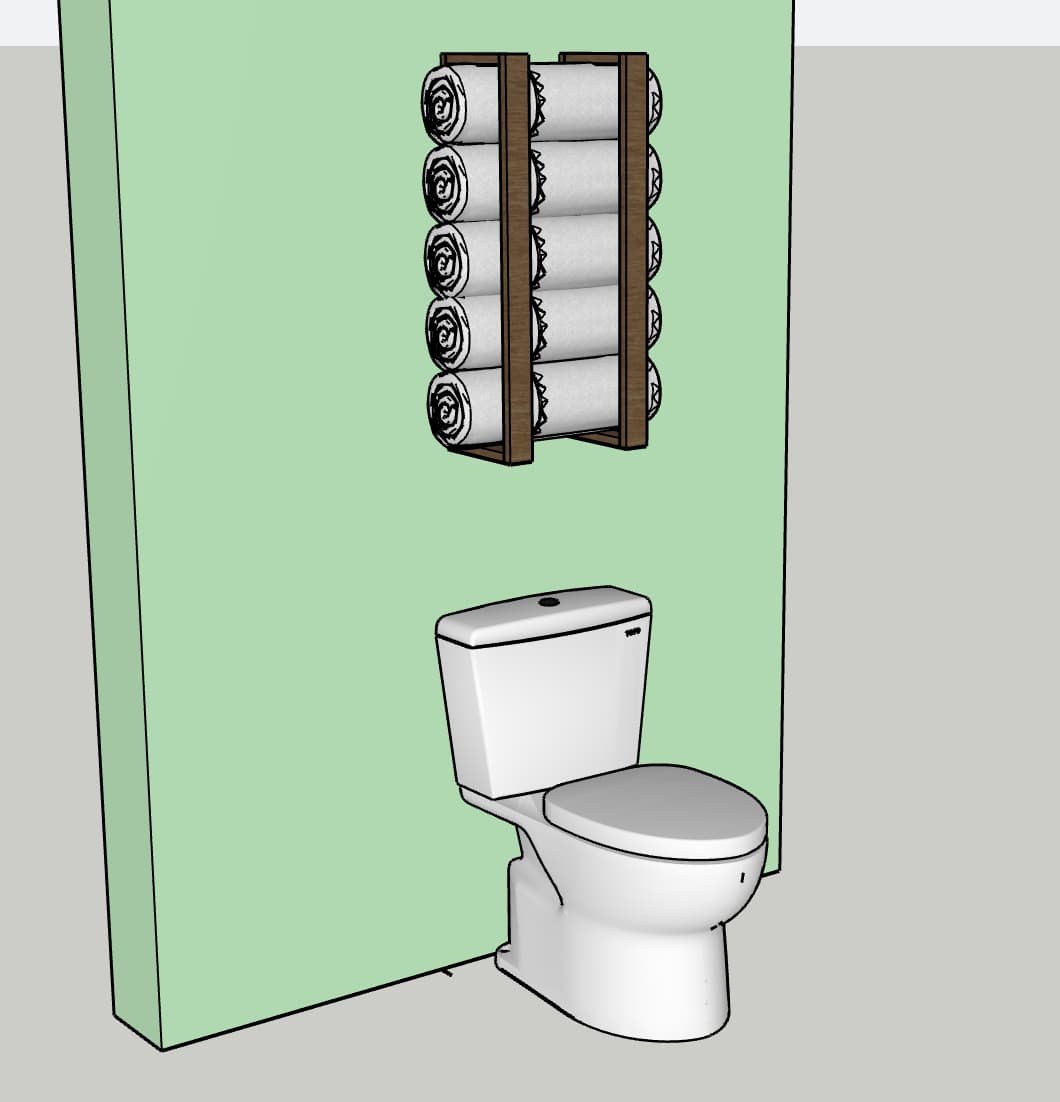
- Attach two keyhole hangers to the back of each rack 4" from the top and bottom. - Measure and attach anchors and screws to the wall to correspond with the hangers, spacing out the two racks by 10". - Hang the racks on the wall and push down to lock into place. - Add towels to hang on the racks and stack upwards.
7Enjoy
Enjoy your handiwork and tag @CharlestonCraftedBuilds on Instagram with a picture!