 Notch
- Difficulty
- Easy
- Time
- 3.3–6 hours
- Cost
- $$
About this build
This kitchen tabletop is so easy to build, even for beginners. We incorporated pocket hole joinery to join the table slats together and used an old table base from something we already had and repainted it!
Tools
Essential
- Drill / Driver
- Hammer
- Impact Driver
- Jointer
- Miter Saw
- Pocket Hole Jig
- Random Orbit Sander
- Table Saw
Optional / nice to have
- Bar / Pipe Clamps
- Combination Square
- Tape Measure
Materials
| Item | Qty |
|---|---|
| Board, 2x6 144" | 3 board |
| 1 1/2" Pocket Hole Screws (Zinc) | 46 each |
| Wood Glue | 1 each |
| Wood Stain | 1 each |
| Polyurethane | 1 each |
| 1 1/2" Cabinet Screws (to attach table to base) | 8 each |
Overall cost: $$. Lumber prices vary by region, species, and season, so we give a band rather than a figure we would only be pretending to know.
Cut list
| Part | Qty | T × W × L |
|---|---|---|
| Table Slat | 6 | 1" × 6" × 34" |
| Short Side Table Border Slat | 2 | 1" × 5" × 40" |
| Long Side Table Border Slat | 2 | 1" × 5" × 44" |
What to buy
Buy 5 boards at 8 ft.
1" × 6"
3 boards
1" × 5"
2 boards
Assumes 8 ft stock, a 1/8" saw kerf, and buying each part at its own width. Change the board size or kerf on the full board plan →
Instructions
1Run wood through jointer
To ensure that your board edges and faces are completely flat, it's best to run them through a jointer on all sides. This will help the boards fit tight together when you create the tabletop. Don't have a jointer? Even just running each board through a table saw on each edge to remove the rounded edges that you'll find on store bought lumber will make a big difference.
2Drill pocket holes
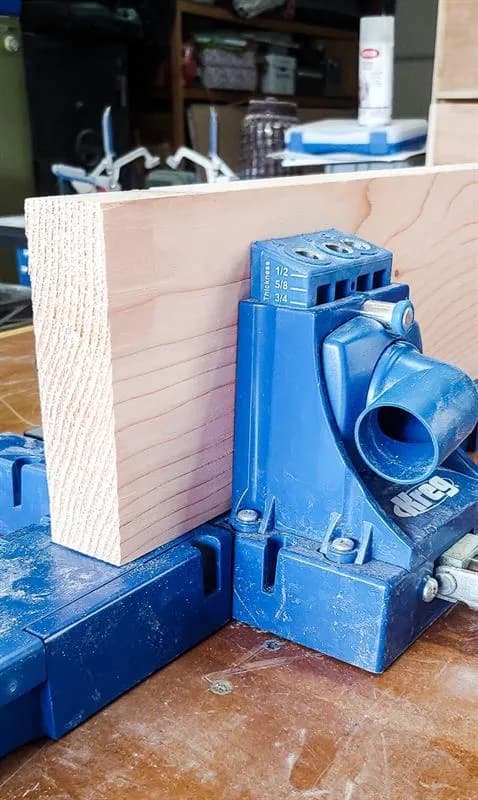
Layout the boards in the correct arrangement as shown in the woodworking plans and mark the areas that you'd like to drill the pocket holes. Next, using a Kreg pocket hole jig, drill all pocket holes according to the depth of your wood.
3Cut wood
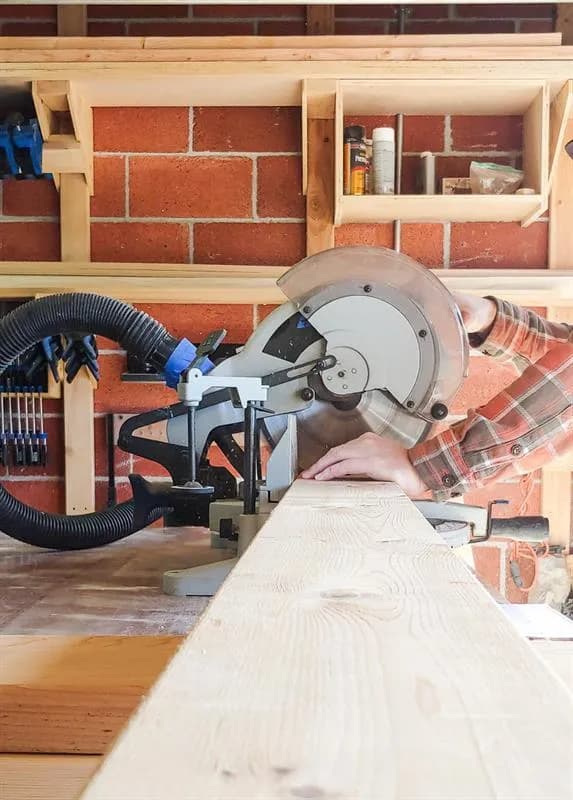
Cut all wood down to size according to the cut list in the woodworking plans with the miter saw. For the wood materials, we used cedar.
4Assemble table slats
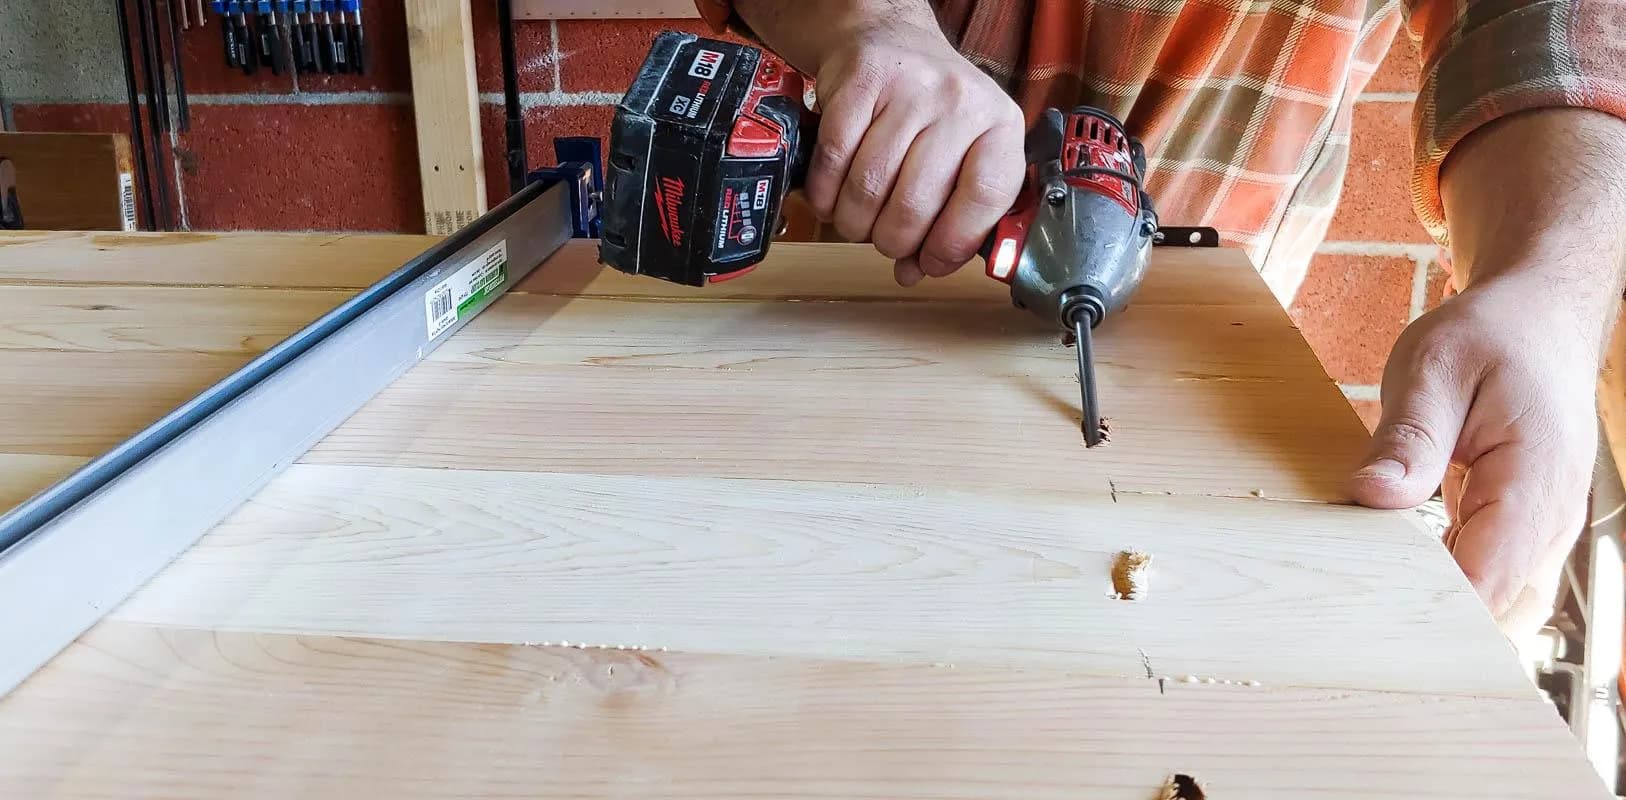
Start by gluing all middle slats together, screwing in at all pocket holes and clamping interior slats together. Wait for glue to dry before moving on.
5Sand and square table interior
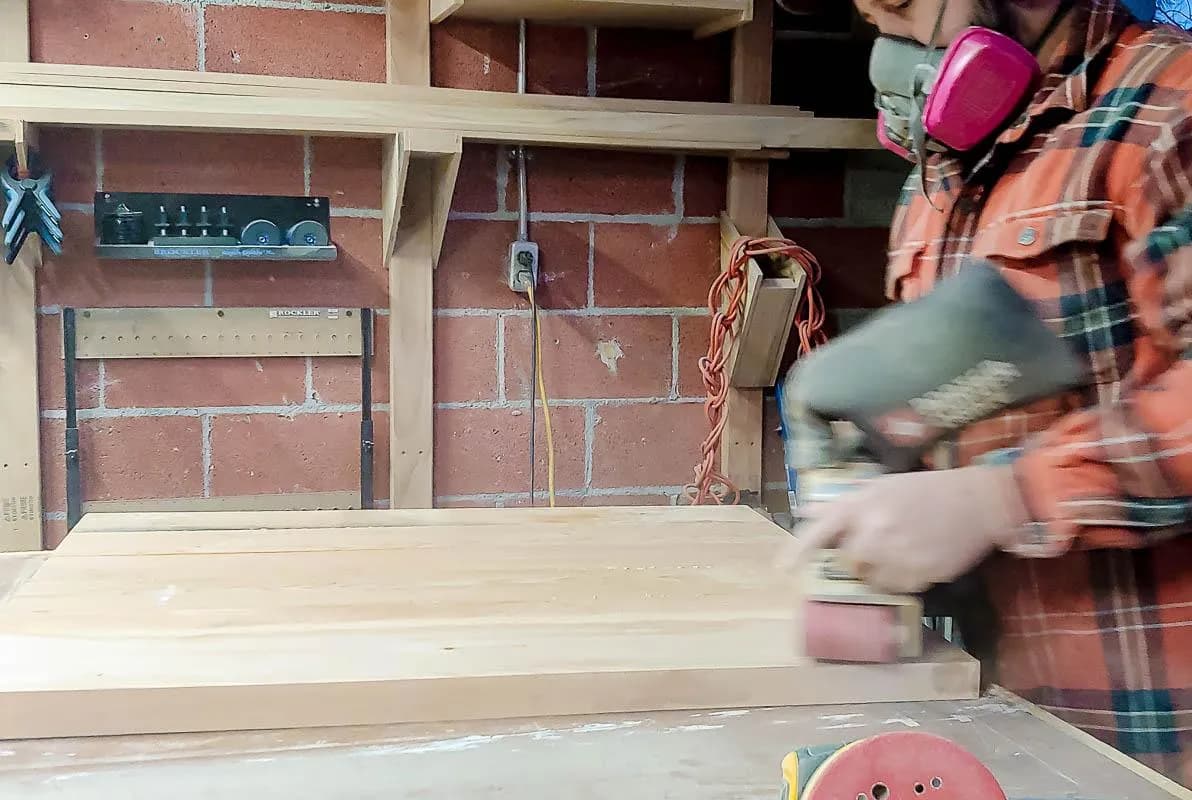
Sand down the middle slats with belt sander until level with 80 grit sandpaper. Square each edge with a table saw or Kreg's Rip-Cut.
6Add border slats
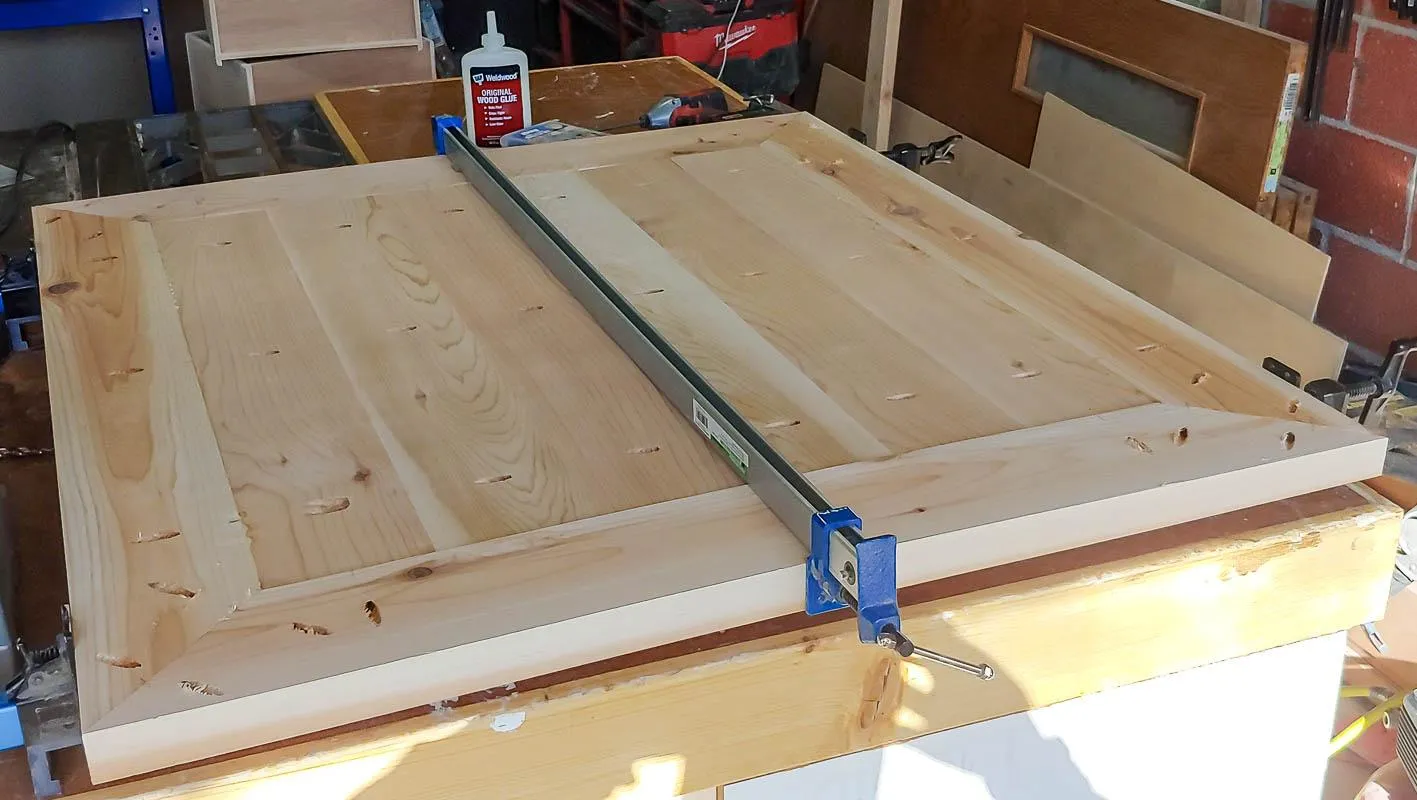
Add miter cut border slats around the edge of the table and attach with wood glue and screws at pocket holes. Clamp and let dry.
7Sand table top flat
Sand your table top with belt sander and 80 grit sandpaper so all areas are flat and flush with each other.
8Fill gaps and sand
Fill gaps with wood filler or sawdust mixed with wood glue from sanding and then sand down with an orbital sander, working your way from 80 to 220 grit sandpaper.
9Stain and finish
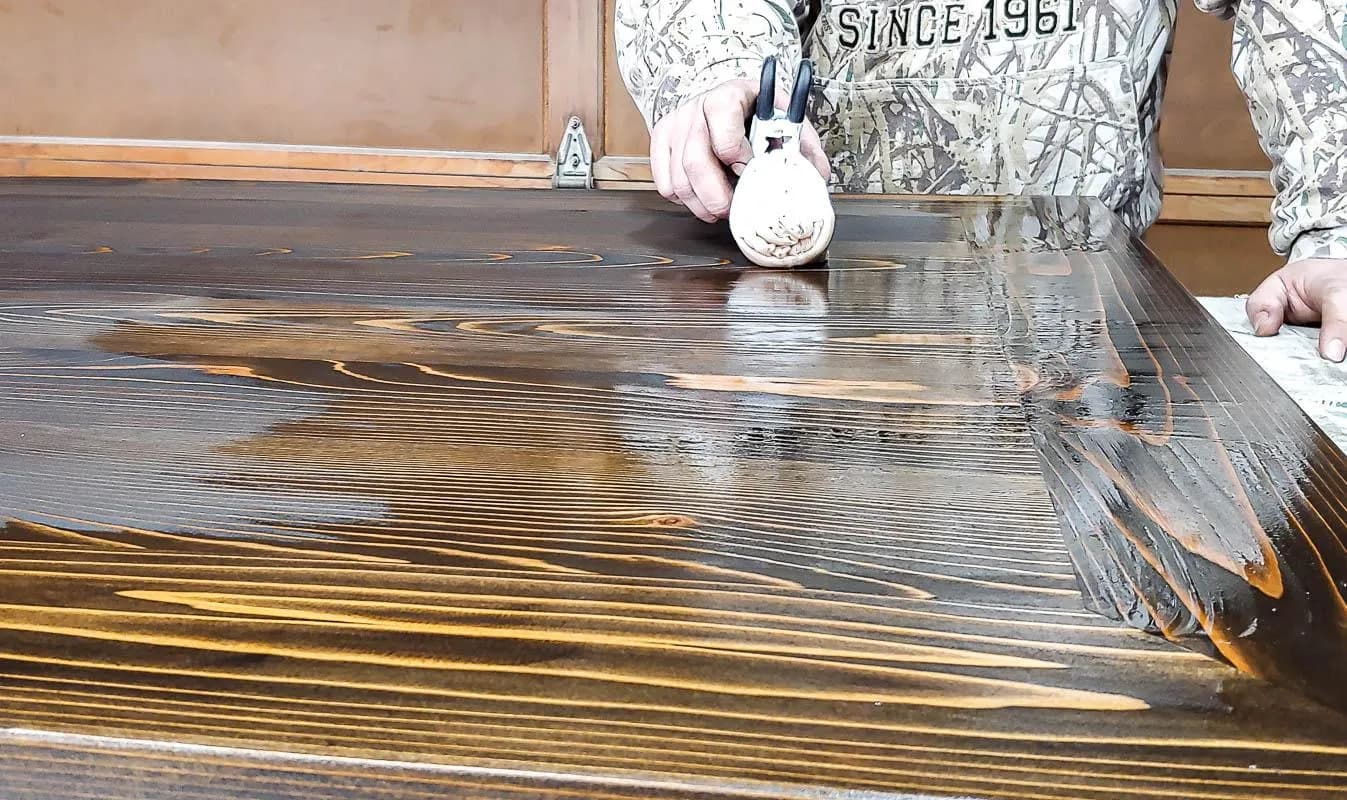
Stain your table top and apply finish.
10Assemble table
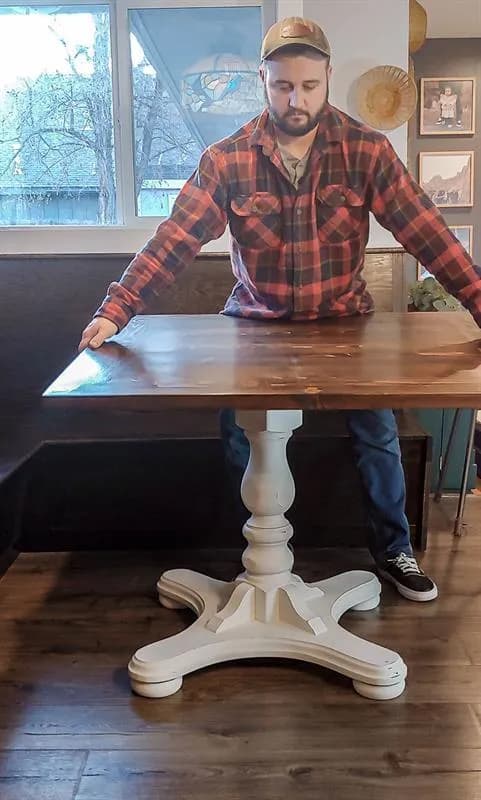
Attach table top to base with screws. Our table base had a platform already attached (from the old table), but if yours doesn't you would want to incorporate a base using plywood. While assembling, be sure to make sure the top is level. Because our floor was not completely level, we ended up adjusting by adding shims under the tabletop between installing to the base.
Tags
- Kitchen
- Beginner
Reviews & builds
No reviews yet
Sign in to review this plan or share your build.
No reviews yet. Be the first to build this.