 Notch
NotchKids Picnic Table
Step-by-step build — 9 steps. Also available as a print sheet.
1Cut wood down to size
Follow along with the free woodworking plans provided for your visual cut list in the Extras Tab or see the Cut list tab for more details. There are several angled cuts that will also need to be cut, which are all detailed in the plans/cut list. To do the angled cuts we drew a line and cut with circular saw.

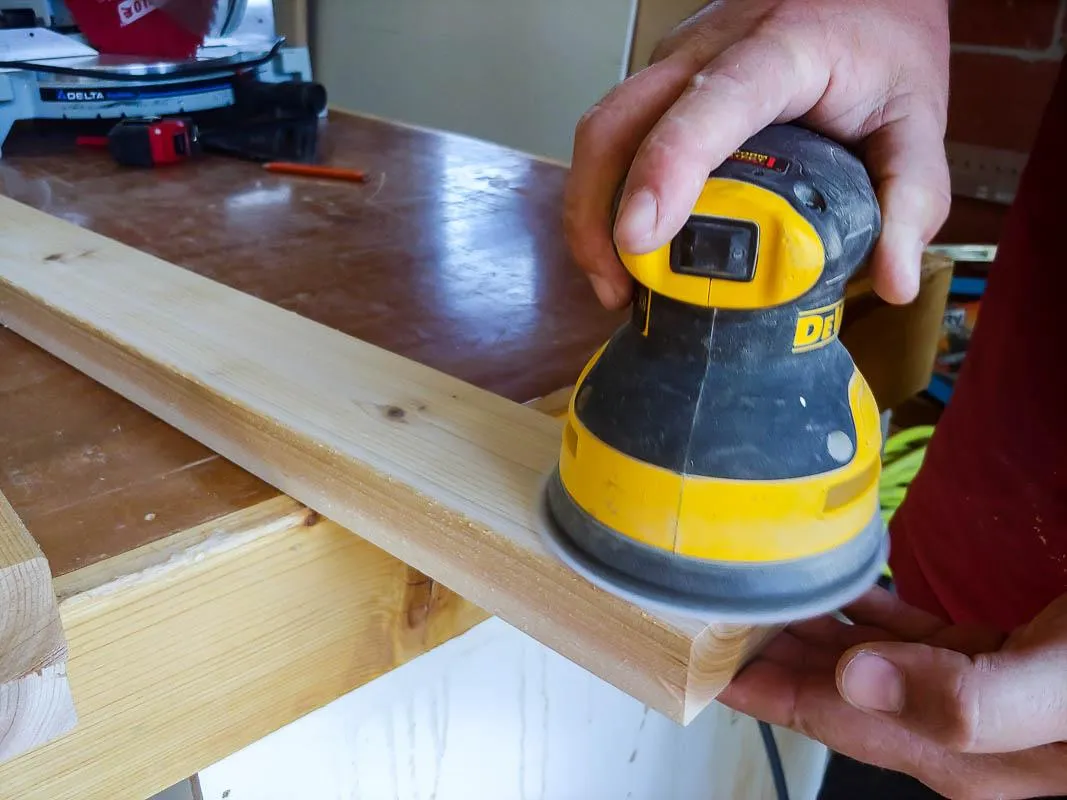
2Sand wood
Next move on to sanding the wood very smooth with 150 grit sandpaper on an orbital sander. Also, take the time to round the edges and corners to your sander to give it a more comfortable feel.
3Drill pocket holes
Using your Kreg pocket hole jig, drill the pocket holes where shown on the woodworking plans.

4Stain wood
We chose to use a teak oil stain on our wood, which is great for outdoor use. We used WATCO Teak Oil + Stain in the Hazelnut color.

5Assemble top.
- First start by putting the top together first.
- Lay the table slats on a flat surface spaced 1/2" apart.
- Lay top support on one end and screw 2 1/2" pocket hole screws into pocket holes.
- Repeat with the other support on the opposite end.

6Assemble legs.
- Next you'll want to put on the legs. The legs connect on the inside to the top support in each corner.
- Predrill 4 pilot holes where the leg will connect and secure with 2 1/2" construction screws.
7Attach bottom support.
- Once all the legs are attached you'll can move on to attaching the bottom support on the legs for the seats.
- Measure as shown in woodworking places and check to make sure it is level before securing. Secure the bottom support the same way you did with the top support pieces with four 2 1/2" construction screws.

8Secure bench slats.
Secure two table slats on each side for benches, spaced 1/2 inch apart with 2 1/2" pocket hole screws into the pocket hole guides as previously drilled.
9Add middle support.
Using 2 1/2" construction screws driven at a slight angle into bottom support, secure the middle support to the table. We used one construction screw on top and one on bottom on each end.