 Notch
- Difficulty
- Beginner
- Time
- 1.8–3.3 hours
- Cost
- $$
About this build
For those of you who do not have a fireplace to hang stockings on, these Christmas Stocking Trees will do the trick. I constructed two for each of our grandkids'
Tools
Essential
- Miter Saw
- Random Orbit Sander
Materials
| Item | Qty |
|---|---|
| Board, 2x3 48" | 1 board |
| Post, 3 1/2" x 3 1/2" 48" | 1 board |
| Pre-made cap, 4x4 Wood post cap | 1 board |
| Wood Finial, Mfg. standard Pre-made | 1 board |
| 3" wood screws | 12 each |
Overall cost: $$. Lumber prices vary by region, species, and season, so we give a band rather than a figure we would only be pretending to know.
Cut list
| Part | Qty | T × W × L |
|---|---|---|
| Post | 1 | 3" × 3" × 42" |
| Feet | 4 | 1" × 2" × 12" |
What to buy
Buy 2 boards at 8 ft.
3" × 3"
1 board
1" × 2"
1 board
Assumes 8 ft stock, a 1/8" saw kerf, and buying each part at its own width. Change the board size or kerf on the full board plan →
Instructions
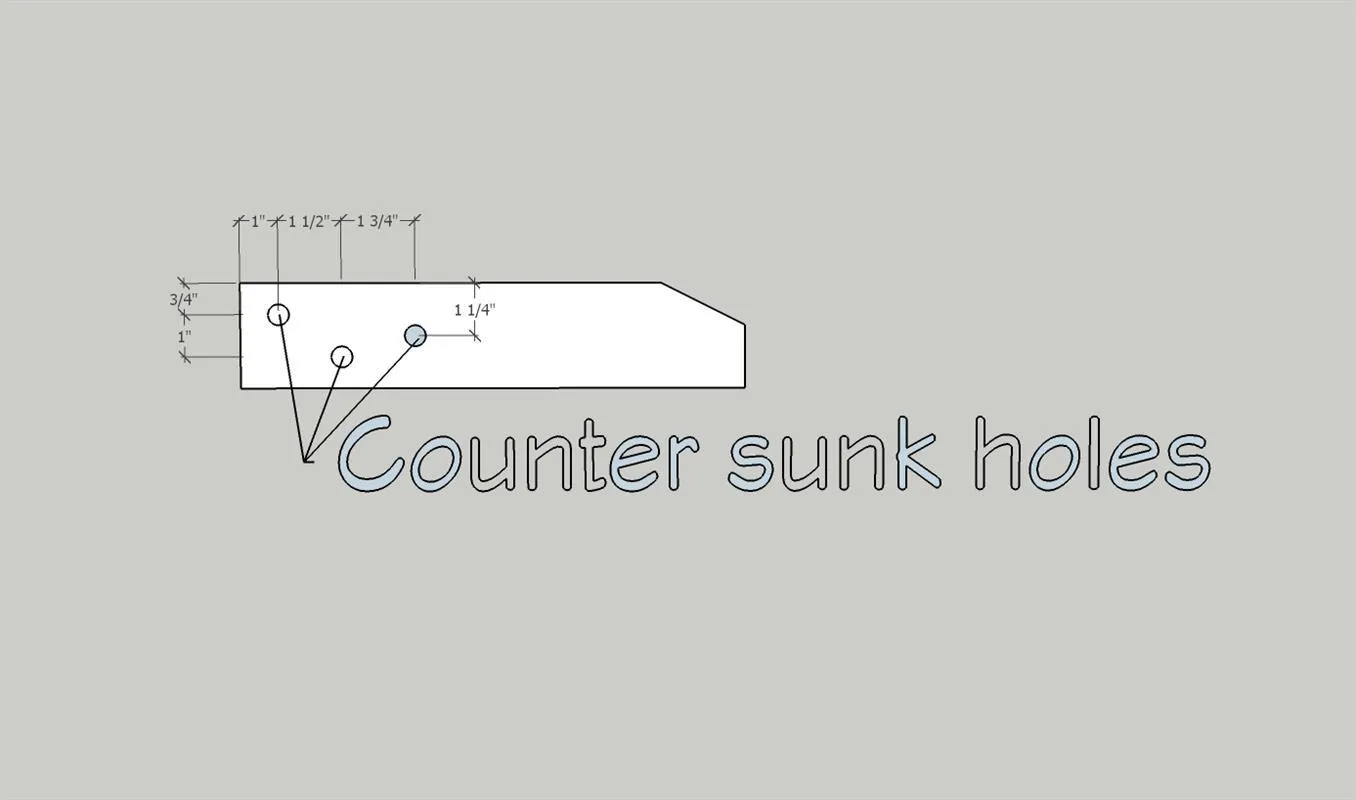
1Drill holes in feet
Drill counter sunk holes in the feet in locations as shown
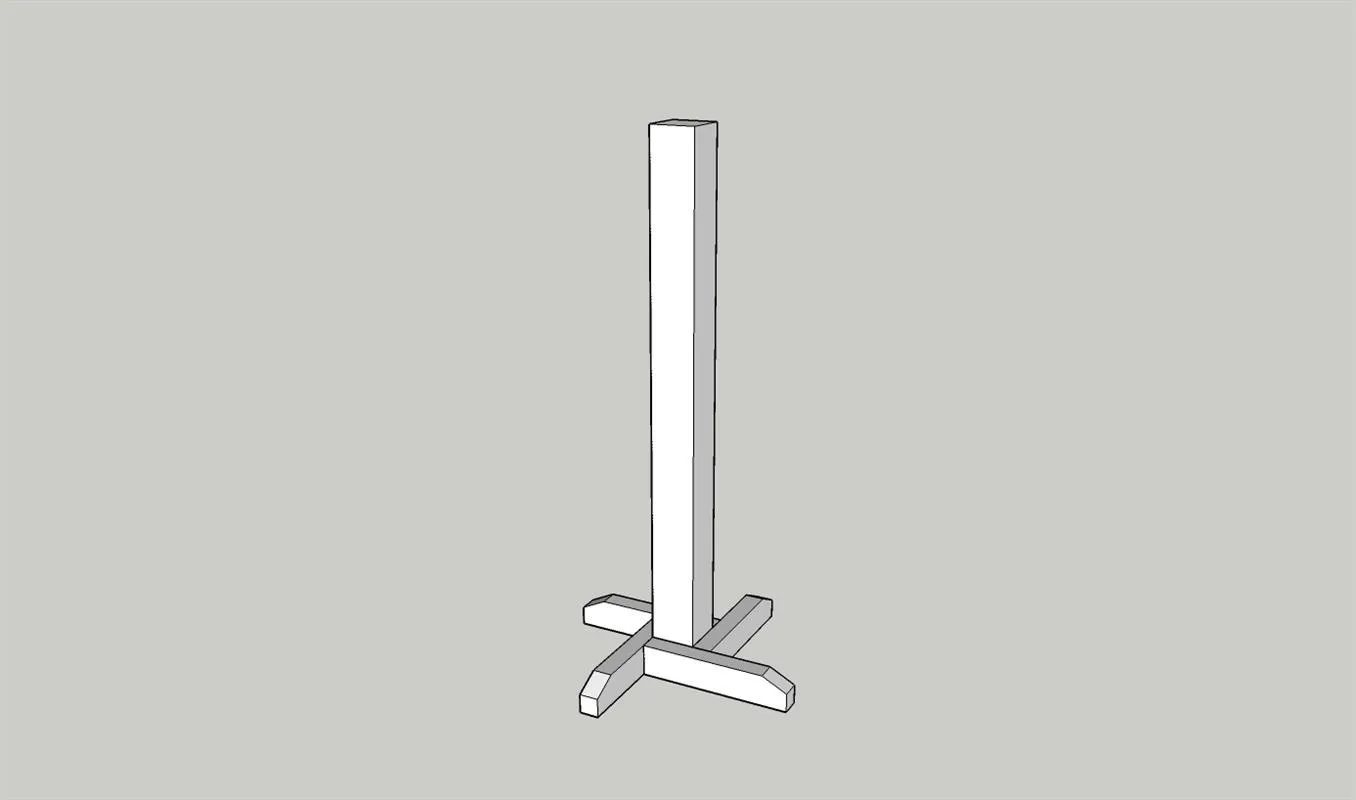
2Install the feet
Install the feet utilizing 3" wood screws
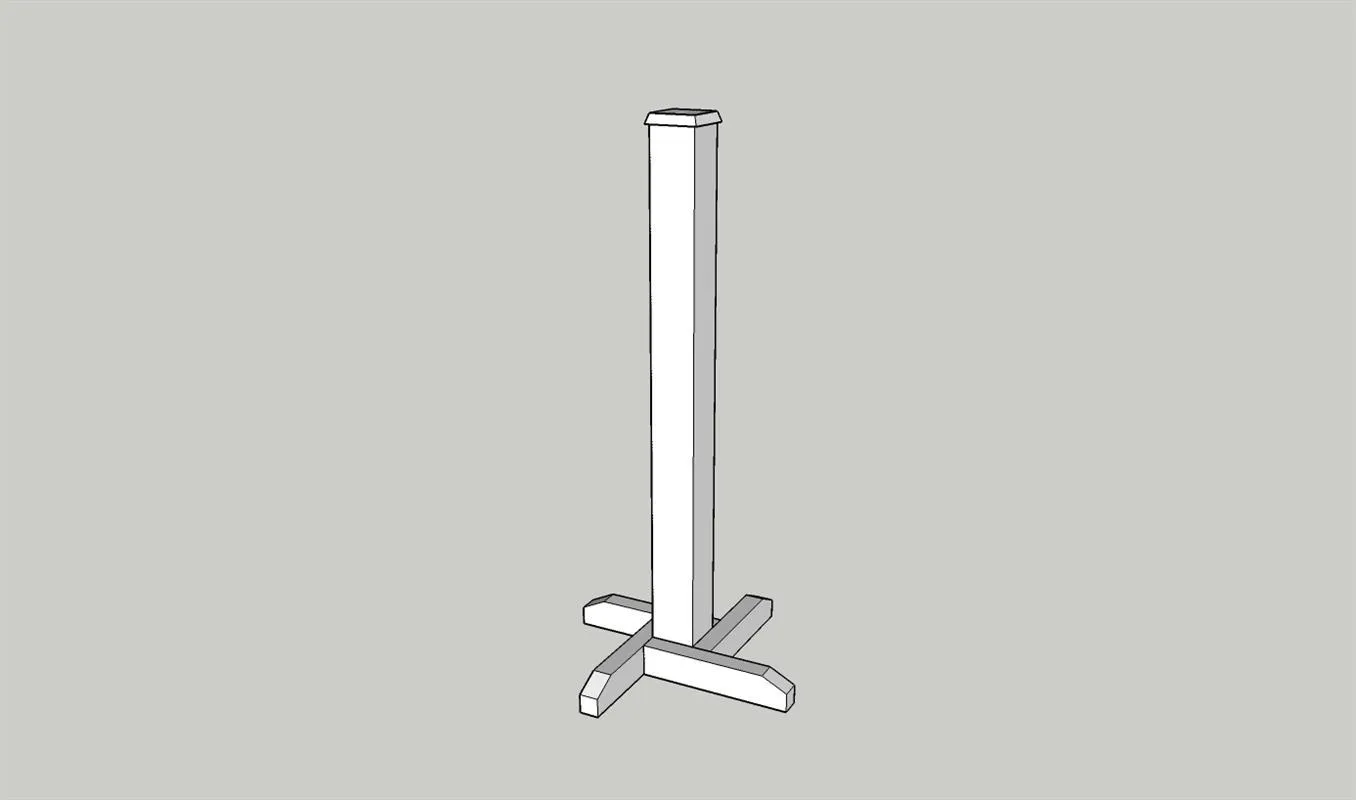
3Install the cap
Install the post cap by glueing and nailing the cap in place.
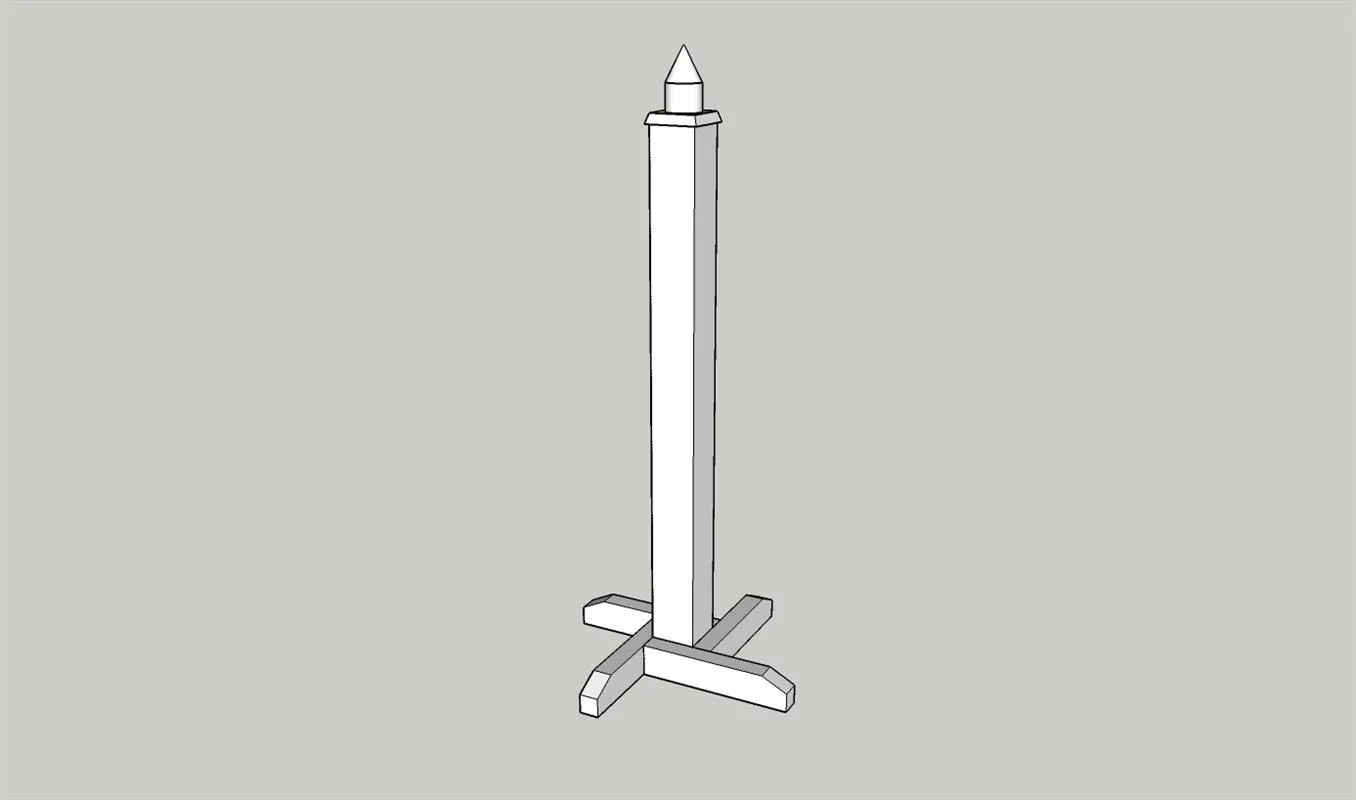
4Install the fineal
Install the finial screwing through the wood cap into the post
5Sand and paint
Fill the screw holes, sand and paint the post, cap and feet in any color you desire. Add decorative holiday custom mdf shapes and personalize with mdf letters.
Tags
- Holiday
- Beginner
Reviews & builds
No reviews yet
Sign in to review this plan or share your build.
No reviews yet. Be the first to build this.