Notch
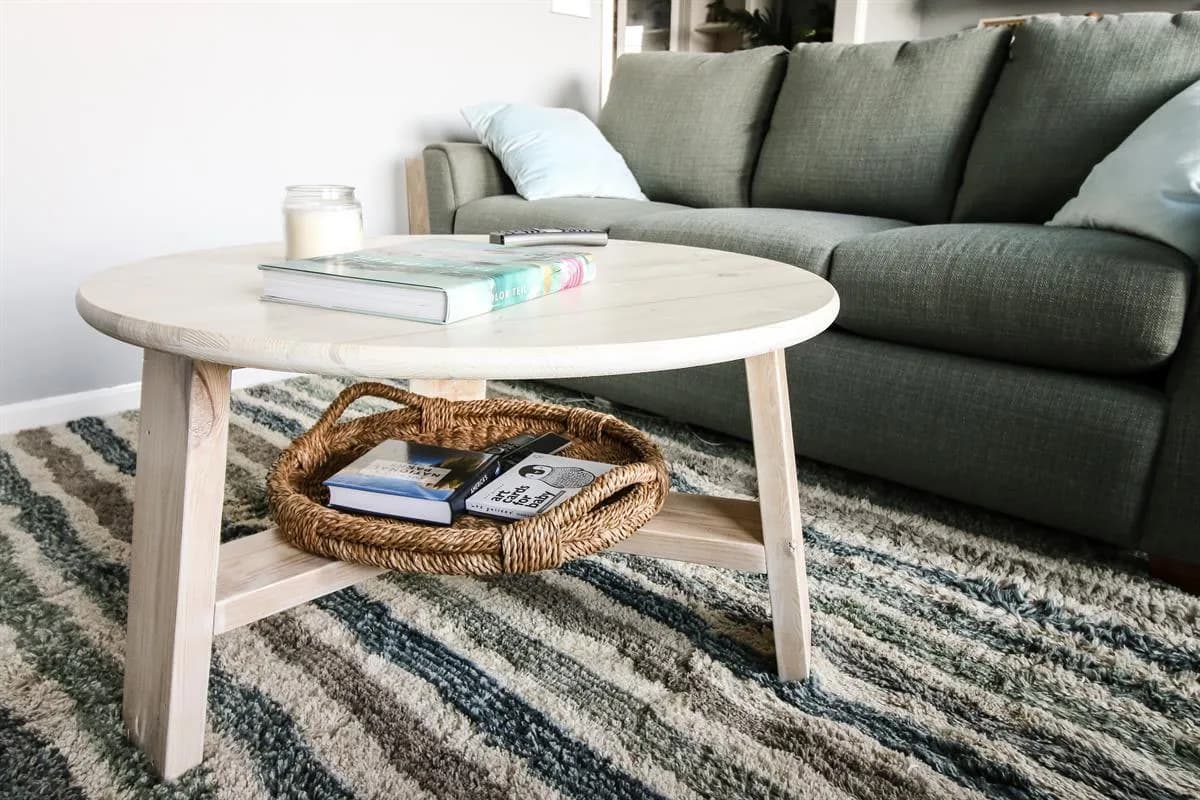
NotchGeometric Round Coffee Table
Step-by-step build — 11 steps. Also available as a print sheet.
1Legs
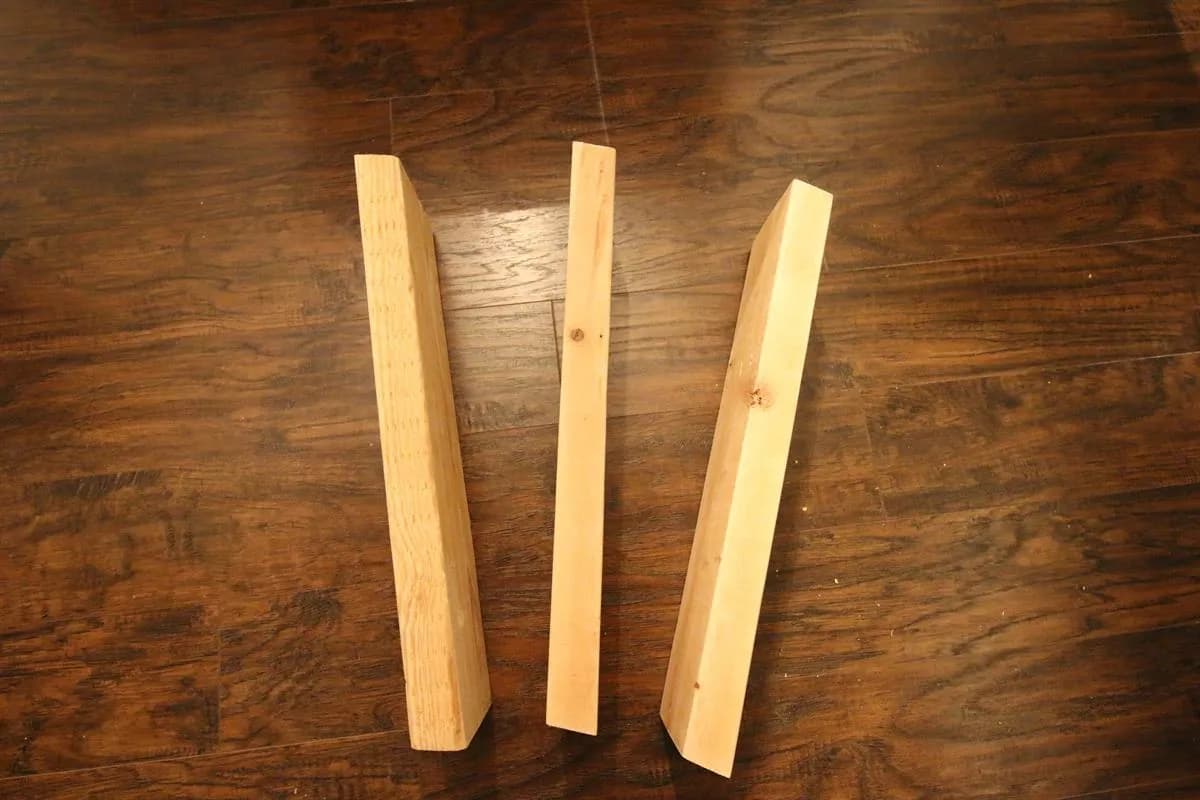
Start by cutting your legs. Cut three boards to 24" with parallel 10 degree miter cuts on each end.
2Top Beams
- Next, work on your three top beams.
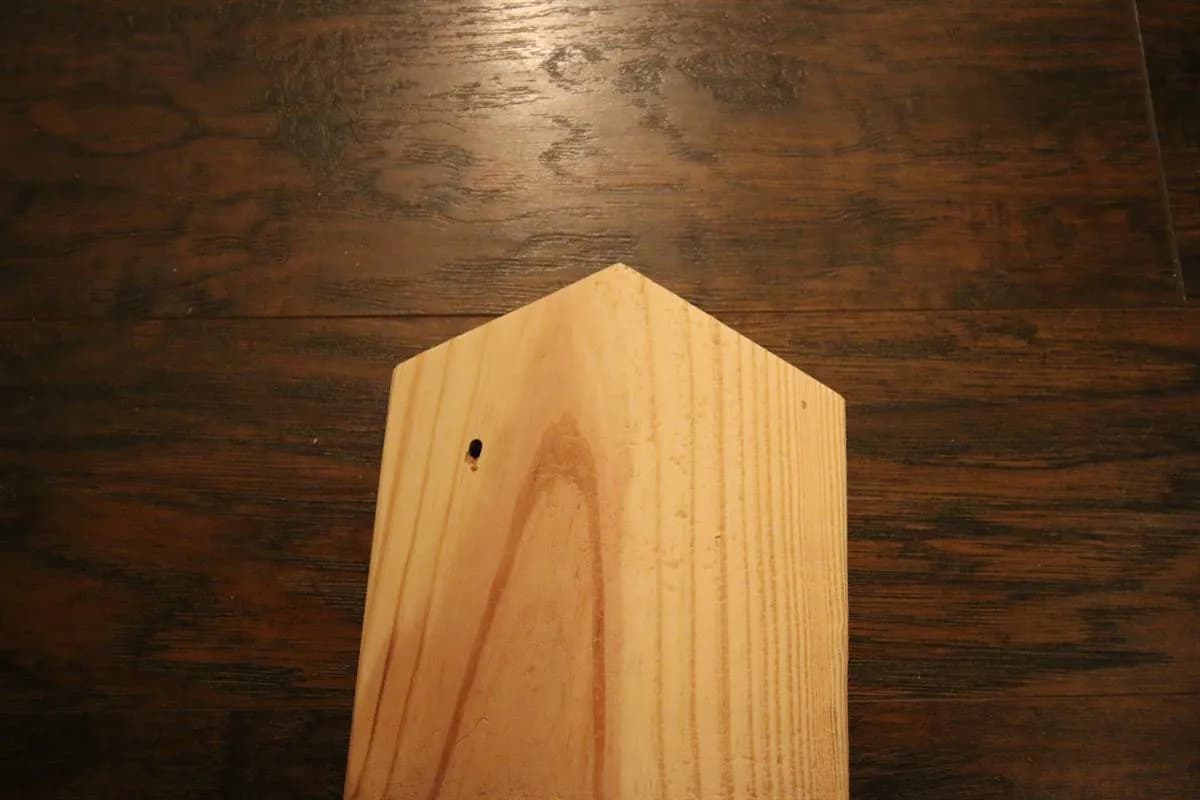
- Start by cutting a 120 degree angle on the end of a piece of wood. To do this, mark the middle of the end of your board, then cut a 30 degree angle from there to each side.
- Then, measure 14" from the tip and mark a line on your board.
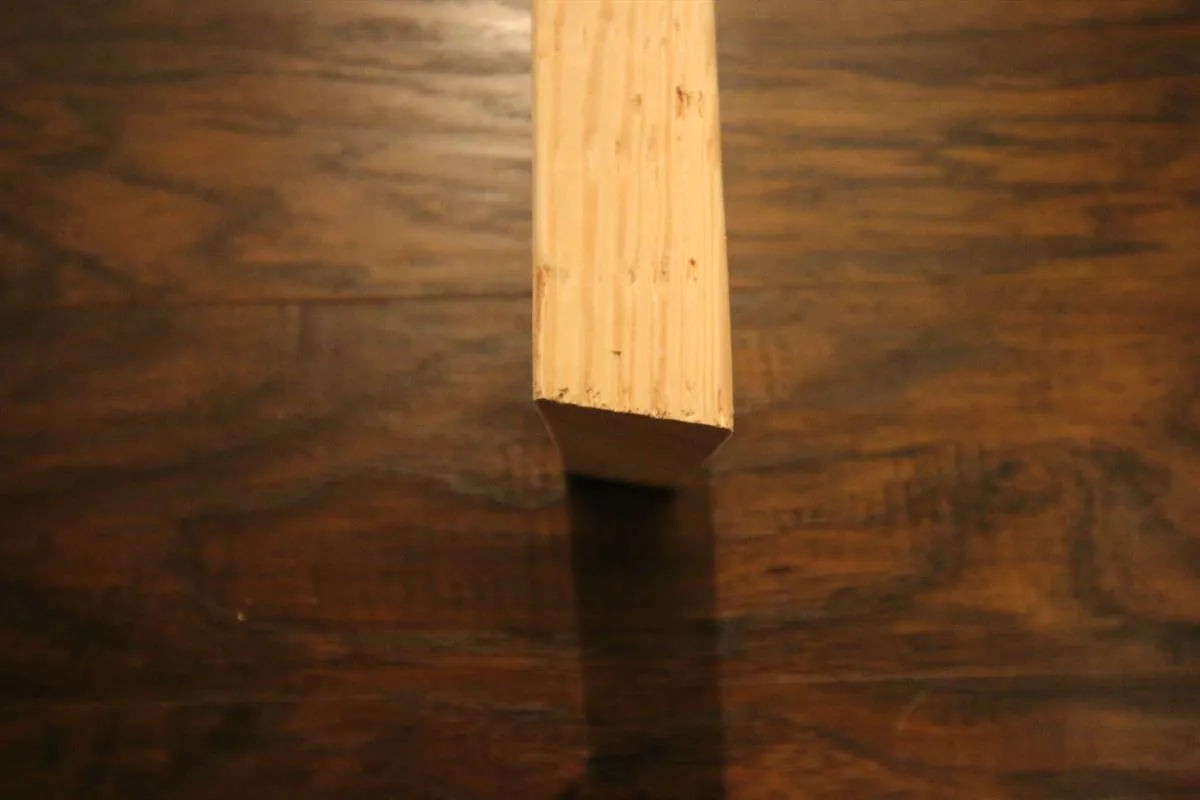
- Cut your board there with a 10 degree mitered cut.
3Lower Beams
- For the three lower beams, you're going to do the exact same thing as the Top Beams, but make them longer.
- Cut the same 120 degree angle on the end of a board, but then measure 17" from the point and mark your board.
- Then cut the 10 degree mitered angle there.
4Drill Pocket Holes
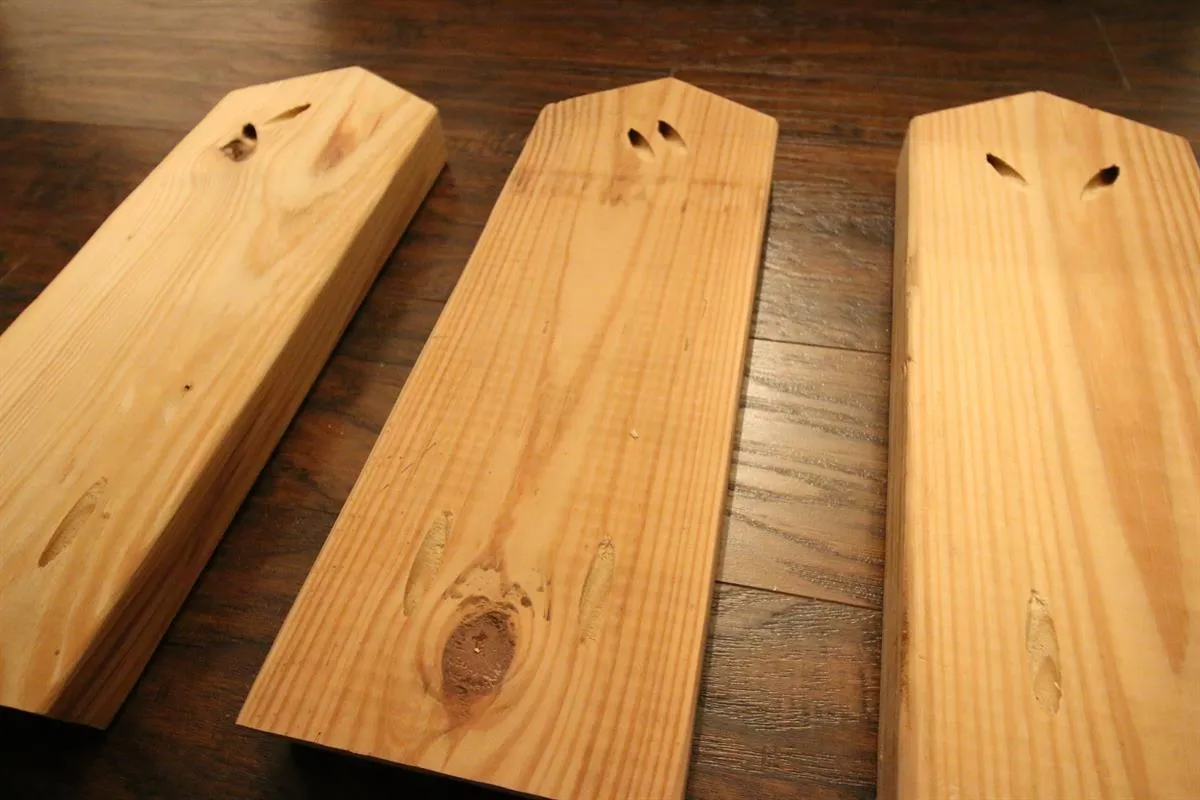
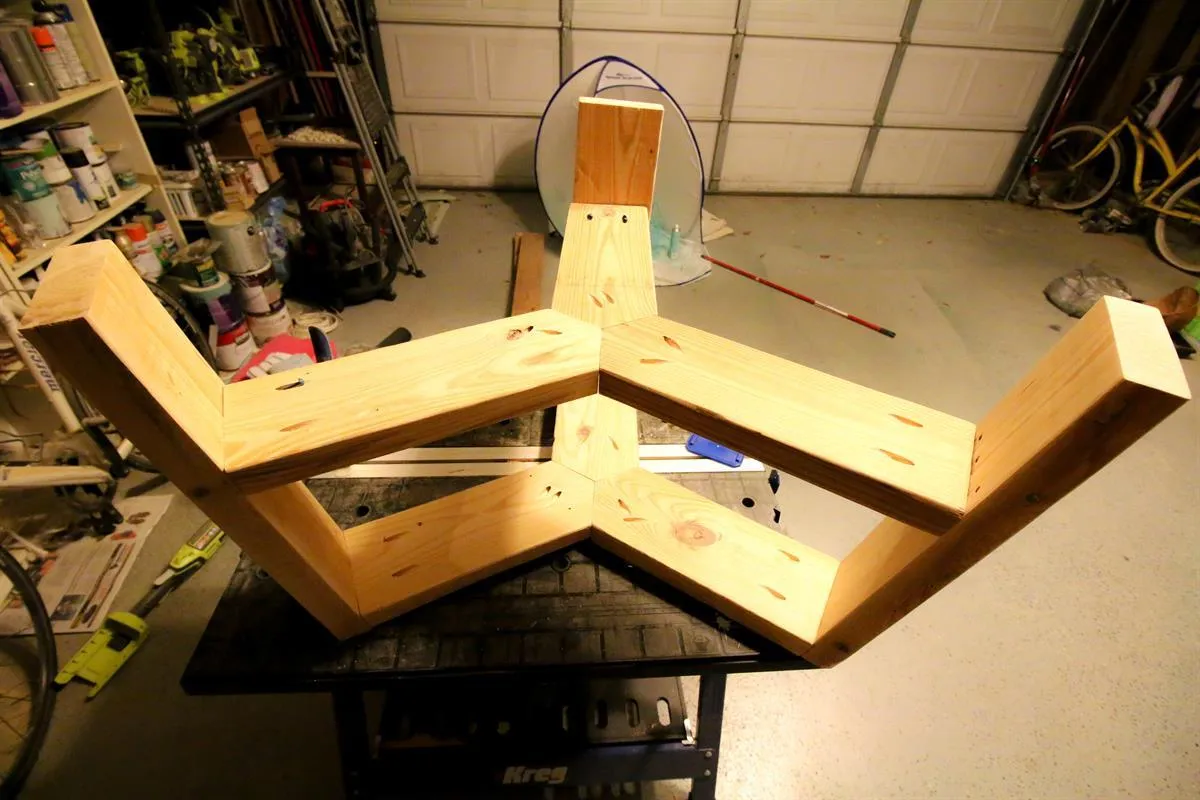
Time to drill your pocket holes. Don't drill anything on the legs. Make sure that you're working on the underside of your boards. You should drill all of your holes on the long side of each board. On each of the top and lower beams, drill two pocket holes on the mitered edge to connect to the legs. Then, on the points, drill two pocket holes on each tip, but make sure they are drilled in places that won't run into other screws. See the picture.
5Connect Top Beams
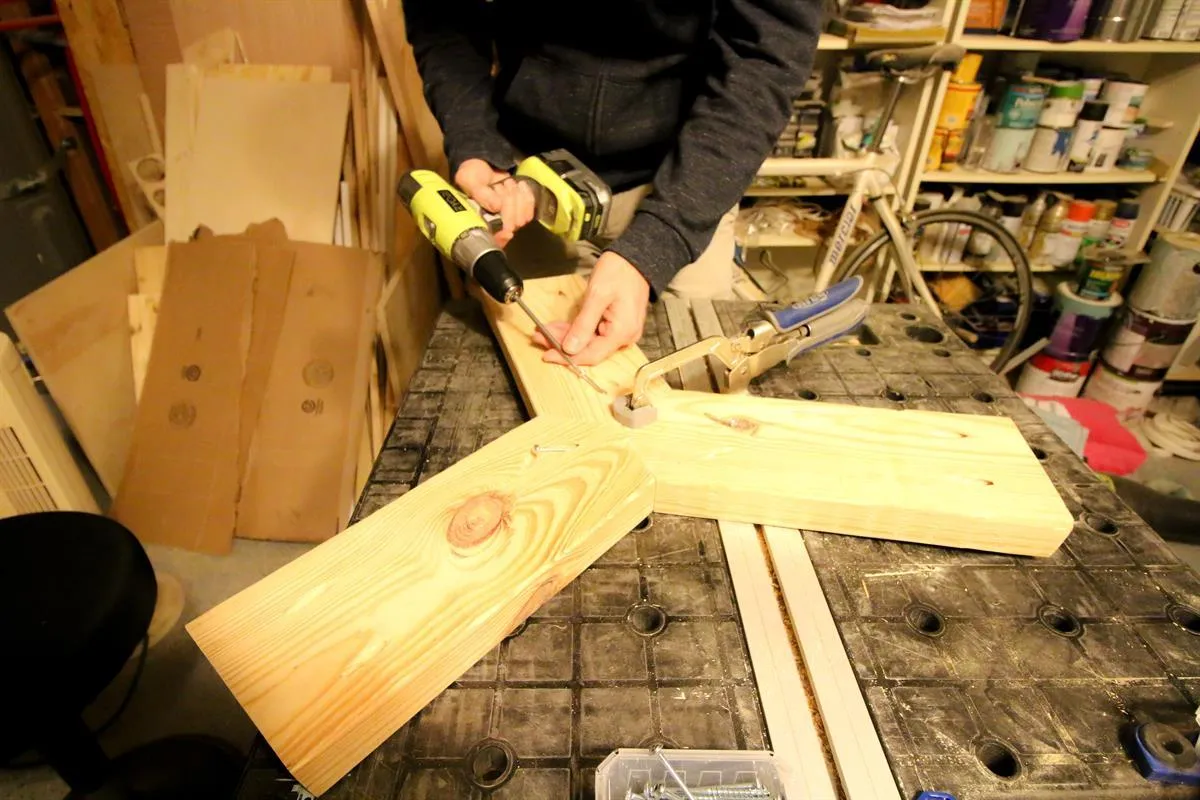
Use 2 1/2" Kreg pocket screws to attach your top beams together at the points.
6Connect Lower Beams
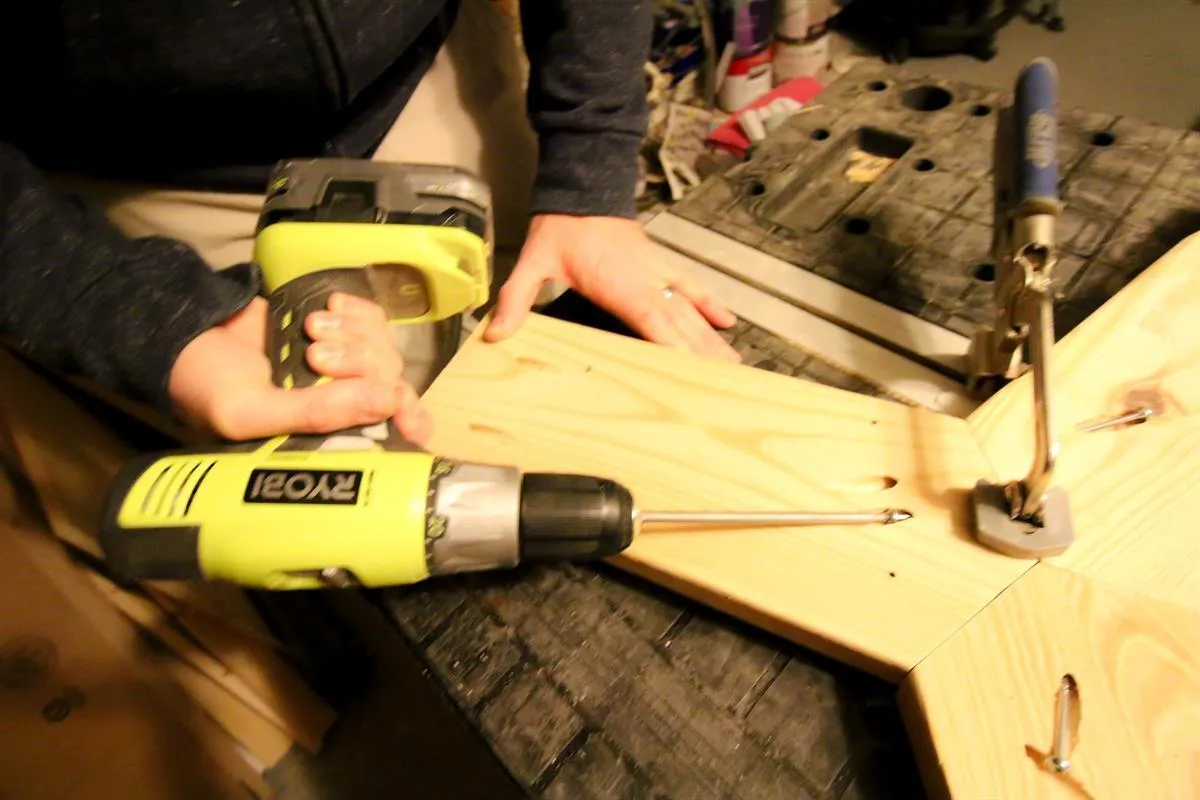
Use 2 1/2" pocket screws to connect your lower beams together at the points.
7Attach Top Beams to Legs
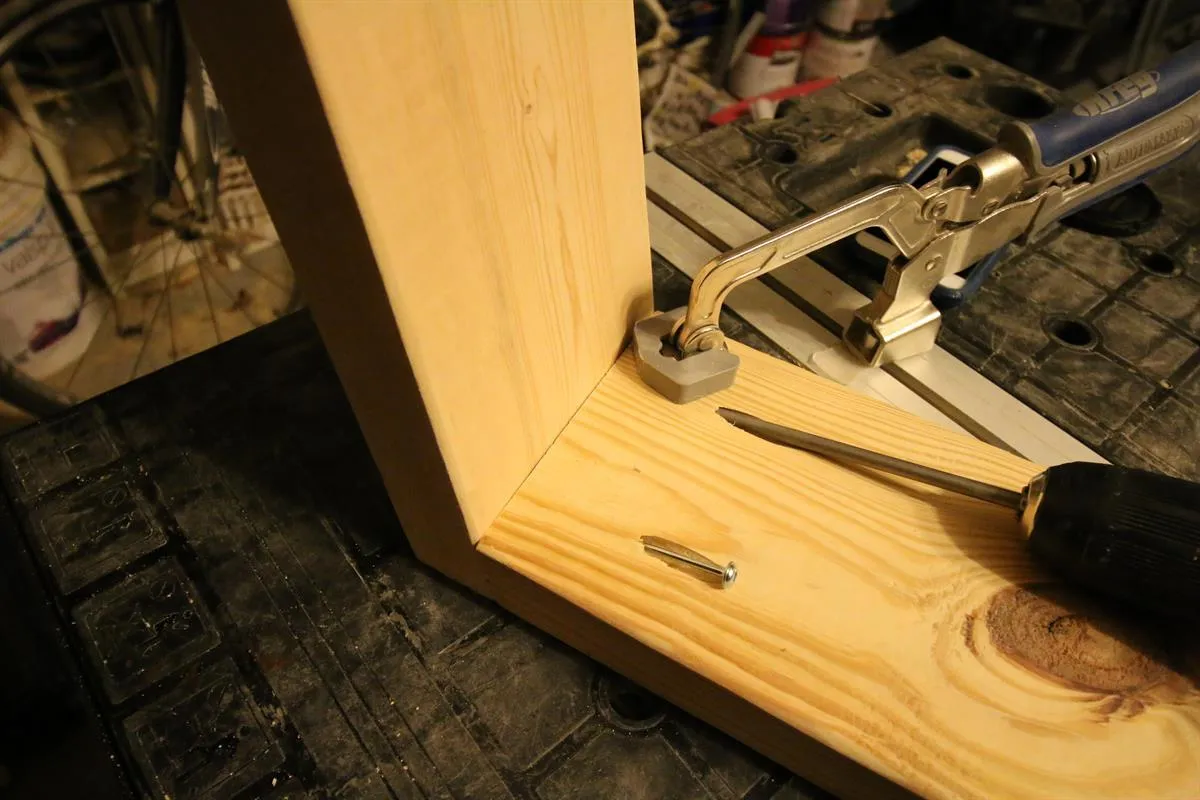
Clamp your top beams down on something like the Kreg Mobile Project Center. Use 2 1/2" Kreg pocket screws to attach the top beams to the ends of your three legs.
8Attach Lower Beams to Legs
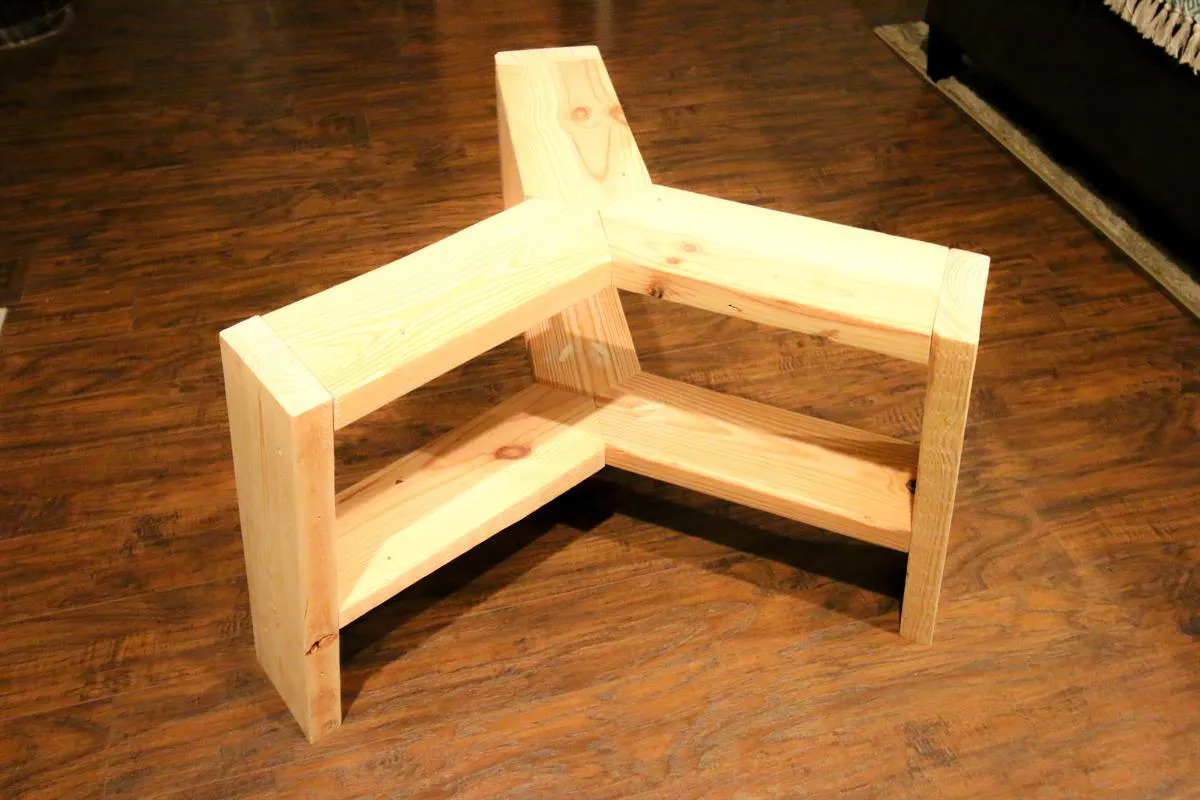
Slide your lower beams down until they encounter the legs on all three sides. This should be about 8" from the bottom of the legs. Use 2 1/2" Kreg pocket screws to attach the lower beams to the legs.
9Stain Geometric Legs
Stain your geometric coffee table legs whatever color matches your decor. Then, apply polyurethane for protection.
10Apply a Top
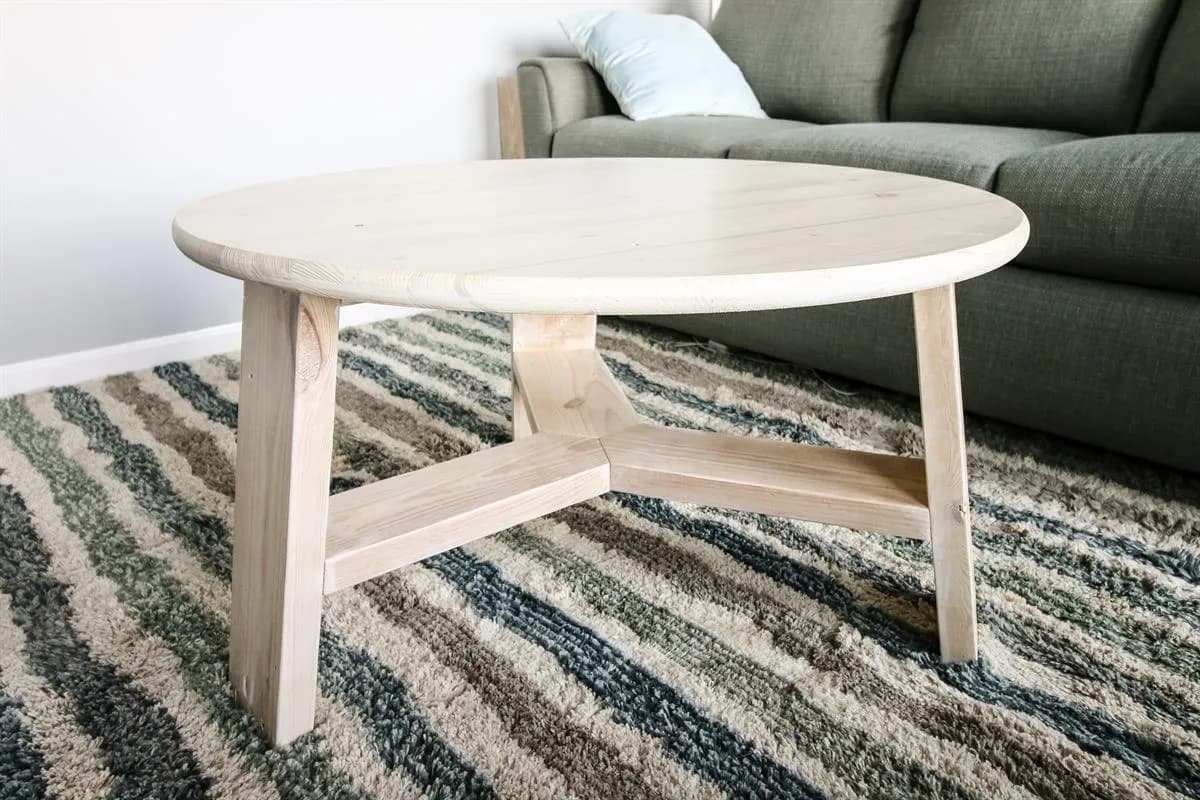
Finally, apply a top to the geometric base. A 36" diameter round top will work best for this size leg base. If you are looking to really see the design well, a glass top will work best and can just rest on top. If you want a wood top, you can either cut one, or purchase a prefabricated round wood top and attach it to the base with wood glue and clamps.
11Visit CharlestonCrafted.com
Swing over to www.CharlestonCrafted.com and check out more details about this project and let us know if you built it! While you're there, check out lots of our other awesome woodworking projects.