 Notch
Notch- Difficulty
- Beginner
- Time
- 2.5–4.8 hours
- Cost
- $$
About this build
In my attempt to keep up my good husband status I decided to build my wife the full length mirror that she has been requesting for some time. Luckily, I found a tall frameless mirror at Home Depot for about $35, and with a plywood backing and a couple 1x3s make it awesome!
Tools
Essential
- Drill / Driver
- Miter Saw
- Pocket Hole Jig
- Random Orbit Sander
Optional / nice to have
- Tape Measure
Materials
| Item | Qty |
|---|---|
| Plywood, 3/4" Thick Full Sheet | 1 board |
| Board, 1x3 12" | 2 board |
| 1/4" Brass Rod | 1 each |
| 16" x 68" Frameless Mirror | 1 each |
Overall cost: $$. Lumber prices vary by region, species, and season, so we give a band rather than a figure we would only be pretending to know.
Cut list
| Part | Qty | T × W × L |
|---|---|---|
| Side Boards | 2 | 1" × 3" × 69" |
| Top and Bottom | 2 | 1" × 3" × 17" |
What to buy
Buy 2 boards at 8 ft.
1" × 3"
2 boards
Assumes 8 ft stock, a 1/8" saw kerf, and buying each part at its own width. Change the board size or kerf on the full board plan →
Instructions
1Measure and Cut Plywood Backing
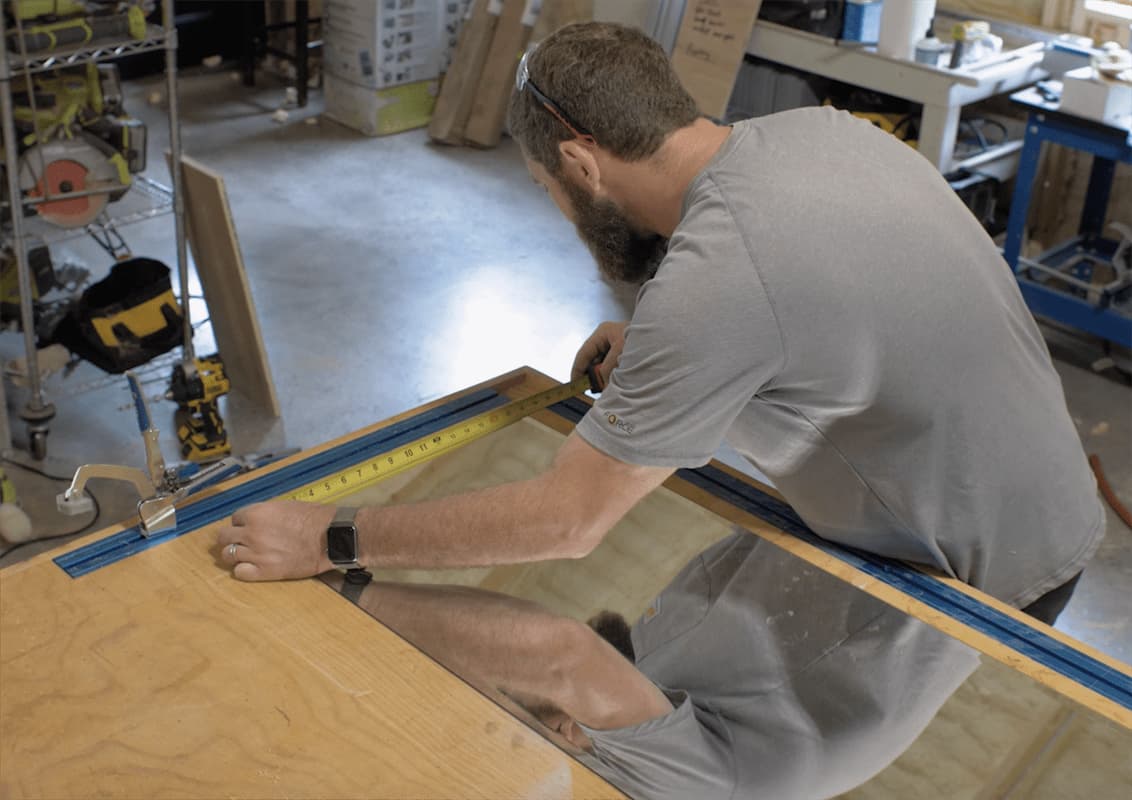
The mirror is not strong enough to support itself so we need to have a 3/4″ plywood backing. Measure the mirror so you have the exact size or just lay the mirror on the plywood and trace it. hen cut the plywood to the same size as the mirror. This can be done with a circular saw or a table saw. However, now that I have the Kreg Track Saw I don’t think I’ll ever break down a full sheet of plywood at the table saw again.
2Cut Boards for Frame
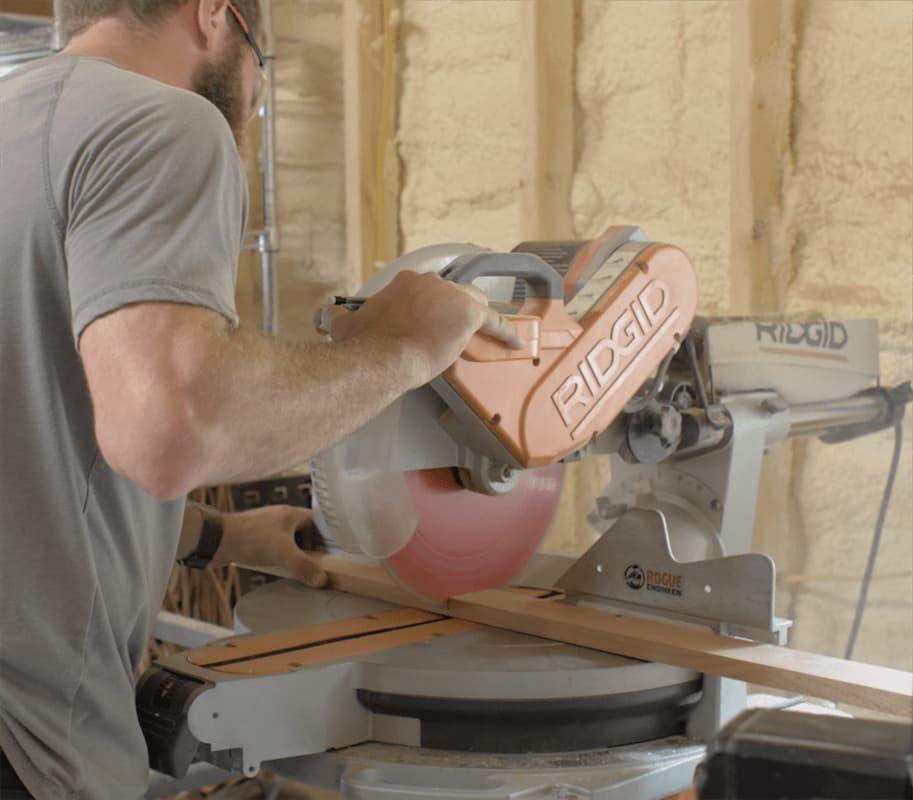
The top and the bottom 1×3 boards should be exactly the same width as the plywood and mirror. The side 1×3 boards should be the length of the mirror/plywood plus the thickness of the top and bottom boards combined. So if the mirror is 68″ tall and the top and bottom boards are 3/4″ thick then the side boards should be 69-1/2″.
3Drill Pocket Holes
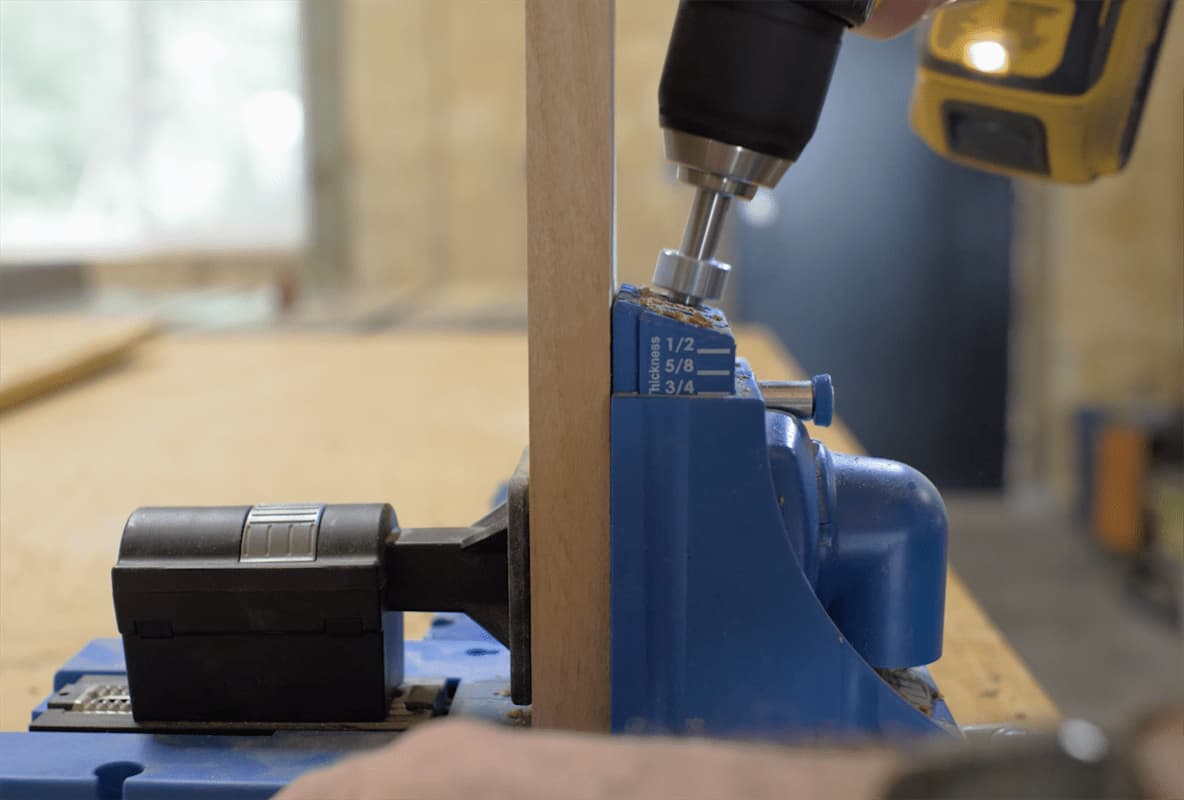
- Set your pocket hole jig (I used the Kreg K5 Jig) to a thickness setting of 3/4″ and the stop collar to a screw depth of 1-1/4″.
- Then, drill pocket holes in the ends of each of the top and bottom boards. These pocket holes will get hidden by orienting them up on the top board and down on the bottom.
- Now drill pocket holes all the way around the plywood. Make sure there is one about 2-3″ from the corners and space the rest 10-15″ apart. The spacing doesn’t have to be exact.
4Prepping for Brass Rod
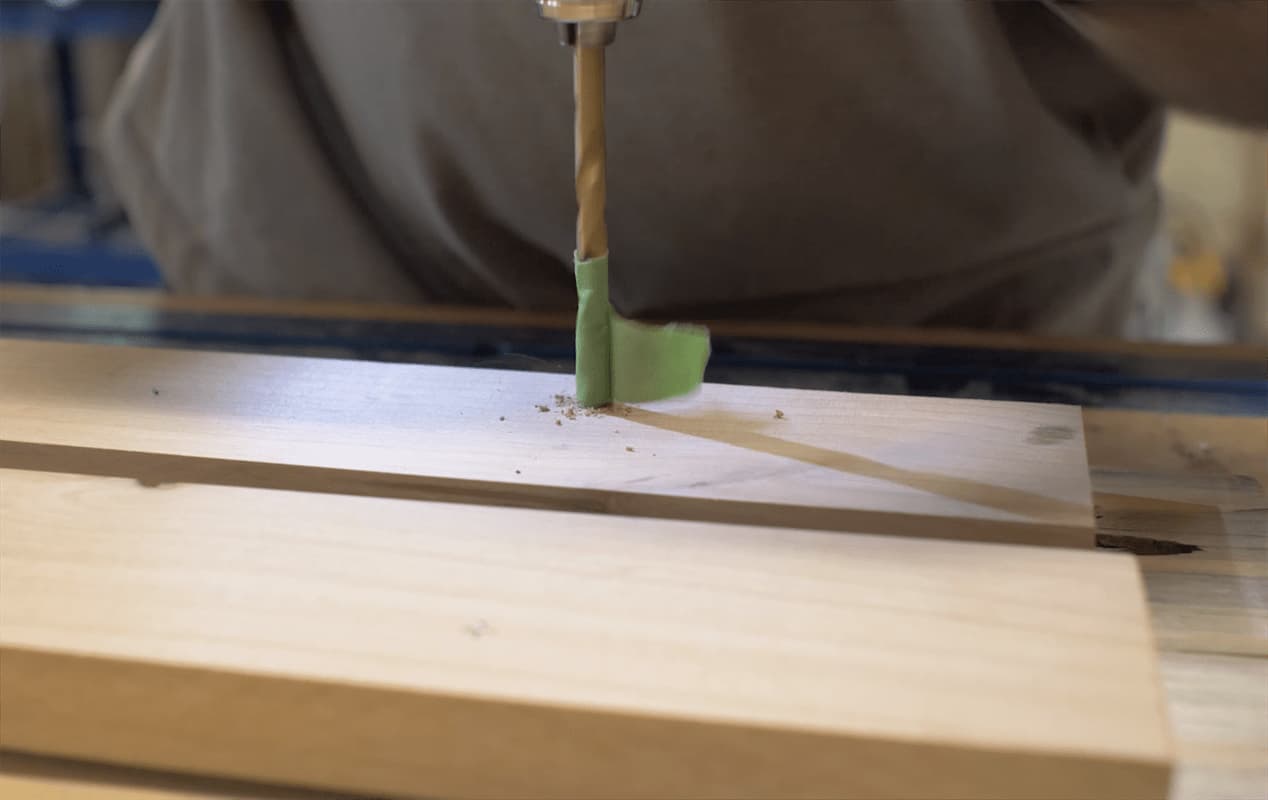
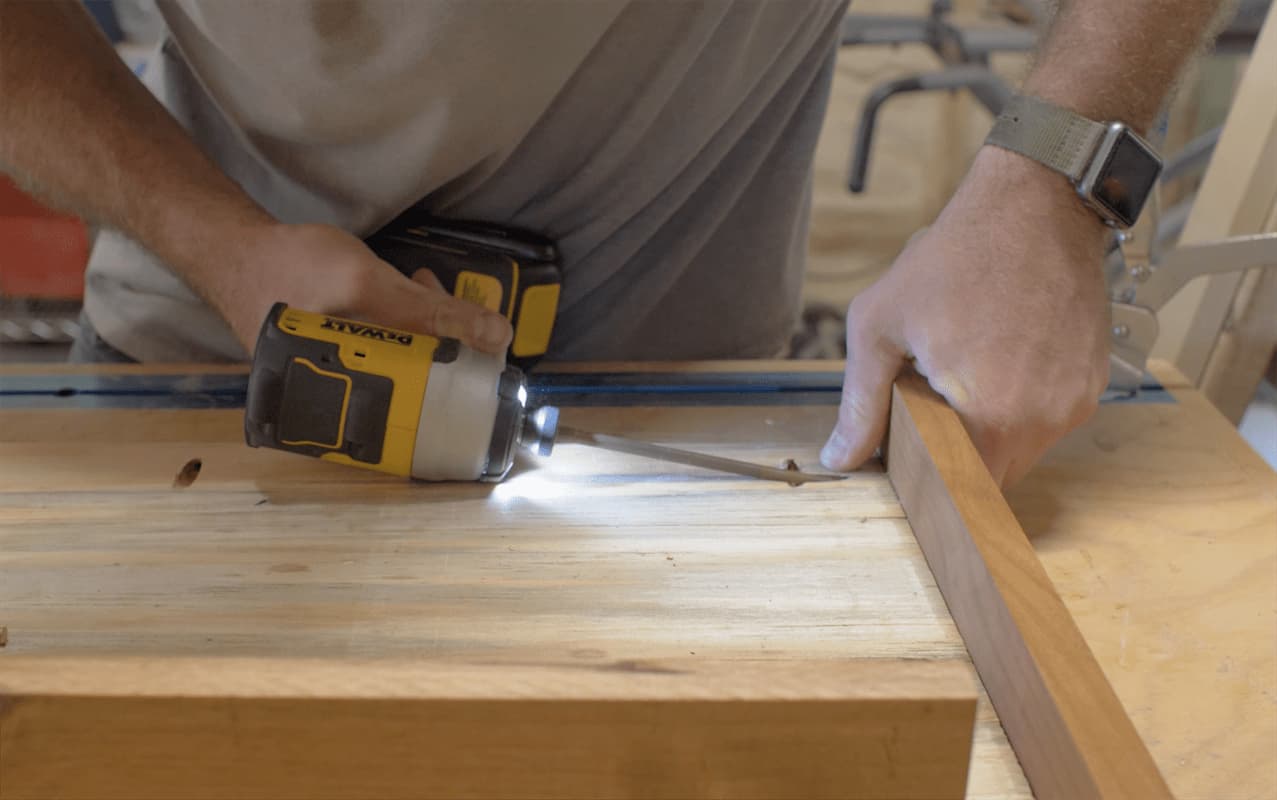
I decided to add a brass rod that could be used with s-hooks to hang smaller things like necklaces and such. If you would like to add the brass rod like we did then it is a good idea to drill those holes now. These holes are not through holes so we used a piece of tape on the bit to make sure they were drilled only about 1/4″ deep. Since our brass rod was 1/4″ we used the same size bit for a tight fit. The location is up to you but we drilled 4″ down from the top of the sides and 3/4″ back from, what will be, the front inside face. Be sure to take note of the inside faces as the hole locations will be mirror on each side, not identical.
5Cut Rod
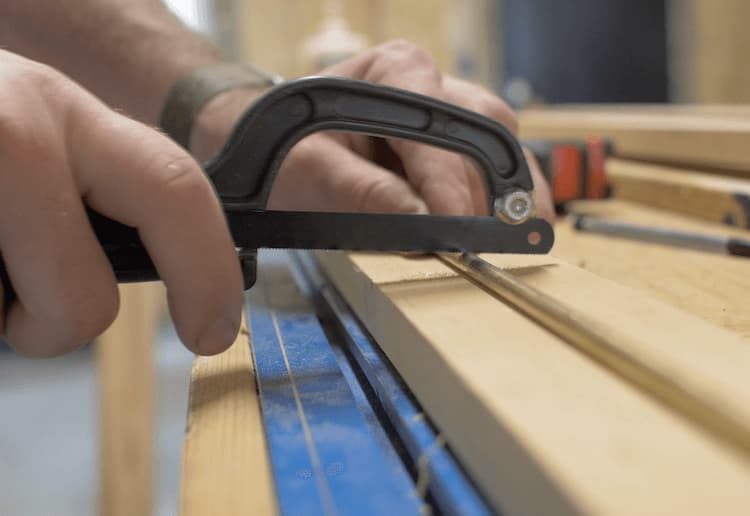
The brass rod gets cut down to the appropriate length. The length should be the width of the mirror plus the depth of both holes. So if the mirror is 16″ and the holes are 1/4″ deep then the brass rod should be cut to 16-1/2″ long. This can be done with a hacksaw.
6Finishing
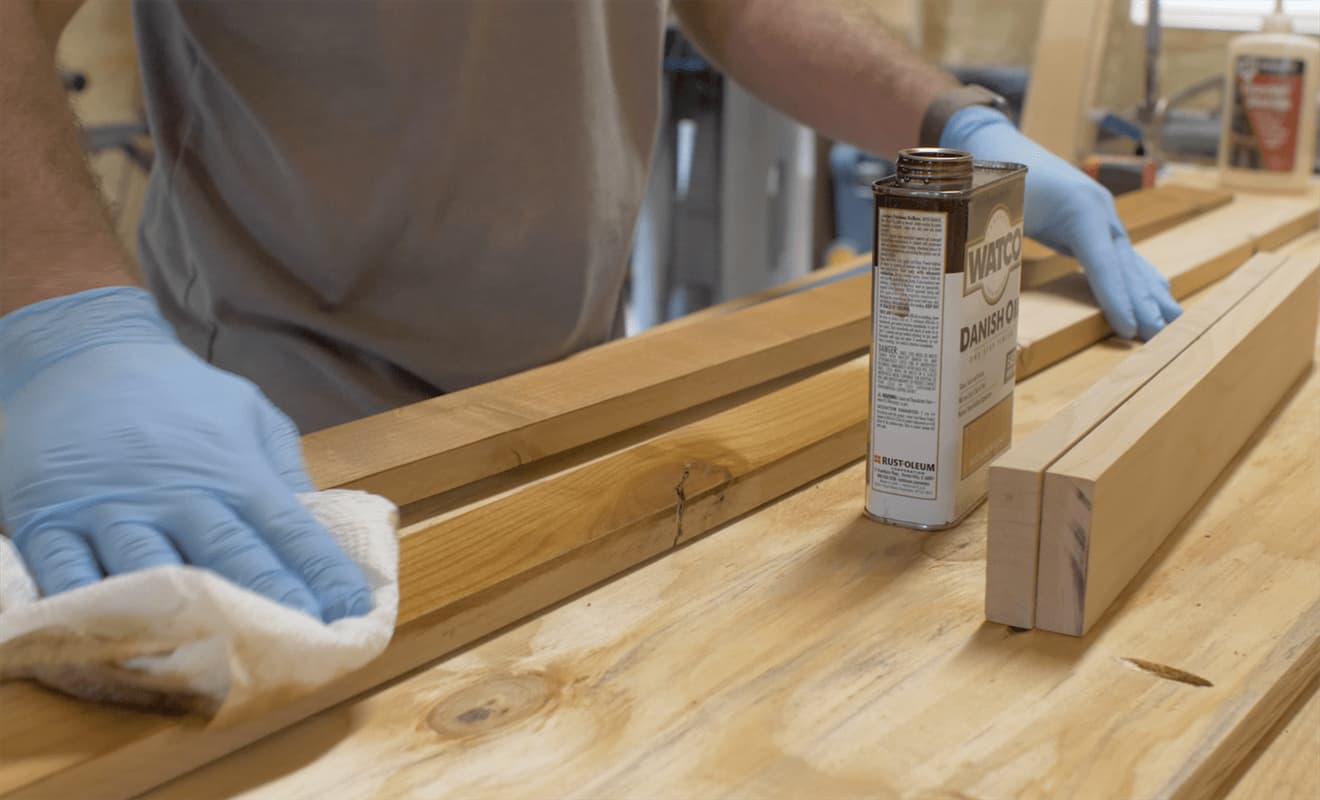
This is where you can get creative. We chose to go with a simple danish oil finish with a medium walnut tint to it and we love how it turned out. It is a quick and easy finish to apply.
7Assemble the Frame
- Now it is time to attach the 1×3 boards to the plywood. This is done with 1-1/4″ pocket hole screws through the, already drilled pocket holes and into the outer boards.
- Start with the top board as each end should line up with the sides of the plywood. The back edge of the 1×3 board should be flush with the back of the plywood and the pocket holes on the 1×3 should be facing outward.
- Then move around to the side and connect it to the top/bottom with 1-1/4″ pocket screws through the pocket holes drilled in the shorter 1×3 ends.
- Repeat the process until all of the pocket holes have been utilized. Note: The brass rod may need to be inserted during this process.
8Installing the Mirror
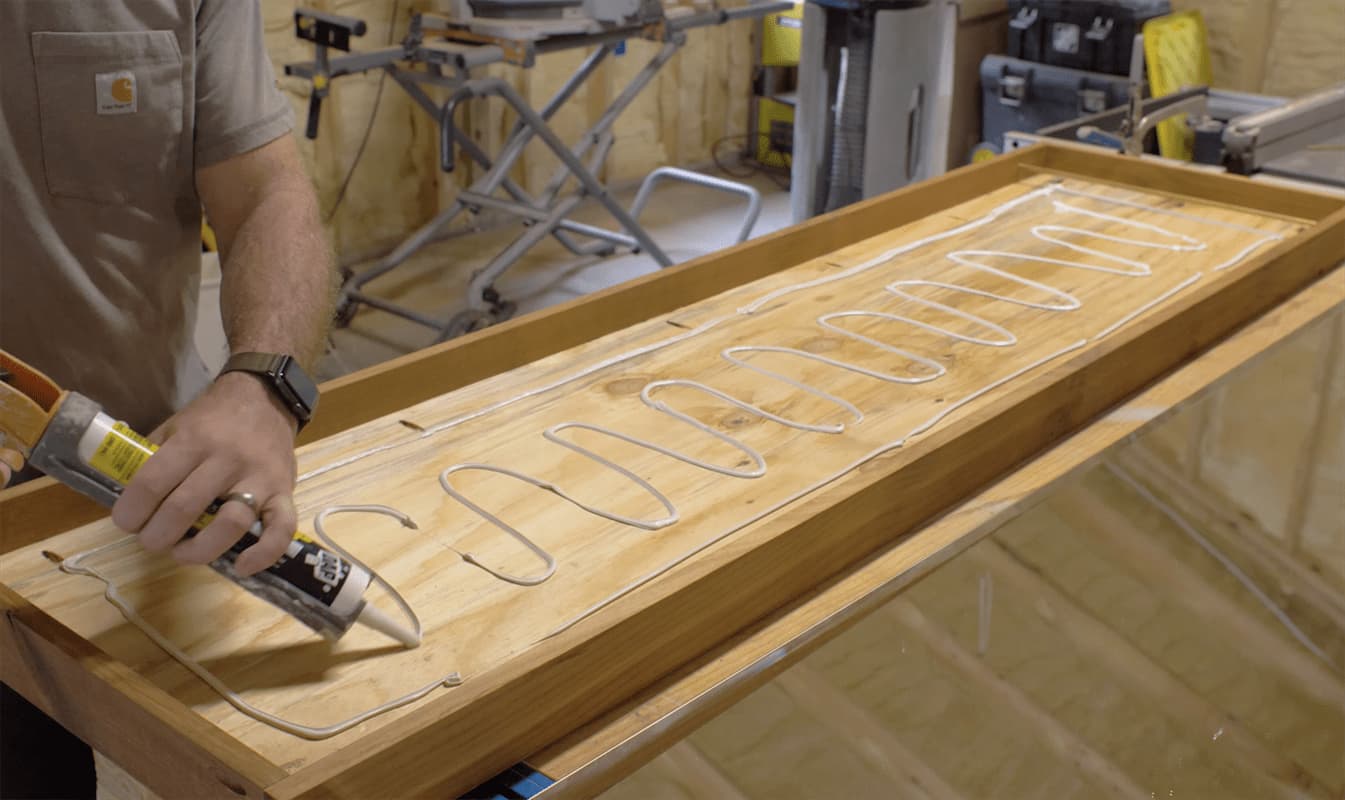
To install the mirror you’ll need a good adhesive. A great option is DAP’s DynaGrip Mirror, Marble and Granite Adhesive. The reason there is a specific adhesive for mirrors is because it will adhere to a non-porous. Unlike wood or concrete, a mirror, marble or granite are completely smooth creating a problem for most adhesives. And if you are ever adhering a mirror to a wall, DynaGrip will give you a permanent vertical hold in 1 hour.
Tags
- Decor
- Beginner
Reviews & builds
No reviews yet
Sign in to review this plan or share your build.
No reviews yet. Be the first to build this.