Notch
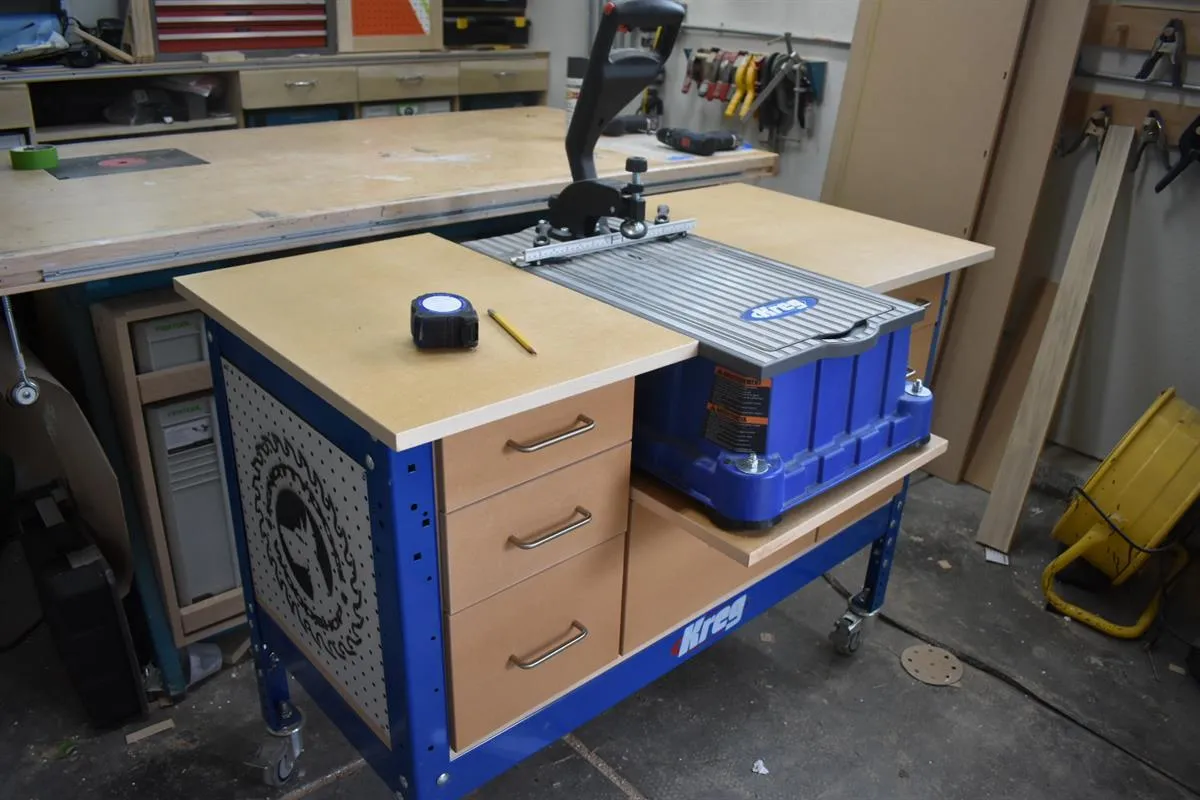
Foreman Cart
Step-by-step build — 9 steps. Also available as a print sheet.
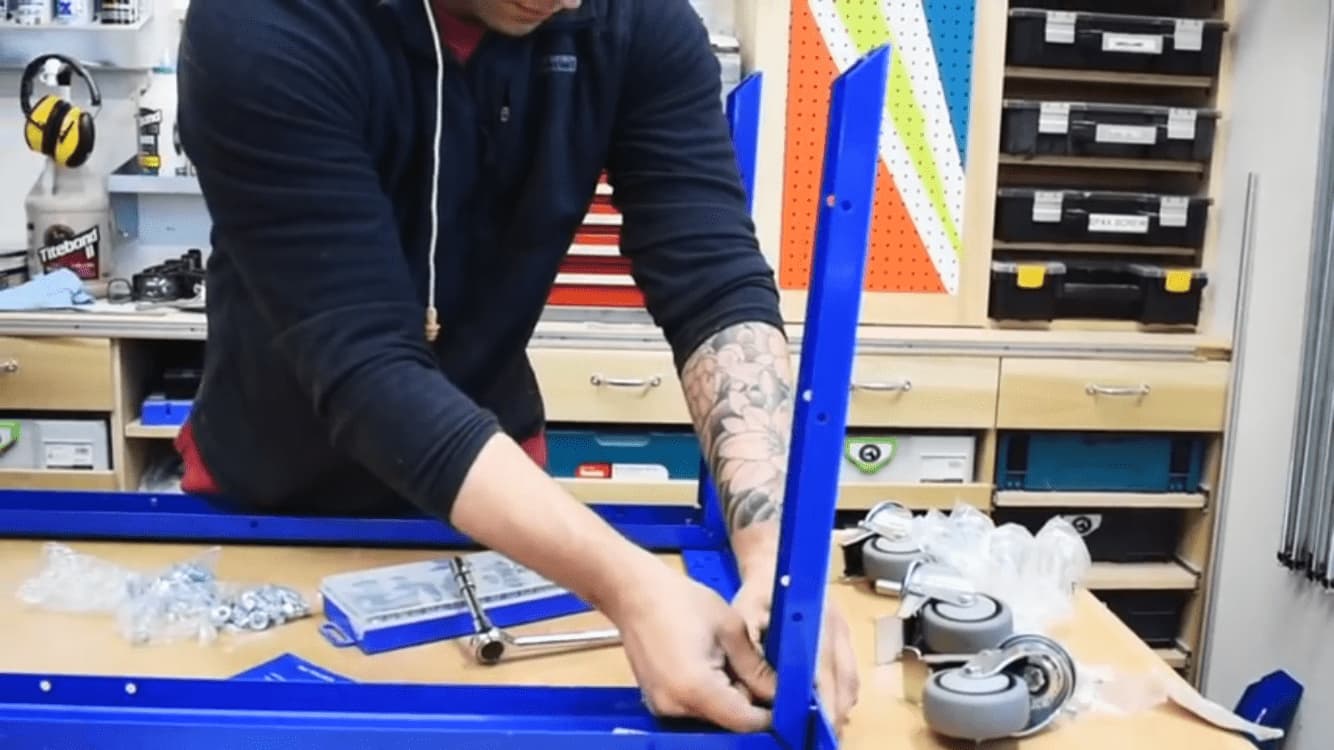
1Assemble the Universal Workbench
Begin assembly of the 20"x 44" Kreg Universal Workbench with standard height legs that can be adjusted from 31" to 39" tall. It can be built without the wheels and as a stationary unit, but I like being able to move my shop tools around if I need the extra workspace so I added the wheel kit.
2Base and Back
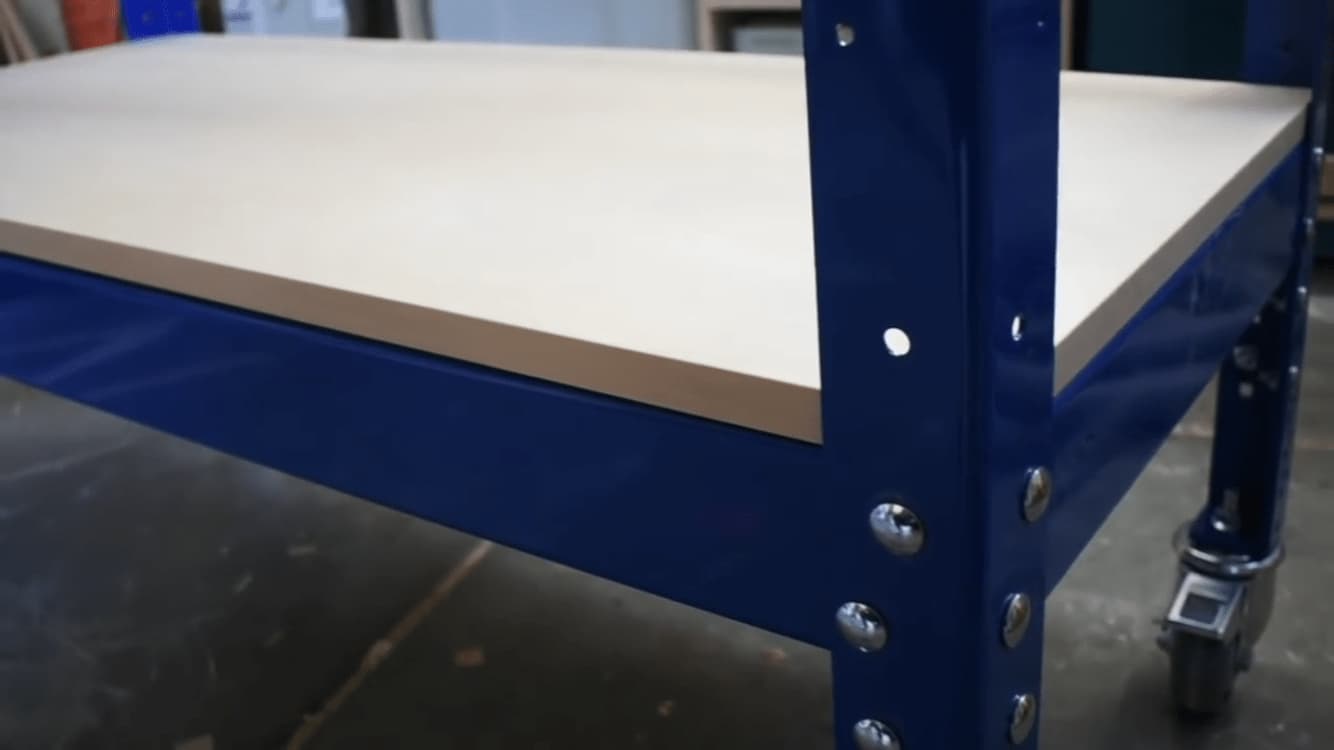
- Cut the base to fit the opening, the cabinets and Kreg Foreman will rest on the base. The Base will measure, roughly 20"x 43 7/8". While its all open cut a back panel for the inside of the Universal Bench. This will help keeping the unit square and rigid.
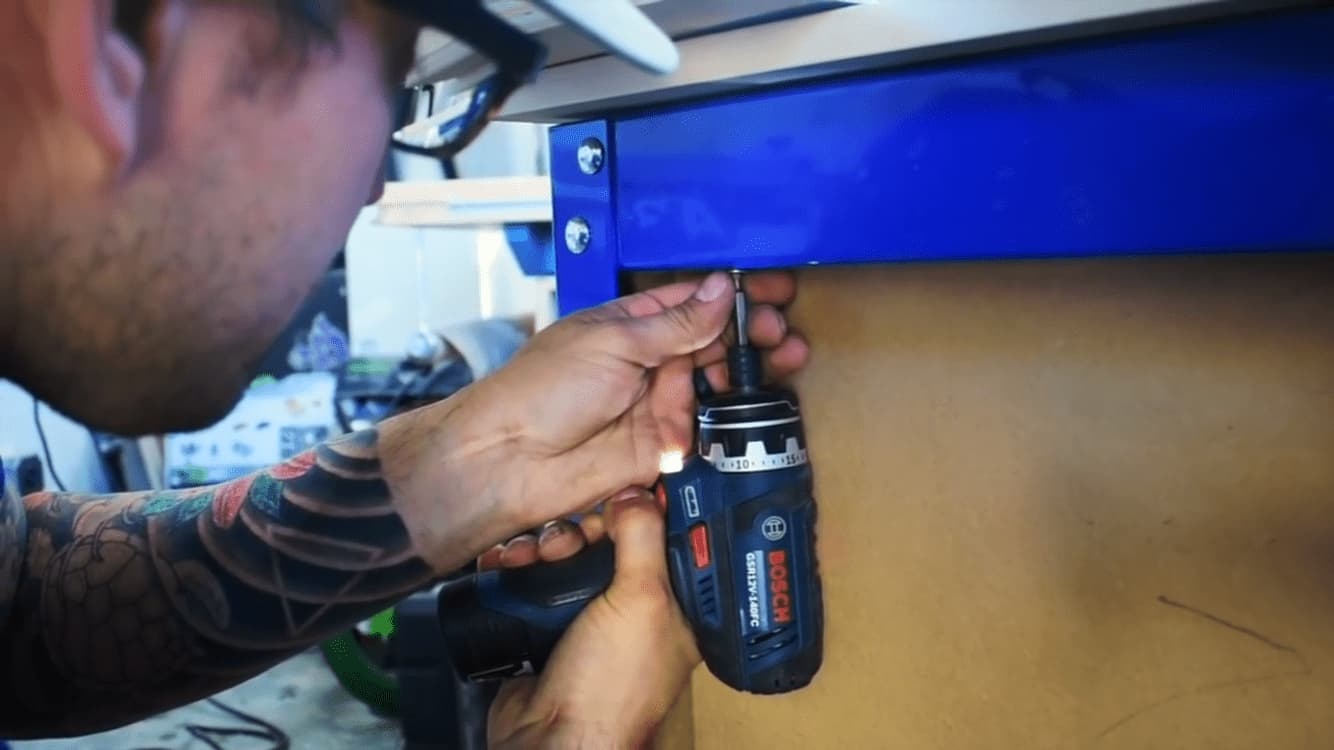
- Screw from the outside into the plywood. The workbench has hole openings for this purpose.
3Two side cabinets
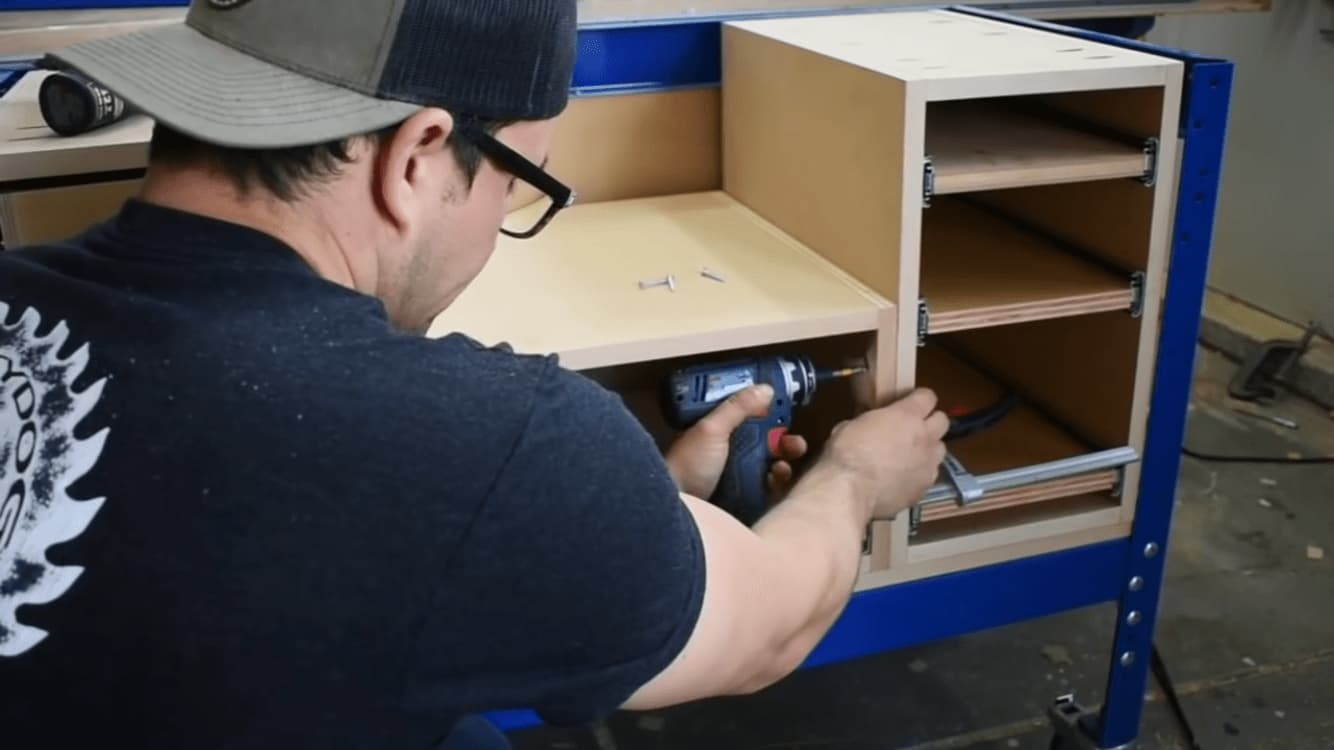
- Cut 4 pieces measuring, 18 1/4" tall by 18" deep. These will be the sides for the tall cabinets.
- Cut 4 pieces that measure, 9 1/2" by 18" deep. These will be the tops and bottoms for the cabinets. Pocket hole the top and bottoms to the side cabinets.
- Cut a back panel to size, brad nail or screw on the back.
4Middle Cabinet
- Cut 2 sides measuring 10 3/8" tall by 18" deep.
- Cut the bottoms 16 1/2" wide by 18" deep. Pocket hole the cabinet together.
- Cut a back panel to size and attach the back.
5Platform for the Kreg Forman
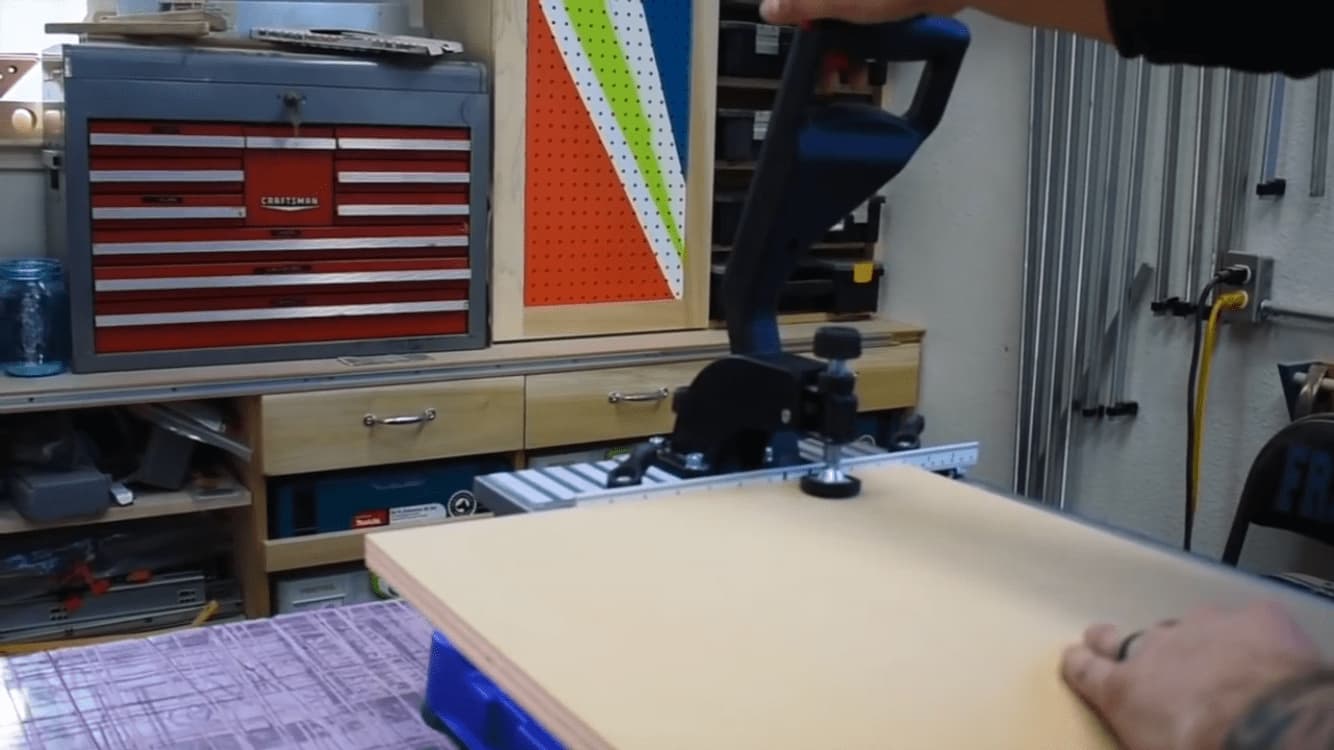
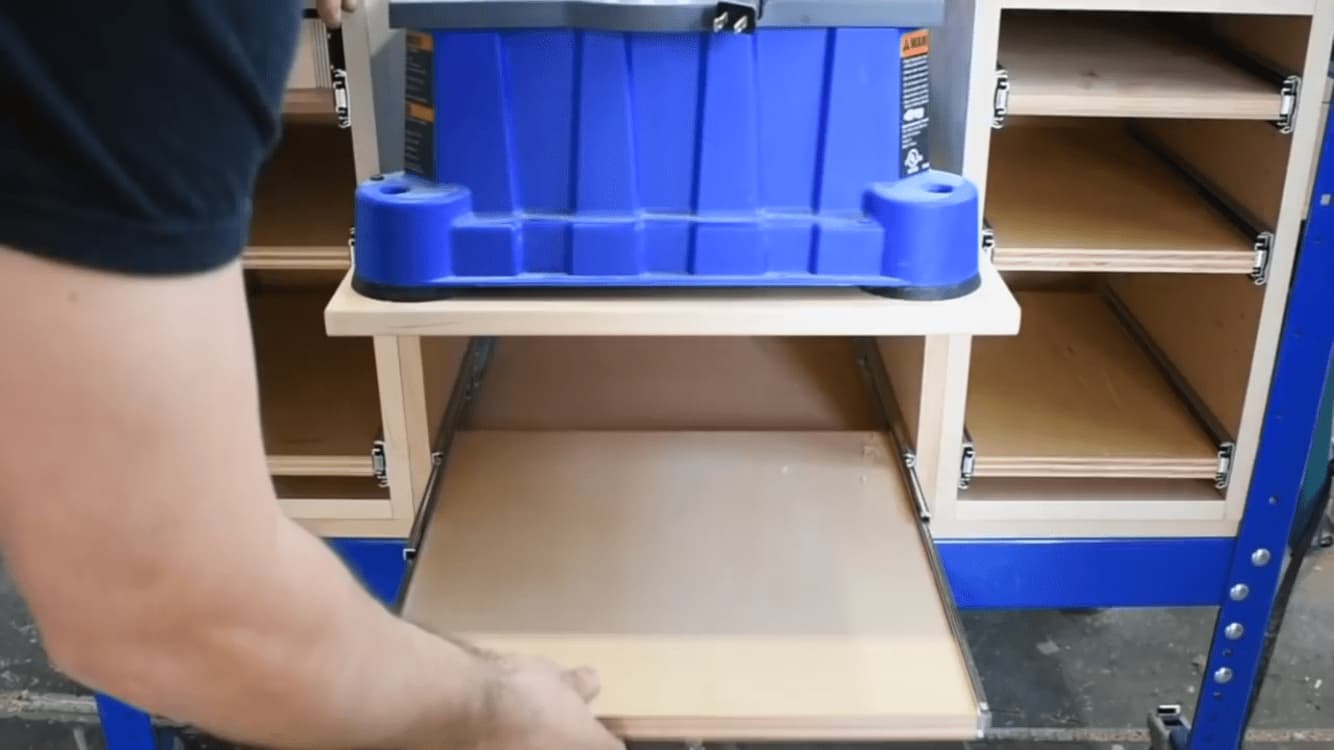
The Foreman will rest on a single piece of plywood measuring 18" wide by 27 1/2" deep.
6Top of Workbench
There is two options, Cut a long piece and jigsaw out the opening for the Kreg Foreman after its been attached or cut two individual tops. I went with cutting two individual tops. However looking back maybe a jigsaw would have been much easier. I cut, two top pieces from a 3/4" plywood measuring 23"x16". I screwed from the cabinets below into the top. Once the tops are secure, I secured the tops through the holes on the Kreg Universal Workbench to keep everything secured together.
7Adjustable Shelf Pin Jig
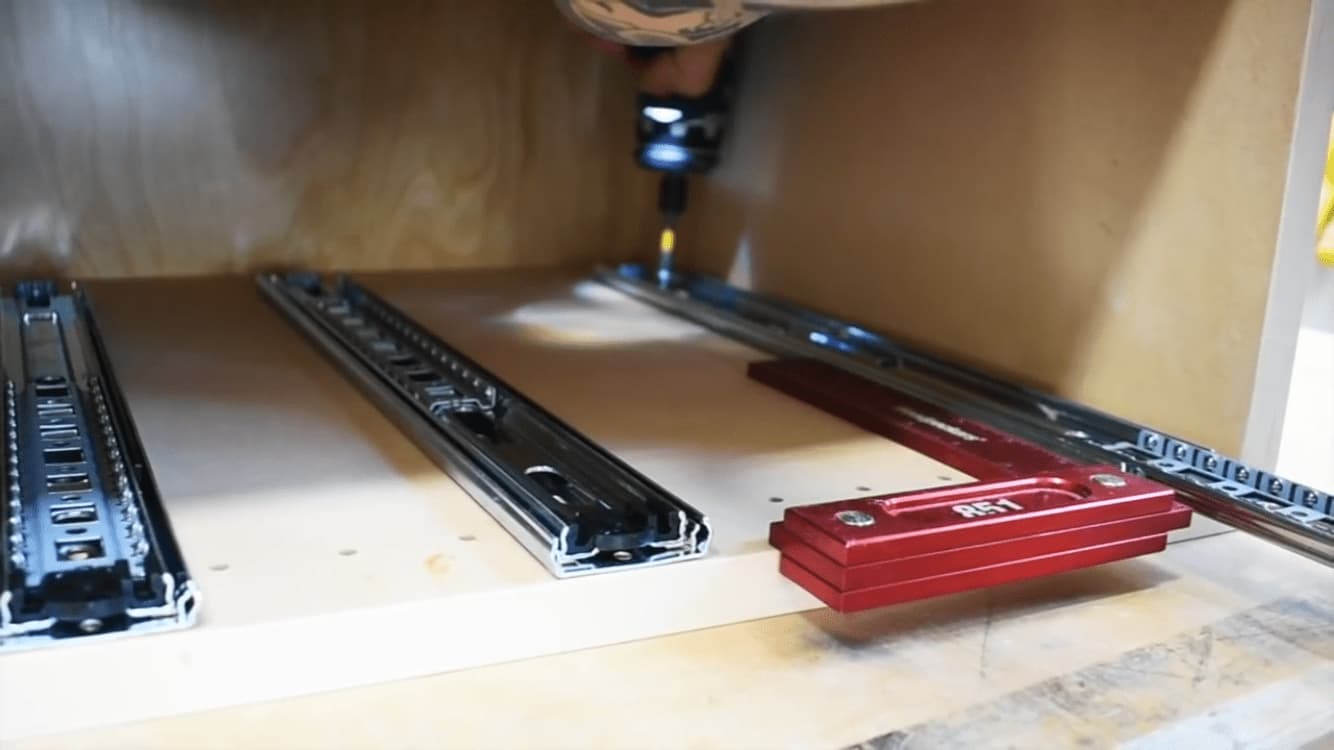
Now with all the cabinets assembled, I used the Kreg Adjustable Shelf Pin jig to make holes for either adjustable shelves or drawers. This is up to everyone and their shop organization goals. I like drawers.
8Insert Kreg Foreman
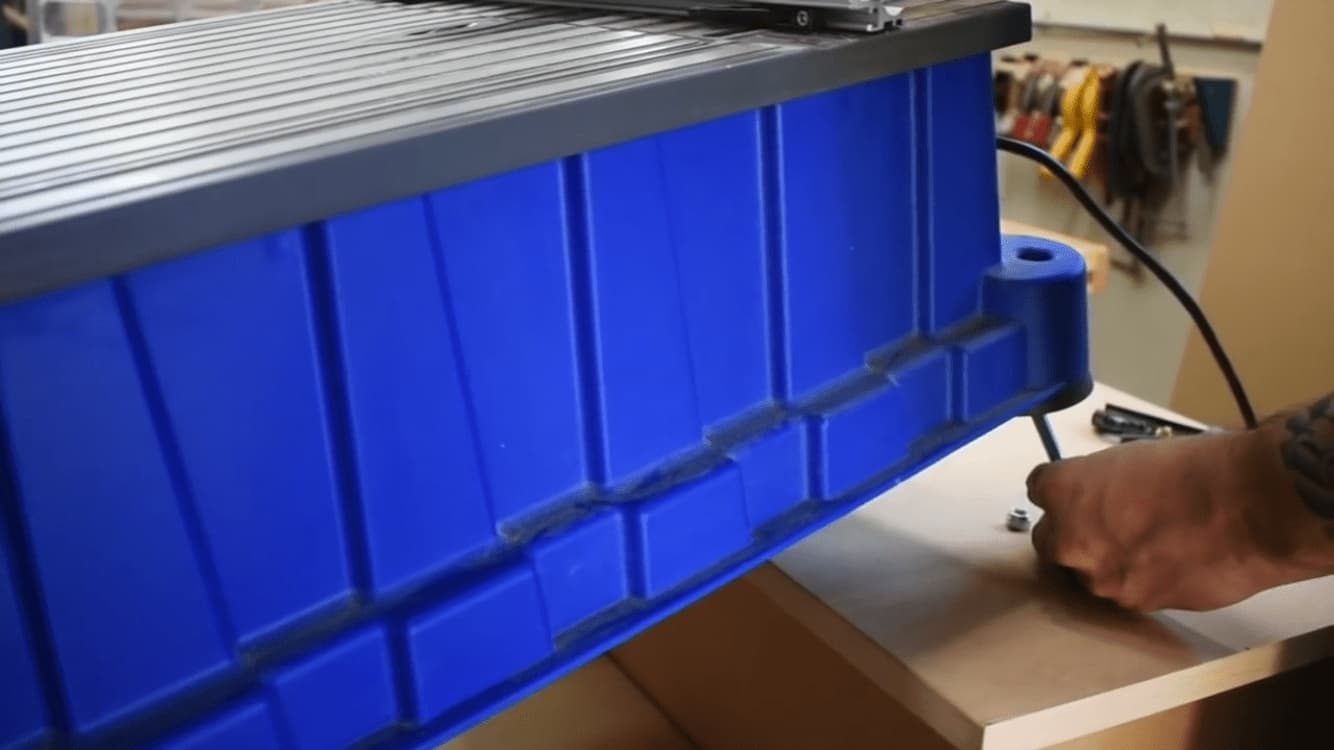
Once the unit is assembled, I used a combination of a few bolts, nuts, and washers to get the keg foreman level with the tops.
9Peg Board
This is optional, you can just attach a solid piece if you wanted. I ripped a couple spacers and attached them into the side cabinets to give the peg board something to attach to with a couple screws.