Notch
NotchFloating Media Console
Step-by-step build — 9 steps. Also available as a print sheet.
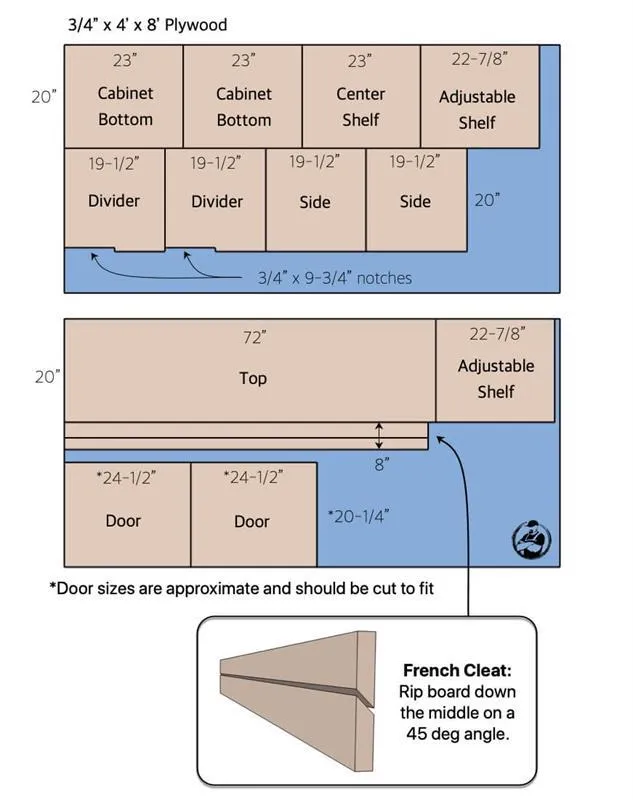
1Cut Down Plywood
Using the Kreg track saw break down the plywood using the cut list below.
2Assemble the Cabinet Carcass
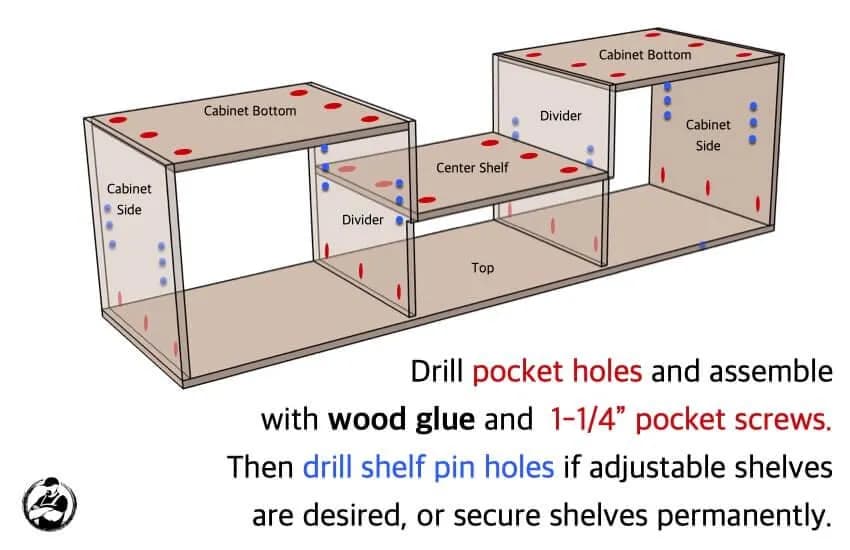
Drill picket holes and assemble with wood glue and 1-1/4" pocket screws. Then drill the shelf pin holes if adjustable shelves are desired, or secure shelves permanently.
3Install the French Cleat
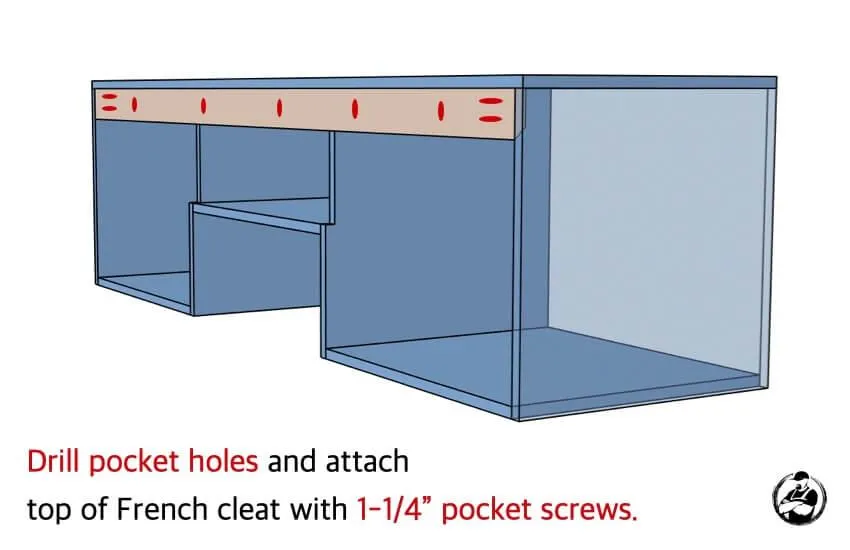
When positioning the cleat make sure to place it such that the long side is toward the back of the unit. This way the unit will slide into place and lock into the other side of the cleat that is mounted against the wall. Drill picket hoels and attach top of French cleat with 1-1/4" pocket screws.
4Conceal Exposed Edges
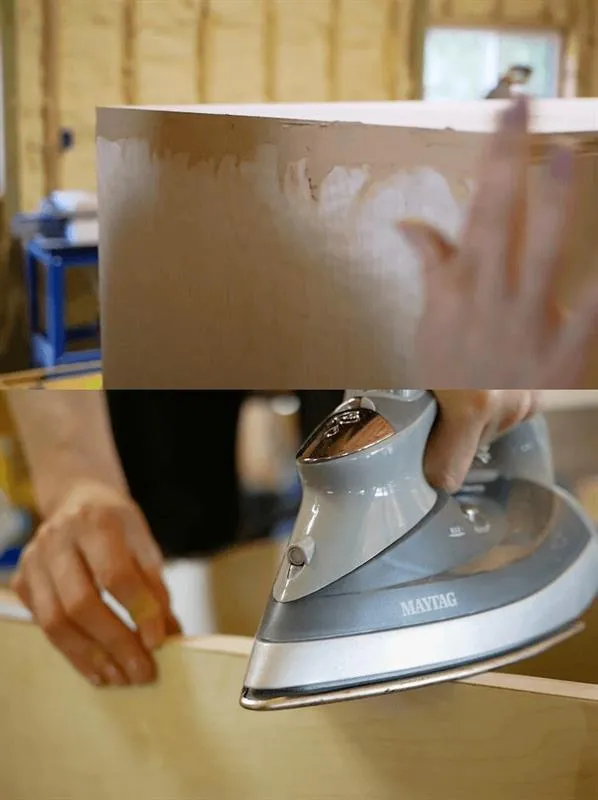
When working with plywood most of the time you end up with exposed edges. There are two ways that I like to deal with this. One is applying a thin coat of wood filler to build up the edge, or blend into another, and sanding it down smooth. We used this method for the exposed edges on the sides which allowed us to blend the edge of the top into the sides. Another way is to apply and edge banding. We used an iron on edge banding for the front face of the cabinet and the cabinet doors. This is great because you can match the wood veneer for clear finishes and for painted finishes it leaves a flat smooth edge.
5Finishing the cabinet
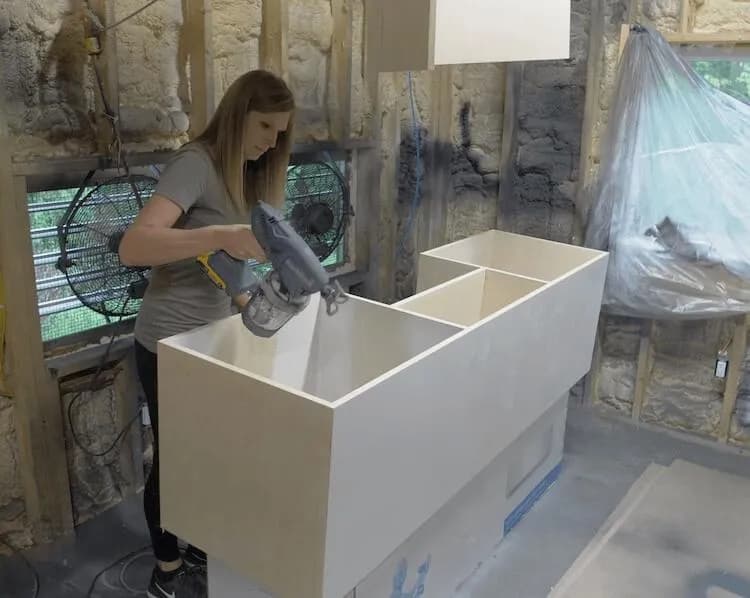
Time to prime and paint the cabinet. Since this cabinet is bare plywood with exposed edges you’ll have to prime the wood first which will help create a smooth surface that the paint can bond to better.
6Finish Doors
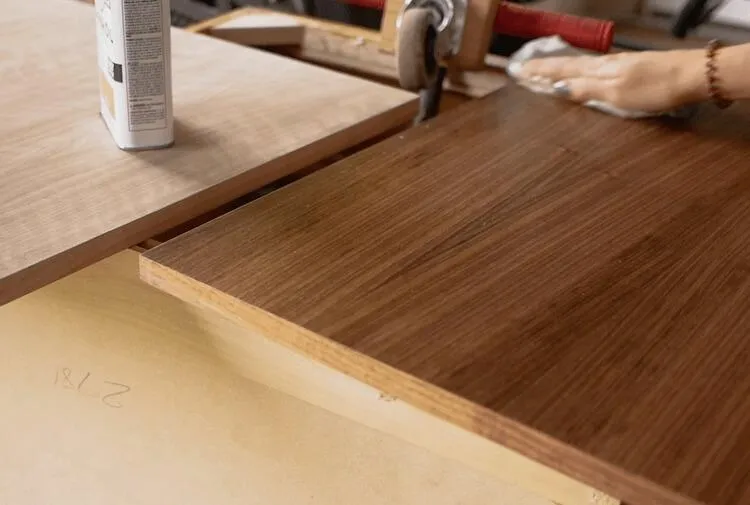
We went with a simple danish oil finish on the cabinet doors. We choose to use a walnut plywood for the doors on this project because it looks much better than the birch. However, if you choose the paint the cabinet doors the birch plywood would work just as well.
7Hang Console on Wall
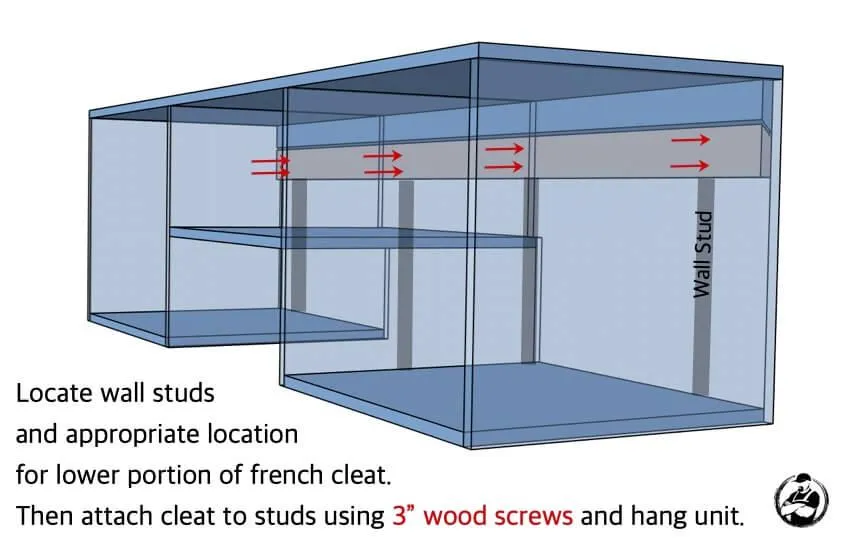
- Now it’s time to install this thing. The french cleat system really makes this easy. Figure out the height you want your unit and where the cleat will need to go to achieve that.
- Then find your wall studs and grab a level.
- Attach the bottom cleat to the wall with the long side out and up with one screw.
- Then level the cleat and finish installing with two screws at each stud. Two screws will help keep the cleat from rocking against the wall.
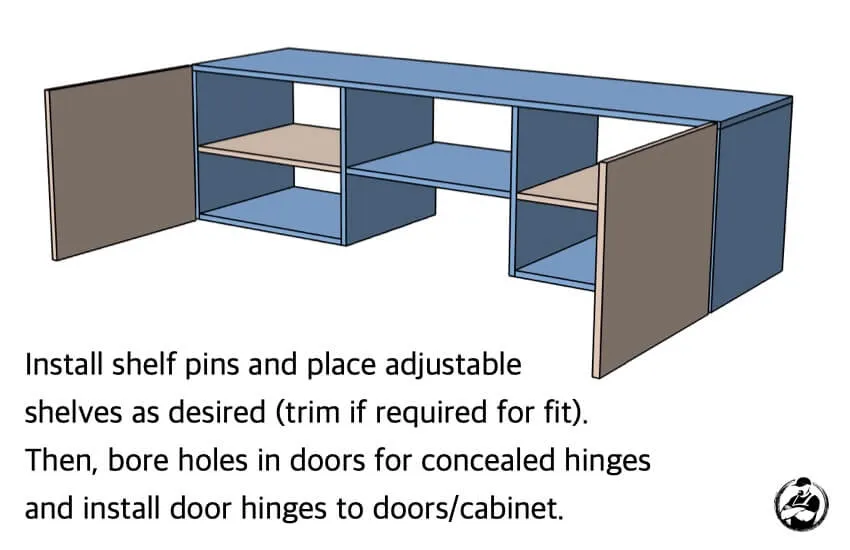
8Install Shelves and Doors
I used the Kreg concealed hinge jig to bore the holes for hinges in the doors as well as a small scrap piece that I used as a template to install the bases of the hinges to the inside of the cabinet. Install shelf pins and place adjustable shelves as desired. Then, bore holes in the doors for concealed hinges and install door hinges to doors/cabinet.
9Install Hinge Lights
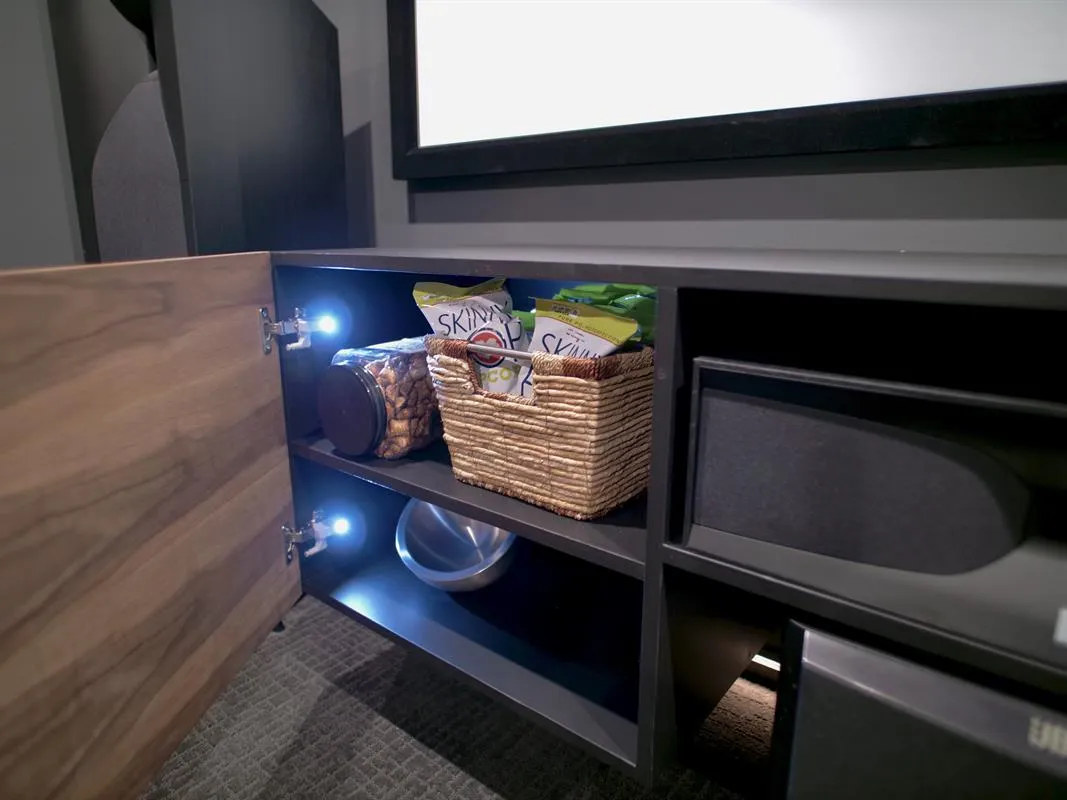
If you have the right hinges, adding a hinge light is really simple and great for this cabinet since the room will be dark the majority of the time.