 Notch
Notch- Difficulty
- Intermediate
- Time
- 5.8–11.3 hours
- Cost
- $$$$
About this build
When it came time to transition our daughter to a twin bed, we knew we wanted something with ample storage. We capitalized on the all too often wasted space under a bed and built in three full-width drawers. Head over to the Extras tab to grab a full set of these plans!
Tools
Essential
- Drill / Driver
- Impact Driver
- Jointer
- Miter Saw
- Pocket Hole Jig
- Random Orbit Sander
- Router Table
- Table Saw
- Thickness Planer
Optional / nice to have
- Bar / Pipe Clamps
- Tape Measure
Materials
| Item | Qty |
|---|---|
| Plywood, 3/4" Thick Full Sheet | 1 board |
| Plywood, 1/4" Thick Full Sheet | 2 board |
| MDF, 1/2" Thick Full Sheet | 1 board |
| Beadboard, 1/4" Thick Full Sheet | 1 board |
| Hardwood ,, Board feet | 10 board |
| Rockler Keyhole Bed Rail Hardware | 1 each |
| Kreg 1-1/4" Pocket Hole Screws | 100 each |
| Kreg 2-1/2" Pocket Hole Screws | 100 each |
| Drywall Screws | 24 each |
| 28" Full Extension Drawer Slides | 3 each |
| Drawer Pulls | 6 each |
Overall cost: $$$$. Lumber prices vary by region, species, and season, so we give a band rather than a figure we would only be pretending to know.
Cut list
| Part | Qty | T × W × L |
|---|---|---|
| Headboard Post | 2 | 3" × 3" × 50 1/2" |
| Footboard Post | 2 | 3" × 3" × 24 1/2" |
| Headboard / Footboard Cap | 2 | 1 1/2" × 3 1/2" × 44" |
| Headboard / Footboard Top Rail | 2 | 1 1/2" × 3 1/2" × 35" |
| Headboard / Footboard Center Rail | 2 | 1 1/4" × 3 1/2" × 35" |
| Headboard / Footboard Bottom Rail | 2 | 1 1/2" × 3 1/2" × 35" |
| Headboard Panel | 1 | 1/2" × 35 3/4" × 40 1/4" |
| Footboard Panel | 1 | 1/2" × 14 1/4" × 35 3/4" |
| Bed Frame Rail | 4 | 3/4" × 2" × 75" |
| Bed Frame Stile | 8 | 3/4" × 2" × 7 1/2" |
| Drawer Front | 6 | 3/4" × 6" × 19 13/16" |
| Drawer Side | 6 | 3/4" × 6" × 36" |
| Drawer Bottom | 3 | 1/4" × 20 5/16" × 35" |
| Drawer Front Panel | 6 | 1/2" × 4 3/4" × 19 9/16" |
| Drawer Front Rail | 12 | 3/4" × 1 1/2" × 22 1/16" |
| Drawer Front Stile | 12 | 3/4" × 1 1/2" × 5" |
| Drawer Slide Brace | 6 | 3/4" × 4" × 38" |
| Bed Slats | 11 | 3/4" × 3 1/2" × 38" |
| Bed Slat Support | 2 | 1 1/4" × 1 1/2" × 75" |
| Mounting Piece False Drawers | 3 | 3/4" × 4" × 10" |
What to buy
Buy 35 boards at 8 ft.
3" × 3"
2 boards
1 1/2" × 3 1/2"
3 boards
1 1/4" × 3 1/2"
1 board
1 1/4" × 1 1/2"
2 boards
3/4" × 6"
4 boards
3/4" × 4"
3 boards
3/4" × 3 1/2"
6 boards
3/4" × 2"
4 boards
3/4" × 1 1/2"
4 boards
1/2" × 35 3/4"
1 board
1/2" × 14 1/4"
1 board
1/2" × 4 3/4"
2 boards
1/4" × 20 5/16"
2 boards
Assumes 8 ft stock, a 1/8" saw kerf, and buying each part at its own width. Change the board size or kerf on the full board plan →
Instructions
1Rough Cuts
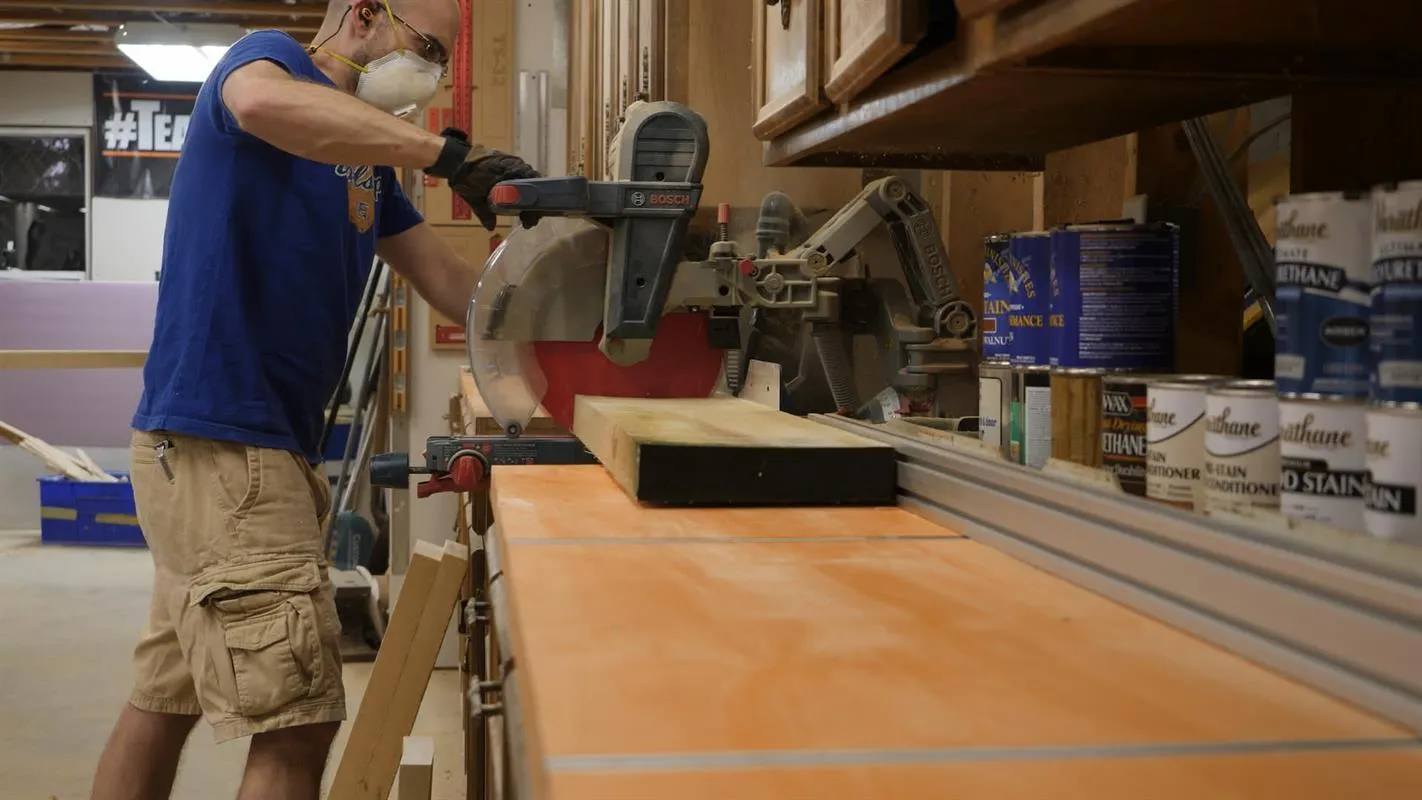
I used rough sawn lumber for this build, so I bought a bit more than what I needed to account for waste and "design opportunities." To start off, I crosscut the material about 1” longer than needed for my parts.
2Mill Headboard & Footboard Frame
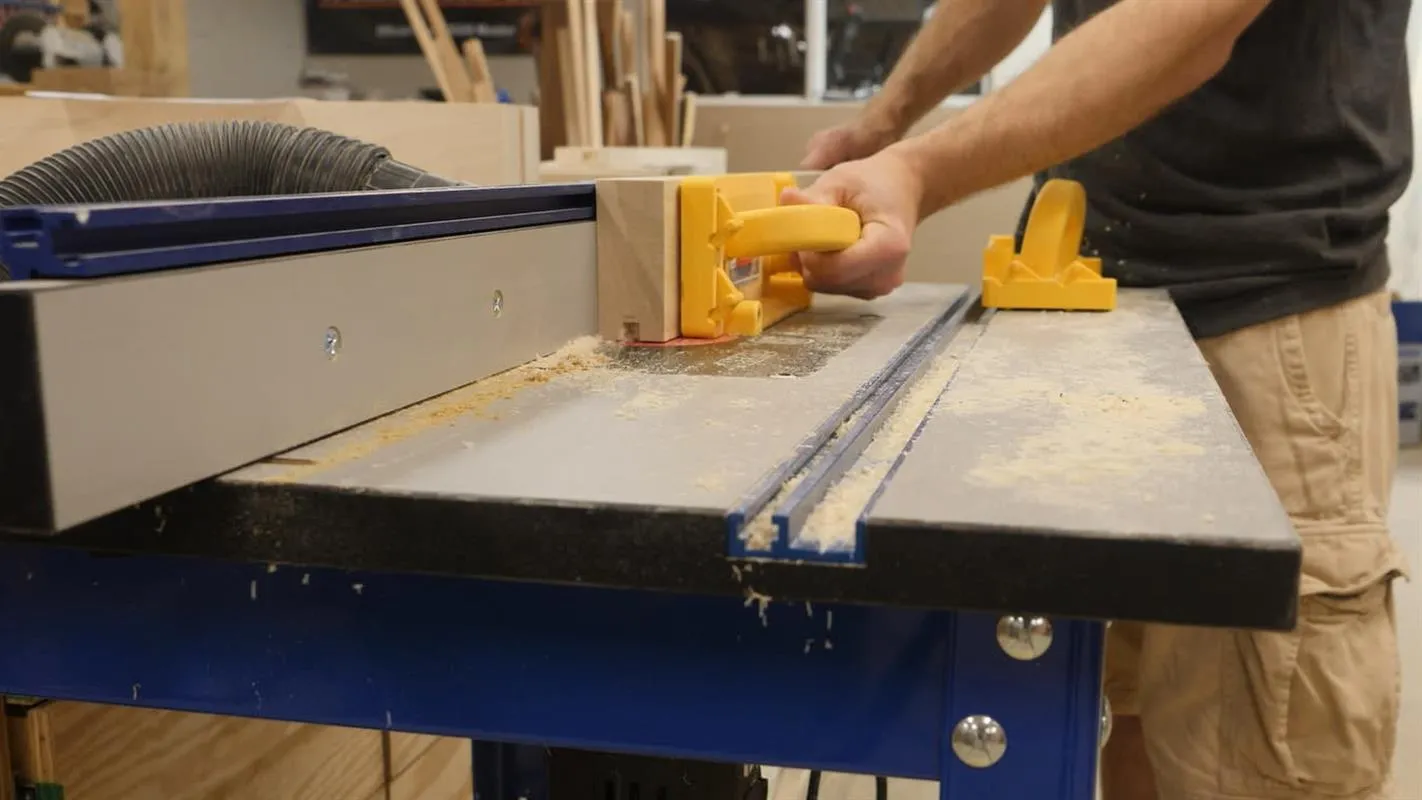
I used 8/4 poplar to make the headboard and footboard frame. To begin milling, I jointed one face and one edge before ripping the boards to rough width (about 1/2” wider than needed). I glued up material for the posts and then used a combination of planing and cutting to bring the parts to their final dimensions. The posts, top rails, and bottom rails were dadoed with a 3/8” bit on the router table. This dado is cut wide enough for the laminated beadboard panel to fit without binding.
3Laminate Beadboard Panel
- I started off by cutting the beadboard and 1/4" plywood larger than needed. I applied contact cement to the surfaces to be joined with a chip brush and allowed the adhesive to "tack" by sitting for 15 minutes before laying the sheets on top of each other. Centering the sheets on one another is made easier by laying sticks across the bottom sheet and then laying the top sheet on the sticks.
- Once the sheets are centered, the sticks can be removed and a laminate flooring roller can be used to evenly press them together. With contact cement, you get one shot at sticking the pieces together in the correct orientation.
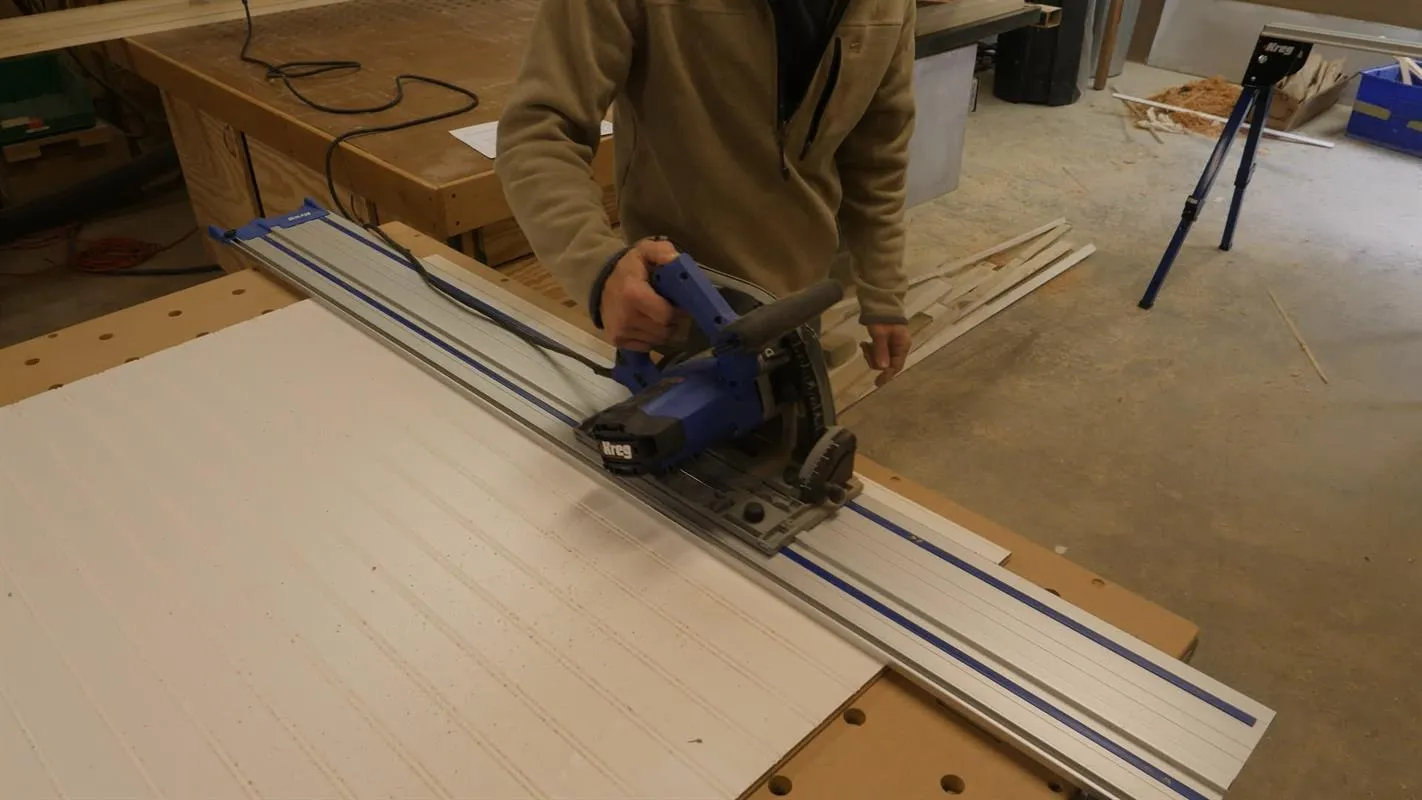
- Once cured, I trimmed them to final size using the Kreg ACS. I also made sure to center the beadboard pattern.
4Assemble Headboard & Footboard
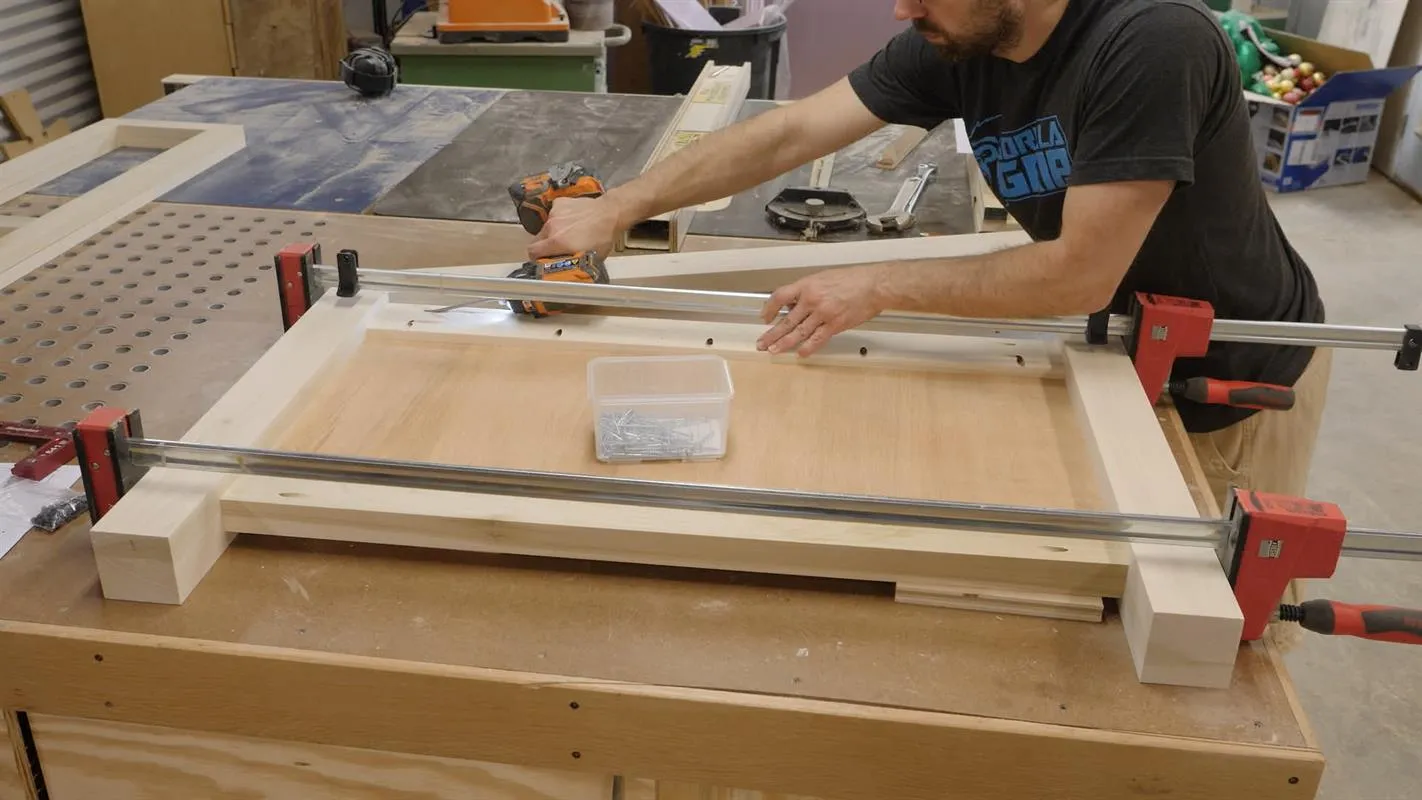
The headboard and footboard are assembled using 2-1/2" pockethole screws. Before starting the assembly process, I sanded up to 150 grit. To assemble, position the items as shown in the plans and screw the parts together. Using clamps to temporarily secure the parts will make assembly easier.
5Mill Bed Rail Face Frame
The bed rails double as a face frame for this bed and are made from 4/4 poplar. The milling operations are very much the same as earlier. I joint one face and edge, then rip stock on the tablesaw to it's rough width. After planing the boards to roughly 13/16, I head back to the tablesaw and rip everything to it's final width. Now I drill pocket holes as needed in the stiles for 1-1/4” screws.
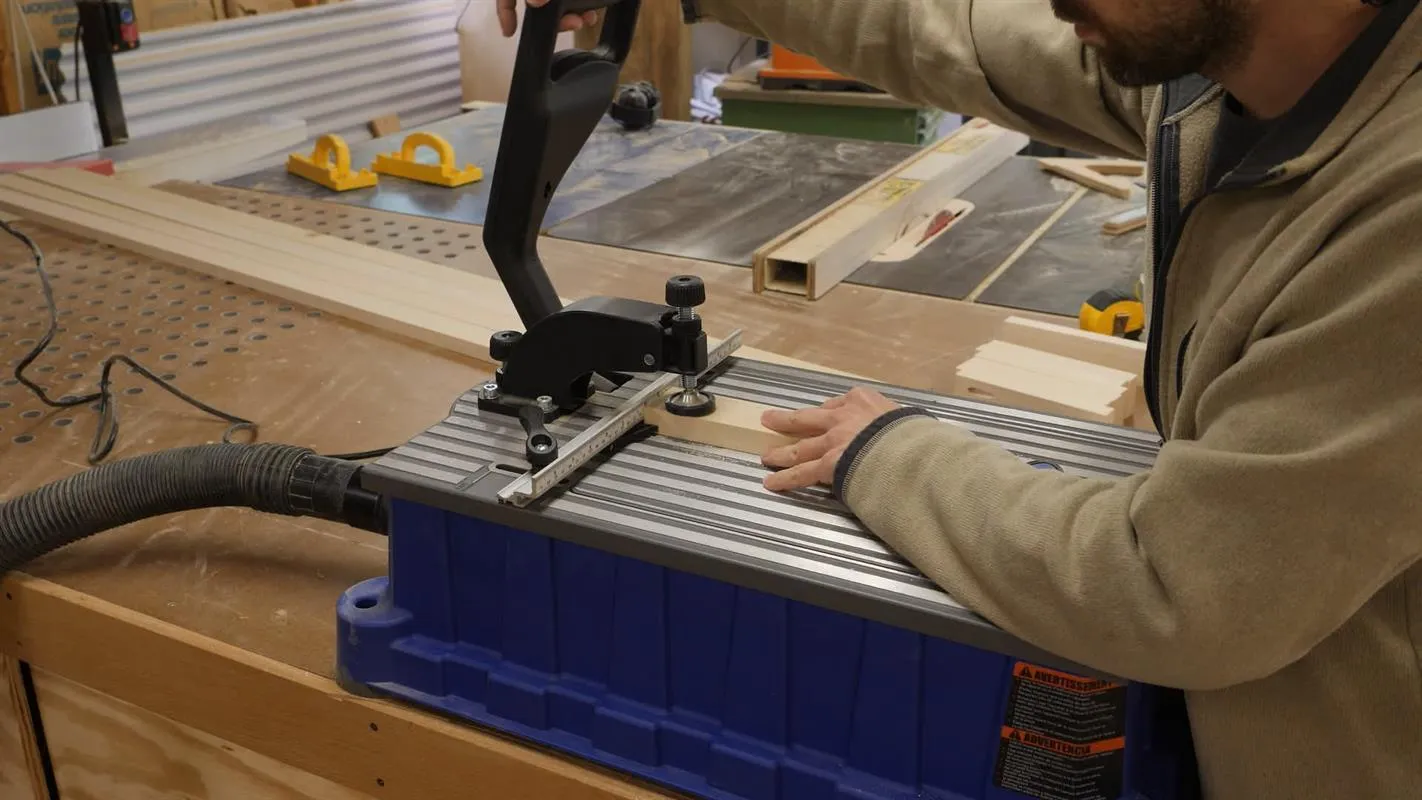
6Assemble Face Frame
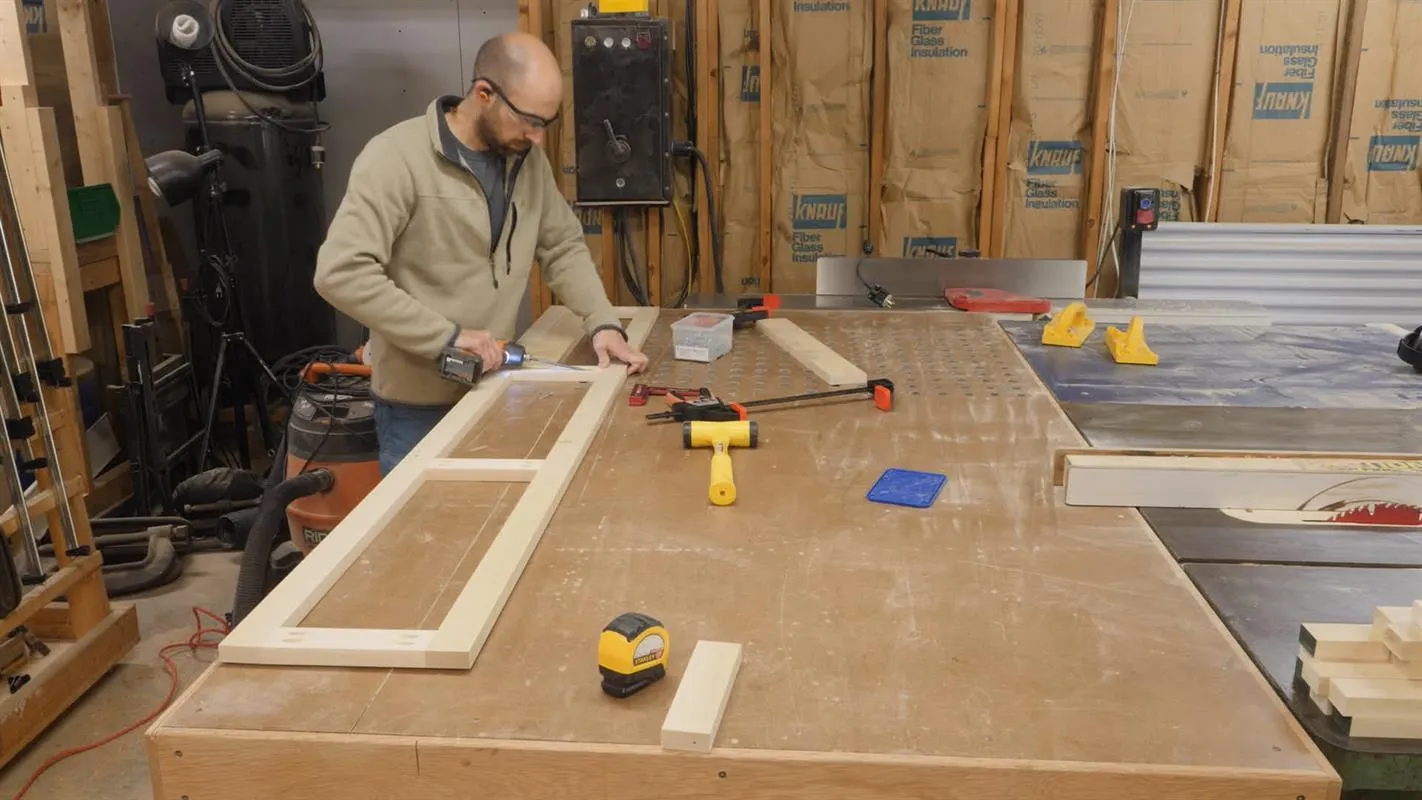
- To assemble the face frames, I used bar clamps to hold the parts in place while screwing them together.
- Once the outside stiles were in place, I check for square by measuring across the corners.
- Then to space the center stiles, I used a scrap of plywood cut to the drawer opening shown in the plans and located the stile against it. After this, I clamped the stile in place and used screws to secure it. With both face frames assembled, I ran them through the drum sander until they reached final thickness and then, using a random orbit sander, sanded up to 150 grit.
7Mill Five Panel False Drawer Front
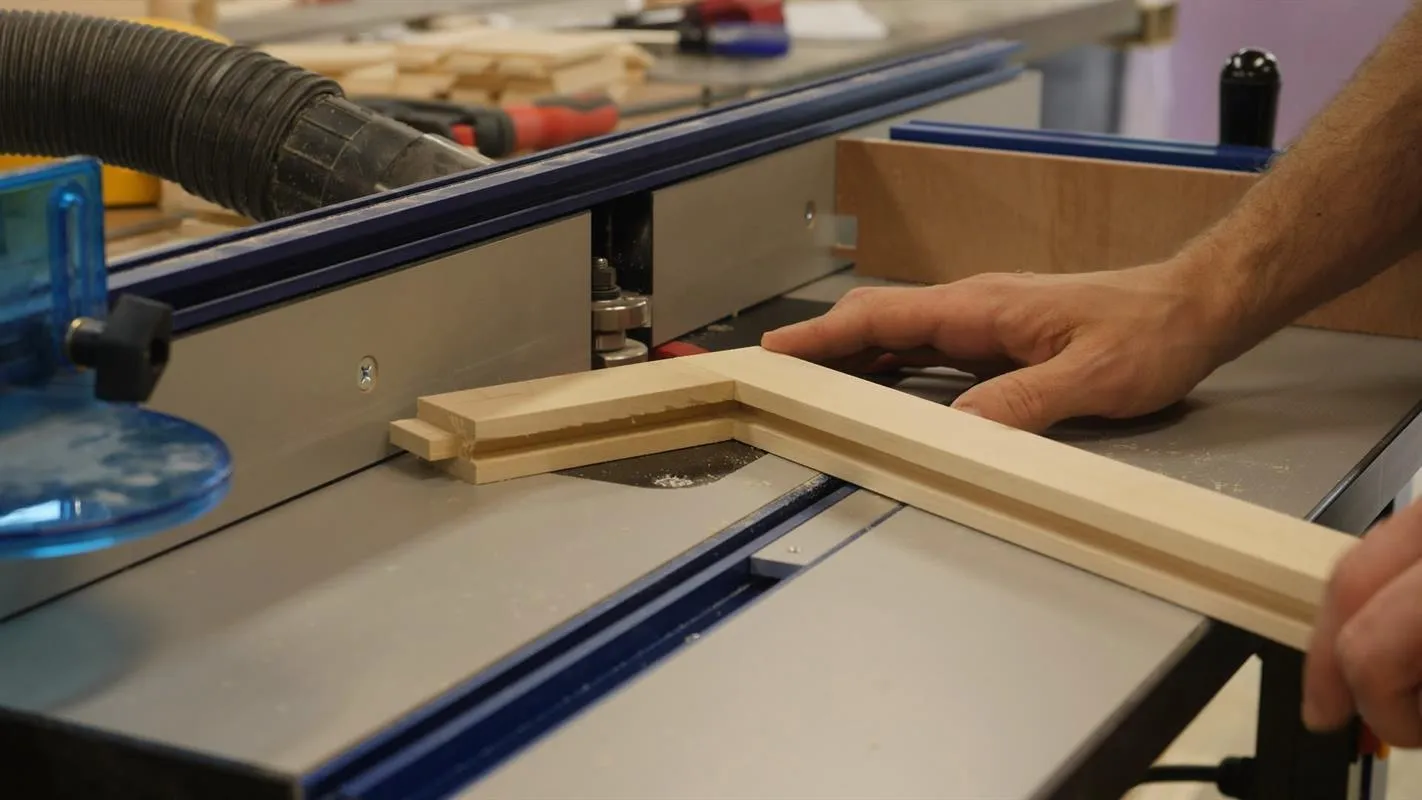
- Some of this can be done while milling stock for the face frame, so I'll just get to what's different about these parts. At the router table, I set up with a tongue and groove router set. I start by cutting the grooves in all of the parts per the plans. At this point, all of the rails and stiles are cut to their final lengths.
- Now back at the router table, I switch cutters and form the tongues on both ends of the stiles. I used the Kreg precision miter gauge to safely run the stock through the cutter. To mill the center panels, I raised the bit until the top cutter cleared the MDF and the proper rabbit was made. For these parts, I like to use off-cuts to setup the router.
- Also, push blocks and a steady feed rate ensure good results.
8Assemble False Drawer Front
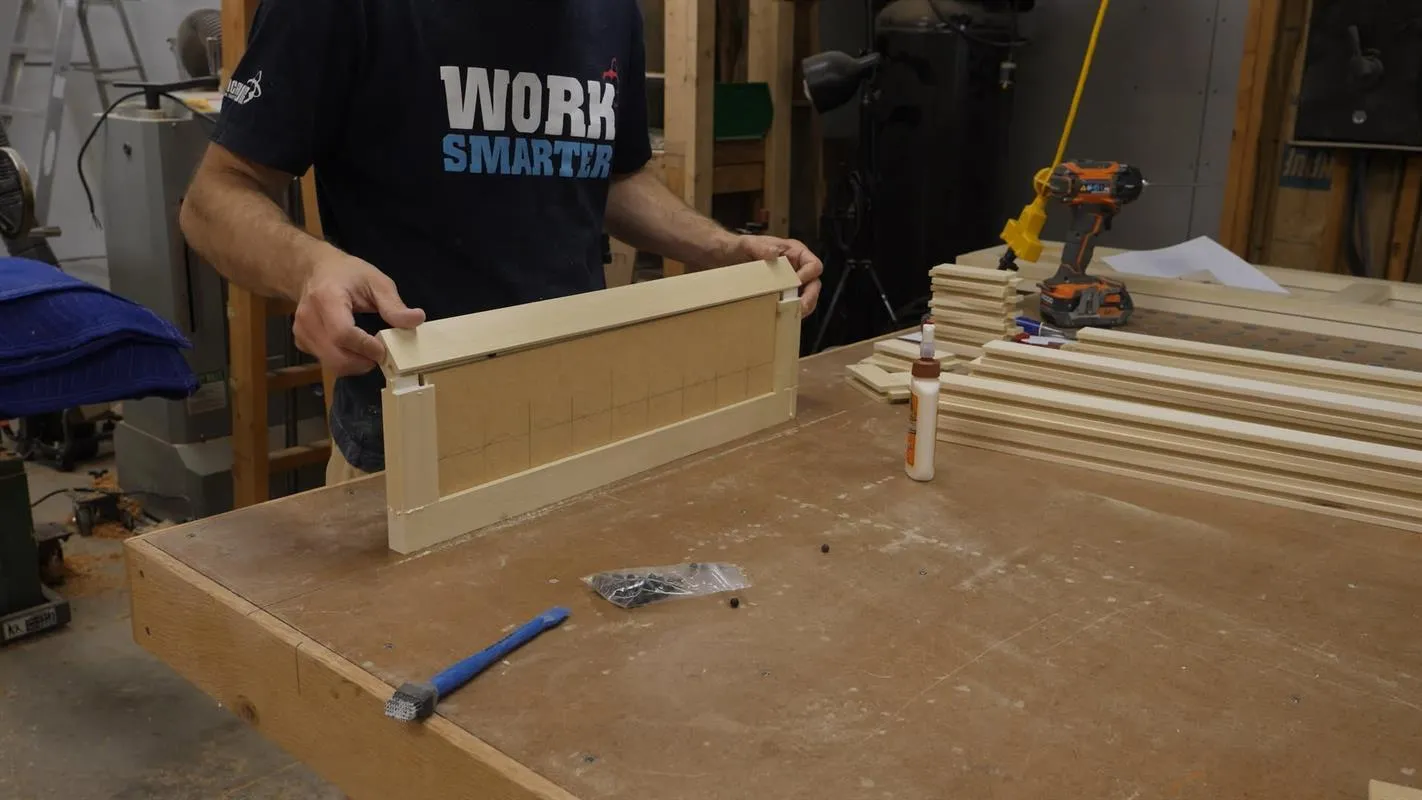
To assemble the false fronts, I used space balls to center the panel and account for expansion and contraction (not completely necessary with an MDF center). With this construction method, only glue the stiles and rails. With the parts loosely together, I used bar clamps to firmly assemble the frame. Before setting the assembly aside to cure, I check for square by measuring across the corners. Once the glue is cured, I run the drawer fronts through the drum sander. Again using the random orbit sander, I work my way up to 150 and then soften the edges by hand.
9Build Drawers
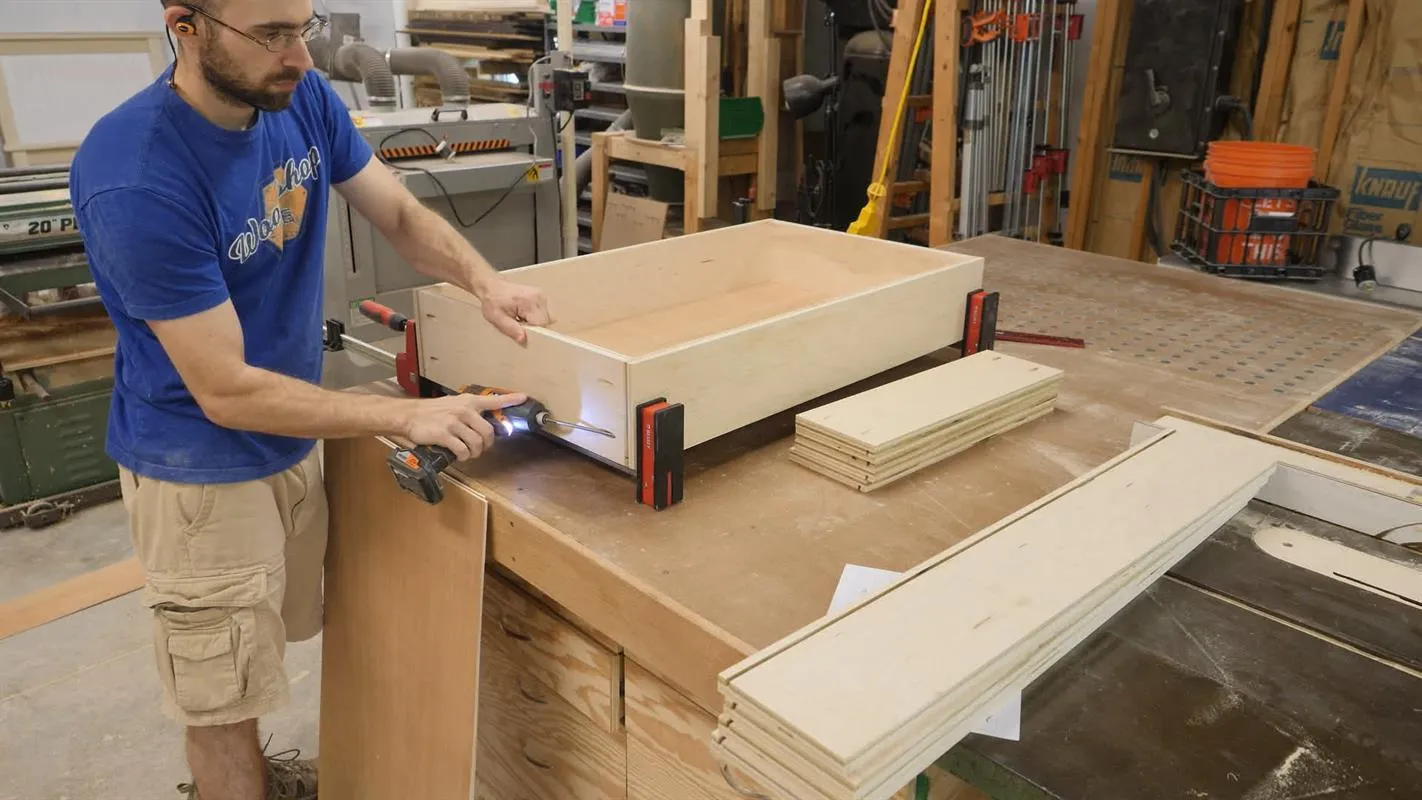
- Building the drawers is by far the fastest step of this build. They are constructed from 3/4" plywood with a 1/4" bottom panel.
- First I cut the fronts, backs, sides, and bottoms to size.
- Next, I run the fronts, backs, and sides through the tablesaw and cut a dado for the bottom panel.
- Now I drill pocket holes (for 1-1/4” screws) on the outside of the front and back pieces. To assemble, I fit the bottom panel into the dados, hold the items together in clamps, and secure the sides to the front and back with 1-1/4" pocket holes screws. Told ya that was gonna be fast!
10Paint
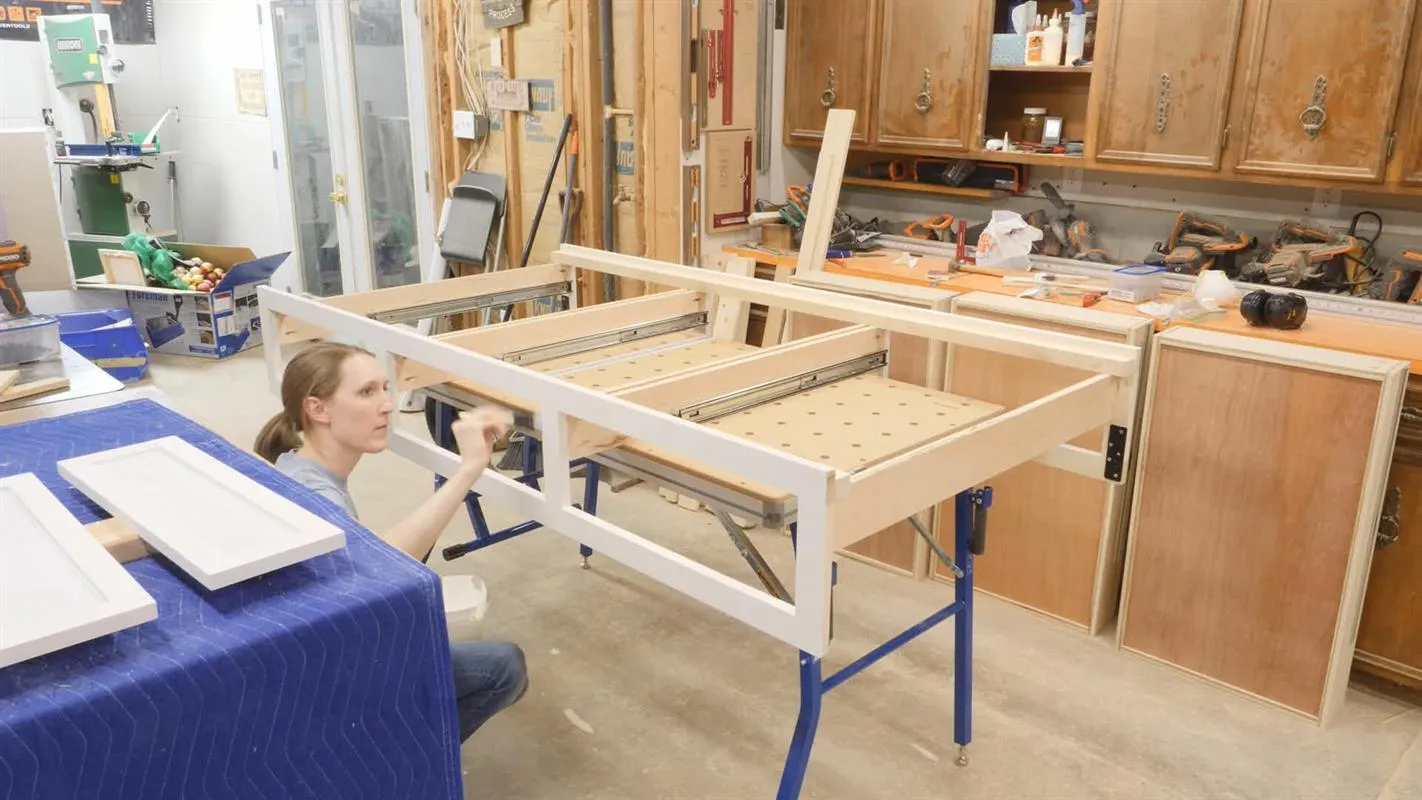
To finish the bed, we went with General Finishes Milk Paint. It's a very easy to apply product that gives great results. For the MDF panels, we first sprayed two coats of shellac to seal the material. Without this step, the final appearance can be splotchy. For all of the solid wood that would be seen, we first primed with a coat of General Finishes Stain Blocker Primer. Then for the top coat, we applied two coats of a 4:1 mixture of Snow White and Antique White. This gave us a crisp white with just the slightest touch of color. We used foam brushes to apply both the primer and paint.
11Final Assembly
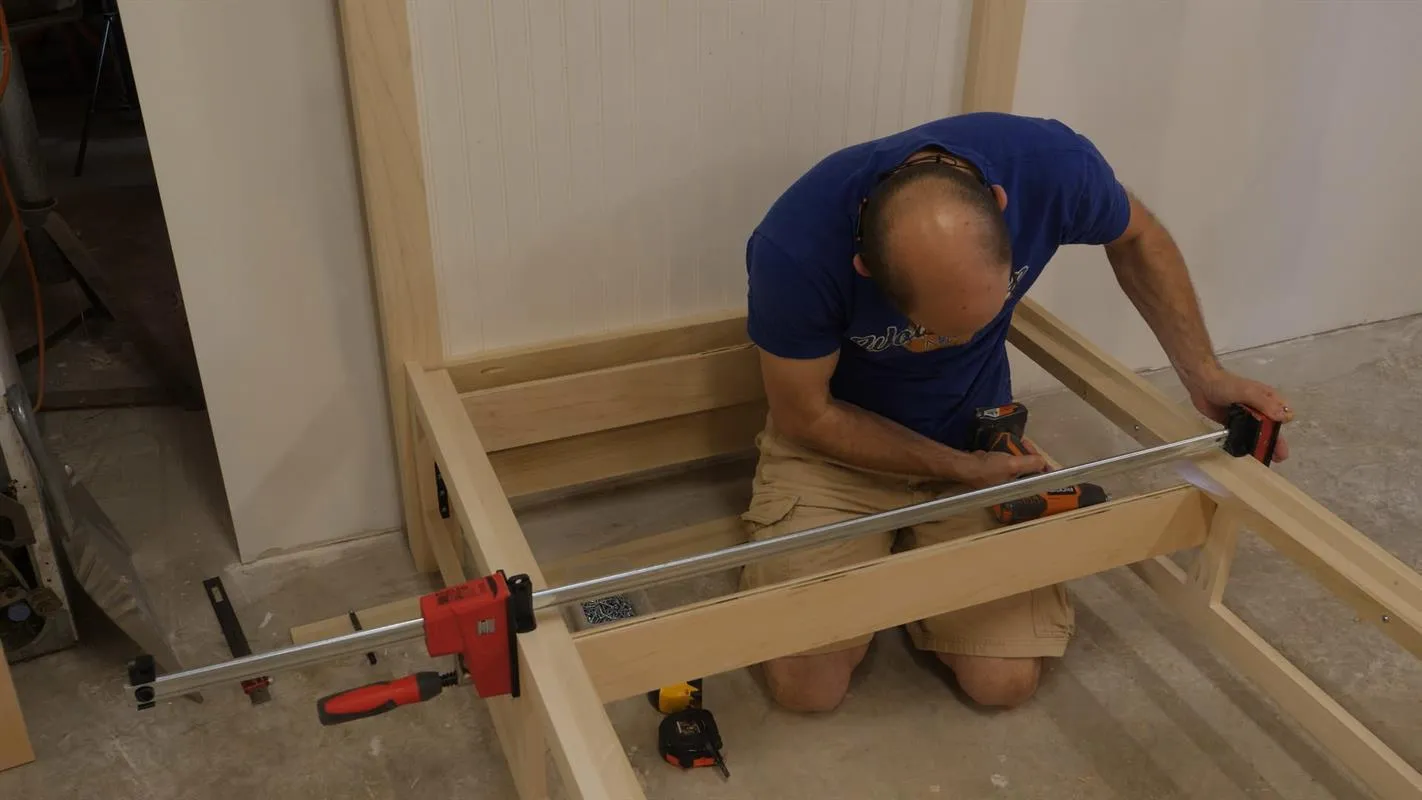
- For assembly, we used the keyhole bed hardware by Rockler.
- Position the "keyed" plates and use 3/4” screws to attach it.
- Then secure the "hole" plates to the posts using 1-1/4" pocket hole screws. With the rails secured, install the drawer slide supports with 1-1/4" pocket hole screws.
- Next install the drawer slides. With the drawers in the bed, now attach the drawer fronts. I used playing cards to center the spacing of the drawer front in the face frame. I then clamped the drawer face in place and drilled through the holes for the drawer pulls (previously drilled) into the drawer box.
- Attach drawer pulls with bolts going through the drawer box & drawer front. Secure 1x4s to supports with drywall screws (spaced no more than 3").
12Visit woodshopmike.com
Go checkout this out to see more pictures of this project! https://woodshopmike.com/diy-farmhouse-platform-bed-with-storage/

13Watch The Video!
Check out my YouTube video to show more of this build! www.youtube.com/watch?v=Vn0aDFDANsg

Tags
- Bed Frames
- Intermediate
Reviews & builds
No reviews yet
Sign in to review this plan or share your build.
No reviews yet. Be the first to build this.