 Notch
NotchEasy Router Table Storage
Step-by-step build — 16 steps. Also available as a print sheet.
1Complete Cut List
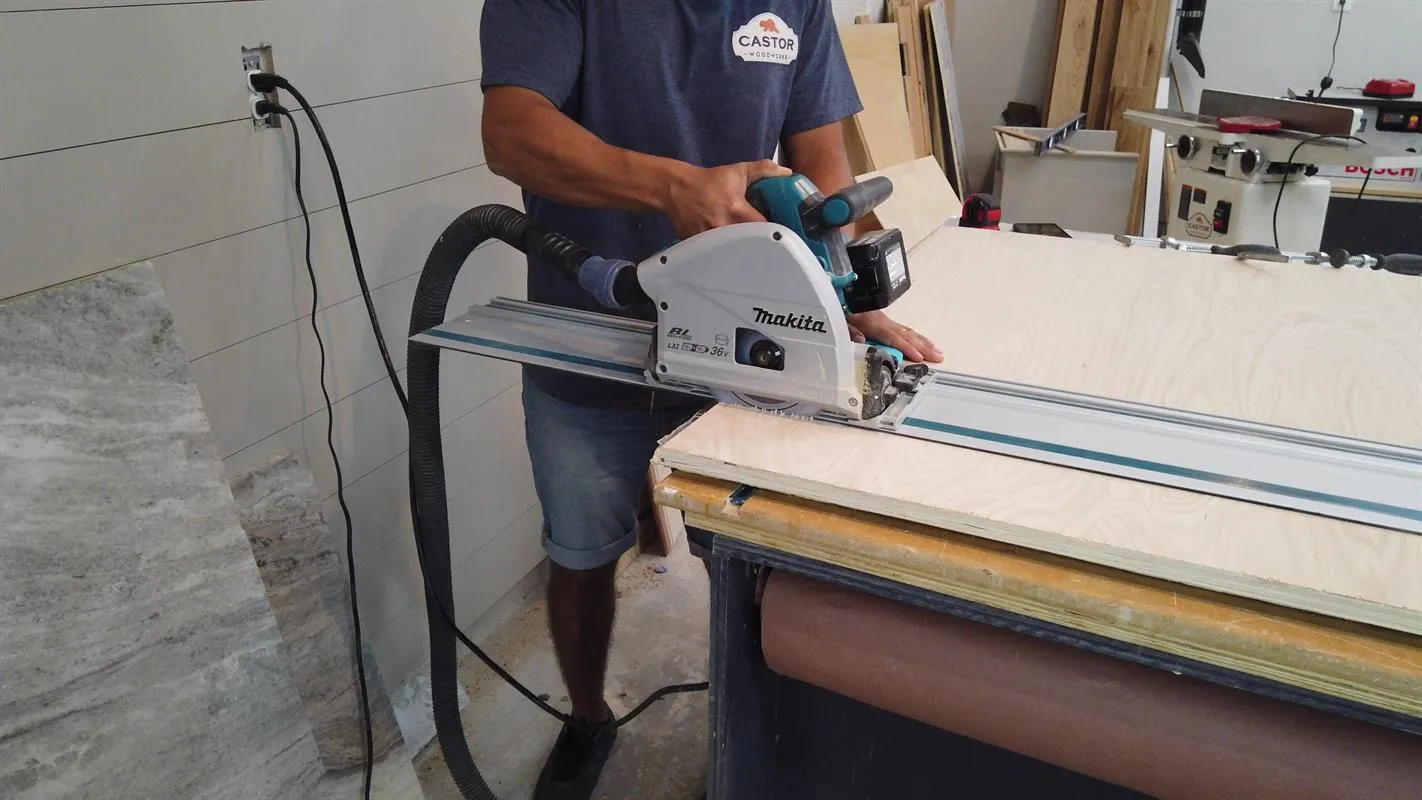
Use the cut-list to break down 3/4" plywood to the specified dimensions. Use a circular/track saw to cut your pieces down to manageable pieces then cut to final size on the table saw.
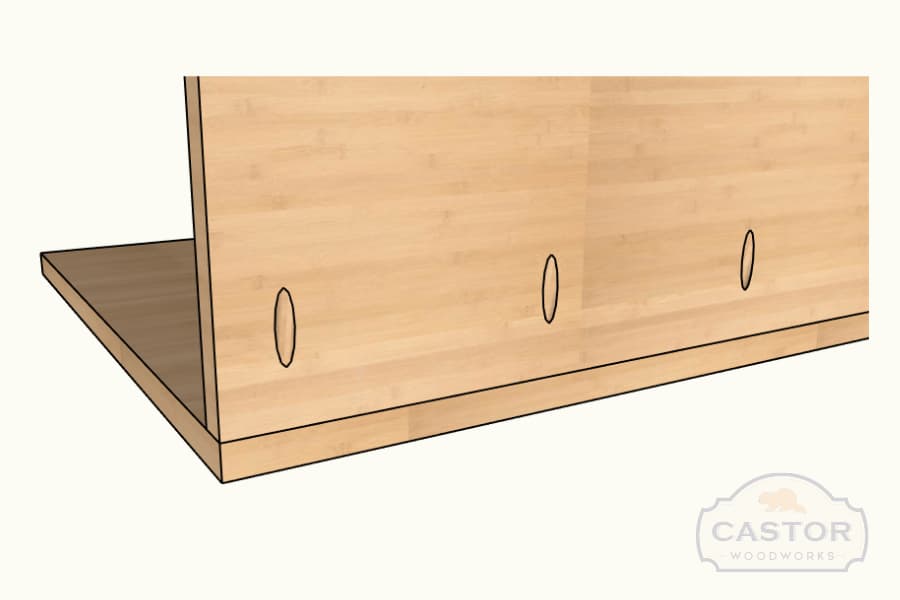
2Drill Pocket Holes
Drill pocket holes where ever necessary, this will help speed up the assembly.
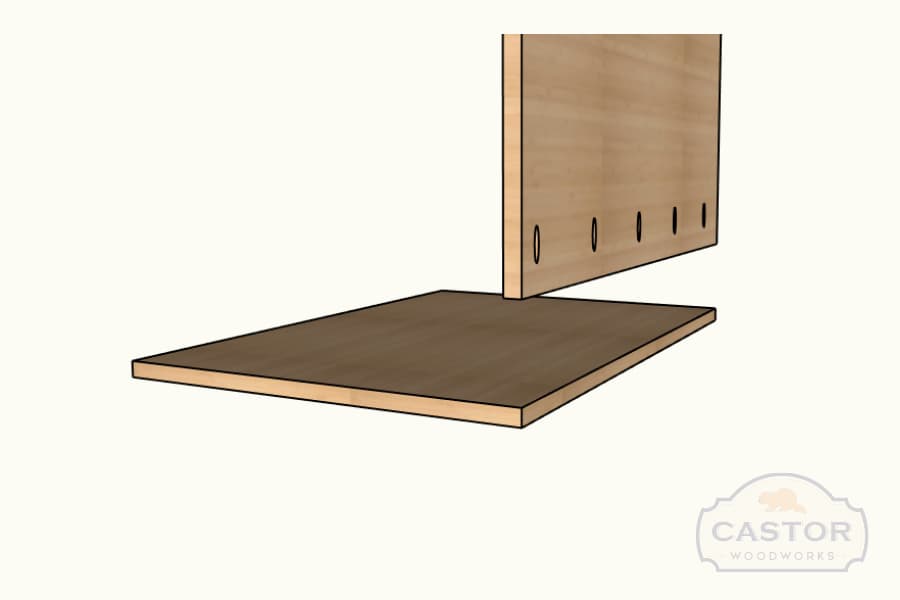
3Assemble Cabinet
Attach the Back Piece to the Bottom Piece using 1 1/4" pocket screws. Make sure the joints are square during assembly.
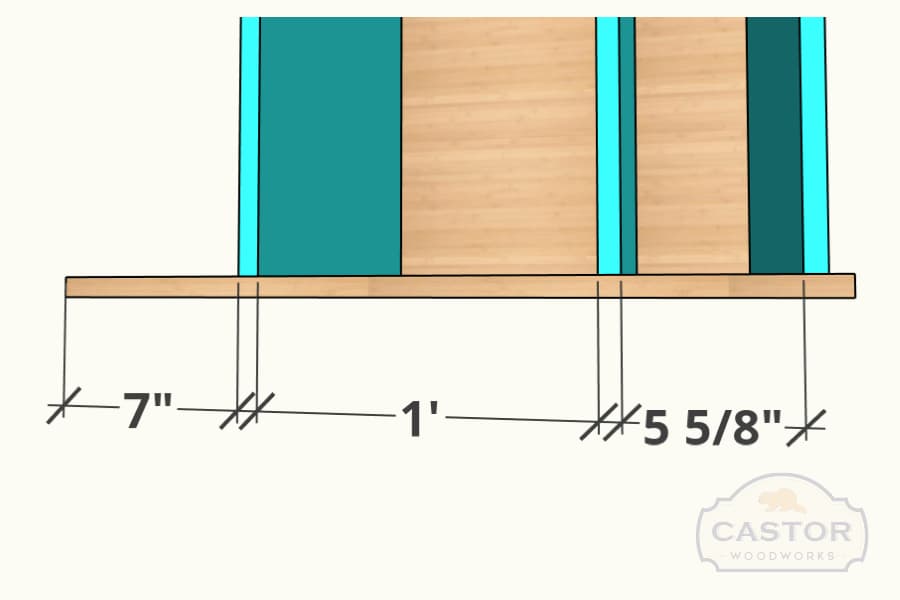
4Add Dividers
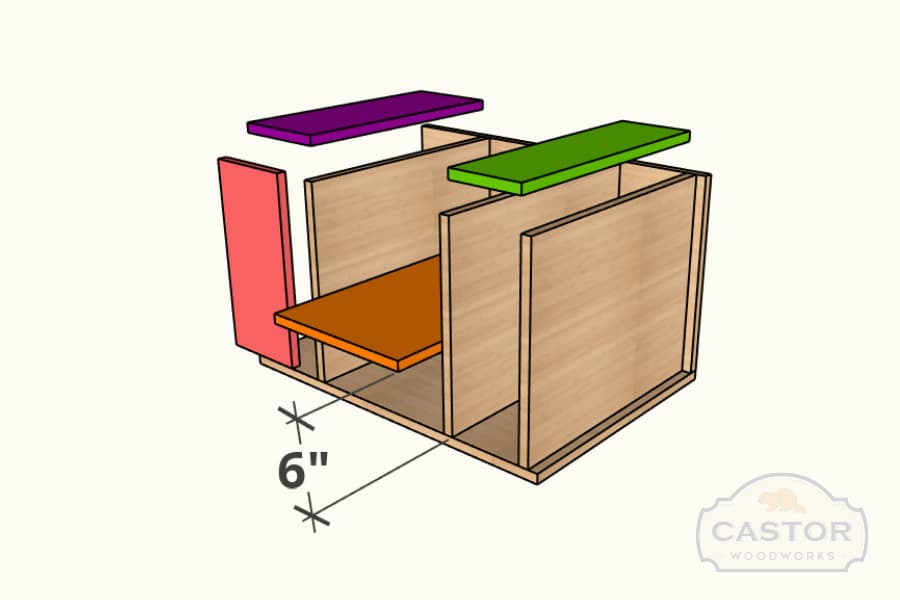
Attach the Dividers to the bottom & back pieces using using the Right Top and Center Dividers as spacers and using 1 1/4" pocket screws. Make sure the joints are square during assembly.
5Finish Carcass
Add the Top Right Piece, Left Front and Top Pieces to the carcass using 1 1/4" pocket screws. Make sure the joints are square during assembly.
6Drop in Carcass
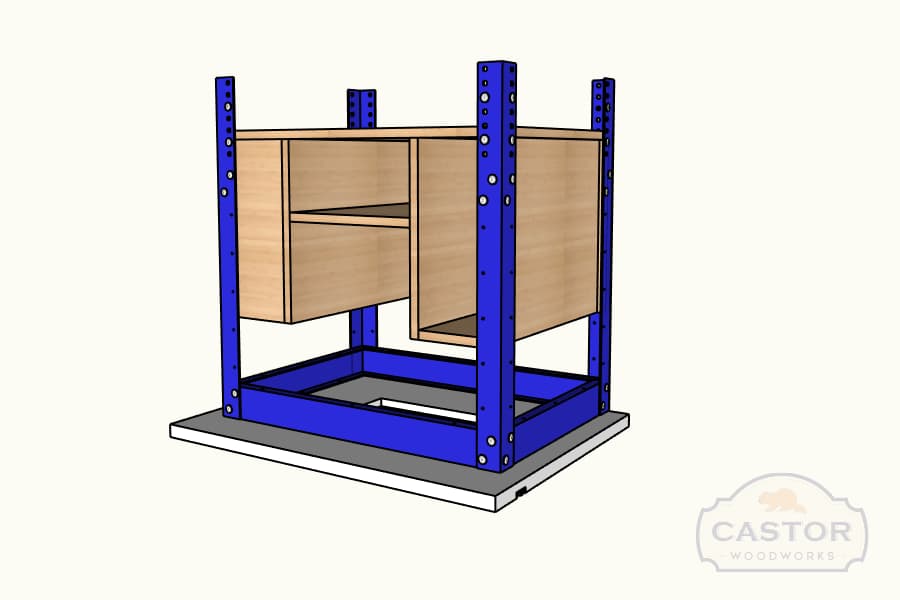
- Flip your router table upside down and your carcass and drop it into your Kreg Router Table Base. You will need to remove the bottom pieces of the frame to do so.
- Once the Cabinet Carcass is dropped in you can reassemble the bottom frame of the base.
7Attach Drawer/Door Fronts
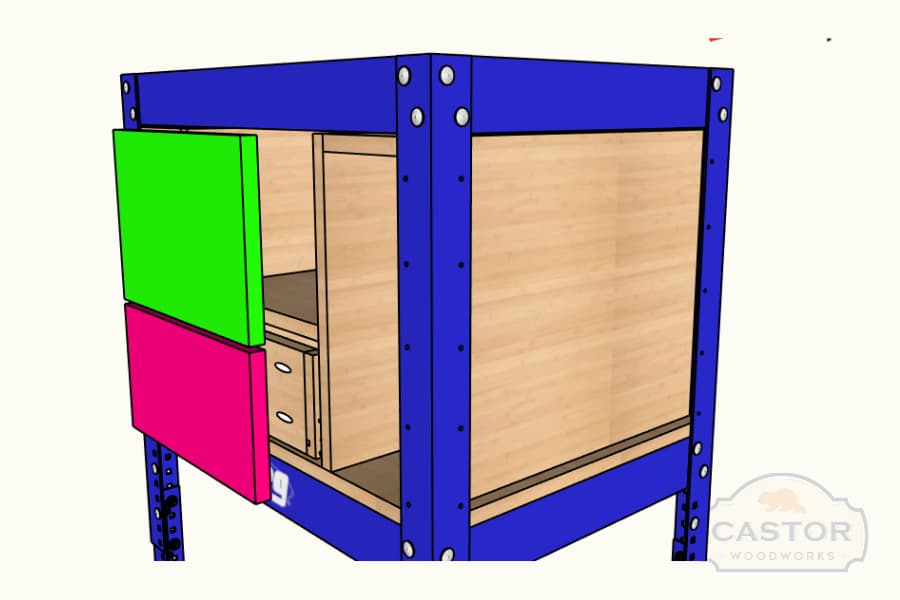
Attach your Door using 1/2" overlay hinges. Attach your Drawer front using screws from the back of the drawer.
8Wall Control time!
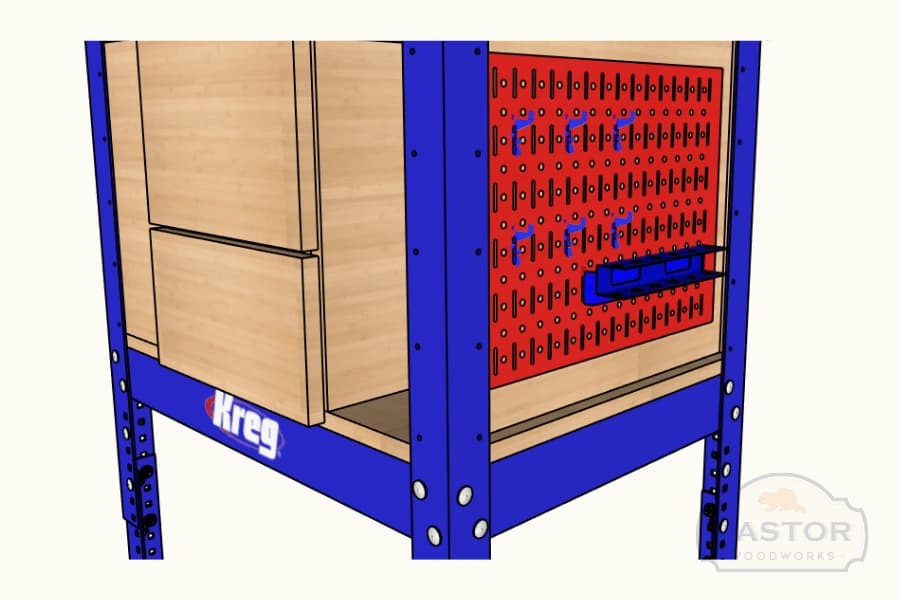
Secure your wall control panels to the sides of the router table and organize your router accessories to your needs!
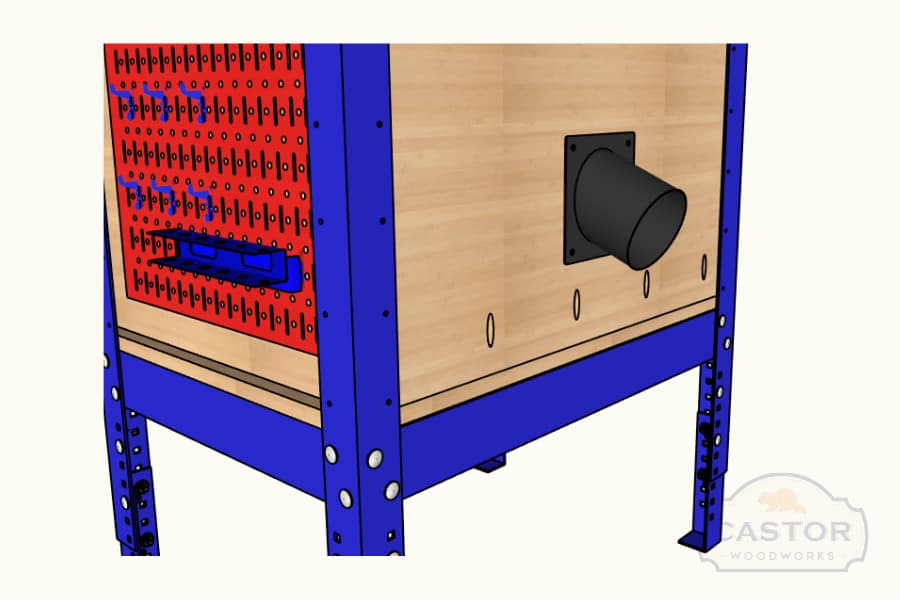
9Add Dust Port
Add a 2 1/2" dust port to the back piece close slightly above the Center Divider.
10Add Kreg Switch
Add your safety switch to the opening on the right side of your router table.
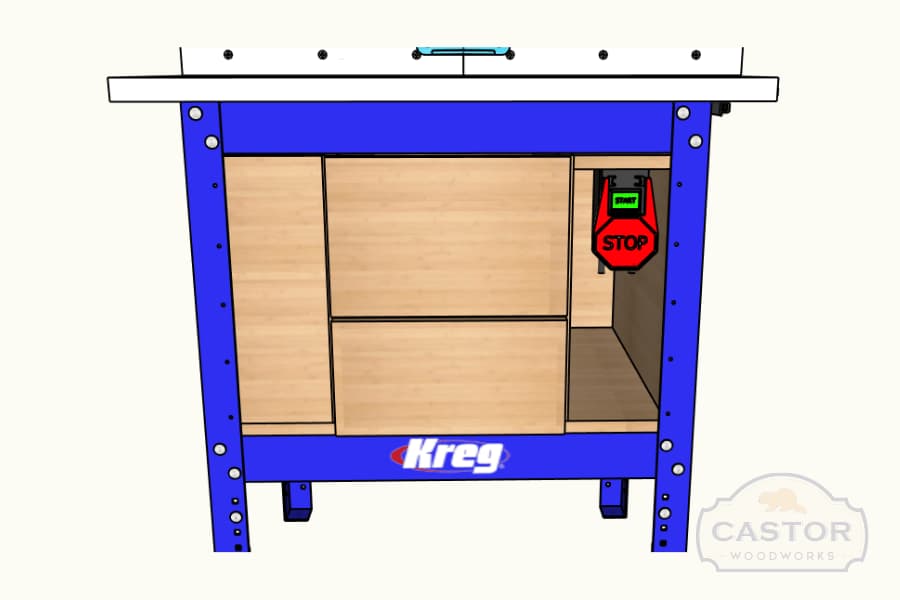
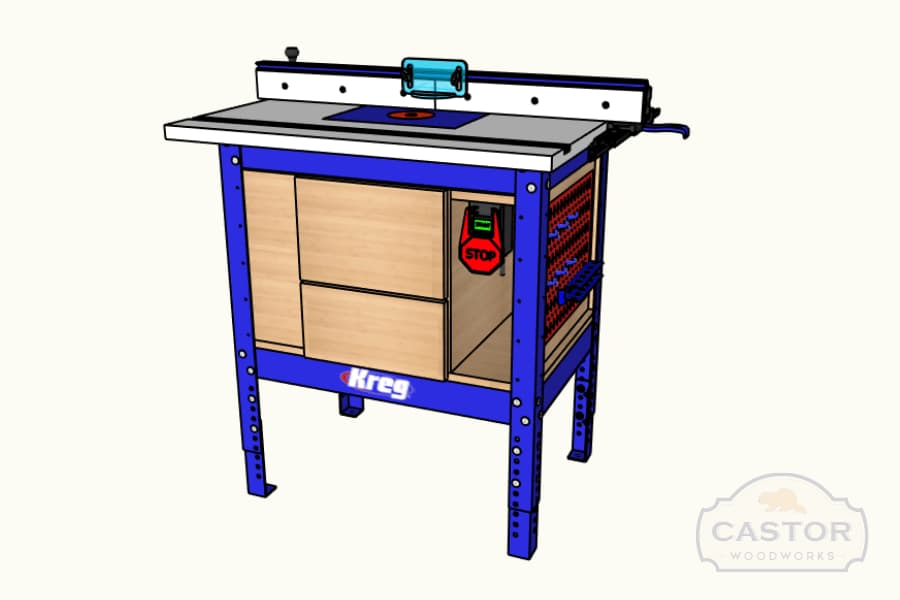
11Ready to Go!
Attach your top and you are ready to go! You now have super convenient storage for all your bits, wrenches and accessories!
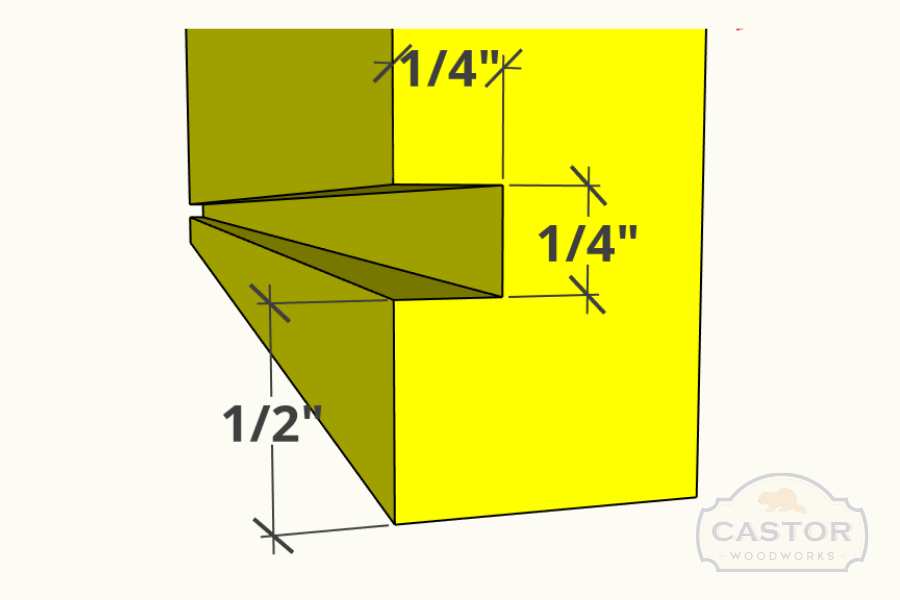
12Make some drawers!
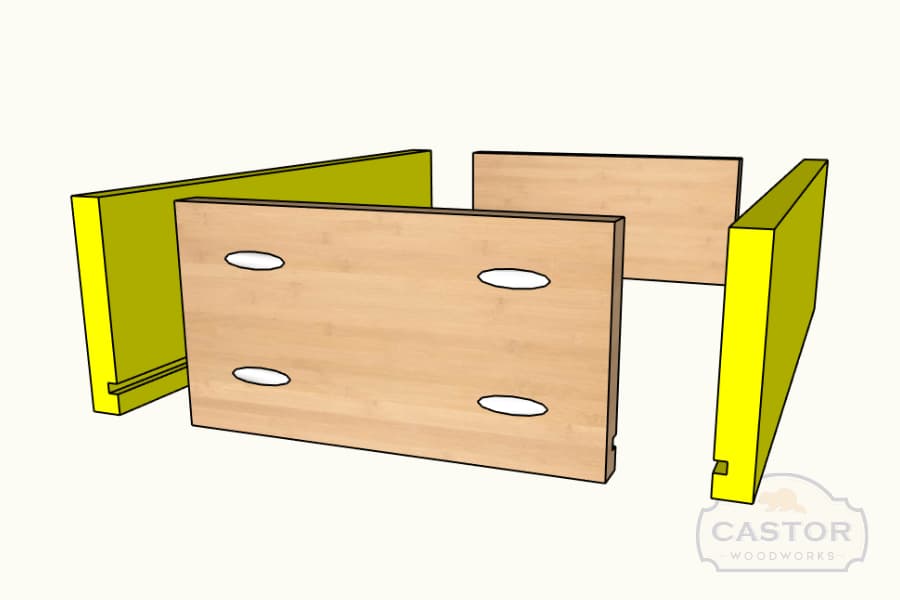
Start by making a 1/4" dado starting from 1/2" from the bottom of your two sides and front.
13Assemble Drawer sides
Attach your drawer Front and Back to your Sides using 1 1/4" pocket screws making sure the drawer is square.
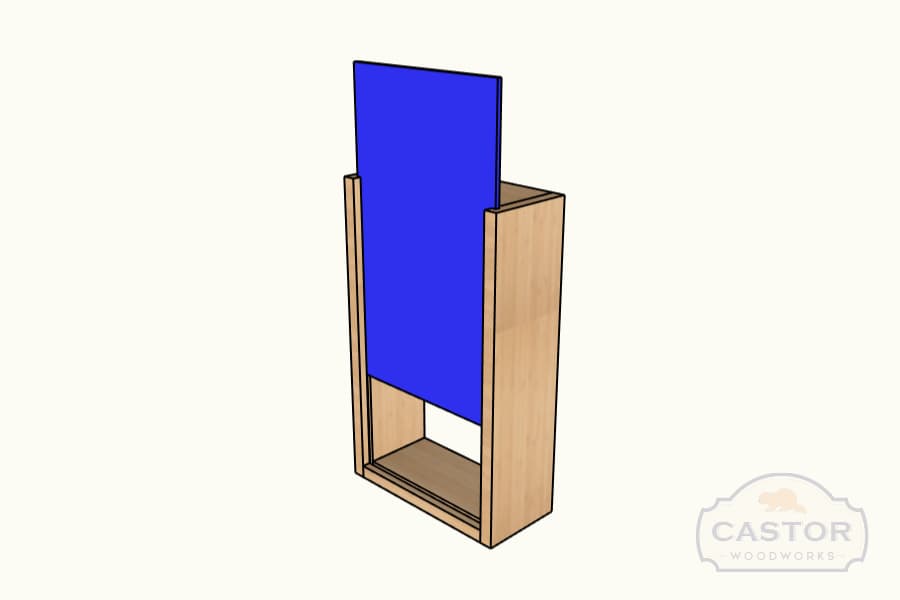
14Add Drawer Bottom
Slide the Drawer Bottom though the groves until it stops at the front of the piece. Secure the Drawer Bottom to the Back piece using a couple screws.
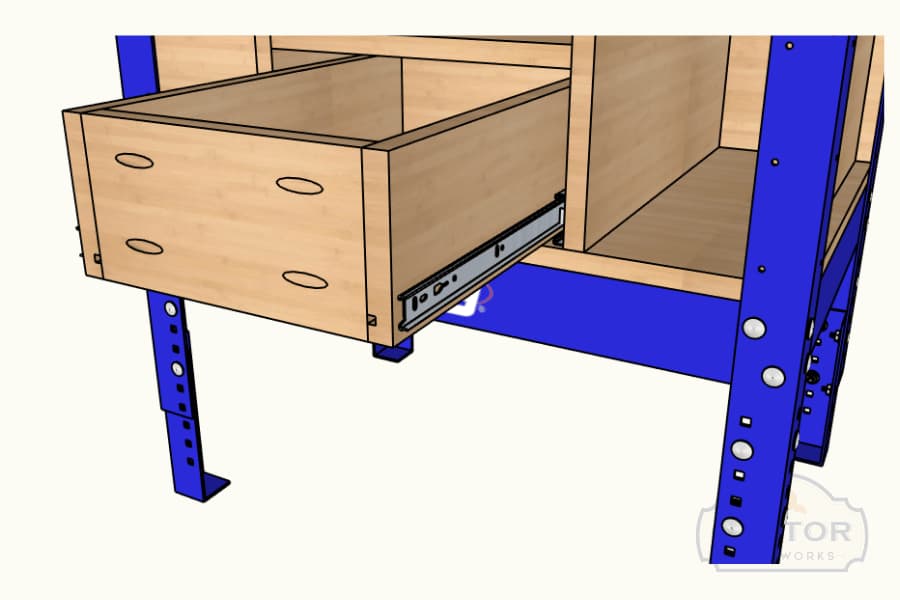
15Attach Drawer Slides
- Attach your drawer slide to the drawer and to the sides of the opening where it will be installed.
- Once they are installed push in the drawer and check for fitment. Make adjustments if necessary.
16More Info
Check out this link for more info: http://bit.ly/RouterTableIG